
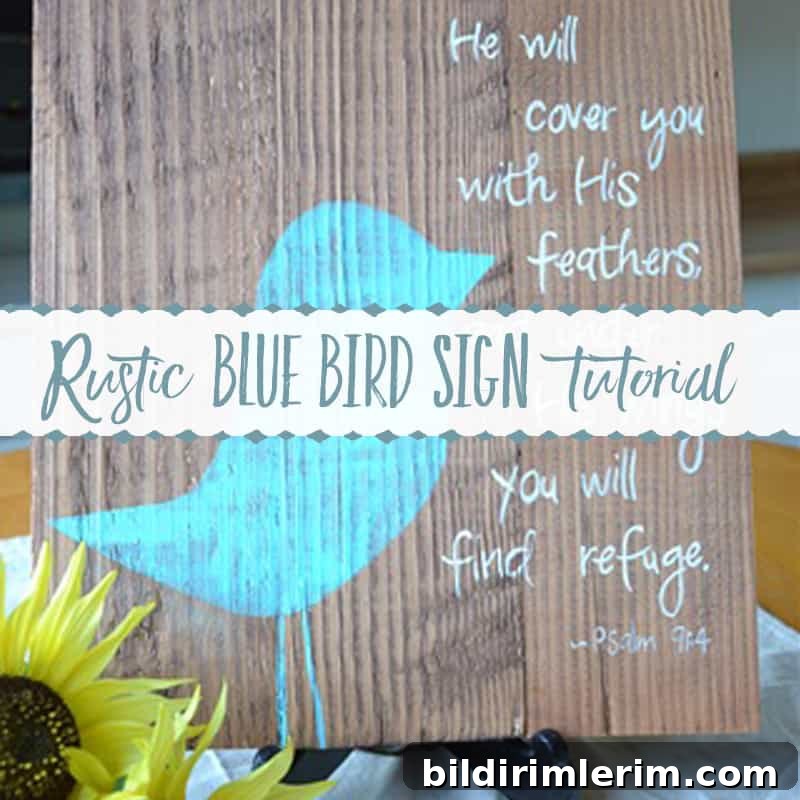
Rustic Blue Bird Wooden Sign Tutorial — DIY Rustic Wood Sign
Working with reclaimed planks inspired me to create larger signs by joining multiple boards together. After trying a few approaches, I settled on a straightforward, reliable method that produces a sturdy, rustic-feeling wooden sign. This tutorial covers preparing and laminating the boards, reinforcing the back, transferring a bird silhouette and lettering, and finishing the piece for a weathered, handmade look.
Materials and tools
For this project you will need a few basic materials and tools: reclaimed or new planks cut to the same length, wood glue (carpenter’s glue), clamps, thin wood strips for reinforcement, an electric drill or drill press for pilot holes, nails or carpet tacks, tracing paper, masking tape, an X-Acto or utility knife, paints (a stain for the wood and paint colors for the design), a dry brush, and a small paintbrush for lettering. A few simple tools and some patience are all that’s required.
Assembling the panel
Begin by cutting the boards to the same length. Spread a thin bead of wood glue along the edge of one board and press the next board tightly against it. Continue gluing boards edge-to-edge until you have the width you want for your sign. Clamp the assembly firmly and allow the glue to cure; overnight is best to ensure a good bond.
Although glued laminates will hold, I found it important to reinforce the panel so it stays strong over time. Cut two thin wood strips to span the back of the sign, then mark nail locations and pre-drill pilot holes through the strips into the panel. Predrilling helps prevent splitting when you drive the nails.
Apply a thin layer of carpenter’s glue to each strip, position them across the back of the boards, and fasten them with nails or carpet tacks through the pre-drilled holes. You can choose traditional nails, tacks, or decorative nail heads depending on the look you want; large dark nail heads create a striking, rustic accent. I attached a small maker’s tag to one of the nails as a finishing touch.
Preparing the surface and design
For a rustic aesthetic, I stained the wood and left most of the grain visible. To add a bird silhouette, trace your design on white tracing paper and cut out the shape. Position the cutout on the sign and surround it with masking tape to protect the edges. With a pen, trace the bird outline onto the stained wood so you have a clear guide to work from.
Using an X-Acto knife, carefully remove the interior of the tracing template where needed, creating a crisp stencil. For the bird, I used a turquoise paint applied with a dry-brush technique so the wood grain peeks through and the color appears slightly distressed. Removing the masking tape while the paint is still slightly wet gives the cleanest edge and a satisfying reveal.
Lettering and finishing
For the verse and lettering, I traced the words onto the wood using tracing paper and painted the letters by hand. I used a light buttermilk color for the text and a friendly, casual font style (my reference was “Pea Bea”); you can choose any font or hand-lettering style that suits your design. Work slowly and use a small brush for neat results.
Once all paint is dry, you can add a thin protective coat if desired, or leave the sign matte for a more weathered, farmhouse look. The finished piece works well as inspirational wall art, a gift, or a market item. If you sell your work, consider attaching a small backing wire or sawtooth hanger for easy display.
Design inspiration
I often choose verses and phrases that have personal meaning; when a line from the Psalms paired with a simple bird image resonated with me, I turned it into art. The combination of reclaimed wood, a hand-painted silhouette, and heartfelt wording creates a piece that feels both rustic and meaningful.
Tomorrow I’ll share a complementary “sister” sign that pairs well with this bird motif.
Update: If you are interested in purchasing this sign, it was available for sale in my shop.
Linking to: Thrifty Decorating