
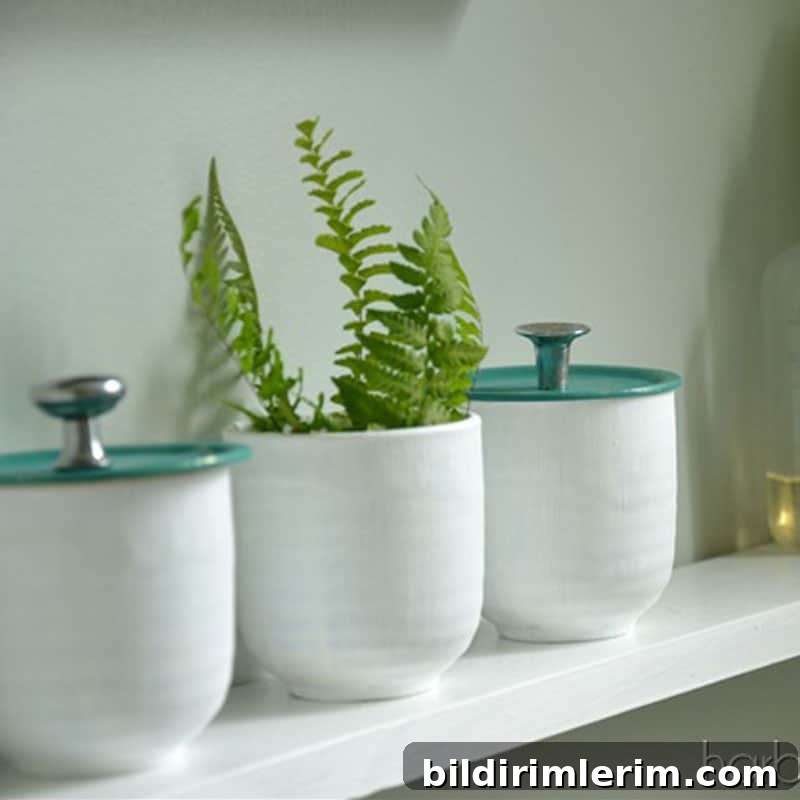
Turn thrifted finds into practical bathroom storage—DIY painted jars using FolkArt Chalk is a quick, affordable way to refresh containers and organize small spaces.
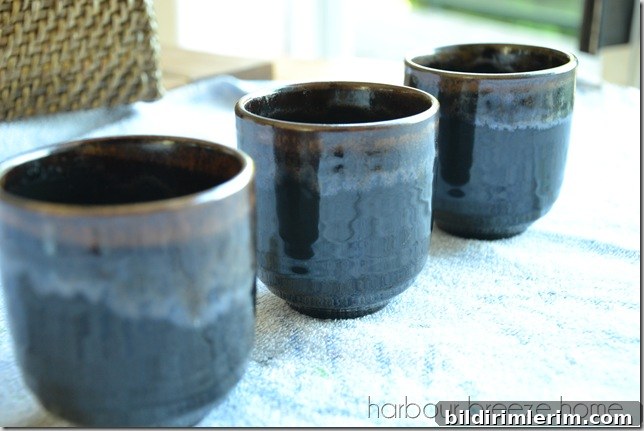
With a tiny main bathroom, creative storage becomes essential. In our compact bathroom (recently refreshed), I kept running into storage challenges that only showed up during everyday use. To solve one of those problems, I hunted local thrift stores and found a set of glazed pottery mugs that seemed perfect to upcycle into useful counter-top storage.
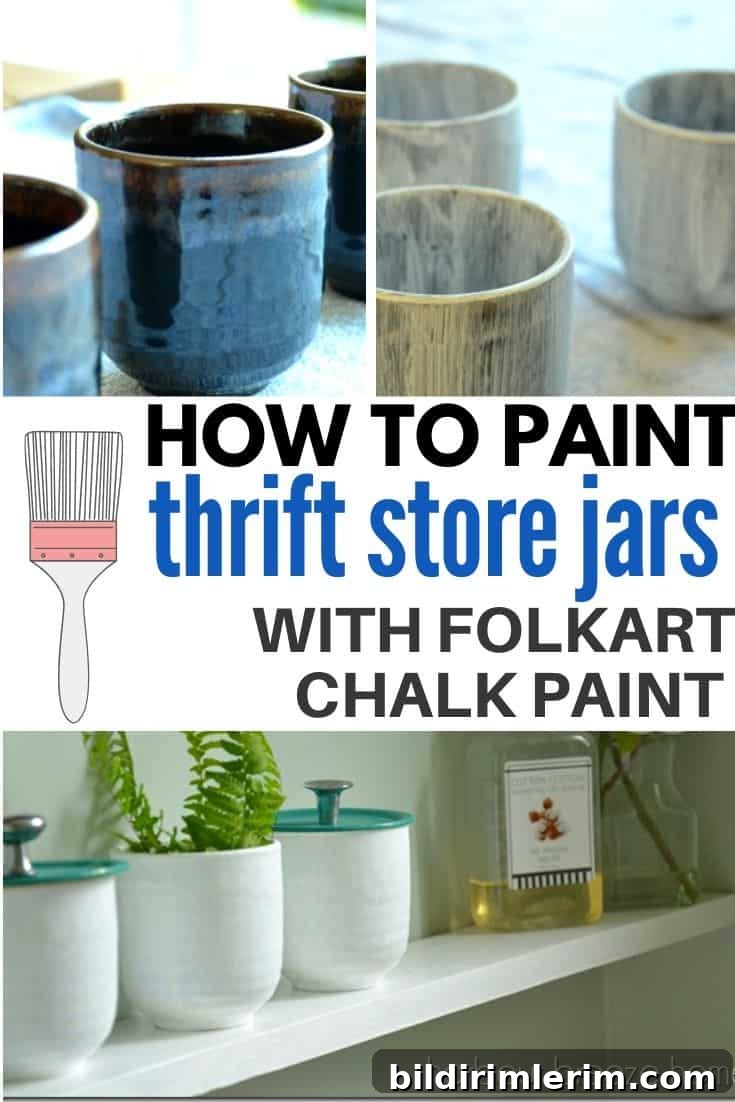
Below is a straightforward, step-by-step guide to transform thrifted containers into attractive, durable storage jars using FolkArt Chalk paint and a few simple supplies.
How to Use FolkArt Chalk for DIY Painted Jars
Supplies
- Thrifted glazed pottery mugs or clear glass jars
- FolkArt Chalk paint in the colors Adirondack and Grotto
- Mason jar lids (for creating a secure top)
- Small hardware knobs to use as lid handles
- Craft paint brush
- Hot glue and a low-temperature hot glue gun
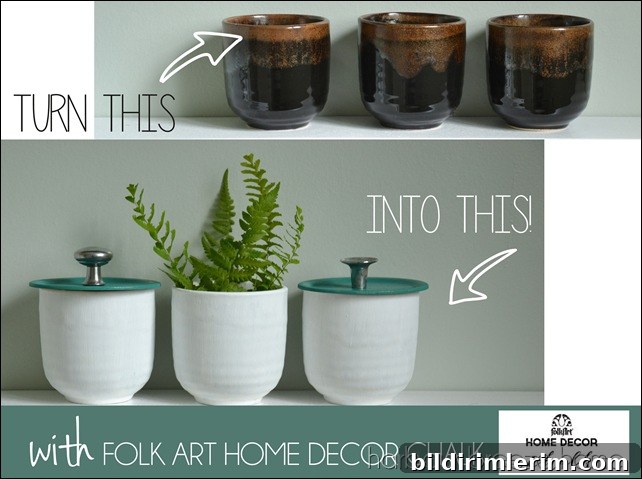
1. Clean the containers thoroughly
Start by washing each mug or jar with warm, soapy water and rinse well. Any grease, dust, or residue will prevent paint from adhering evenly, so take a little extra time to remove stubborn spots. Let them dry completely before painting.
2. Apply the first coat of chalk paint
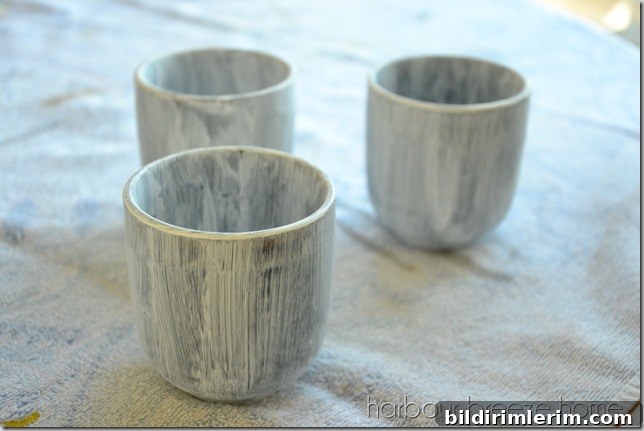
Use a quality craft brush and make long, even strokes in the same direction to reduce visible brush marks. Chalk paint covers well but applying it smoothly from the start will cut down on the number of coats you need.
3. Allow proper drying time between coats
Follow the manufacturer’s recommended dry times. Chalk paint may appear dry quickly on the surface, but waiting the suggested interval before adding another coat prevents peeling or uneven coverage. Depending on the color contrast and the original surface, two to three coats are often sufficient when dry time is observed—rushing can mean you’ll need more layers.
4. Paint the mason jar lids
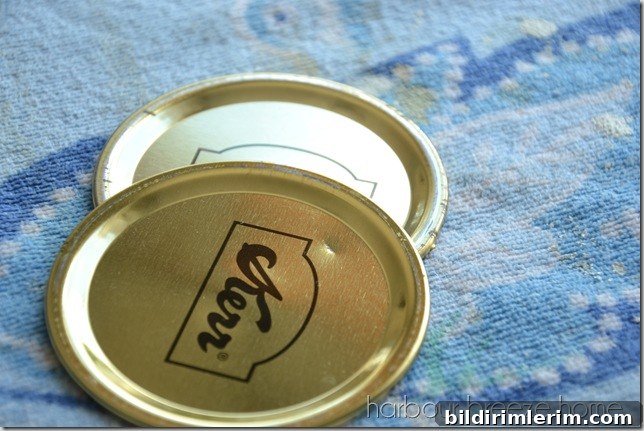
Paint the lids in the accent color (Grotto in this case) for a coordinated look. Mason jar lids usually take well to chalk paint, often needing only one coat for solid coverage. Let them dry completely before sealing.
5. Seal the painted surfaces
Protect your work with a clear sealer formulated for chalk paint. Apply it like paint with a brush to create a smooth, protective finish that resists moisture and everyday handling—important for bathroom use.
6. Attach knobs to the lids
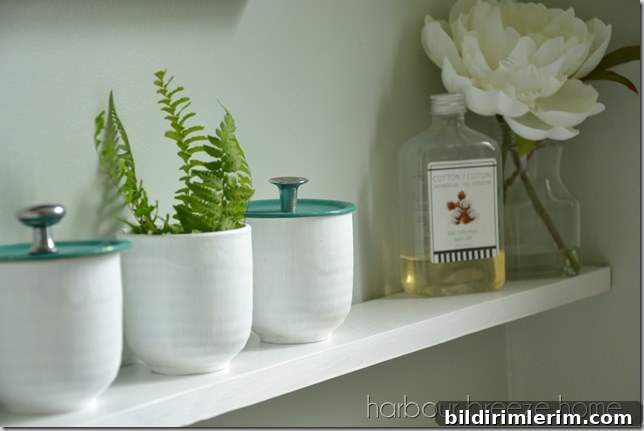
Once lids are fully dry and sealed, attach small drawer or cabinet knobs using hot glue. Press and hold until the glue sets. These knobs create an easy-to-grip handle and give the jars a finished, intentional look.
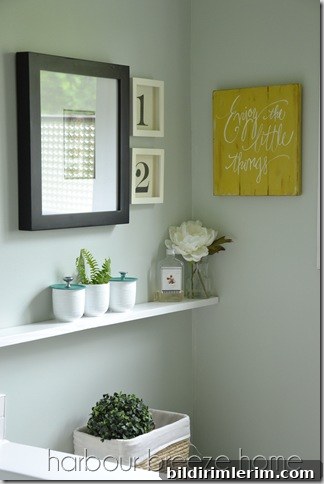
These painted jars are perfectly sized for cotton balls, q-tips, and other small bathroom essentials. They tuck neatly onto a narrow shelf above the sink or toilet and add a coordinated, handmade touch to your decor.
Tips and variations
- If the thrifted piece has a glossy surface, scuff it lightly with fine sandpaper before painting to improve adhesion.
- Mix and match lid colors or knobs for a layered look, or keep everything uniform for a calm, beachy palette.
- For glass jars, remove labels and any adhesive residue with a bit of oil or a baking soda paste before washing.
These upcycled containers are a low-cost, high-impact way to add functional storage to small bathrooms while keeping a cohesive color story. They make a great weekend project and are ideal for anyone who enjoys thrifting and hands-on home crafts.
Additional resources
- How to Organize a Bathroom Vanity (post reference)
- 7 Clever & Creative Ideas for Small Bathroom Storage (post reference)
For details about the small yellow sign featured in my bathroom vignette, see the related project post (originally linked in the source).
Disclosure: This post originally contained affiliate links and some product was provided for the project. All opinions are my own.