Follow these simple steps to make a tender, flaky pie crust from scratch using the classic Tenderflake lard method.
A homemade pie crust has a texture and flavor that store-bought crusts can’t match. While premade crusts are convenient, making your own from scratch is rewarding and surprisingly straightforward. This recipe comes from an old-fashioned tradition of flaky, tender crusts—perfect as the base for any sweet or savory pie.
My mother baked many pies and always began with a scratch crust. I’m sharing her reliable method here so you can make a versatile pie crust that turns out flaky every time.
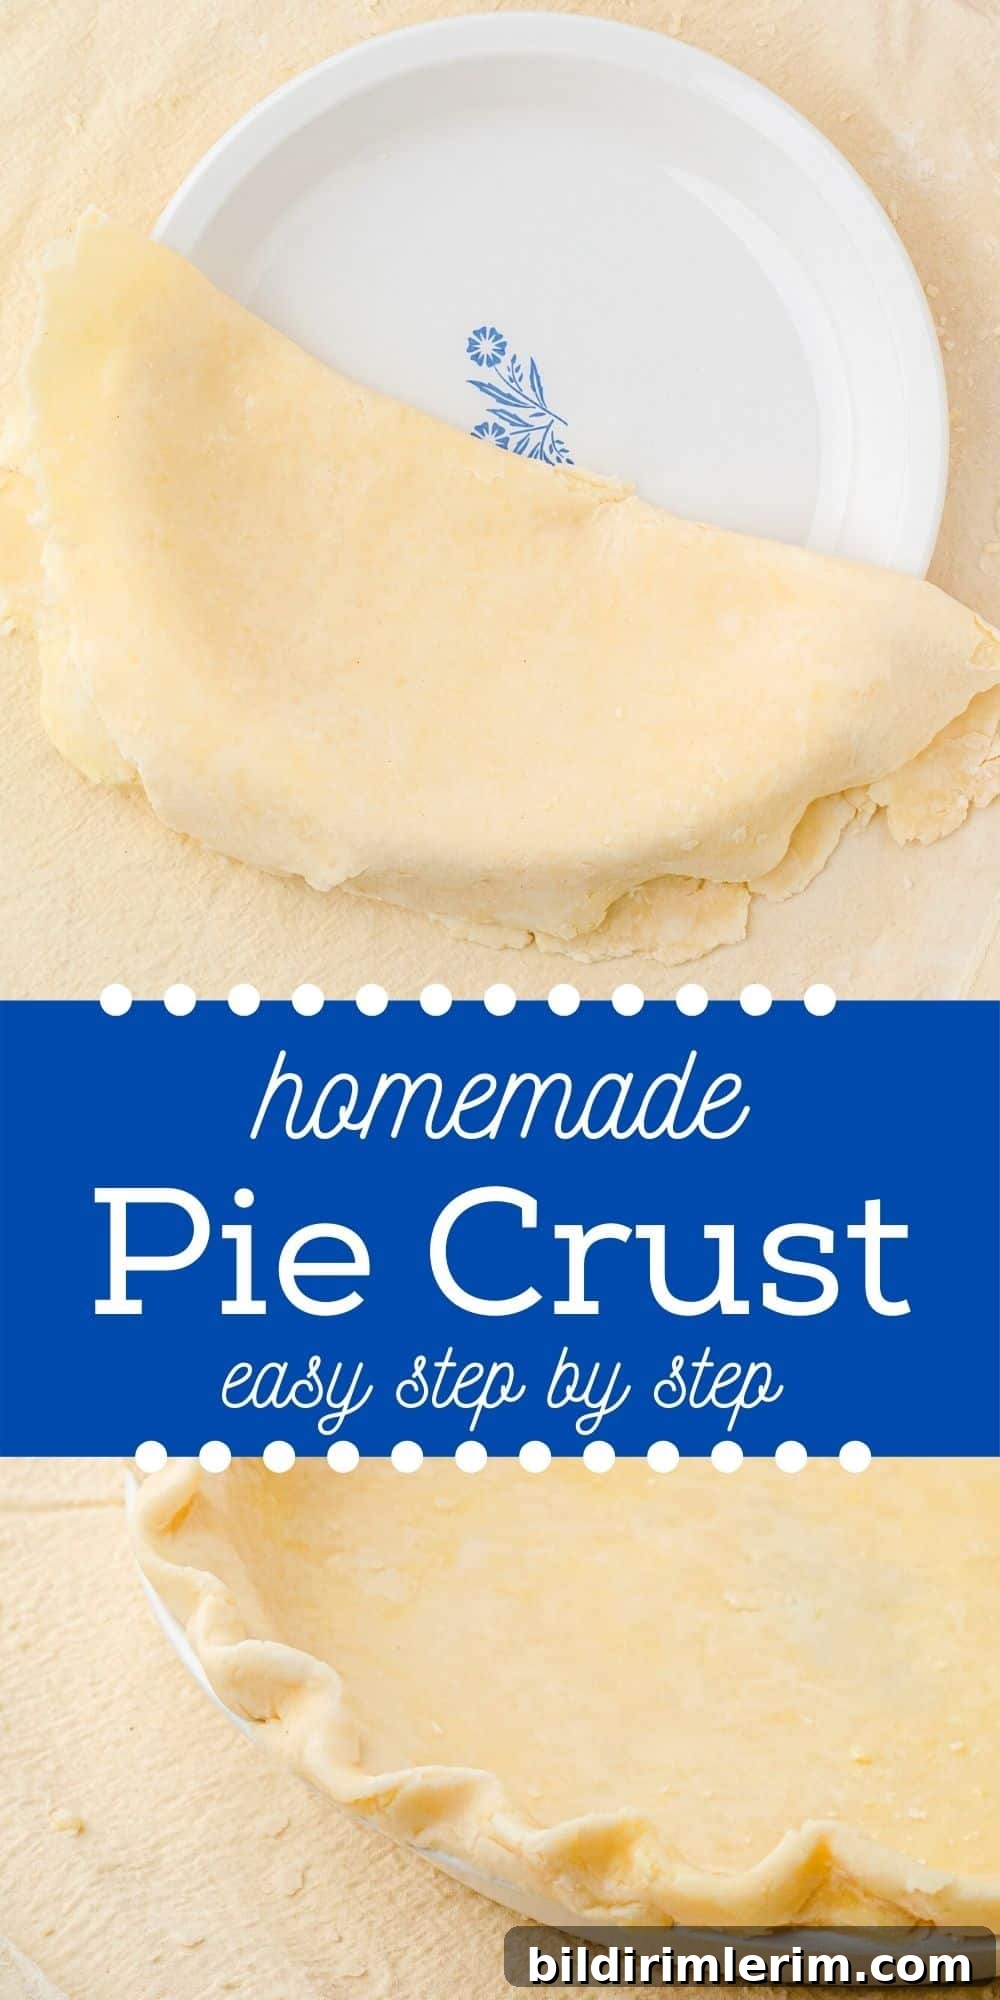
Homemade Pie Crust Recipe — Easy for Beginners
Note: This recipe uses lard for a classic flaky texture, but you may substitute another solid fat if preferred.
Ingredients (makes 6 pie crusts)
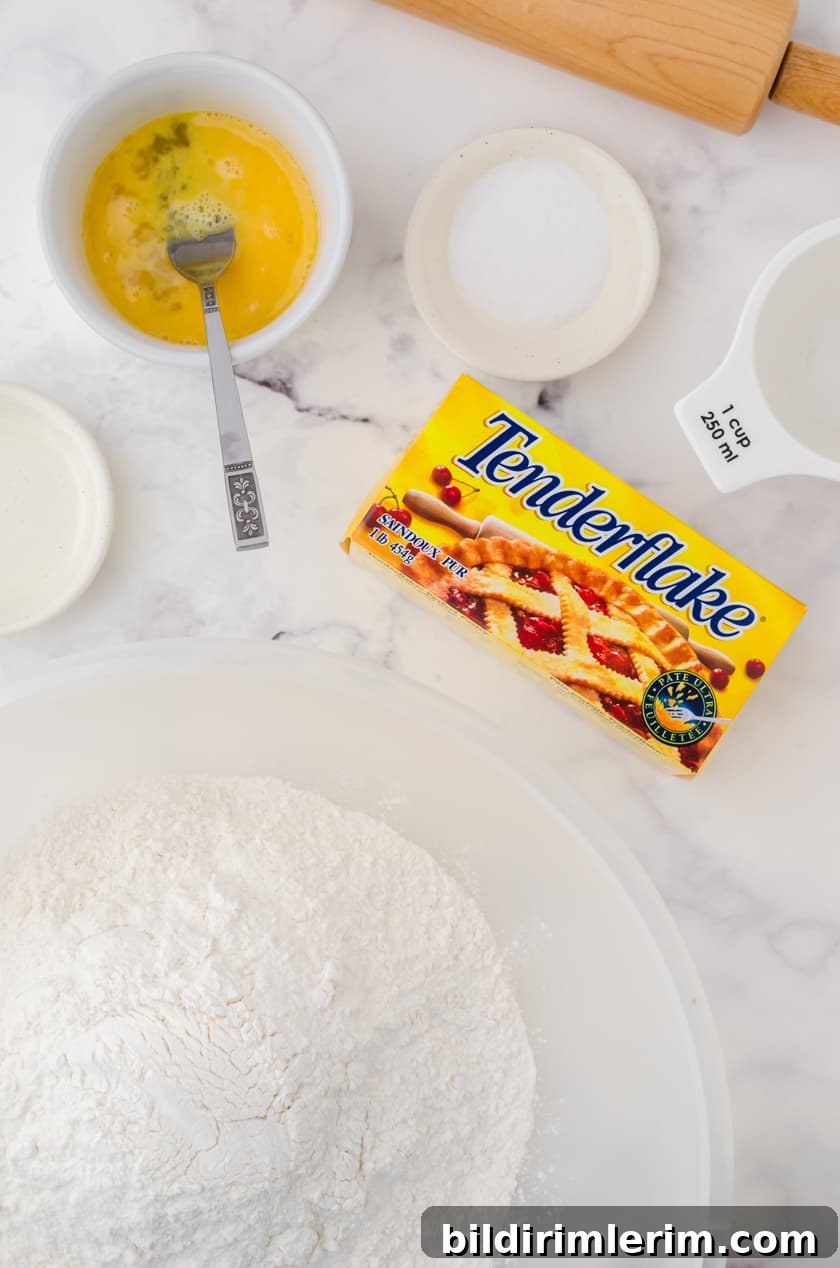
- 5 1/2 cups all-purpose flour
- 2 teaspoons salt
- 1 pound Tenderflake lard (or another solid lard of your choice)
- 1 tablespoon vinegar
- 1 egg, lightly beaten
- Very cold water (to bring the liquid to 1 cup)
Step 1: Combine the dry ingredients
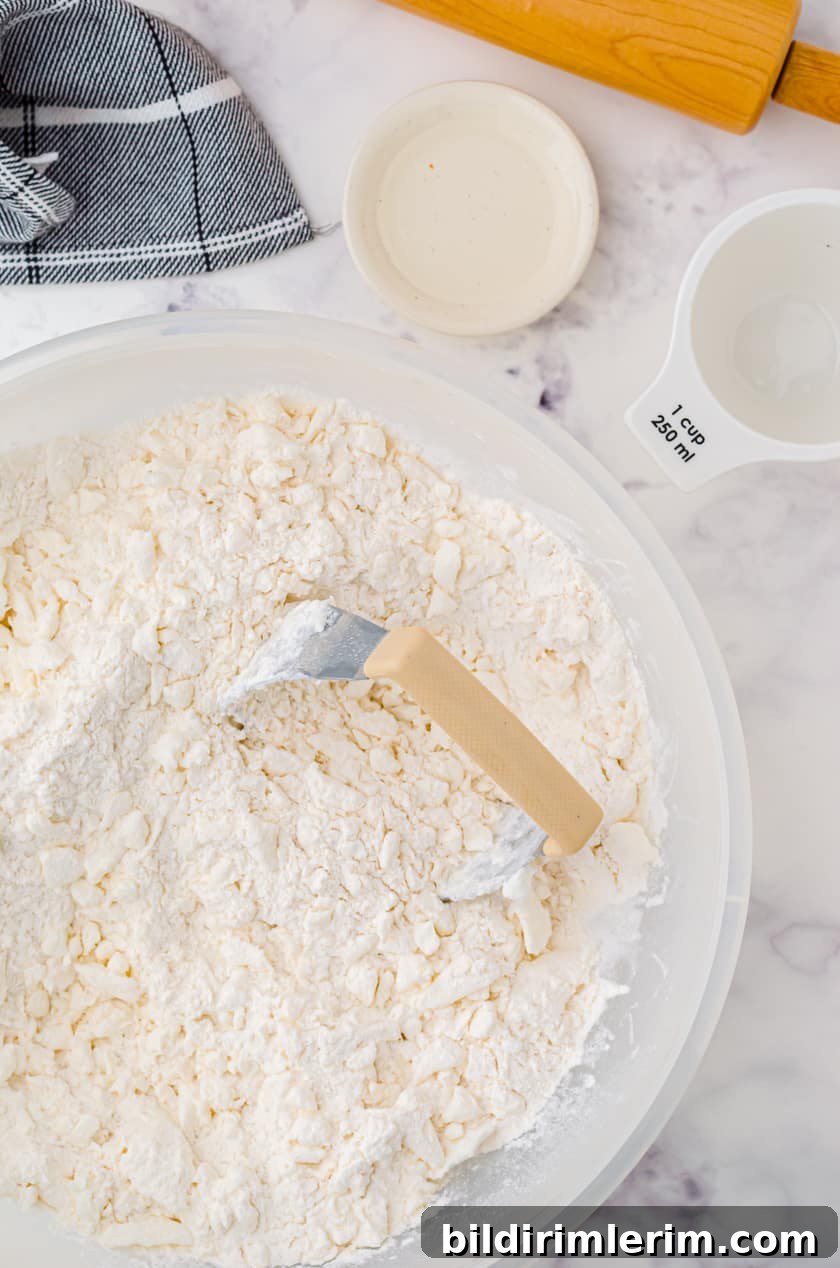
In a large mixing bowl, whisk the flour and salt together until evenly combined.
Step 2: Cut in the lard
Use a pastry blender, two knives, or your fingertips to cut the lard into the flour until the mixture resembles coarse oatmeal with some larger, pea-sized bits of fat remaining. These larger pieces are what create flaky layers, so avoid overworking the dough.
Step 3: Prepare the liquid
In a one-cup measuring cup, combine the vinegar and lightly beaten egg. Add very cold water until the total liquid equals 1 cup. This mixture adds tenderness and helps create flakiness.
Step 4: Bring the dough together
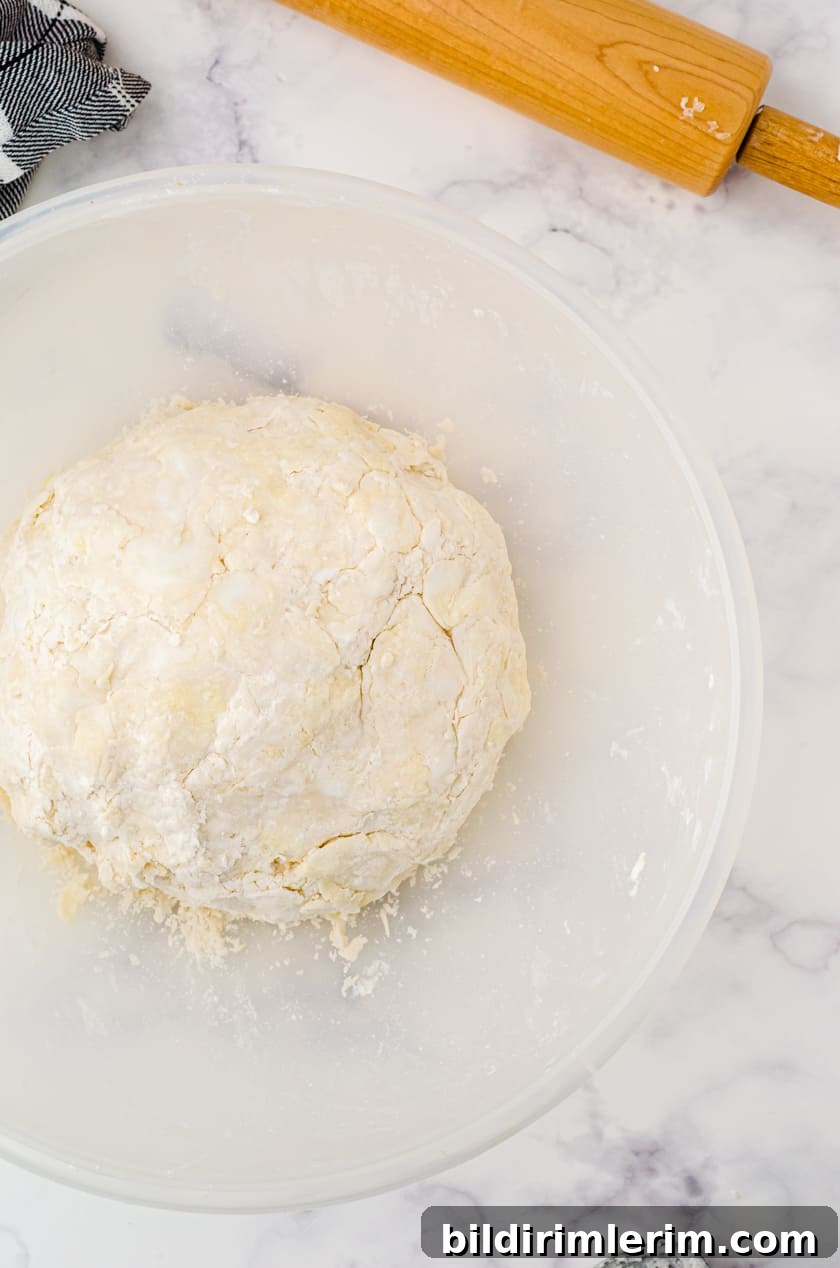
Slowly drizzle the liquid into the flour mixture while gently fluffing with a fork. Stop adding liquid once the dough holds together when pressed—do not overmix. The dough should form a cohesive ball but remain slightly crumbly.
Step 5: Portion and store
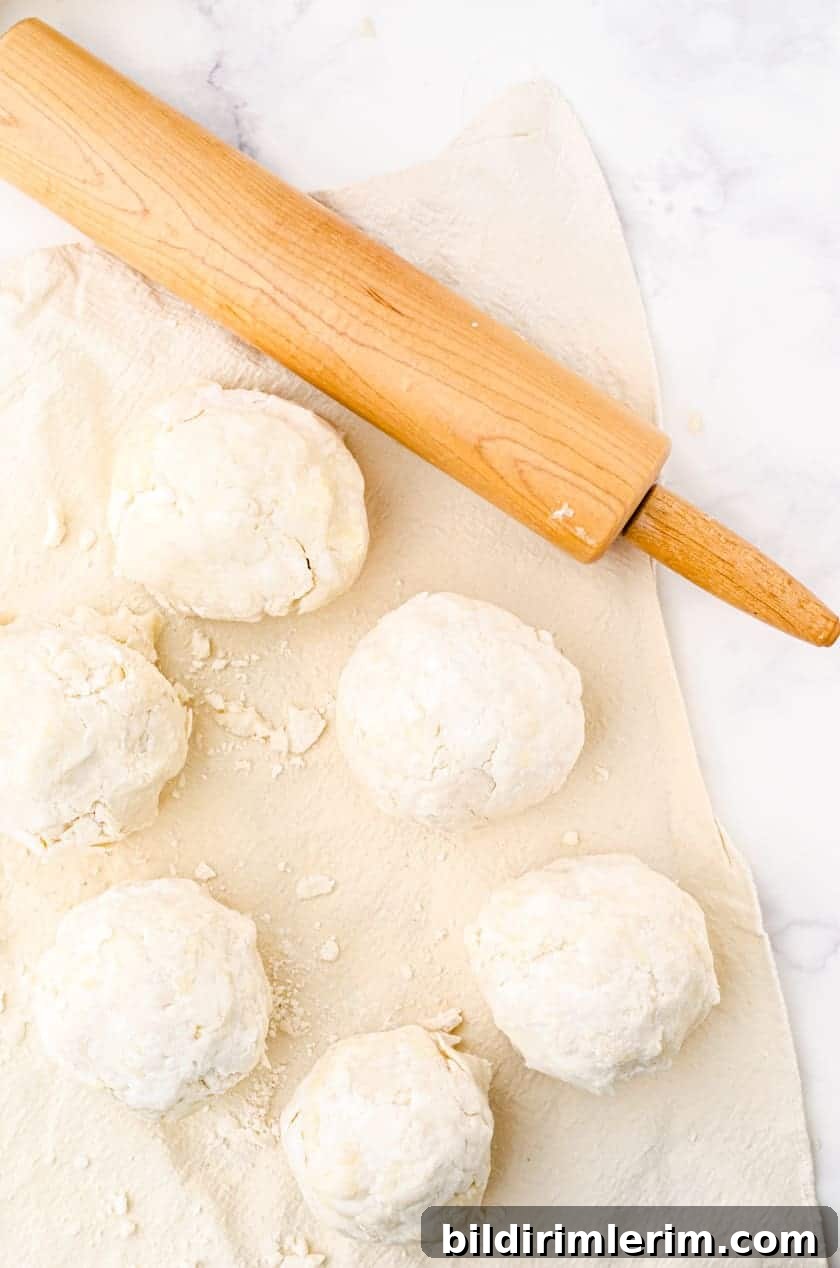
Divide the dough into six equal balls. Wrap each ball tightly in plastic wrap. You can refrigerate the wrapped dough for up to three days or freeze for up to six months. Thaw frozen dough in the refrigerator and let it come to room temperature before rolling.
How to roll out pie crust
Rolling instructions
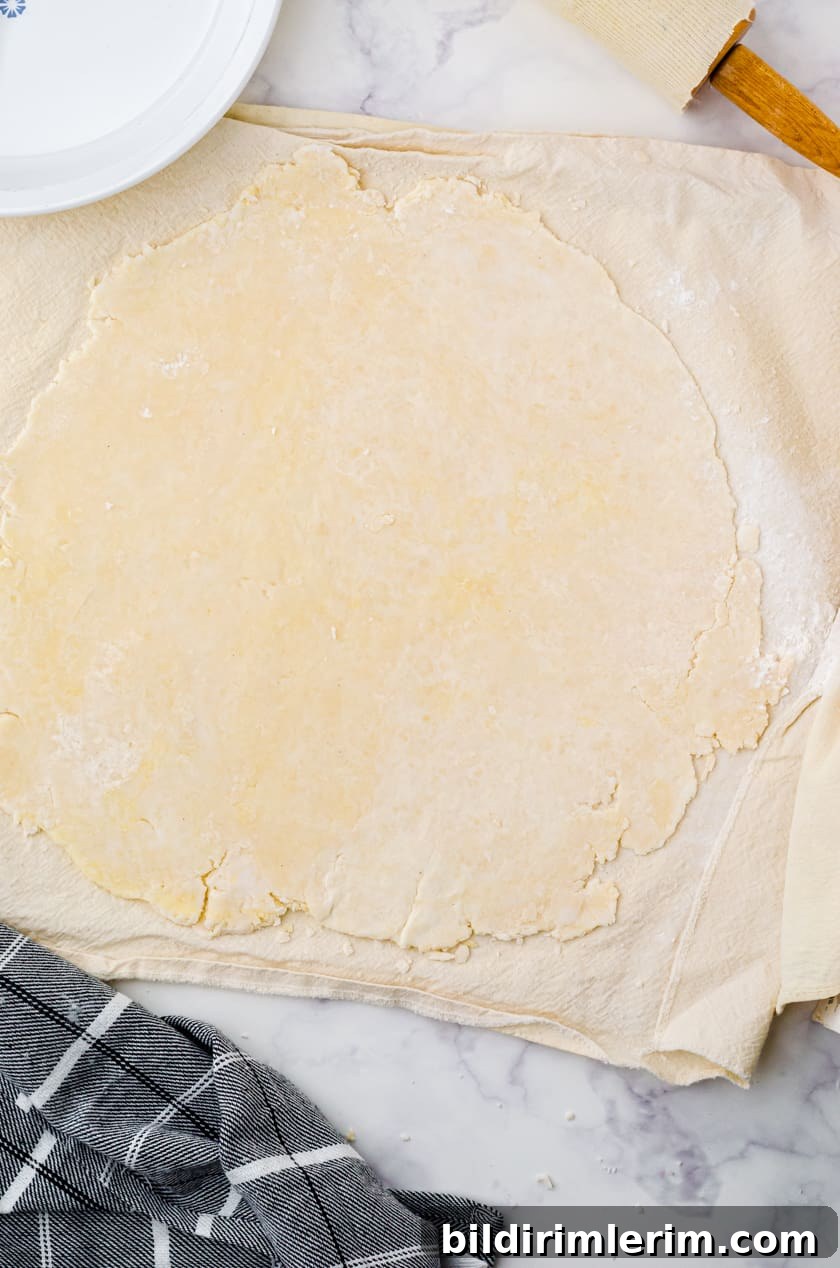
On a lightly floured surface (or pastry cloth), press a dough ball into a flat disc. Roll from the center outward, rotating the dough a quarter turn every few rolls to maintain an even circle. If the edges tear or thin, press them gently back together and continue rolling. Roll until the circle is large enough to fit your pie pan with about a 1½-inch overhang.
How to shape and crimp the edge
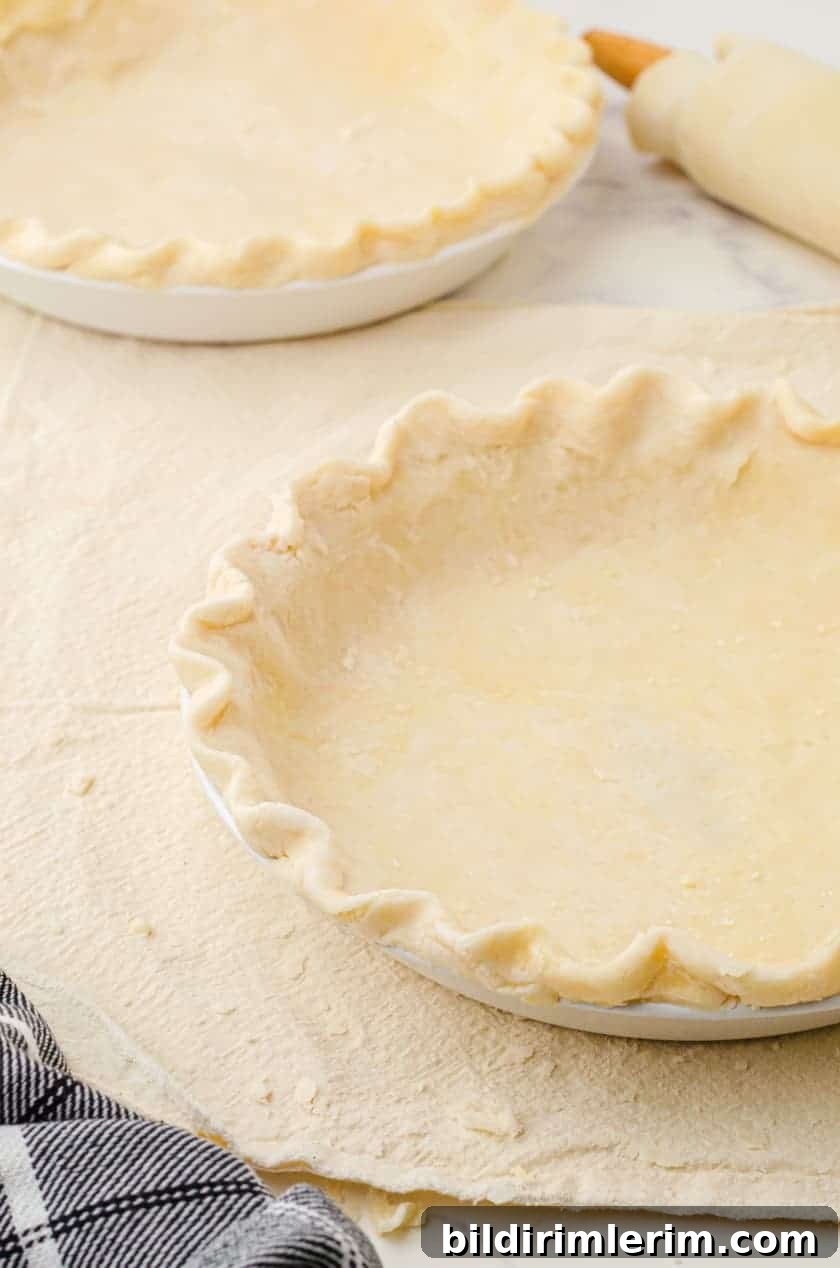
Fold the rolled dough in half and lift it into the pie pan, then unfold. Trim excess dough, leaving a small overhang. If any sections are thin, press trimmings onto those spots to make a uniform thickness. Finish the edge by rolling it under and crimping in your preferred design—traditional pinch-and-roll, fluted with fingers, or a fork-pressed edge all work well. Make it your own.
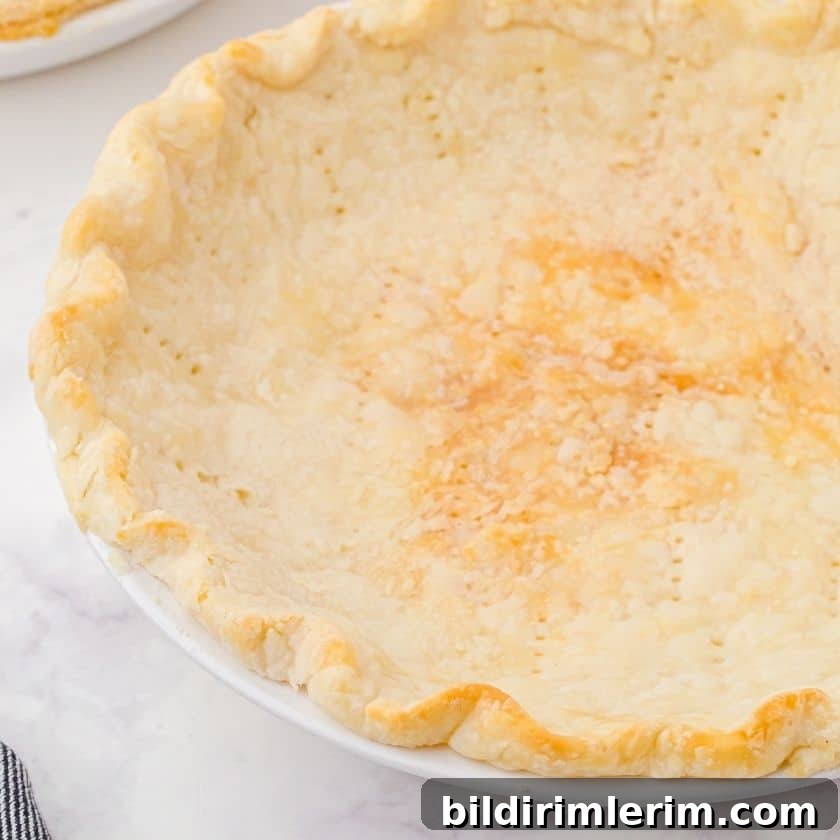
How to blind bake (par-bake) a crust
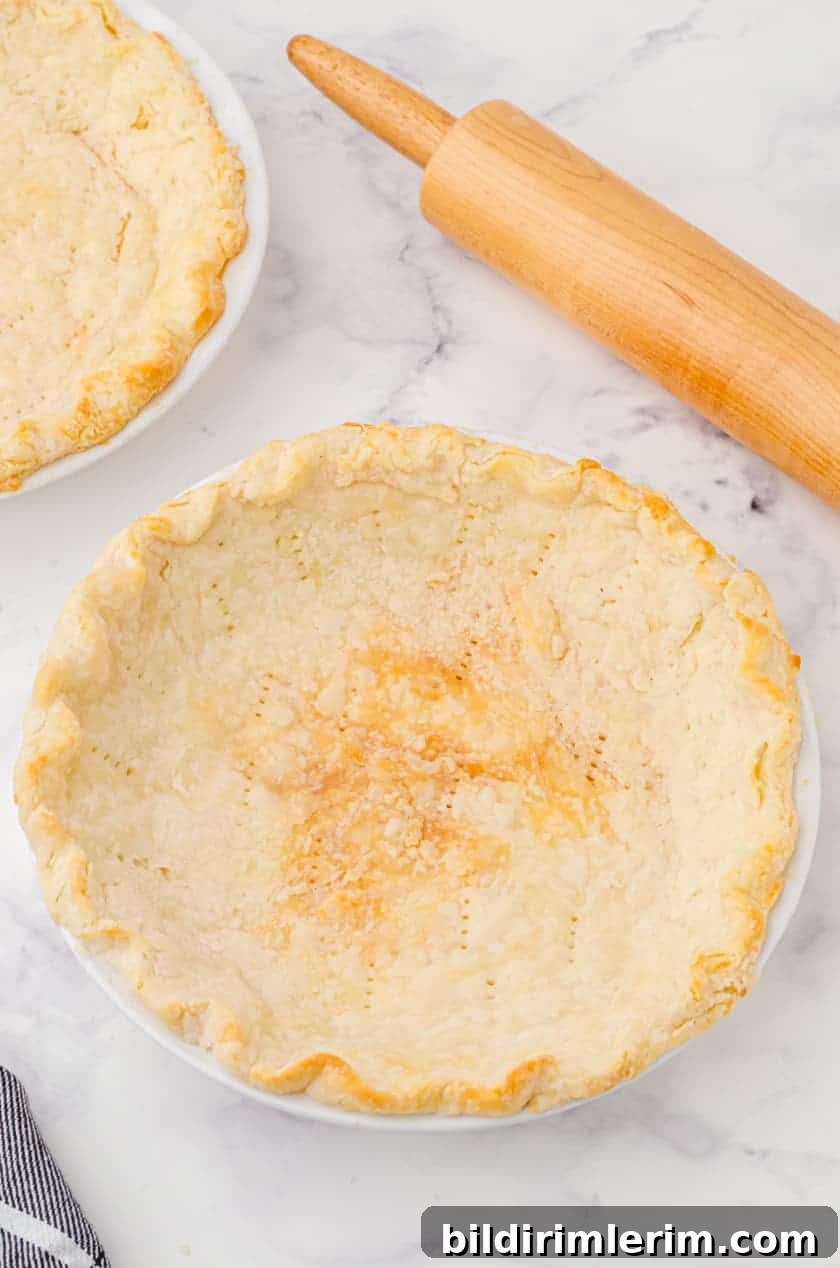
Some pies need a pre-baked shell (for example, lemon meringue or no-bake cream pies). Because lard-based dough tends to puff slightly, use one of these two methods to keep the crust flat:
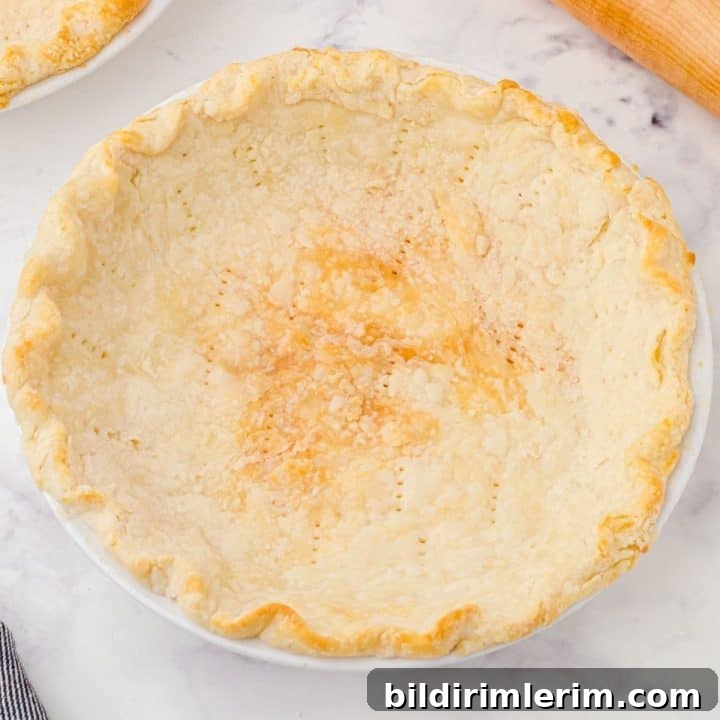
- Dock the bottom and sides with a fork, then bake at 375°F (190°C) for 20–30 minutes, or until golden. Keep an eye on the crust near the end of baking; if the edge browns too quickly, cover it with a pie shield or foil.
- Line the shell with parchment paper and fill with pie weights or dried beans. Bake until the edges begin to set, remove the weights and parchment halfway through, prick the bottom, and return to the oven until the base is lightly golden.
Either method will produce a stable shell ready for filling.
Storage and tips
- Keep dough cold at every stage for flakier results—chill the dough if it softens while working.
- Do not overwork the dough; minimal handling preserves flaky layers.
- Use very cold water and work quickly when incorporating liquids.
- Wrap unused crusts tightly to prevent freezer burn.
Other old-fashioned recipes you might enjoy
- Cherry pie with canned cherries
- Old-fashioned banana cream pie
- Classic lemon meringue pie
- No-bake strawberry pie
- Grandma’s lemon bars
- Texas-style brownies for potlucks
- Peanut butter fudge bars
If you’d like to see behind-the-scenes baking and photos of finished pies, look for @harbourbreeze on Instagram to follow along with real-life baking moments.

Comfort food dinner ideas

For a collection of comforting dinner and dessert recipes, consider compiling family favorites and classic recipes for an easy weeknight or special-occasion menu.
Recipe summary
Yield: 6 crusts. Prep time: about 30 minutes. Bake time (when blind baking): 20–30 minutes. Total time: roughly 1 hour including rolling and baking. This method produces buttery, flaky crusts made without a food processor—perfect for classic pies and family gatherings.
Recipe adapted from traditional family methods. © Rita Joy