
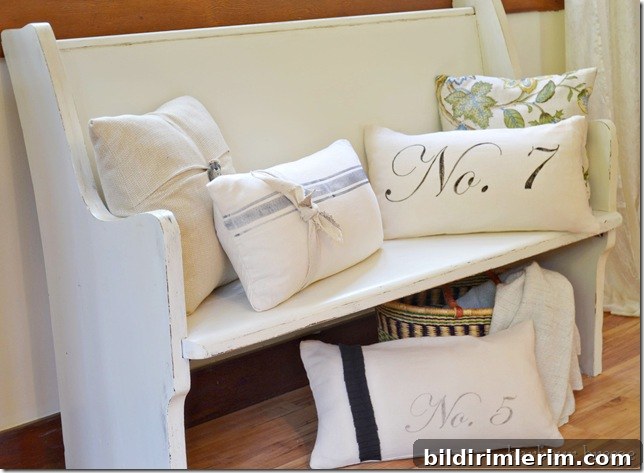
This painted and distressed old wooden church pew was a DIY experiment full of trial and error. Read a candid, helpful account of what worked and what didn’t when painting and distressing a vintage pew.
I almost edited this down to a neat “before and after” with a few quick tips. Instead I decided to share the full story—because learning from mistakes, being able to laugh at yourself, and helping someone else avoid the same missteps are all part of a real DIY makeover.
- Learning from mistakes
- Learning to laugh at myself for making silly errors
- Hoping to help someone avoid the same mistakes
I loved the pew’s original look and was nervous about changing it. I didn’t want to “mess it up,” so I took my time and experimented with different finishes and techniques.
How to Paint a Church Pew: My Step-by-Step Experiment
{Enter the pew: pre-makeover}
Step 1: Sand thoroughly
I began by sanding the pew with a random orbital sander until the old finish was removed and the surface felt even. That sanding session was therapeutic and long—several hours—but it set the foundation for any finish to come.
{The pew: post-sanding}
Step 2: Try whitewashing
After researching finishes, I decided to try a whitewash. I thinned latex paint with water until it was very runny and brushed it on so the paint would soak into the wood and let the grain show through. In theory, this creates a soft, weathered tone while still revealing the wood’s texture.
{The pew: post-whitewashing}
In practice, the result wasn’t what I’d pictured. My husband said he preferred the sanded version, and I agreed—the whitewash read wrong on this piece and looked awkward in person.
Plan B: Full paint and distressing
Next I painted the pew with three thin coats of semi-gloss Benjamin Moore mistint paint. I applied each coat evenly and allowed them to dry fully between layers. Once the color base was established, I used sandpaper and a hand sander to distress the edges and high points where natural wear would appear. Distressing was my favorite part because it softened the finish and gave the pew character.
After distressing, the pew began to look much better—balanced and intentionally aged rather than accidentally patched together.
Final step: Waxing and finishing
To seal and age the paint further I tried a dark furniture paste wax (Minwax dark wax) because I didn’t have specialty chalk paints or waxes on hand. I followed the “wipe on, wipe off” approach, but initially saw almost no change. Reading further, I learned a dark wax often works best over a clear base wax; applying the dark wax alone can look streaky or uneven if not layered properly.
After letting the wax sit for the recommended time before wiping, I found it did take the edge off the white and added a slightly aged tone in the areas I emphasized. The finish appeared streaky at first, but gentle buffing and time helped it even out. Still, I wasn’t entirely confident—it felt like a work in progress.
Eventually I stepped back from it for a few days. A conversation with my sister helped: she asked whether the pew would bother me until I fixed it. That’s when I realized the most important question is simply whether I like it. If you like the result, the project is done.
…The Pew — After!
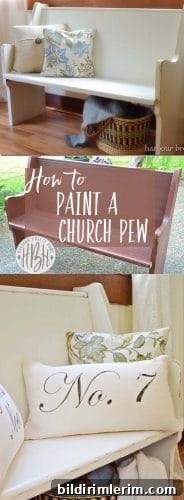
If you noticed the painted flour sack pillows in the photos, I made them as a separate project—search “flour sack pillows DIY” for tutorials and inspiration.
A few quick tips from my experience: sand thoroughly for a smooth base, test whitewashing on an inconspicuous area first, apply thin coats of paint and allow full drying time between them, distress carefully to reveal natural wear points, and consider using a clear wax under a darker wax for a more controlled aged look. Most importantly, trust your eye—if you like the result, you’re done.
P.S. If you have tips about working with furniture paste wax or layering clear and dark waxes, I’d love to hear them!