
Make your own DIY Pottery Barn style headboard with a framed design and an upholstered insert that’s simple to update whenever you want a fresh look.
My husband built our bed years ago, long before I started blogging. We sketched, planned, and refined the design until it felt right. I wanted an upholstered headboard that looked like a picture frame—clean lines, a separate upholstered panel, and a wooden frame that could be painted or stained to match the room.
Later I flipped through a catalog and saw a similar style from a national retailer. It was flattering and a little funny to realize our idea had company. That version sold for several hundred dollars, but because we designed and built ours, we got a customizable result at a fraction of the price.
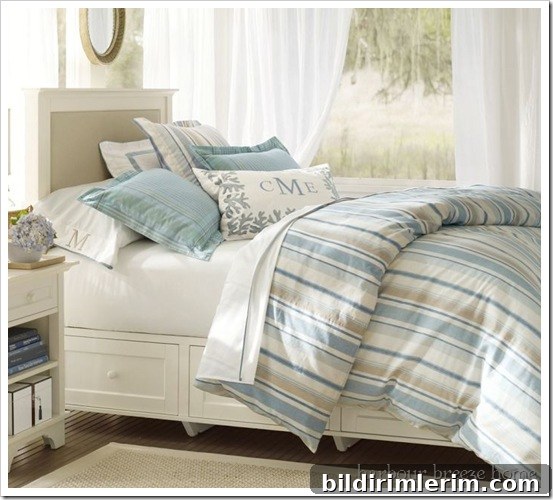
Why I love our DIY Pottery Barn style headboard
Easy to customize as your style evolves
One of the smartest choices we made when designing the bed was to make the upholstered portion removable. That means when tastes change—new wall color, a different bedding palette, or a desire to try tufting or a patterned fabric—the upholstered panel can be re-covered without rebuilding the entire bed.
The main bed frame keeps the headboard detachable
The bed’s structure includes two tall side posts that the headboard attaches to. We built the frame so the headboard is secured with a few screws, making attachment and removal straightforward. I don’t have step-by-step construction photos from the original build, but the concept is simple: a sturdy frame, two supports at the sides, and an inset panel that holds padding and fabric.
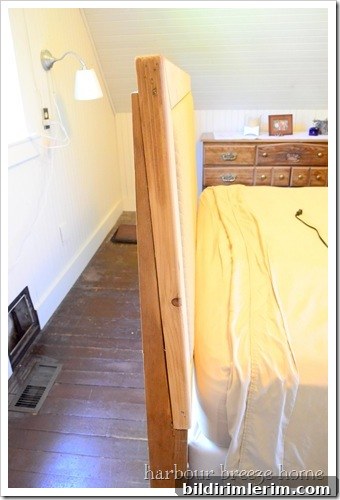
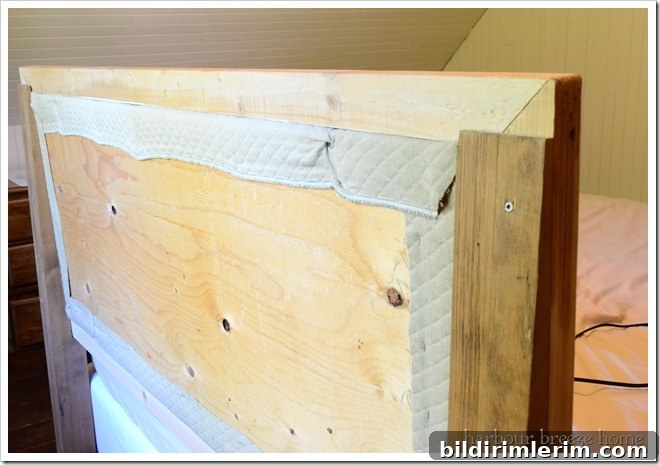
The upholstered insert is removable for easy reupholstery
The back of the headboard shows the practical construction—nothing fancy, just functional joinery and screws. With the removal of a few fasteners, the entire upholstered insert slides free from the frame. This design makes it easy to replace padding, change fabric, or update trim without disturbing the bed’s main structure.
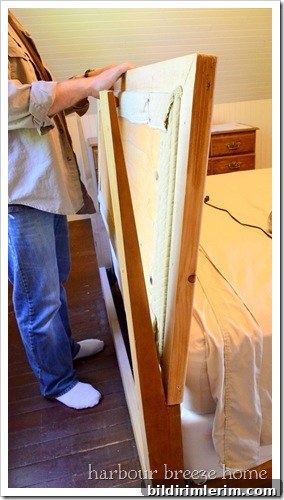
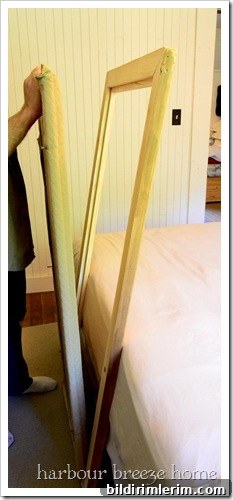
Paint or stain the frame to match your bedroom palette
The wooden frame gives the piece a lot of flexibility. We left the upholstery intact for a while, but I removed the frame and took it to my painting area to refresh the finish. Two coats of paint in a soft neutral brought the frame into harmony with the room and made the whole headboard feel lighter.
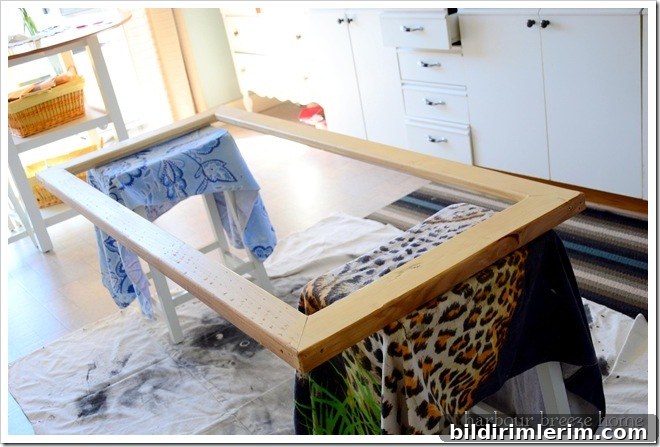
Before and after photos show how a painted frame can transform the overall look without changing the upholstered insert. It’s a small update that makes a big visual difference.
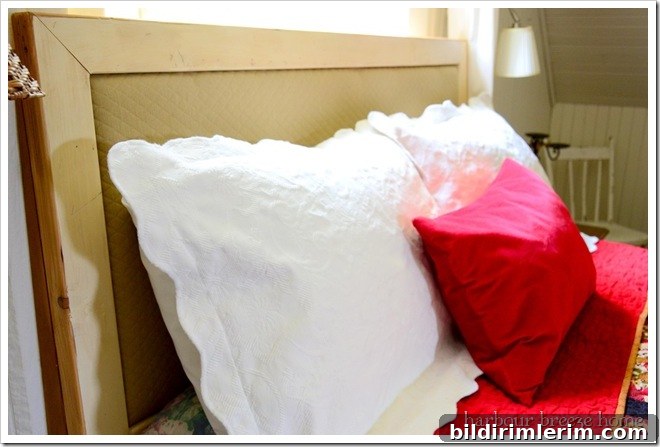
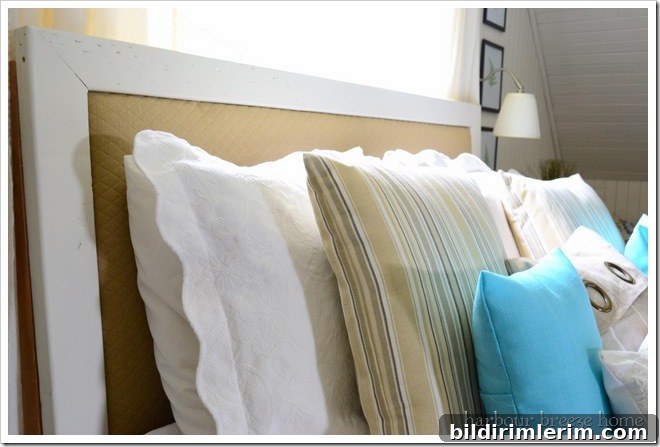
Practical tips for building a DIY framed upholstered headboard
- Plan a removable insert: Build the frame so the upholstered panel attaches with screws or brackets that are easy to access. This allows for reupholstery and paint changes without dismantling the bed.
- Choose durable upholstery fabric: Pick a fabric that stands up to daily use; heavy linens, cotton blends, or performance fabrics work well for headboards.
- Consider padding and trim: Use high-density foam for a smooth, supportive finish. Add batting over the foam for a soft edge, and consider welt or nailhead trim for a tailored look.
- Finish the frame to match the room: Paint or stain the frame to coordinate with wall color, furniture, or accent pieces. A neutral frame creates a versatile backdrop for changing bedding and decor.
- Keep hardware simple: Use corrosion-resistant screws and consider metal brackets if you plan to remove the headboard frequently.
This framed, upholstered headboard is a smart DIY project for anyone comfortable with basic woodworking and upholstery. It offers the high-end look of a store-bought design while remaining budget friendly and endlessly customizable. If you enjoy updating your decor, this approach gives you flexibility: change fabric, paint the frame, or add decorative trim whenever you want a fresh bedroom style.
If you’d like more ideas, I’ve shared updates before—from a full upholstered headboard makeover to a room refresh with painted walls—and those posts can give additional inspiration for fabrics, finishes, and styling choices.