
Last Friday I revealed our refreshed entryway gallery wall, a lively display of reclaimed pieces that brightened the space without costing a penny. The project grew out of a fun scavenger hunt in a local carpenter’s shop, where I was given permission to sort through off-cuts and scrap wood that would otherwise have been discarded. What looked like junk became the foundation for a collection of unique wall art.
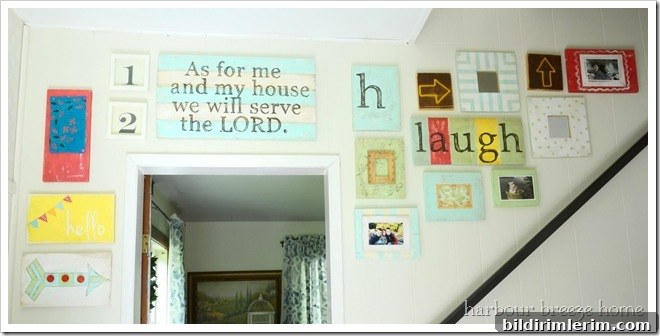
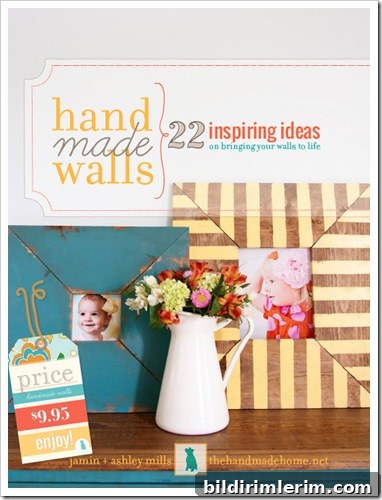
Finding unexpected materials is one of the joys of DIY decorating. With an armful of assorted boards and scraps, I wanted to make something right away so the project wouldn’t languish unfinished. I turned to an e-book that had long inspired me—The Handmade Home’s Handmade Walls—and dove into a new layered painting technique that combines latex house paint with stain to create depth, texture, and a subtly aged finish.
My goal was ambitious: paint every board I’d collected in a single day. I didn’t quite finish in one day, but close enough—and the process was so enjoyable that each board became a chance to experiment with different color combinations and textural effects.
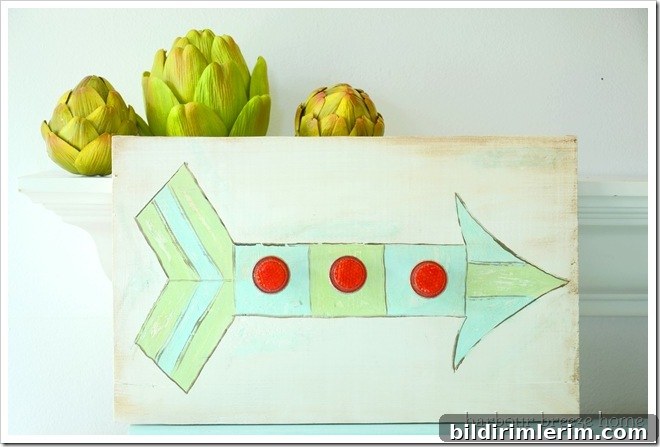
This post focuses on one project from the gallery wall: a Light Reflector Arrow Sign. I found three old light reflectors at a garage sale for just 50 cents and imagined they would make great decorative pegs embedded into an arrow-shaped board. The result is both functional and whimsical—perfect for an entryway where my son’s toy bows and arrows often appear.
Here’s the process I followed, distilled into clear, easy steps you can replicate with reclaimed wood and simple supplies:
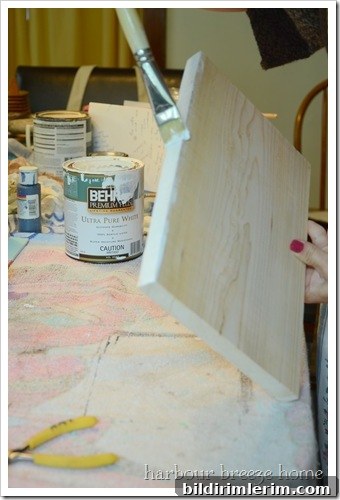
1) Paint the edges: Start by painting the edges of the board in your chosen top color—white in my case. This frames the sign and sets a clean edge for the layered look.
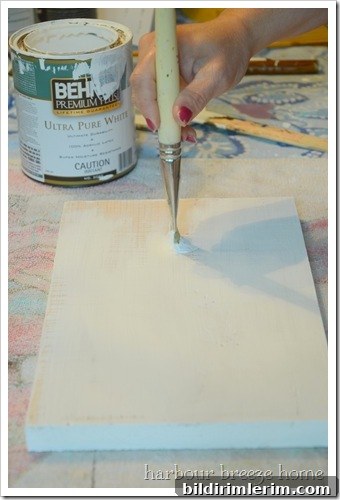
2) Apply a textured base coat: Paint a base color across the surface, working in multiple directions—brush strokes up and down and side to side—to create texture in the paint that will show through later layers.
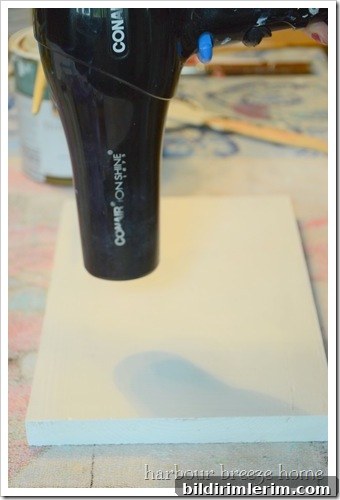
3) Speed drying if needed: A hair dryer makes quick work of drying coats between steps. It’s a handy trick when you want to layer paint and move quickly.
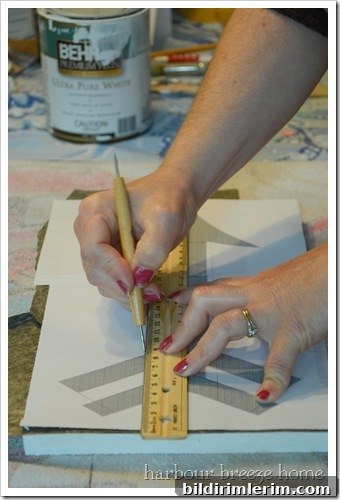
4) Transfer the pattern: I traced a simple arrow pattern onto the board using graphite paper. For straight lines, painter’s tape helps keep edges crisp—remember to remove the tape before the paint fully dries to avoid peeling paint away.
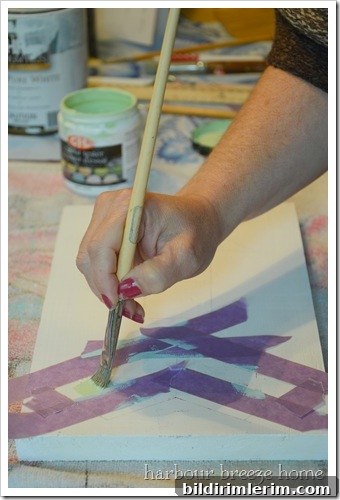
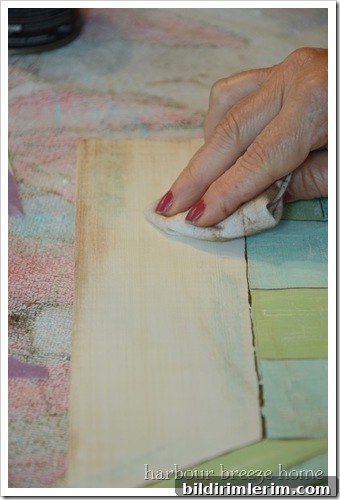
5) Create a distressed look: When the top coat is almost dry, use a paper towel to rub off areas and reveal the base coat beneath. This distressing produces a naturally aged finish that feels authentic rather than manufactured.
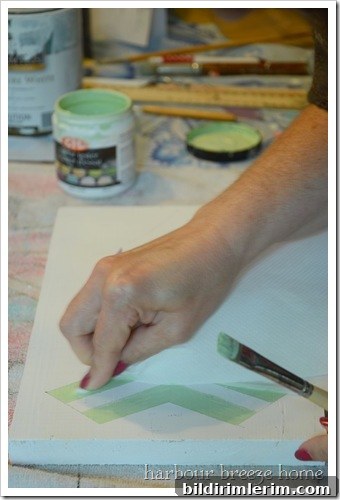
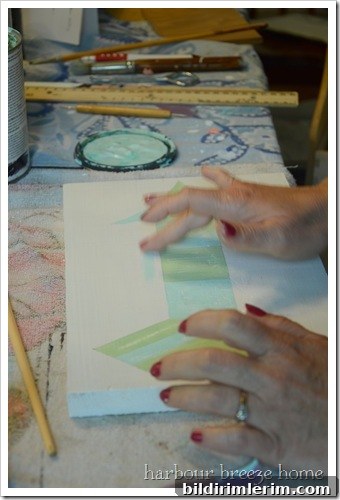
6) Add subtle layers: For additional texture and nuance, tap small amounts of paint onto the surface with your fingers and gently smear. This technique builds up subtle color variation and softens harsh transitions.
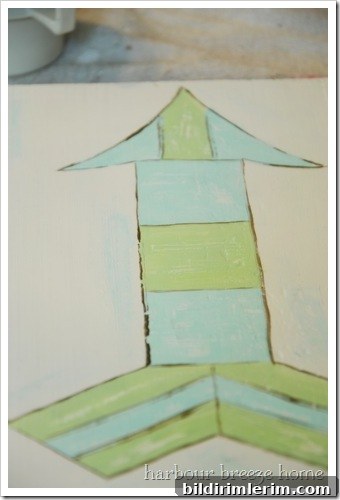
7) Outline and refine: With a fine brush, lightly outline the arrow shape, keeping the line relaxed rather than perfectly straight—this imparts a handmade, cheerful quality.
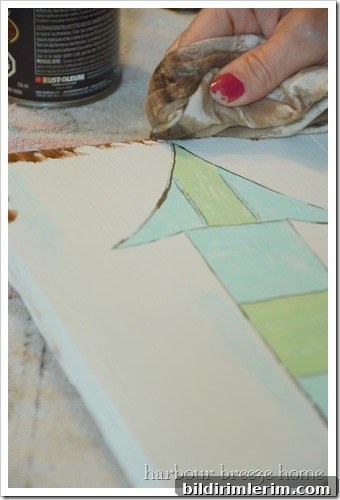
8) Add stain for age: Wipe a small amount of stain from the edges toward the center with a rag, then remove excess until the finish looks naturally aged. The stain settles into crevices and brush marks for a convincing weathered look.
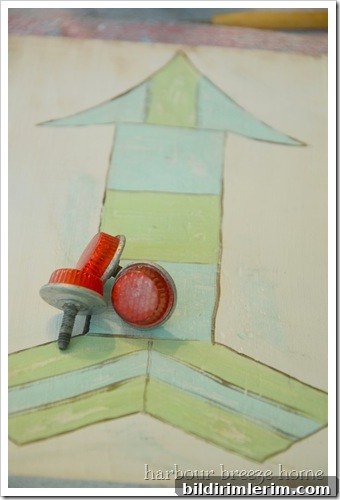
9) Attach the reflectors: I cleaned my garage-sale reflectors, drilled holes into the board where I wanted them, and threaded screws through the reflectors until they were secure. These reflectors now act as decorative pegs, perfect for hanging lightweight items, or simply as cheerful accents.
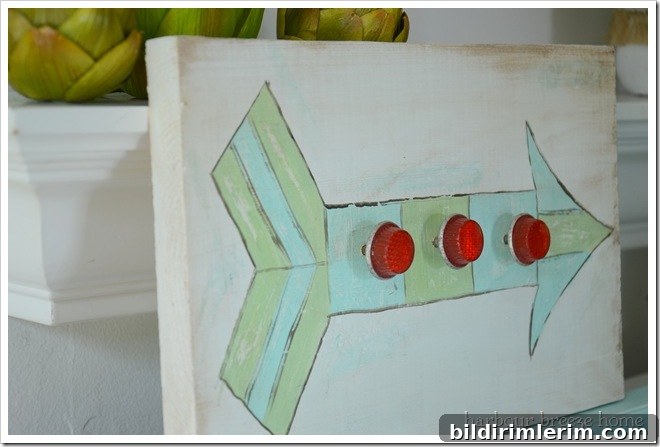
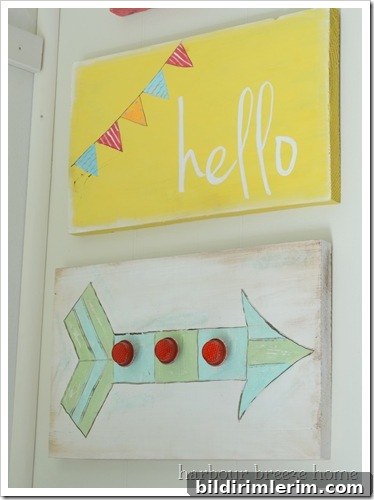
This sign is a small example of how reclaimed materials and layered painting techniques can create attractive, functional art for the home. Many thanks to Ashley and Jamin for the inspiration—their handmade walls approach encouraged me to try new paint and stain combinations and to embrace imperfect, handmade charm.
Disclosure: I was not compensated for this post.