
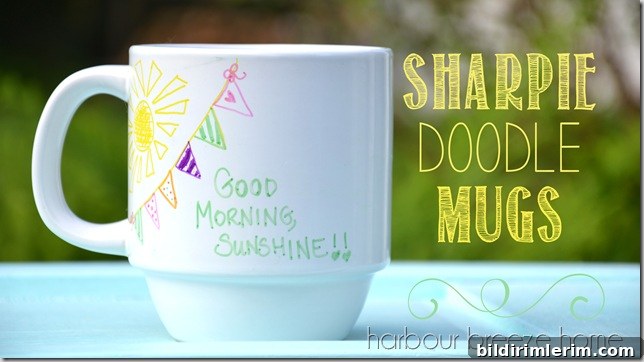
The other day I explained how I choose crafts to teach at camp. Today I want to share a very simple project that our campers are already loving: DIY Sharpie mugs. It’s an easy, low-cost activity kids and adults enjoy, and it produces a personalized keepsake they’re excited to take home.
Supplies are minimal and easy to source:
- Rubbing alcohol and cotton balls for degreasing
- Plain white, inexpensive ceramic mugs (discount or dollar stores work well)
- Sharpie markers or permanent markers (black and a few colors)
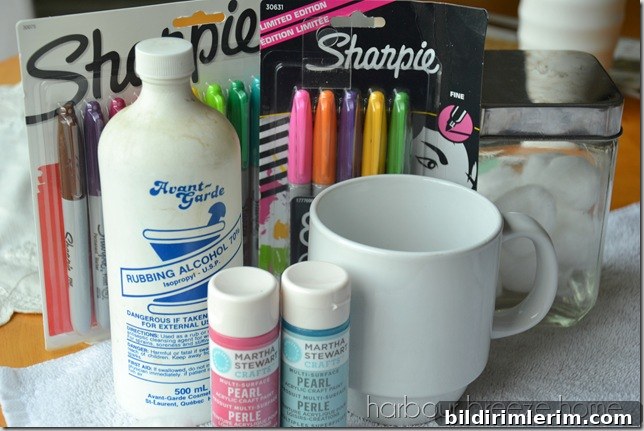
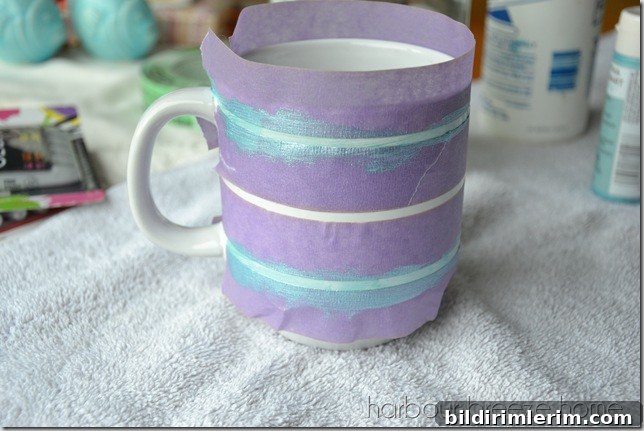
I originally considered adding paint as an accent, but it didn’t work as I hoped, and the rubbing alcohol wiped it right off. In the end, the simplest approach won: wipe the mug clean with rubbing alcohol, let it dry, then pick up a Sharpie and start doodling.
Even simple patterns—names, hearts, polka dots, stripes, or freehand drawings—look great. Try not to overthink the design: the charm of this craft is in its spontaneity.
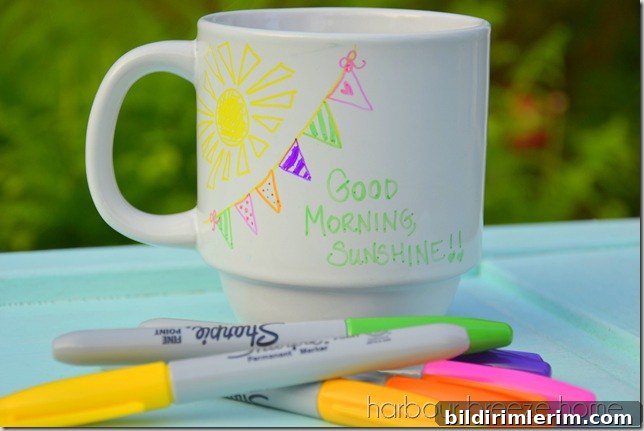
After decorating, let the ink dry for 24 hours before attempting any heat process. Many guides recommend “curing” the design in a conventional oven so the ink adheres better to the glaze. For camp, we sent mugs home uncured and provided printed instructions so families could complete the curing step at home. We attached the instructions to each mug handle on a piece of cardstock so they were easy to find.
“This special one-of-a-kind mug has been created with permanent Sharpie markers. Before washing it in any way, they need to be “cured” in the oven. To do so, place mug in oven. Turn oven on to 450 degrees. After oven reaches temperature, time for 30 minutes. Once 30 minutes passes, turn off the oven, but leave the mug in until completely cool or overnight. Hand washing is recommended.”
There are a lot of opinions online about the best way to make Sharpie mugs, including whether to use oil-based markers or standard Sharpies, and how long and at what temperature to bake them. Oil-based markers are often recommended for better durability, but they can be costly. Many people have success with regular permanent Sharpie markers if the curing instructions are followed carefully.
Practical tips for a smoother activity:
- Work in a well-ventilated area and supervise younger children when using rubbing alcohol and markers.
- Wipe the mug thoroughly with alcohol before drawing so the ink bonds to the glaze instead of sliding off.
- If a mistake happens, rubbing alcohol on a cotton ball removes most regular Sharpie ink before it dries.
- Encourage simple designs for faster completion and more consistent results with campers.
- When sending uncured mugs home, include clear written oven instructions and emphasize cooling time and hand-washing.
This craft is popular because it’s inexpensive, quick to set up, and highly customizable. While a Sharpie mug may not last forever if not cured properly, kids get huge satisfaction from creating something unique. At camp it’s a favorite: low mess, big smiles, and a personalized souvenir to remind them of the day.
If you want more ideas for camp crafts that are budget-friendly and kid-approved, consider other simple projects that focus on personalization and hands-on creativity—those are usually the winners with groups of mixed ages and skill levels.