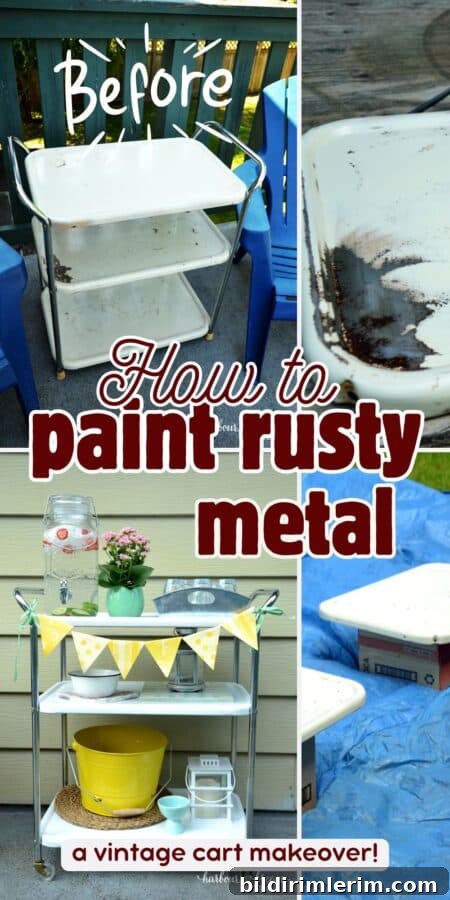
Learn how to paint on rusty metal with this clear, step-by-step guide. I transformed a vintage 3-tier rolling cart using spray primer, spray paint, and a bit of elbow grease—this walkthrough shows you how to do the same.
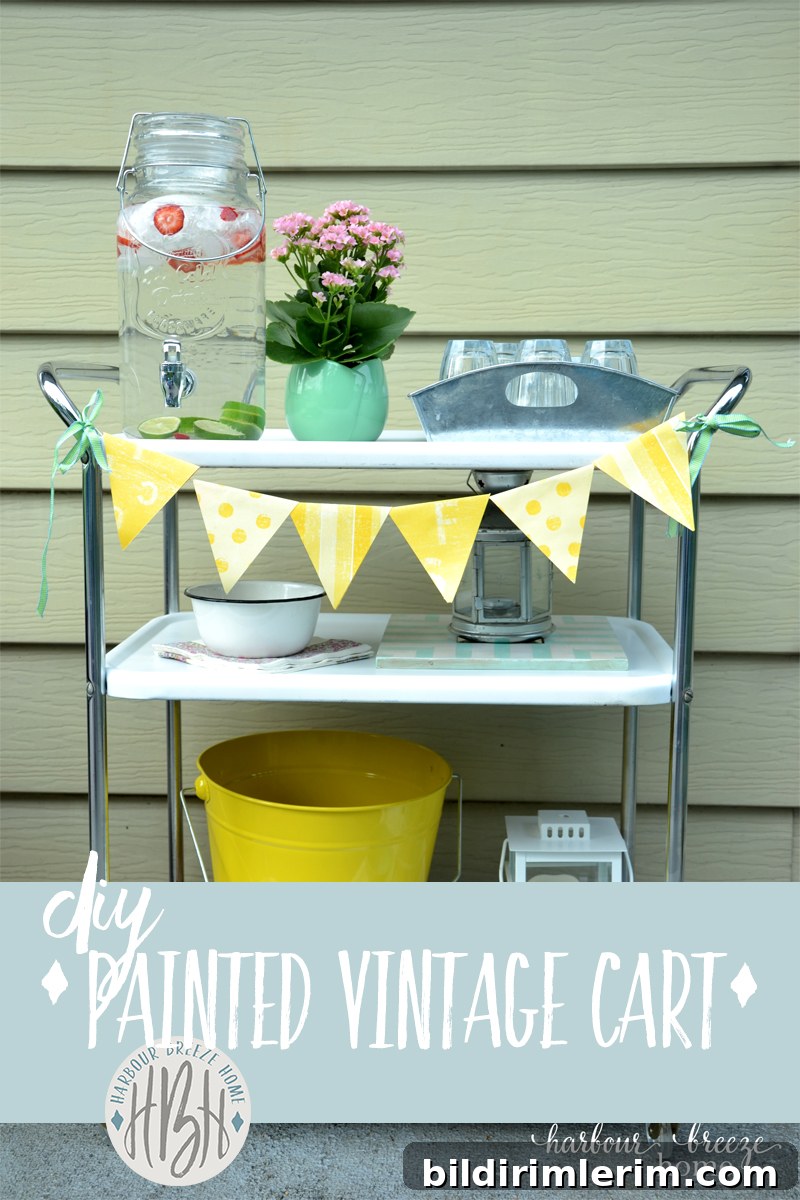
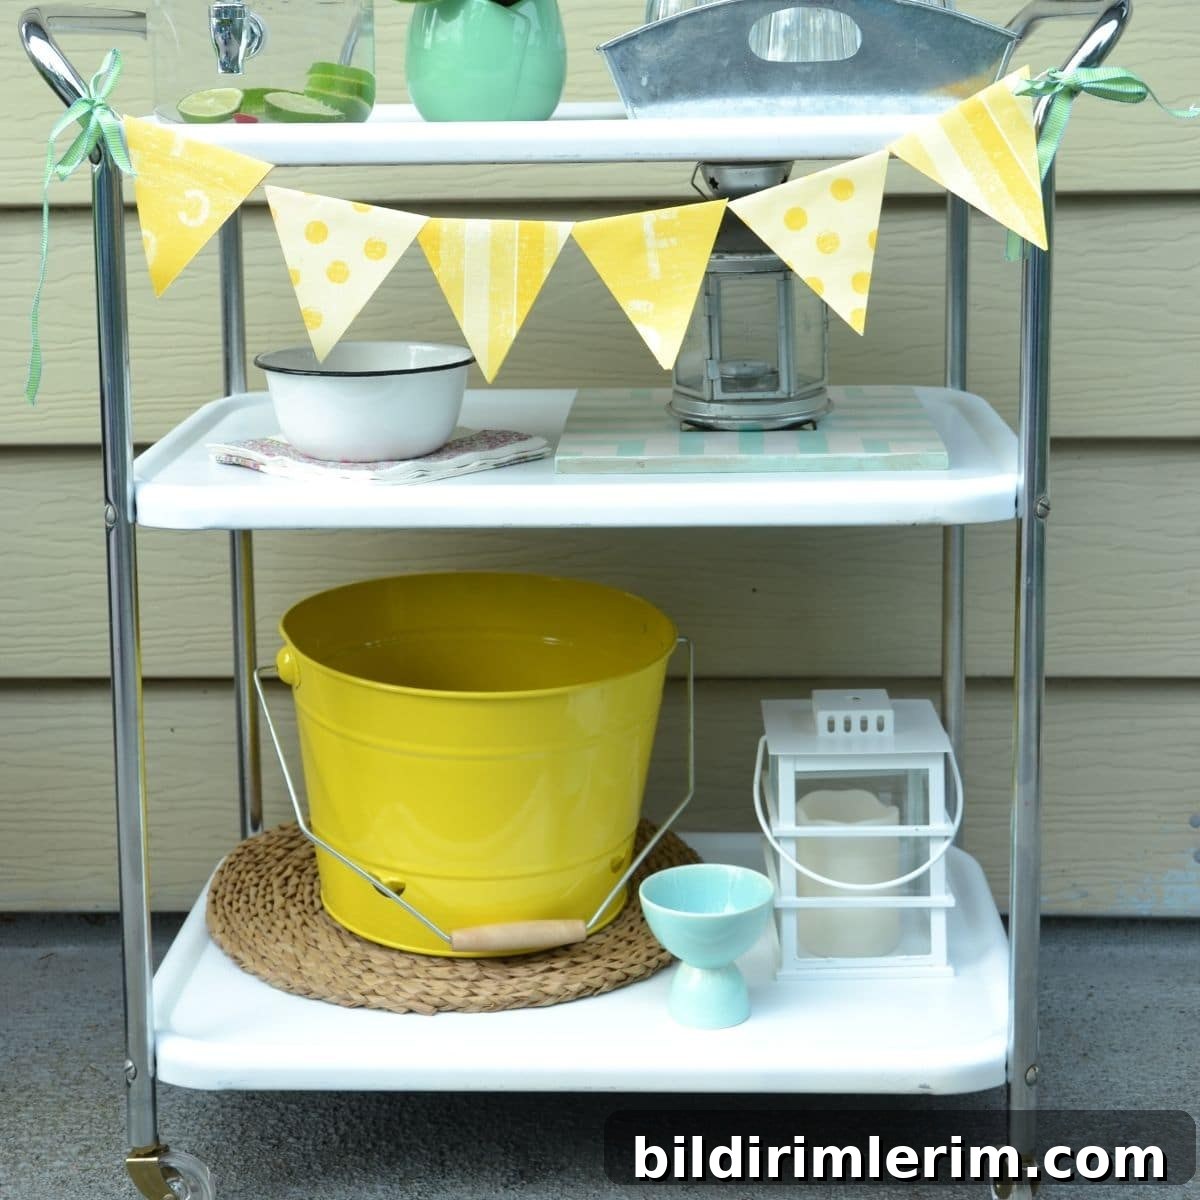
Hidden in a corner of my storage was a dusty, rusted three-tier rolling cart. Most people would have tossed it, but I couldn’t—this little cart once stood under my mother’s dining room window, filled with plants and lined with yellow daisy contact paper. I finally gave it the makeover I’d been dreaming of and turned it into a charming, functional party cart.
If you’ve asked, “Can I paint on rusty metal?” the short answer is yes. With the right prep and products, spray paint will adhere and give rusty metal pieces a fresh, durable finish. Below is a detailed guide so you can restore metal furniture and bring forgotten pieces back to life.
Why You’ll Love This Rusty Metal Cart Makeover
- It’s budget-friendly—mostly spray paint, sandpaper, and time.
- Most projects can be completed over a weekend.
- Transforms an eyesore into a functional, attractive piece.
- Preserves sentimental items while updating them for modern use.
- Finished pieces can be used indoors or outdoors with the right paint.
What You’ll Need to Paint on Rusty Metal
Tools and supplies to have on hand before you start:
- Random orbital sander or sanding block
- Medium to coarse grit sandpaper (for removing rust) and a finer grit for smoothing
- Safety goggles and a dust mask
- Rust-inhibiting spray primer formulated for metal
- Spray paint made for metal in your chosen color (satin finishes are forgiving)
- Screwdriver or basic hand tools to disassemble the cart
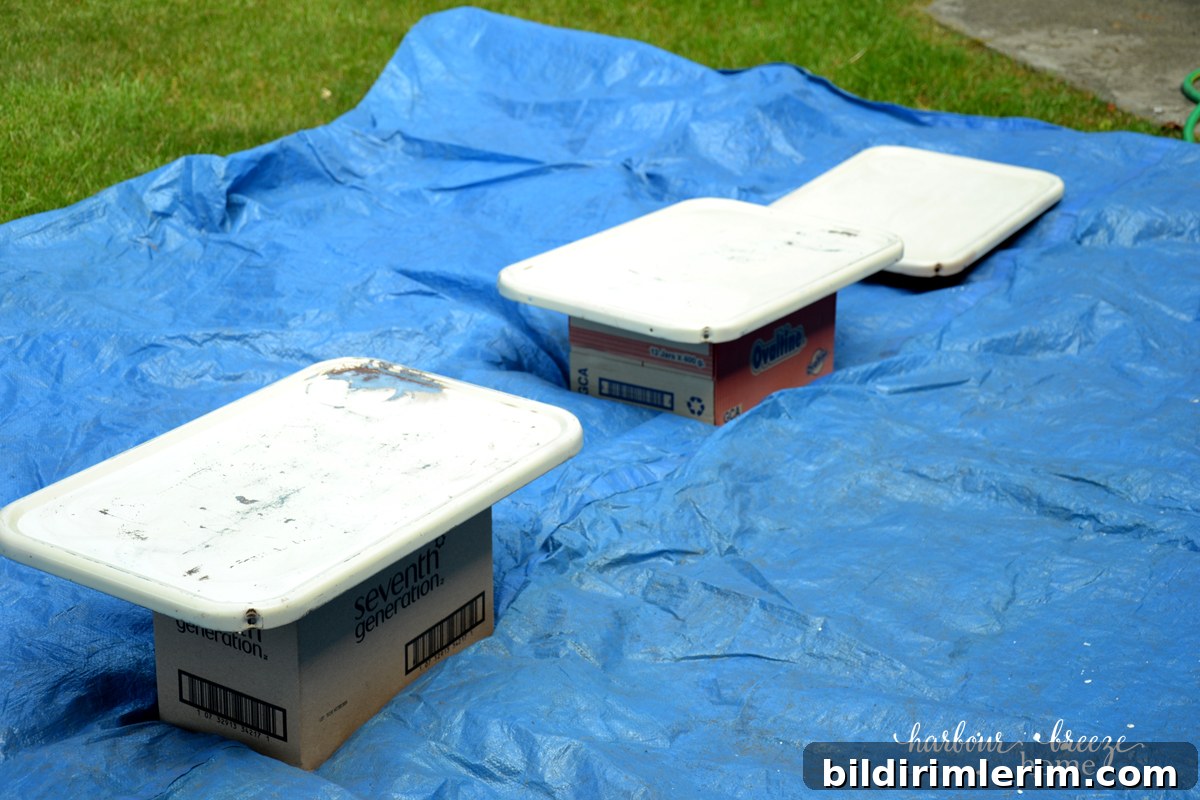
- Drop cloth, tarp, or cardboard to protect your work surface
- Clean cloths and mild cleaner for final wipe-downs
Step-by-Step Guide: How to Paint on Rusty Metal Furniture
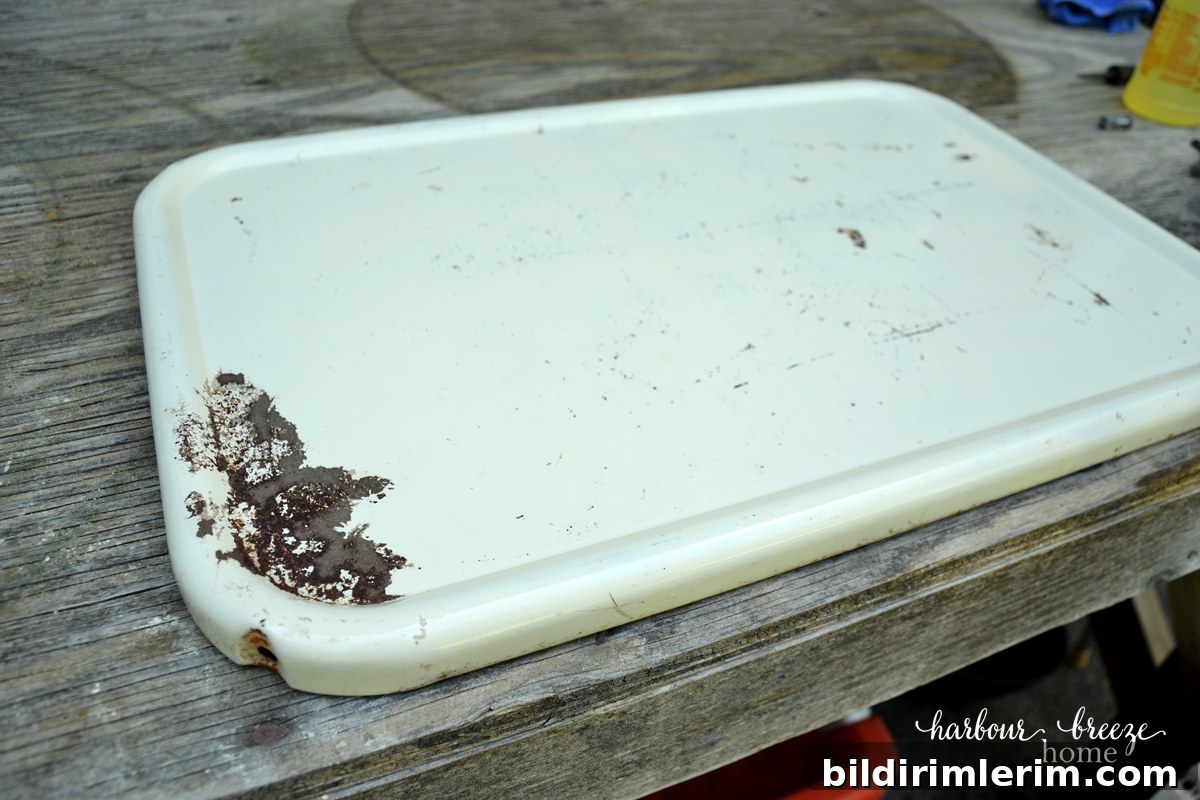
- Disassemble the cart if possible. Unscrew the trays from the chrome handles and separate the pieces so you can sand and spray each component more easily. Lay everything out on a protected, level surface.
- Remove the rust completely from loose areas. This is the most important step—paint won’t properly stick to flaking rust.
- Use a random orbital sander or a sanding block to remove flaking rust and rough spots.
- Pay special attention to edges, corners, and crevices where rust gathers.
- You don’t have to sand every area to bare metal; make sure surfaces feel smooth and free of loose material.
- Clean and prep the pieces. Wipe down each part with a damp cloth to remove sanding dust. Allow pieces to dry completely. Work in a well-ventilated area or outdoors, and protect surrounding surfaces with a tarp or cardboard to prevent overspray.
- Apply a rust-inhibiting spray primer. Primer is essential for painted metal projects, especially on formerly rusted surfaces.
- Shake the primer thoroughly before use.
- Spray thin, even coats rather than one heavy coat—thin coats dry more evenly and reduce runs.
- Hold the can about 10–12 inches from the surface and use smooth, steady passes.
- Allow recommended drying time between coats as indicated by the product label.
- Spray paint in thin layers. After the primer is dry, apply your chosen color in several light coats.
- Use the same sweeping, even motion you used for primer.
- Allow proper drying time between coats—typically a few minutes to an hour depending on the paint and conditions.
- Two to three thin coats usually yield full, consistent coverage without drips.
- Clean and restore hardware, then reassemble. While paint dries, clean chrome or metal handles with a gentle paste of baking soda and water or a mild cleaner to remove grime and tarnish. Rinse, dry thoroughly, and reattach the hardware once every part is fully cured.
Tip: Always wear eye protection and a dust mask when sanding rusted metal. Work outdoors or in a well-ventilated space when spraying and follow product safety instructions.
Finishing Touches and Care
Once the paint has fully cured, check for missed spots and touch up as needed. If the cart will see heavy outdoor use, consider a clear topcoat for extra protection against wear and moisture. Regularly wipe the painted surfaces with a soft cloth and mild cleaner to keep the finish looking fresh.
Ways to Use Your Refreshed Rolling Cart
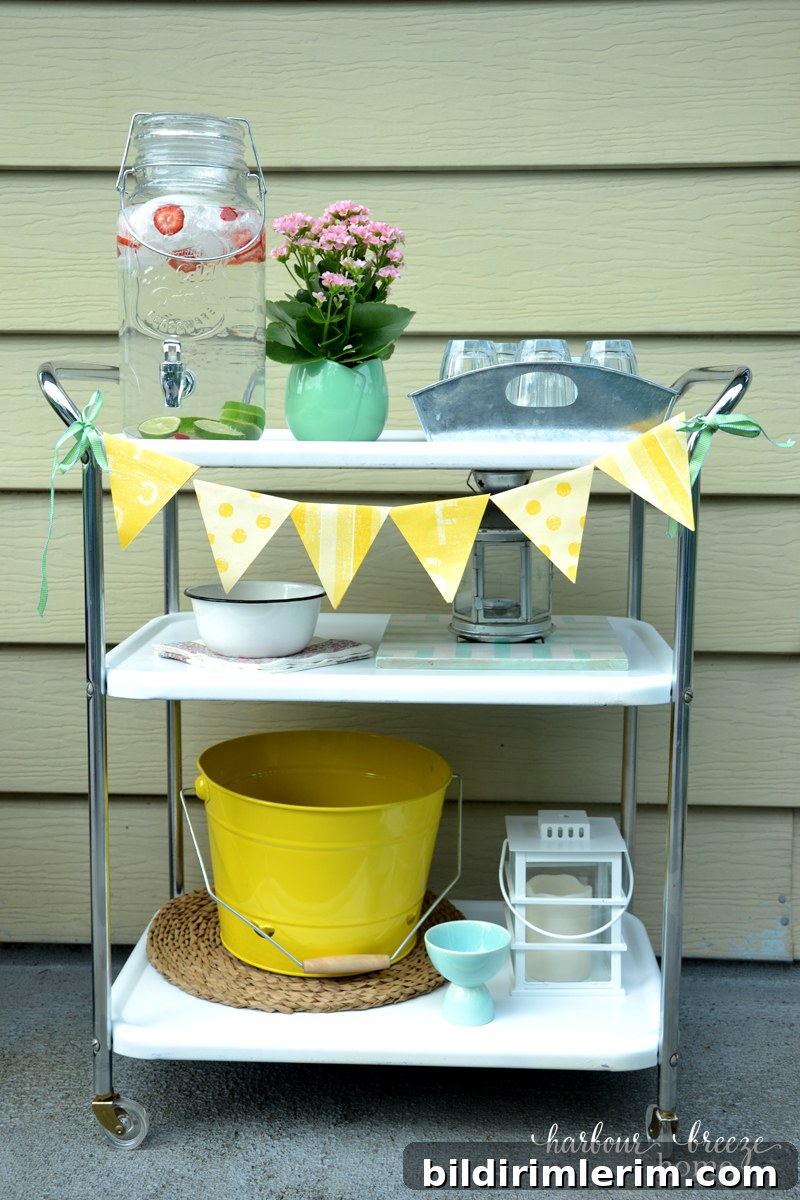
A newly painted three-tier cart is versatile. Use it as an outdoor drink station for summer gatherings, a plant cart for herbs and houseplants, a hot drink bar in winter, a side table or snack station for game night, or a mobile party decor station stocked with napkins, flowers, and utensils. With wheels and three levels, the possibilities are wide open.
More Spray Paint Project Ideas
- Spray-painted pendant or light fixtures
- Painted industrial wire baskets with fabric liners
- Refreshed ceramic lamps and small accent furniture
If you enjoyed this project, save this tutorial for later inspiration—transforming a rusty piece into something beautiful is both satisfying and sustainable. With proper prep and the right products, painting rusty metal can be a straightforward weekend makeover that gives vintage items a fresh new life.