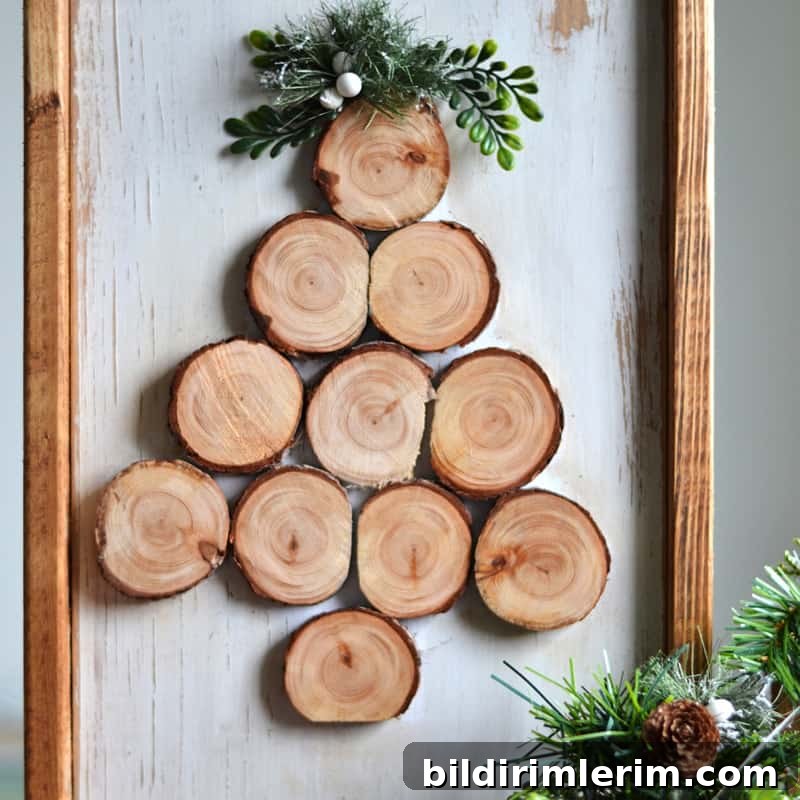
If you’re searching for a handmade gift idea for a Christmas gift exchange, this could be the perfect choice. This DIY wood slice Christmas tree sign adds a warm, rustic touch to holiday décor and works especially well in small spaces where a full-size Christmas tree isn’t practical. It’s an easy project that makes a thoughtful, budget-friendly gift or a cozy accent for your own home.
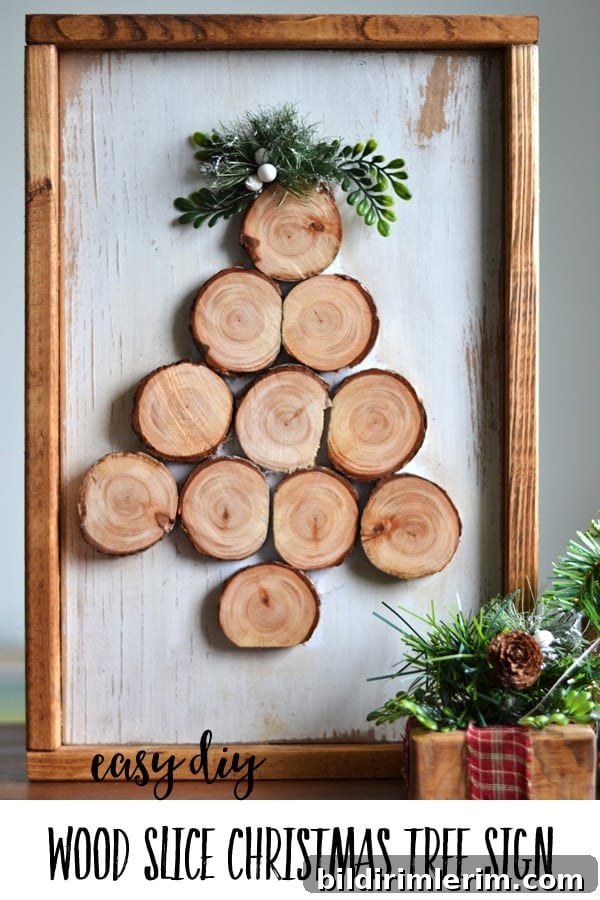
How to make an easy DIY Wood Slice Christmas Tree Sign
Gather the supplies:
- Scrap piece of wood (approximately 11 inches wide x 10 inches tall) or any board size you prefer
- Wood stain (a medium to dark stain like Provincial or similar)
- Wood slices in assorted sizes (you can buy ready-made slices or have them cut)
- Paint for the background (chalk paint, acrylic, or milk paint in a light color—Adirondack White or a soft off-white work well)
- Fine-grit sandpaper for distressing
- Hot glue gun and glue sticks
- 1×2 boards for an optional frame
- Faux greenery or sprigs of berries for a tree topper
- Sawtooth hanger or other hanging hardware
Stain and paint the wood base
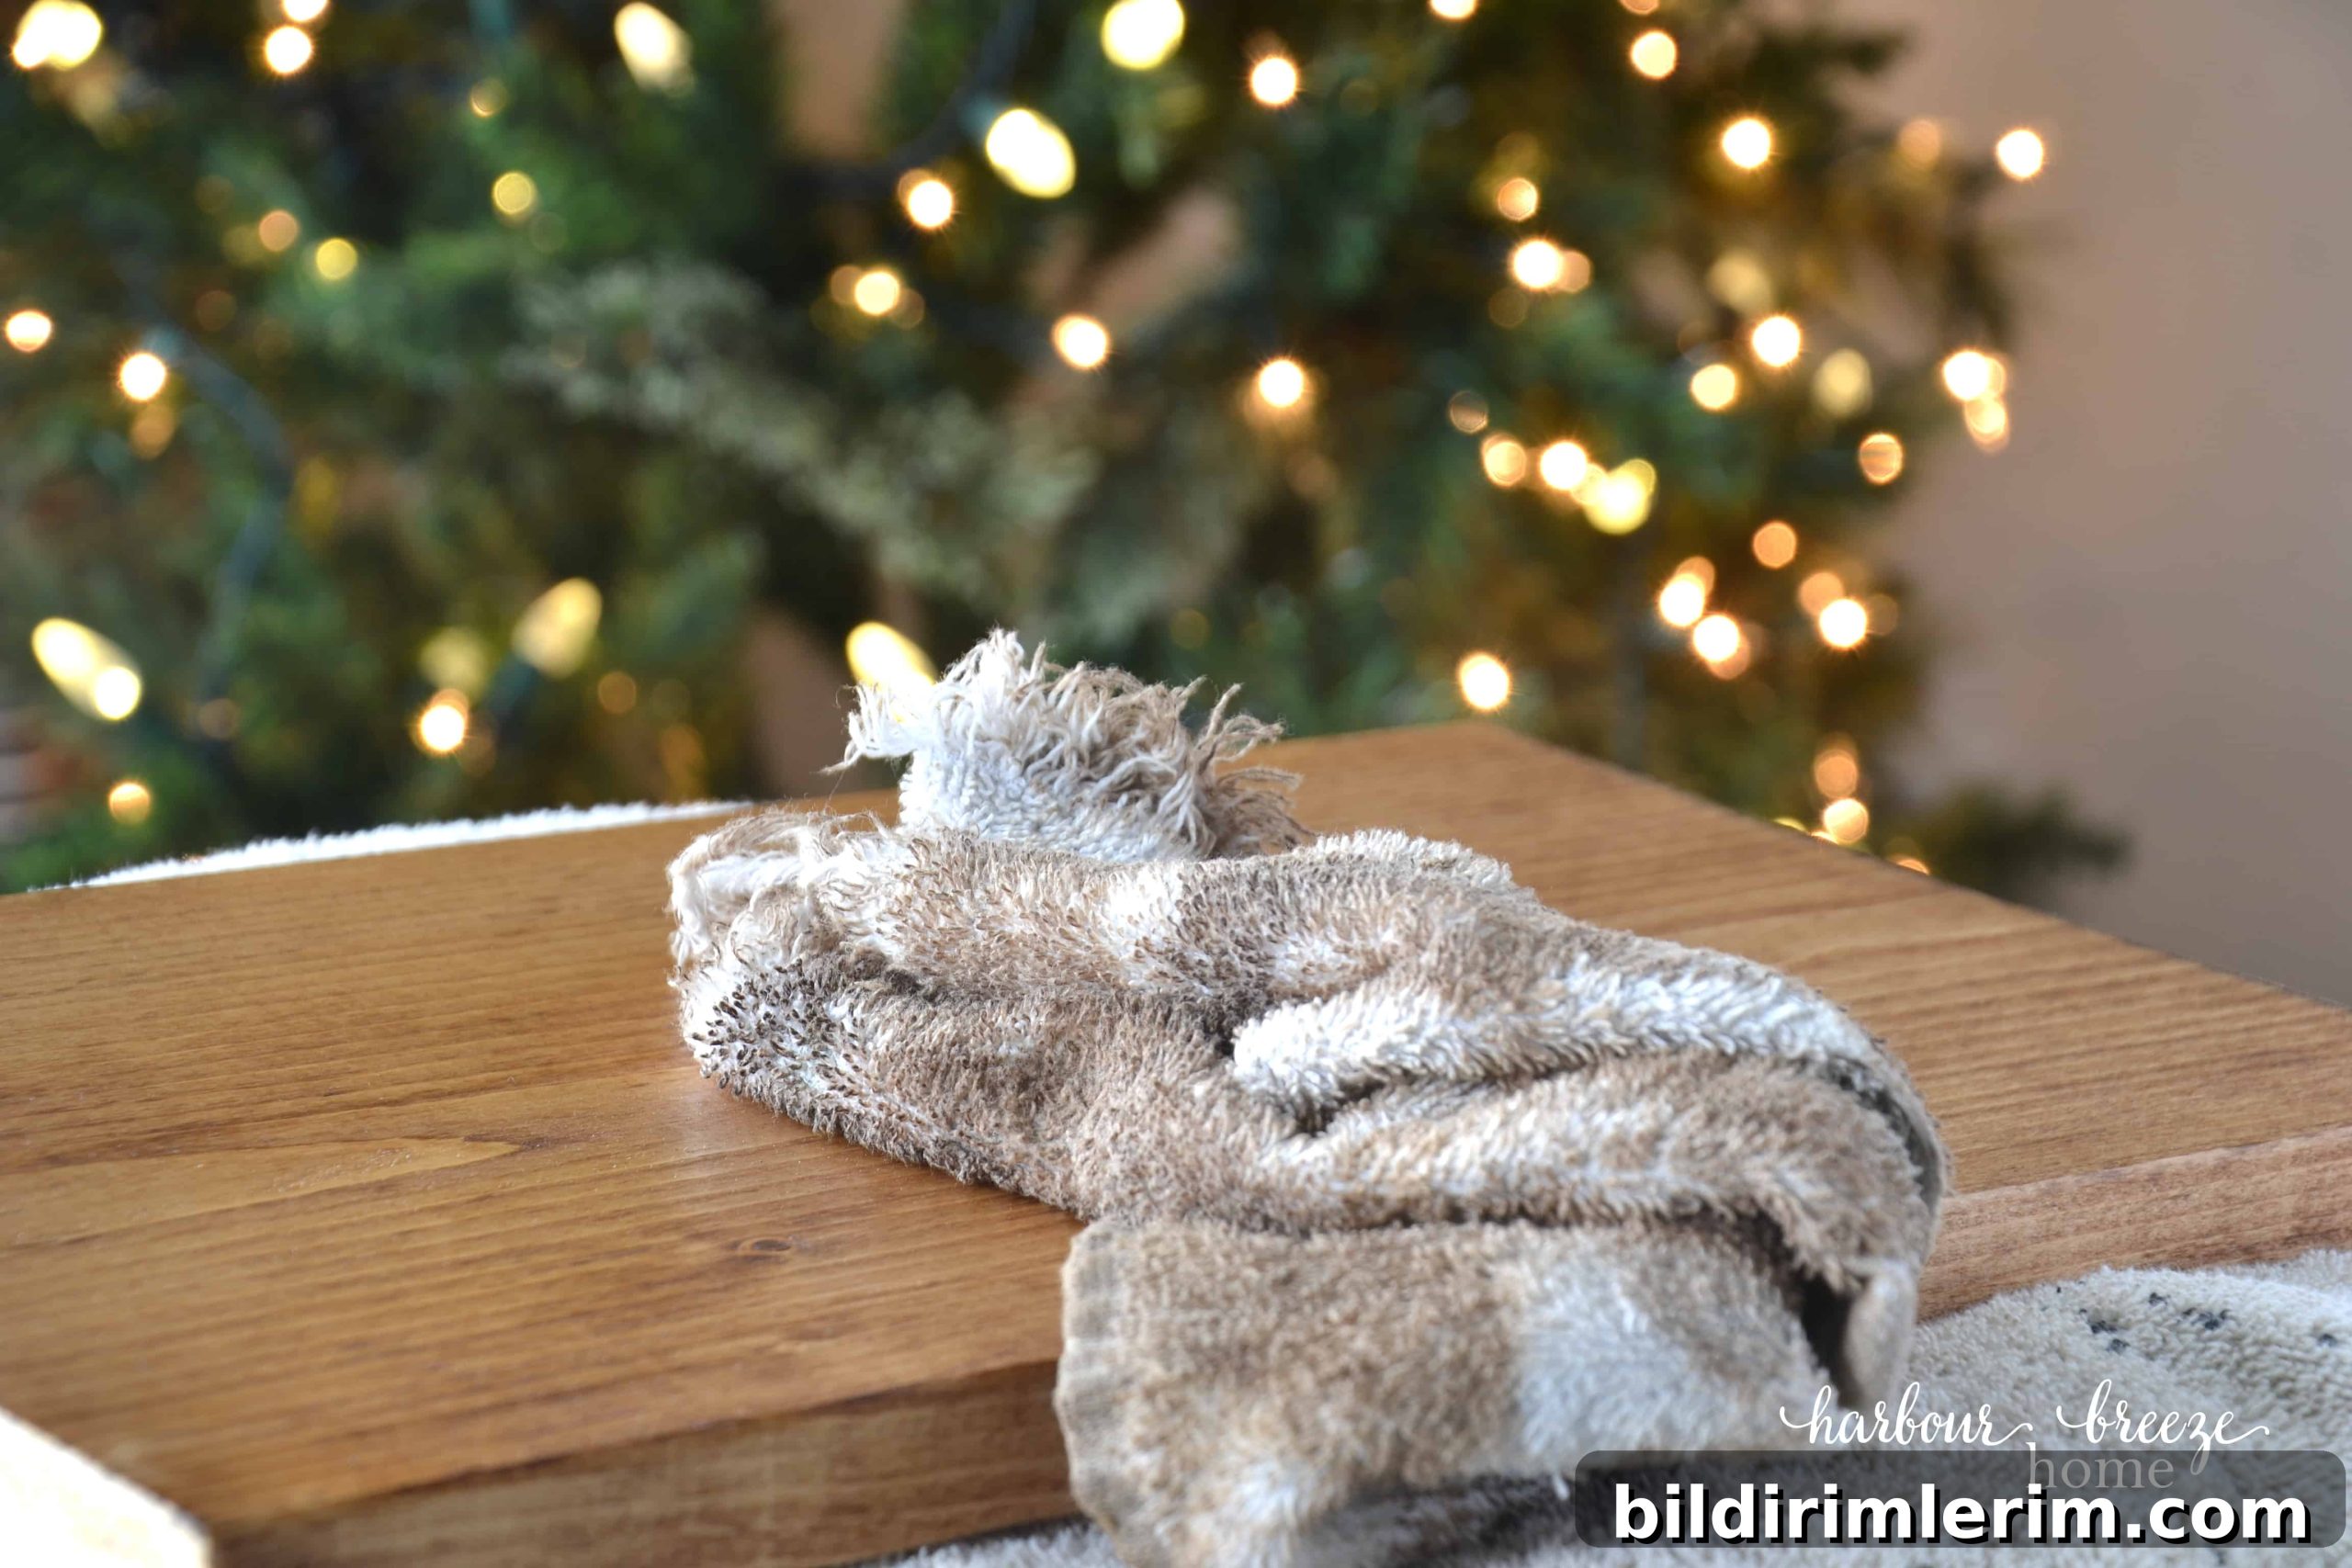
Begin by sanding the board smooth, then apply a coat of wood stain and let it dry completely. Once the stain has dried, paint a light coat of your chosen paint color over the board. A thin coat of chalk or acrylic paint provides good coverage and creates a soft farmhouse look.
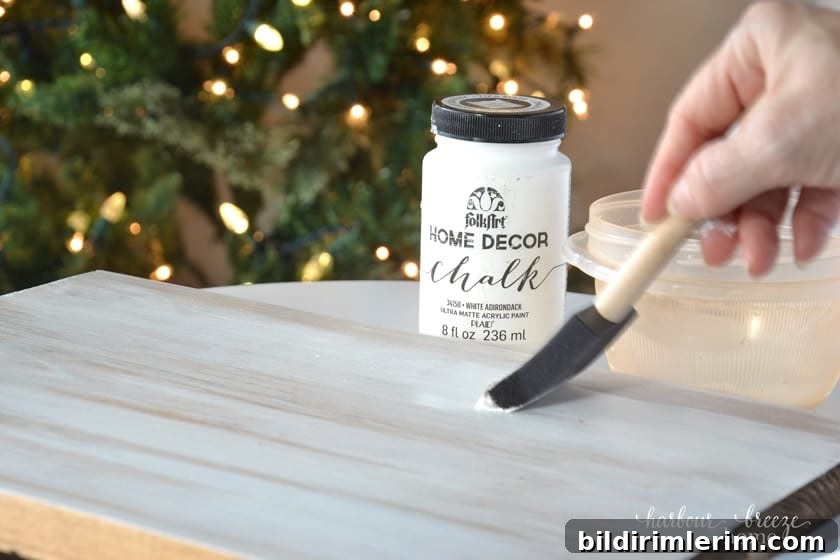
Distress by sanding off some of the paint
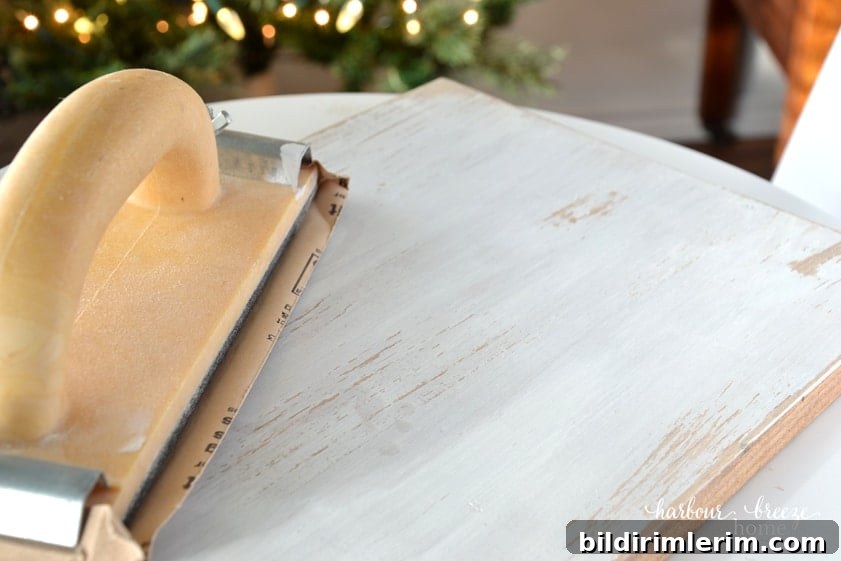
Lightly sand the painted surface with fine-grit sandpaper to reveal bits of the stained wood beneath. Distressing adds character and gives the sign a cozy, weathered appearance. Focus the sanding along edges and raised areas for a natural worn look.
Position the wood slices to form the shape of a tree
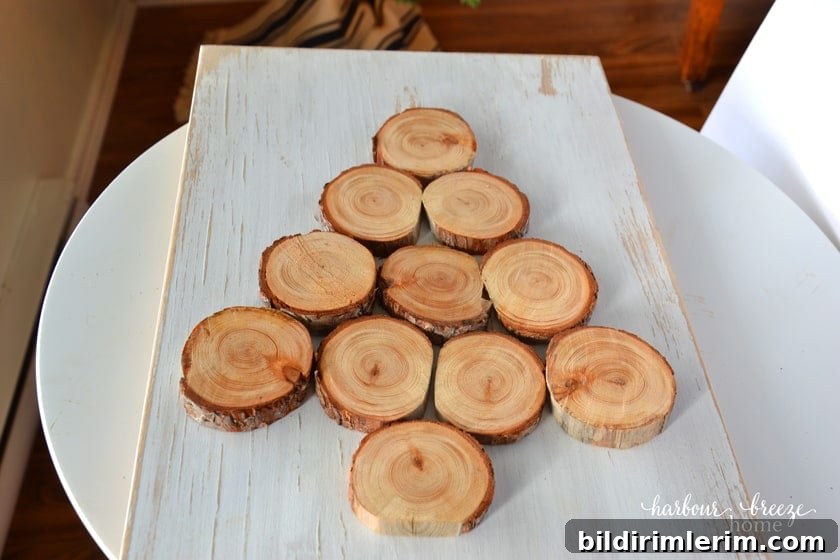
Arrange the wood slices on the board in a triangle to create a tree silhouette. Start with larger slices at the bottom and taper to smaller slices at the top. Lay out the pattern first so you can adjust spacing and symmetry before attaching anything. Once you’re happy with the arrangement, secure each slice to the board with a generous dab of hot glue on the back.
Attach hanging hardware on the back
Turn the sign over and attach a sawtooth hanger or another hanging device so the finished piece is easy to mount on a wall. Position the hardware centered at the top and fasten it securely.
Add a “tree topper”
To finish the tree, glue a few sprigs of faux greenery, small berries, or a tiny bow at the top. These small accents add color and draw the eye to the top of the design. You can also add miniature ornaments or a light dusting of craft snow for extra charm.
Frame it
A simple frame elevates the sign. Cut 1×2 boards to fit the edges, stain or paint them to match, and attach with a staple gun or small finishing nails. The darker stained frame creates a nice contrast with the lighter sign face and gives the piece a polished, finished look.
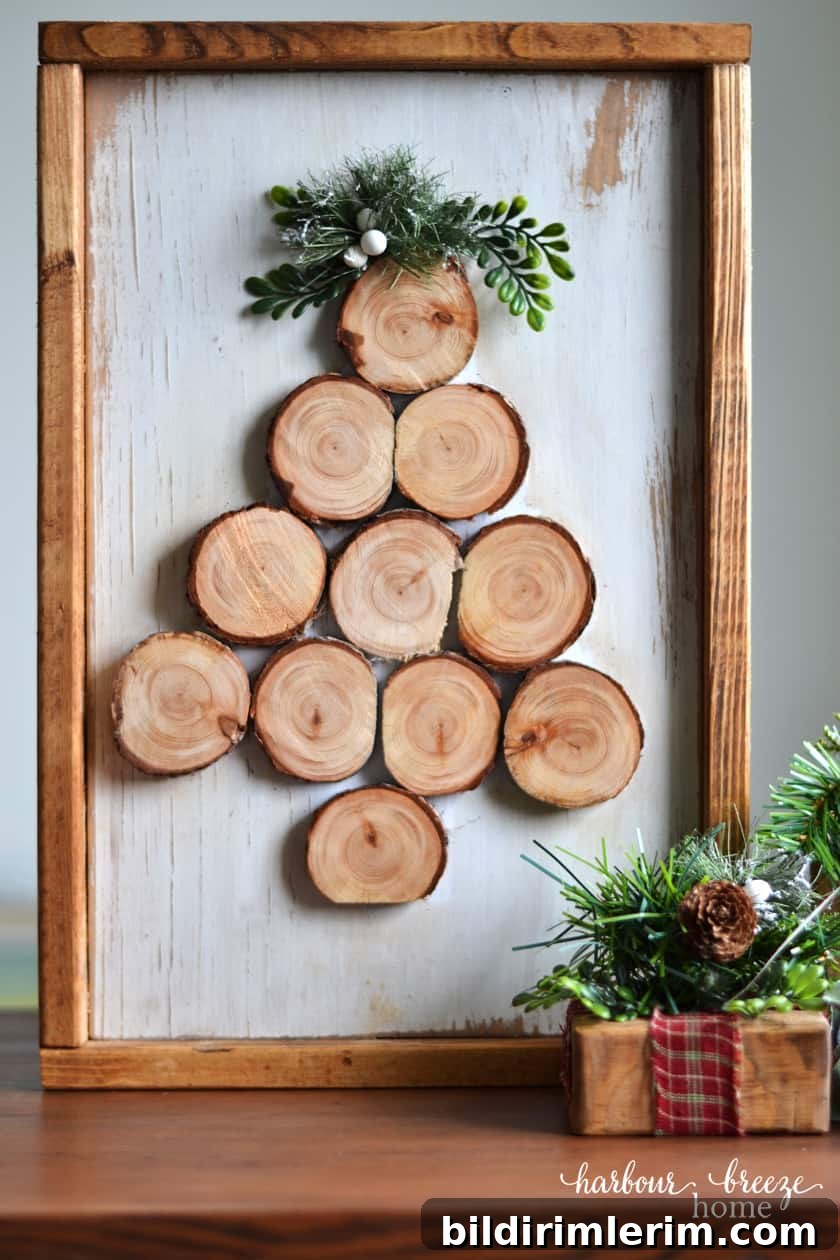
After framing and adding any final touches, your rustic wood slice Christmas tree sign is ready to display or gift. It’s lightweight, easy to hang, and fits into farmhouse, rustic, or modern holiday décor themes.
Tips and variations: consider sealing the finished piece with a clear matte sealer for protection, swap the painted background color to match your decor, or layer small embellishments like tiny bells or painted stars on the wood slices for a different look. If you plan to gift the sign, wrap it in kraft paper and tie with twine for a cohesive rustic presentation.
If you enjoyed this project and want more handmade holiday décor ideas, try these project titles for inspiration: Burlap Wrapped Gifts Shelf Decor; Wood Block Gift Decor; DIY Farmhouse Sign + Free Christmas Printables; Christmas Place Card Holders; Mini Flocked Faux Christmas Tree; Winter Wonderland DIY Christmas Tree Ornament; Shabby Chic Bird Christmas Tree Ornament; Christmas Felt Ornaments.
For more home décor ideas and seasonal projects, consider joining the VIP newsletter subscriber list to receive free printables and project inspiration delivered to your inbox.