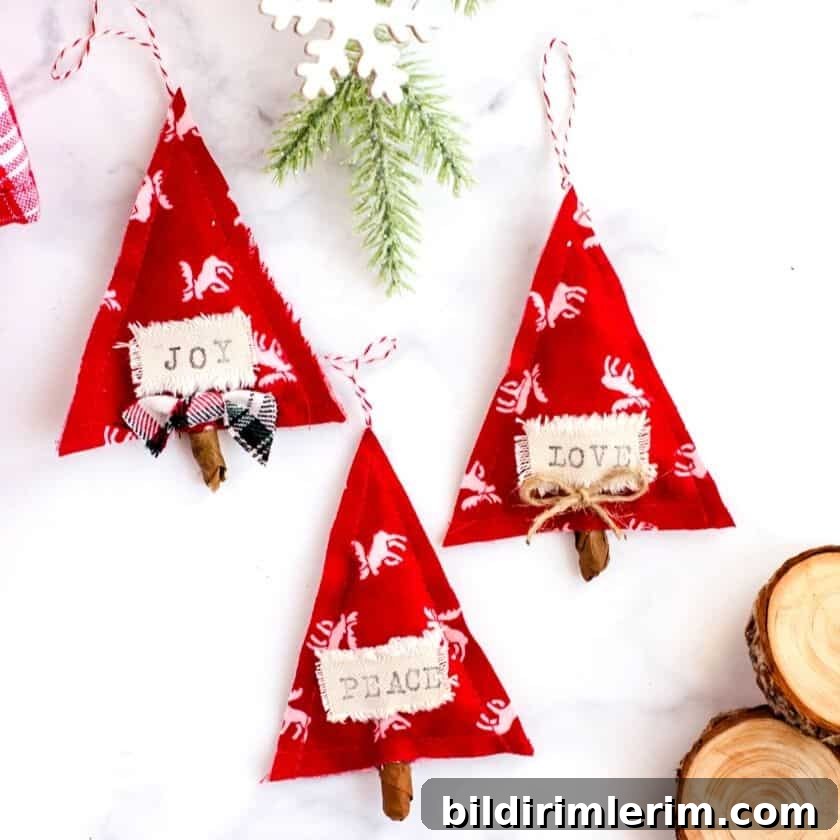
Learn how to make DIY Scandinavian Christmas tree ornaments using fabric and letter stamps.
I love Christmas decor inspired by Scandinavian hygge — simple, cozy, and relaxed. Scandinavian style often leans toward whites and neutral tones, which I adore, but I also enjoy adding a subtle splash of color for warmth and contrast.
With leftover flannel fabric from recent pillow covers, I decided to craft a set of simple, handmade Christmas tree ornaments that combine soft textiles with stamped messages for a warm, Nordic-inspired look.
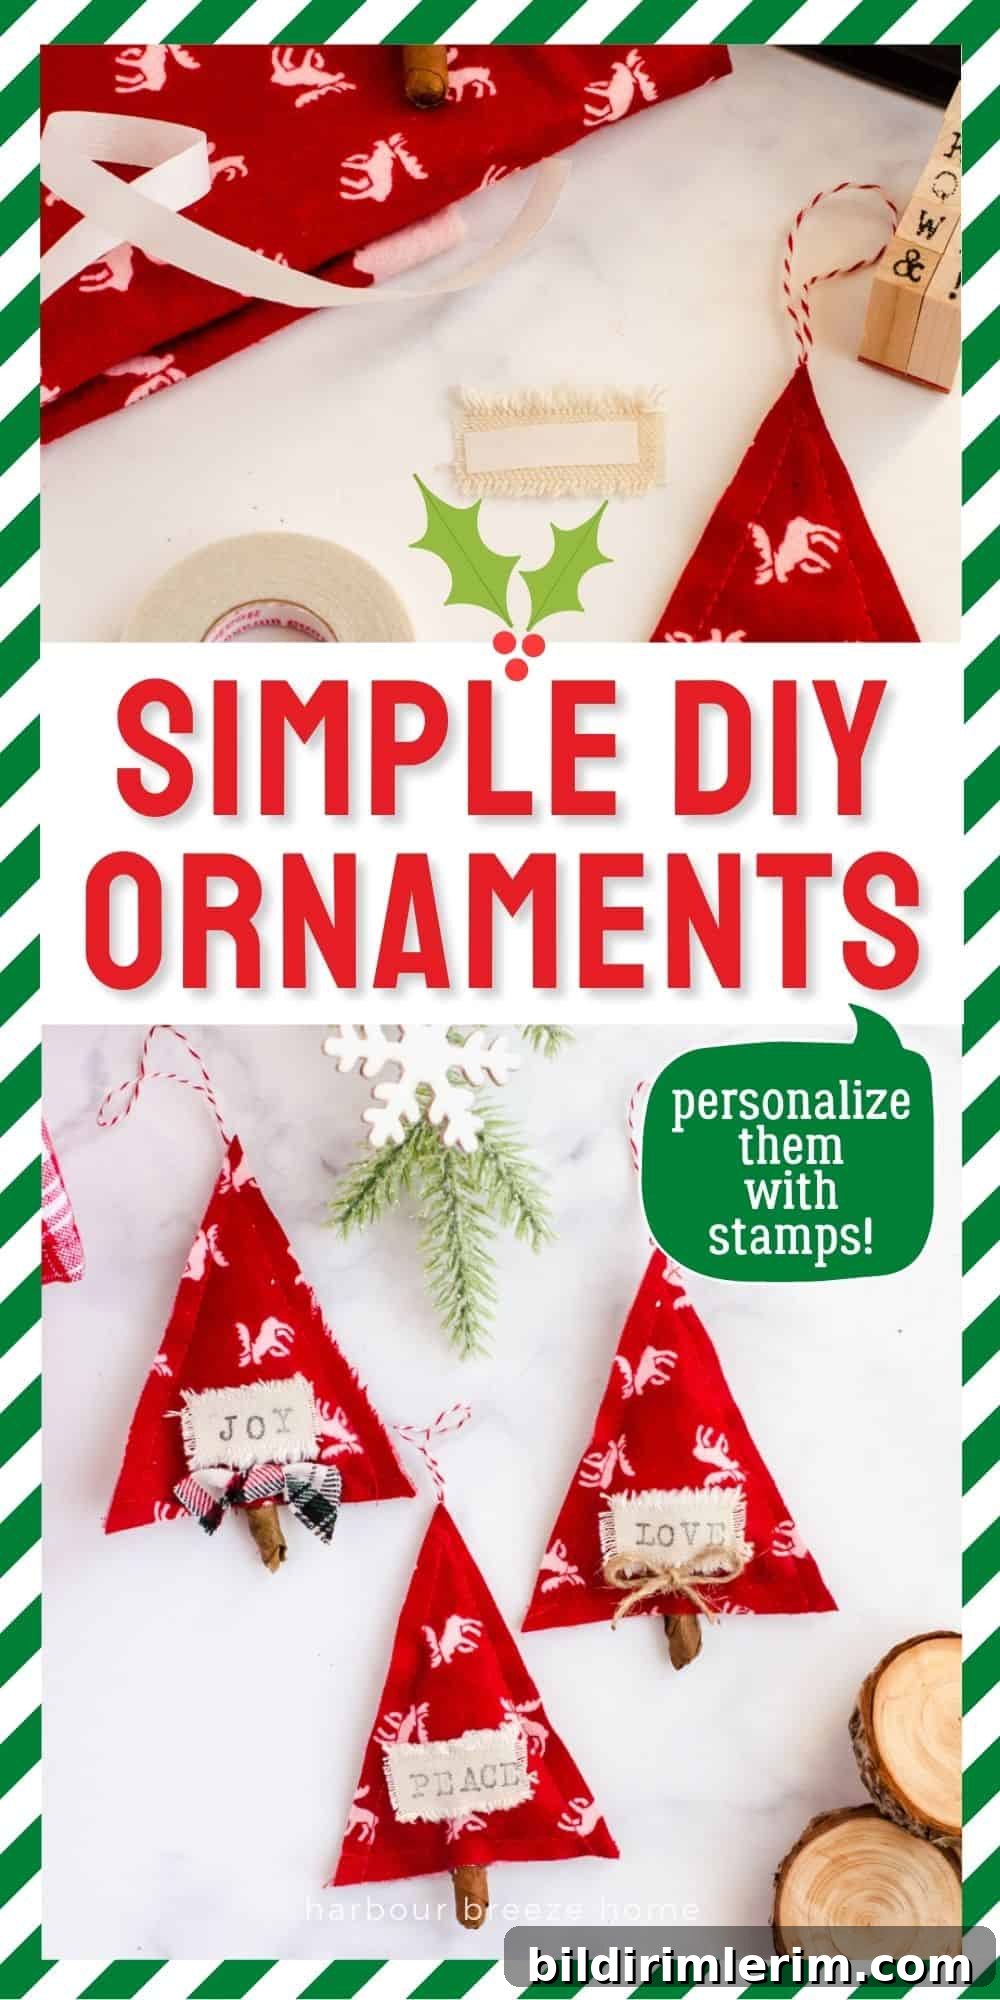
DIY Scandinavian Christmas Tree Ornaments
Disclosure: This post mentions commonly available craft supplies for your convenience.
Supplies you’ll need for fabric Christmas ornaments
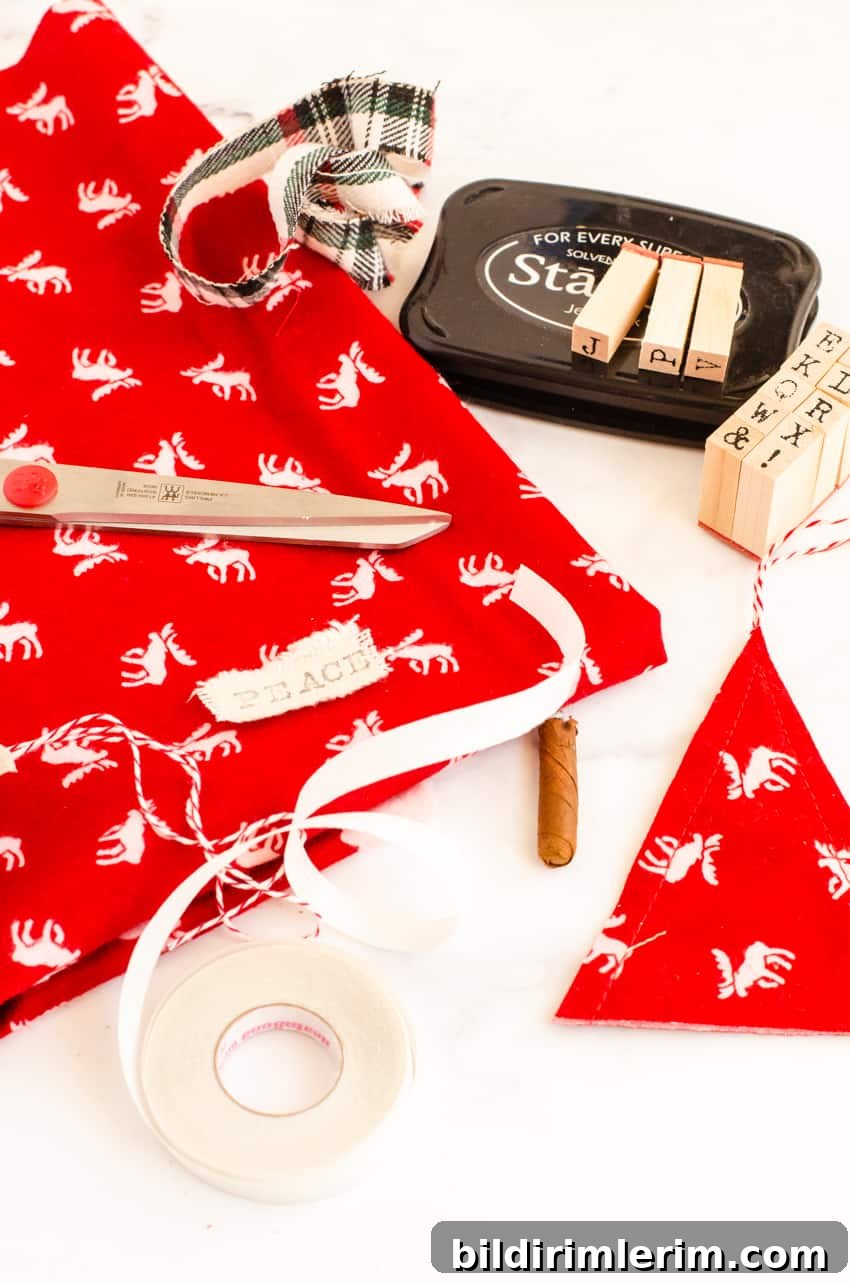
- Fabric (flannel, cotton, or other woven fabric)
- Sewing machine or needle and thread
- Heat n bond hem tape
- Twig for the tree trunk
- Iron and ironing surface
- Baker’s twine, ribbon, or jute for hanging
- Letter stamps for personalizing words
- Permanent stamp ink suitable for fabric or paper
- Cotton batting, fiberfill, or shredded paper for stuffing
Step 1: Create a paper pattern and cut your fabric
Start by making a simple tree pattern from paper. Decide how wide and tall you want the ornament to be — for example, mine measures 4 inches wide at the base and 5 inches tall. Cut a rectangle to those dimensions, fold it in half, and trim the open end diagonally from the bottom corner to the top to form a triangular tree shape. Open the pattern and use it to trace and cut two identical tree shapes from your fabric for each ornament.
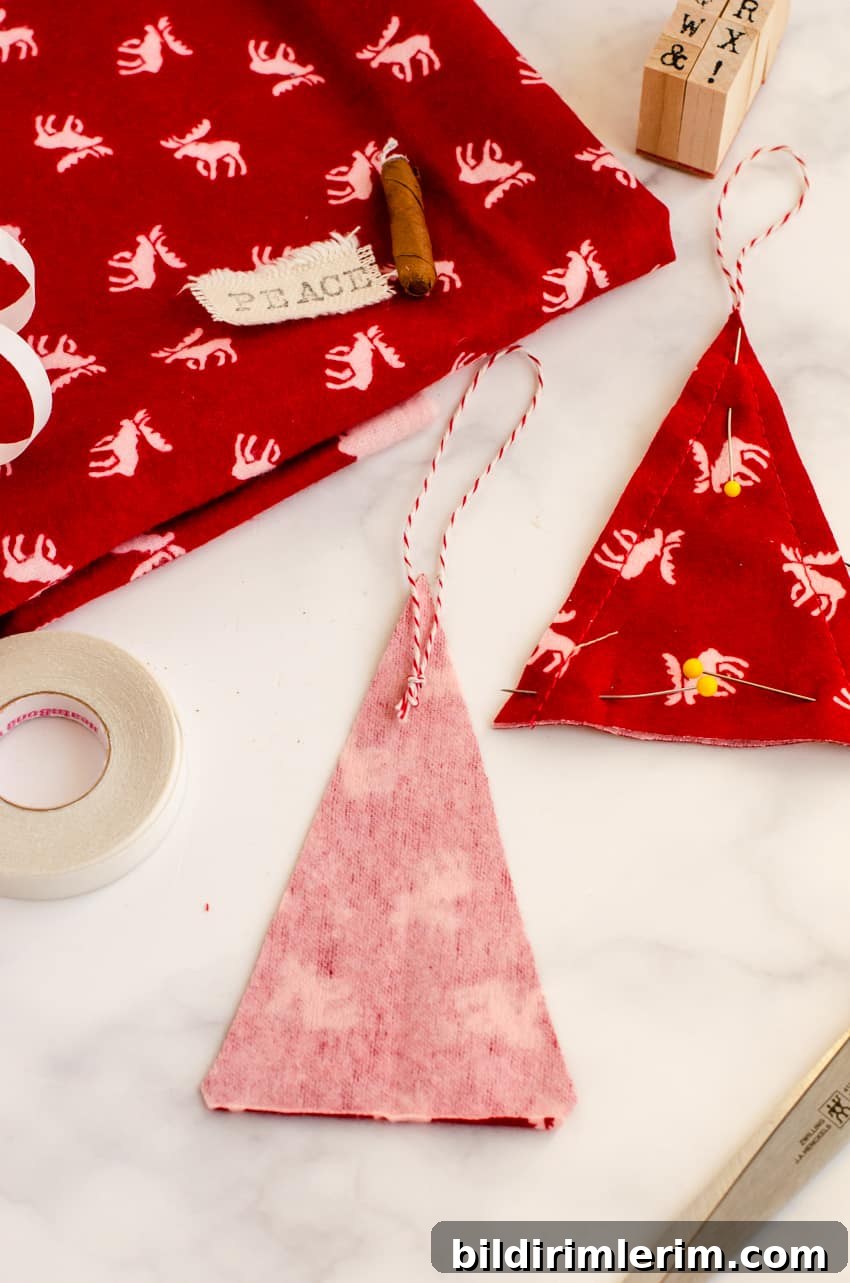
Step 2: Prepare and position the hanger
Cut a length of baker’s twine, ribbon, or jute about 12 inches long. Fold it in half and tie a small knot at the bottom so it sits neatly. Place the looped end just below the top point of one tree piece, on the back side, with the knot inside the ornament. This will create a secure hanging loop when the layers are sewn together.
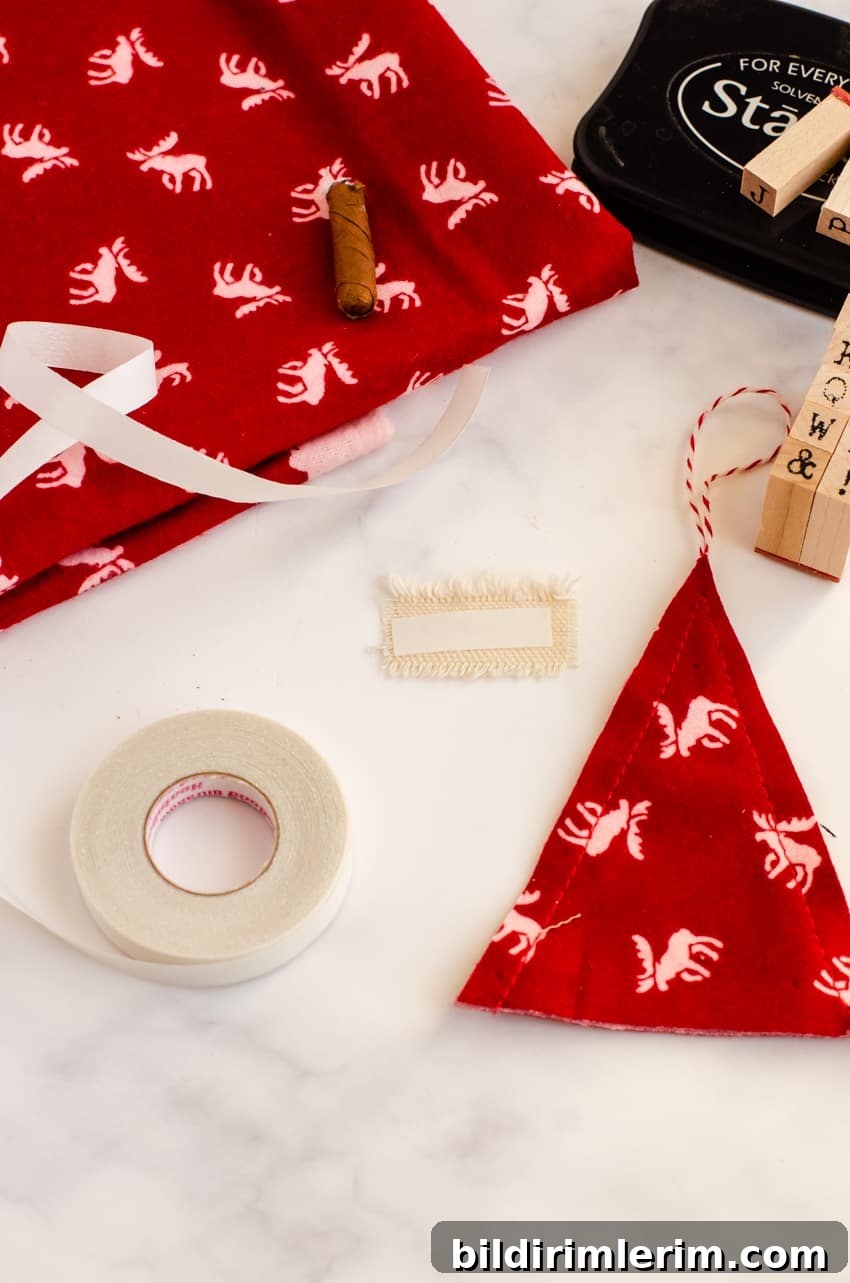
Step 3: Sew the tree edges
With right sides of the fabric facing out, align the two tree pieces and sew along both long sides using a 1/2 inch seam allowance. Leave the bottom open for stuffing and make sure the hanger loop is securely captured between the layers as you stitch. If you prefer hand-sewing, use a tight running stitch to keep the edges neat.
Step 4: Make a stamped fabric message tag
Tear or cut a plain-colored cotton strip about 3/4 inch wide and allow the edges to fray slightly for a rustic look. Iron a strip of heat n bond hem tape to the back of the fabric strip so it will adhere smoothly to the ornament. This creates a small message tag that stands out against patterned fabric.
Step 5: Stamp and attach the message
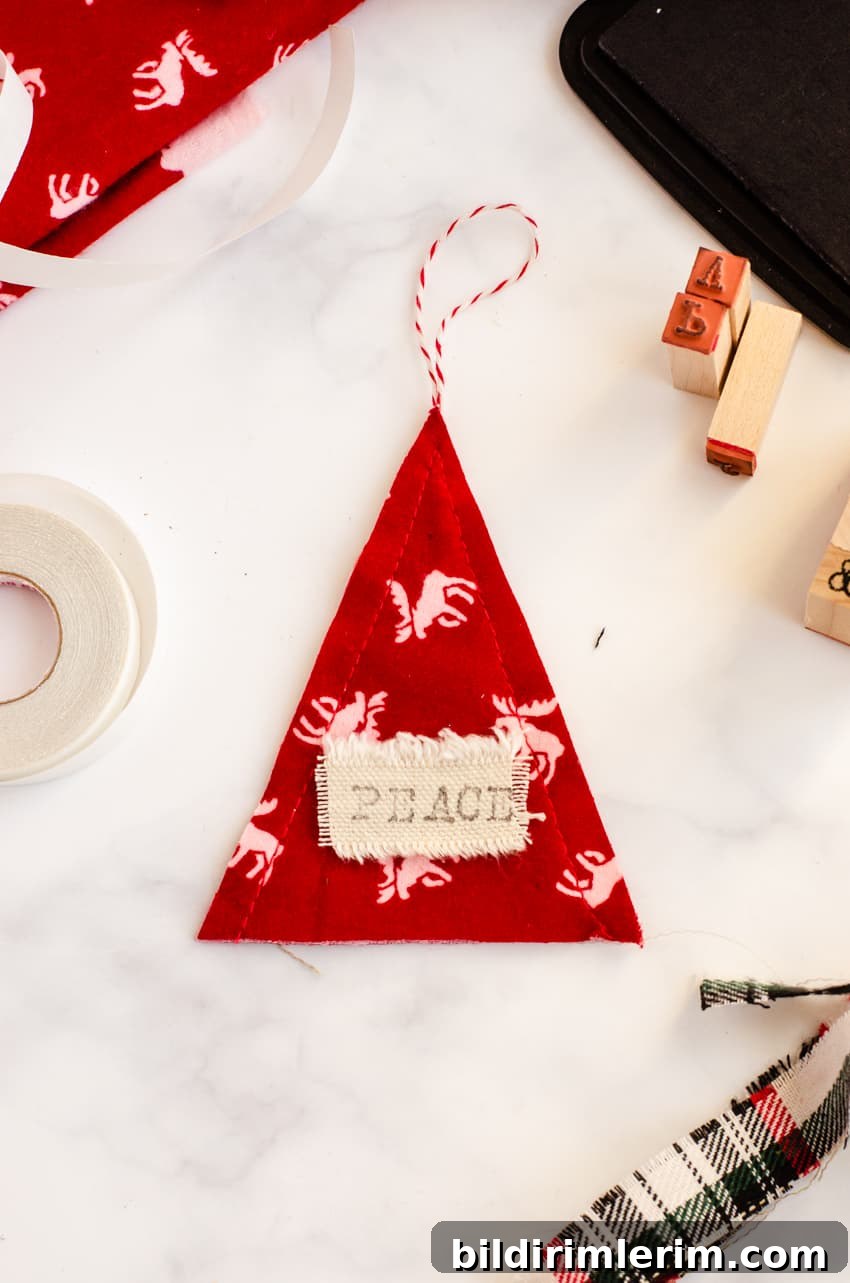
Use letter stamps and permanent stamp ink to add a short word such as JOY, PEACE, LOVE, or a name. Press firmly and evenly for a clear impression, then allow the ink to dry. Peel off the heat and bond backing and iron the message tag onto the front of the ornament, smoothing it so the edges adhere well. This small detail adds a personalized, Scandinavian-inspired touch.
Step 6: Stuff, add the trunk, and finish
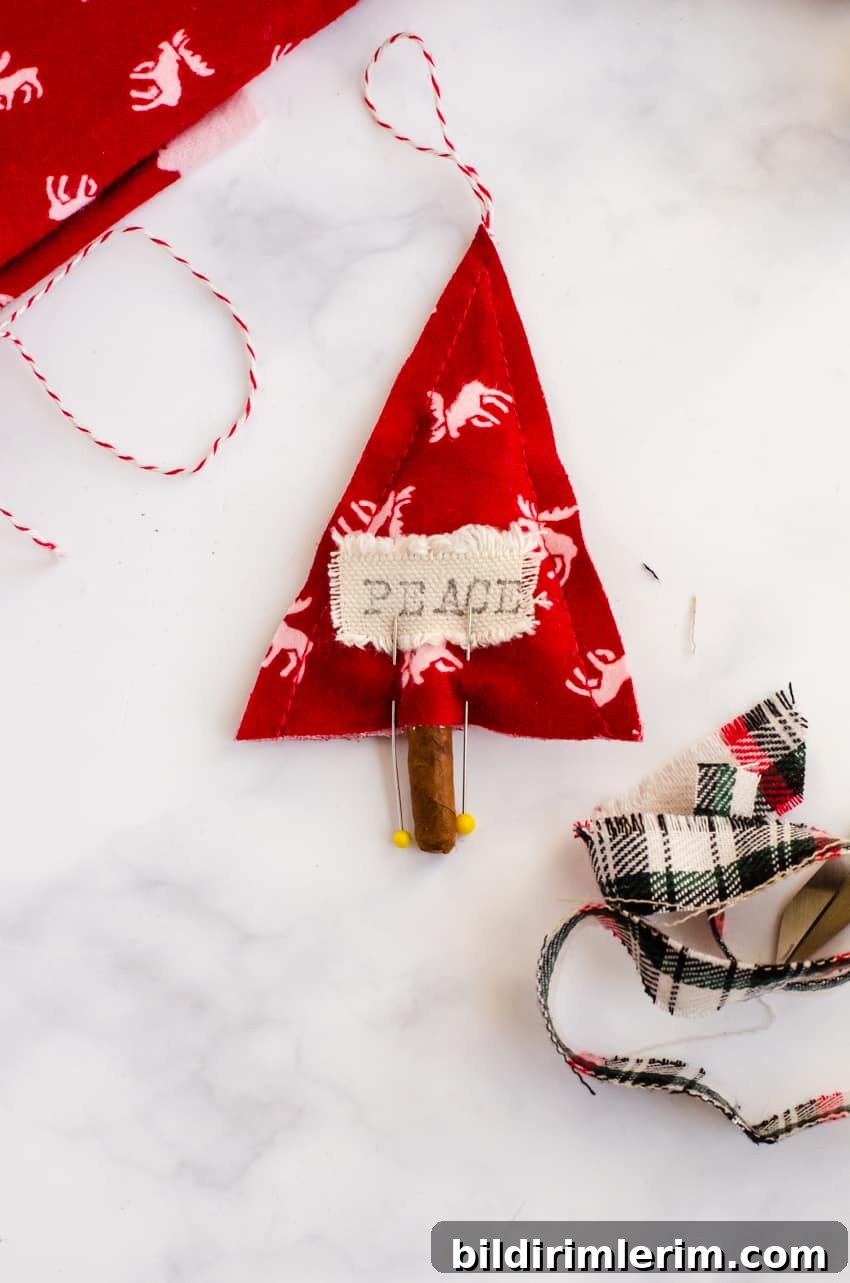
Lightly stuff the tree with cotton batting, fiberfill, or shredded paper until it has gentle fullness. Position a small twig vertically in the center of the bottom edge to act as a trunk and mark where it should be placed. Sew the bottom closed, stopping where the trunk will be inserted. Secure the twig with hot glue or a few hand stitches, then finish closing the seam. Trim any loose threads and gently shape the tree for a tidy appearance.
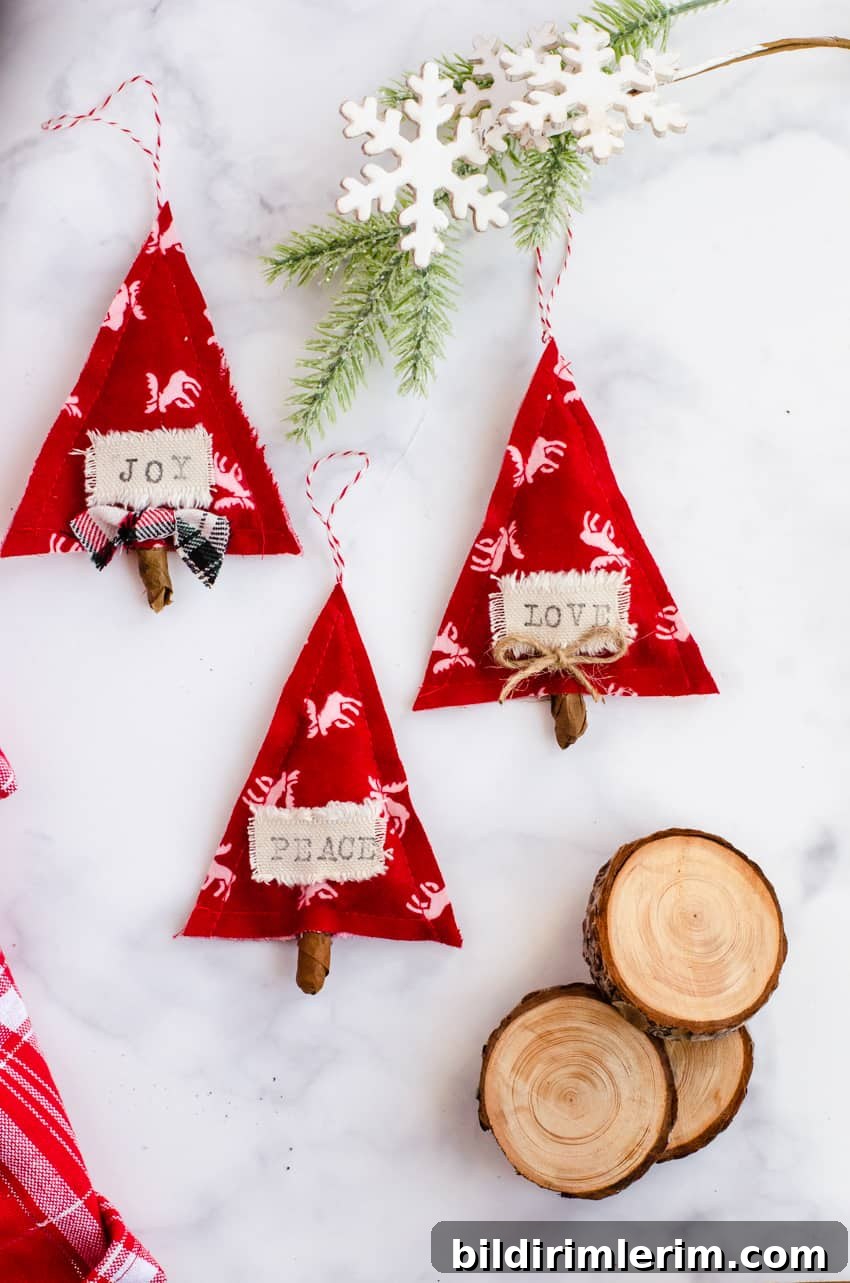
These ornaments look charming on both real and artificial trees and can be customized to match your holiday palette. Use different fabrics, stamping styles, and hanger materials to create a set that feels cohesive yet handmade.
They also make lovely personalized gift tags — stamp a recipient’s name and tie the ornament to a present for a keepsake that doubles as decoration.

Tips and variations
- Mix neutral fabrics with one accent color to keep the Scandinavian aesthetic balanced.
- Use smaller or larger patterns to create a tree filled with varied ornament sizes.
- Try metallic or chalk ink on the message tag for a subtle seasonal shimmer.
- For a rustic look, use natural jute and a rough-cut twig; for a softer look, use baker’s twine and a smooth branch.
- Stamp names to turn ornaments into place cards for holiday tables or meaningful gift tags.
More holiday craft inspiration
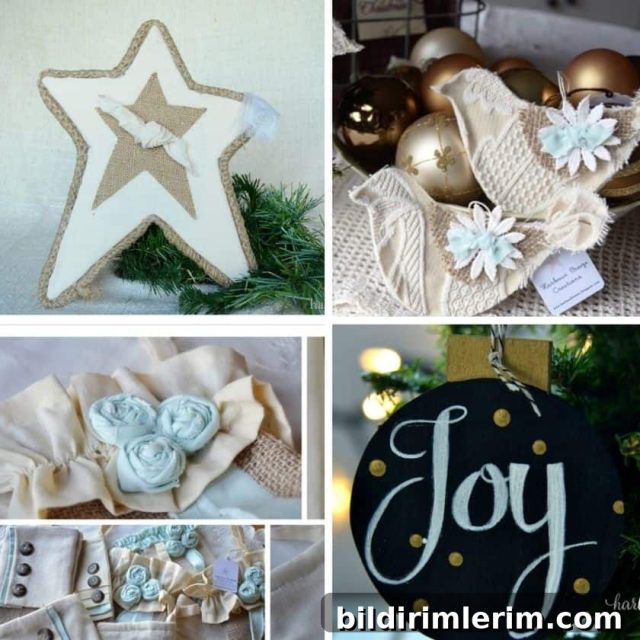
If you enjoy making fabric ornaments, consider exploring other simple holiday projects like paper stars, snow globe crafts, chalkboard-style tags, or bird ornaments to expand your handmade collection and bring cohesive charm to your seasonal decor.
Join our creative community
For more seasonal projects and printable resources, consider subscribing to a craft newsletter or creative group that shares step-by-step tutorials and printable tags to help you plan and create holiday decor all year round.