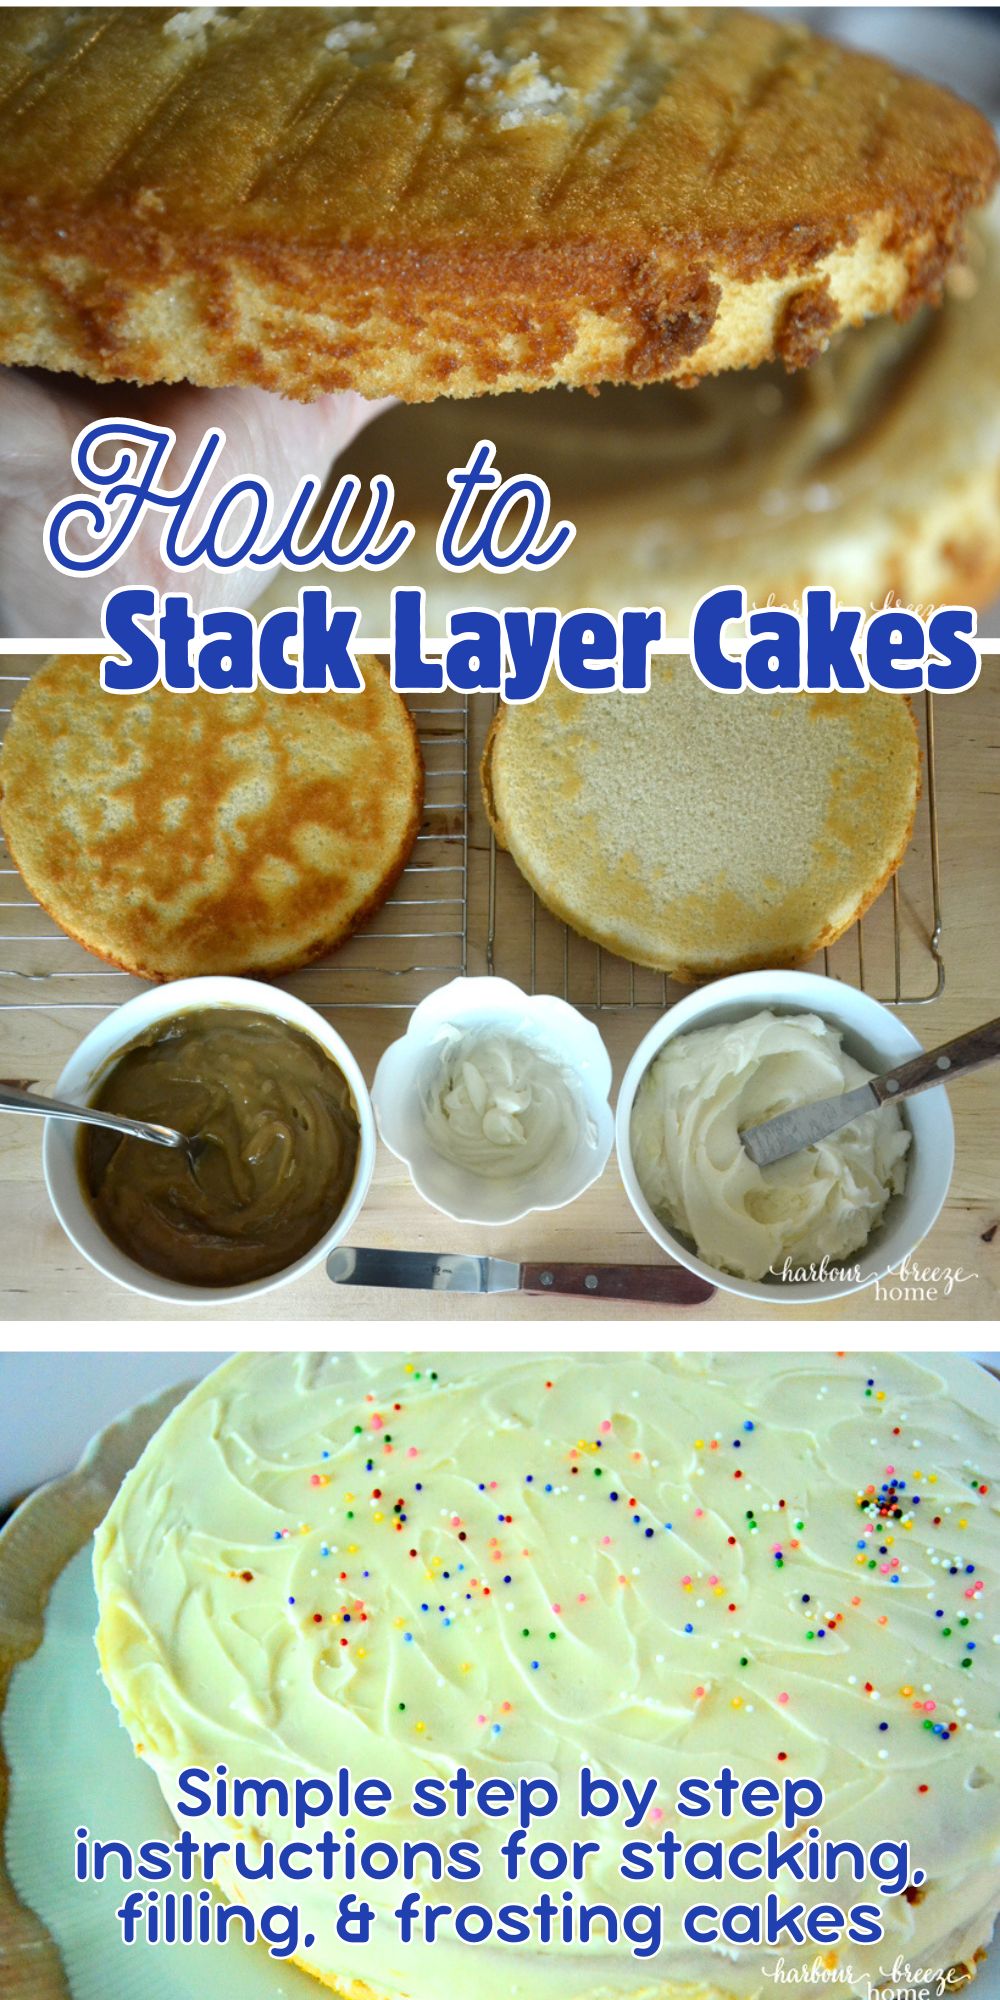
Ready to conquer layer cakes without the stress? This guide to stacking a cake is packed with tips from my own baking mishaps, includes simple step-by-step instructions with pictures, and even offers a few videos for foolproof cake stacking.
Why Learn How to Stack Cakes (with Filling Inside!)?
I grew up watching my Mom bake cakes. She cut out lovely shapes for our birthdays that were tiny works of art. I have pictures of myself smiling beside a coconut-covered white elephant and a pretty pink butterfly. My aunt was a cake decorator too. I watched her ice cakes until they were as smooth as glass and place silver balls into intricate flowers using a pair of tweezers.
You’d think with all that watching I would have picked up a thing or two in the cake department. Well, I have learned a thing or two… mostly through a string of monumental disasters!
My cut-out cakes for the boys turned out looking less than stellar. After slaving away on a monster truck cake with donut wheels, my sweet little 5-year-old said,
“It’s ok, Mommy. It just looks like it’s already been in a wreck!”
It was a very happy day when I realized my boys couldn’t care less what the cake looked like. They just wanted it to taste good!
So I made my very first vanilla cake with butterscotch filling and buttercream icing.
The rest is history. This has always been the “birthday cake” tradition in our family. I’ve offered to try other flavors, but this is always the one they choose.
I’ve now made this cake over and over, and I’ve learned plenty in the disaster department along the way. So if I can help any of you avoid making the same mistakes I have (on birthdays, no less!), then all my efforts are worth it!
So, here we go:
**Note: To find the recipe for the White Cake with Butterscotch Filling and Buttercream Icing shown below, click here.
How to Prepare Cake Pans So the Cakes Come Out Beautifully:
Before you do anything else, prepare your cake pans properly. I made a short YouTube video showing the process I use:
- Spray each cake pan with nonstick cooking spray.
- Trace the bottom of the pan onto wax paper with a pencil, cut out the circle, and place it in the bottom of the pan before you pour in the batter. No wax paper? Parchment paper works just as well. I also spray the paper with nonstick spray after placing it in the pan, just to be extra sure everything releases cleanly!
Pro Tip! Test your cake with a toothpick to make sure it’s fully baked before you take it out of the oven. The toothpick should come out completely clean when the cake is done.
If you think it might taste even yummier slightly underdone and gooey, be warned: the middle of your cake will sink into the cooling rack and turn into a puddle of goo. (Yep. I’ve done that.)
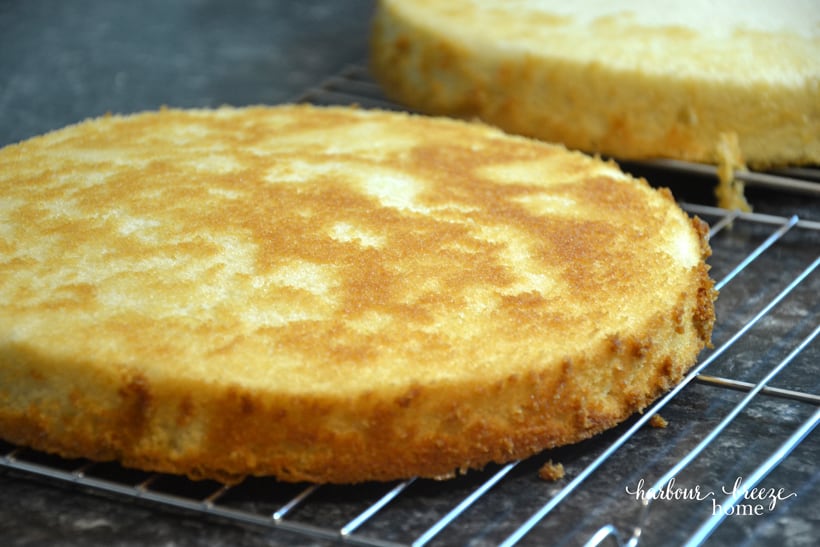
Also, let the cake cool in the pan for 10 minutes before you try to remove it. Then run a knife around the edge and flip it over. It should come out like a charm.
Pro Tip!: For the absolute easiest way to stack a layer cake, I recommend freezing it first. Check out my instructions for how to freeze cake here.
Once you have all the components for your cake made, the fun can begin.
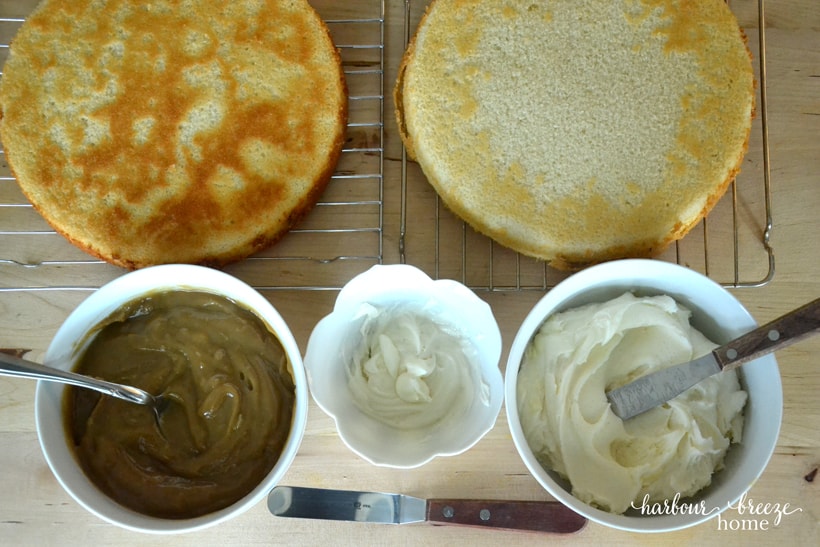
Here’s what you’ll need for a 2-layer cake with filling and icing.
- Two cake layers
- Filling (this one is butterscotch)
- Thin icing for the crumb coat
- Thicker icing for the top coat
- Your favorite spreaders (Here is a best-selling offset spatula set and a straight spatula set. I prefer the smallest size of both.)
Pro Tip! It is essential that every component is completely cool before you begin. If the cake is warm, the icing will melt as you spread it. If the filling is warm, the top layer will slide right off the bottom. (Yep, I’ve done both of those!) If you have the time, it’s easiest to ice a cake when it’s frozen.
Step-by-Step Instructions for How to Stack Cakes
- Place the first cake layer flat side up on the cake plate.
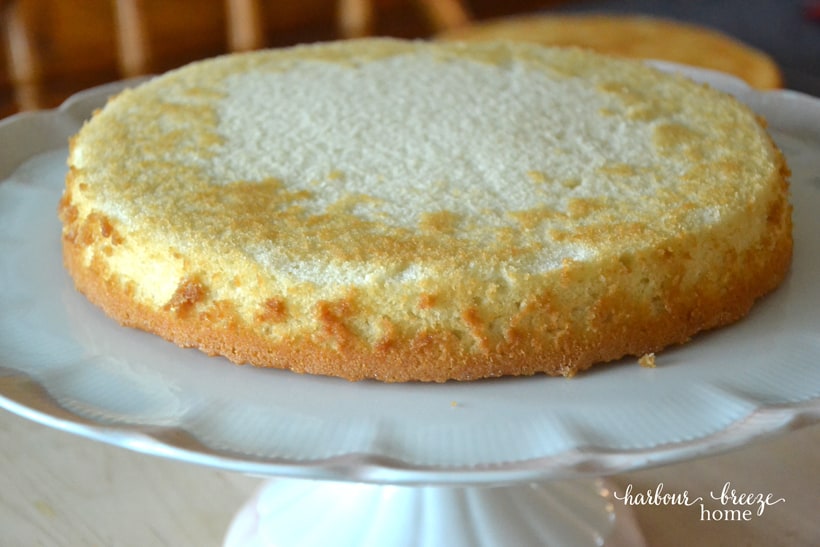
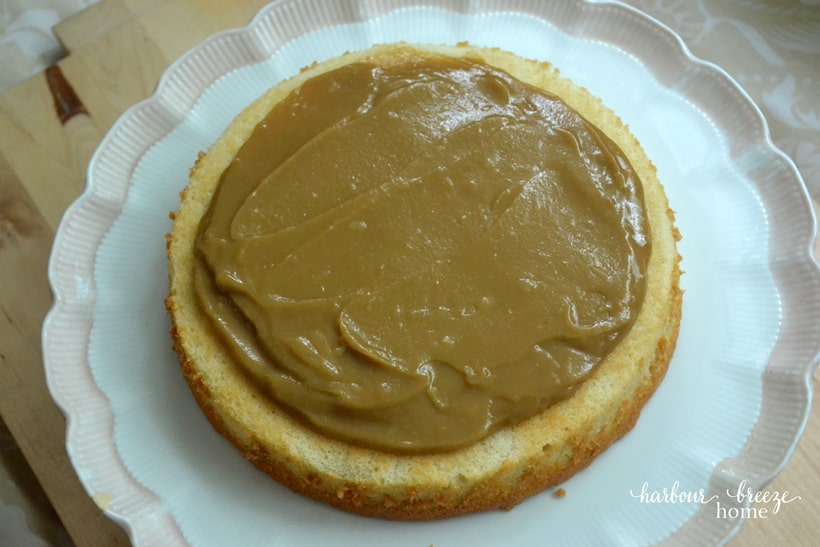
- Spread the filling over the top of layer one, stopping about 1 inch short of the edge.
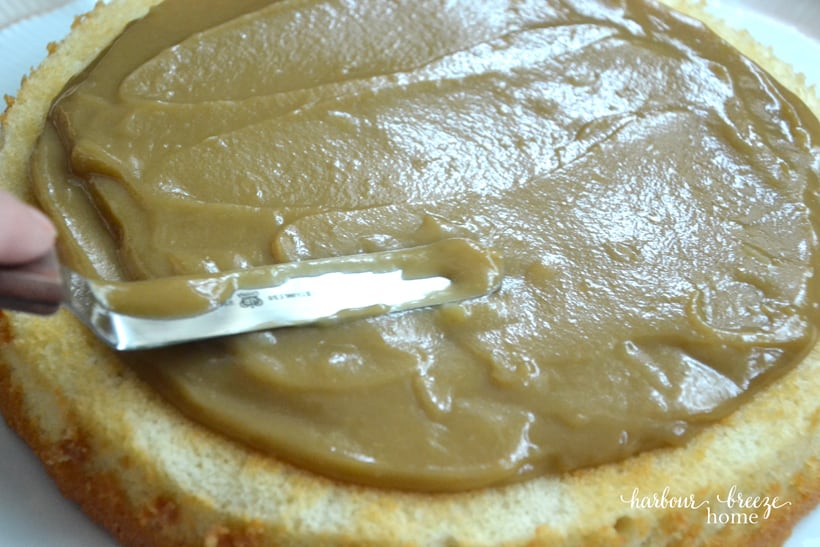
Try to make it as even as possible. You may even have a bit of filling left over.
Pro Tip!: Don’t layer on too much filling or it will seep over the edges…
- Place layer 2 on top with the flat side down.
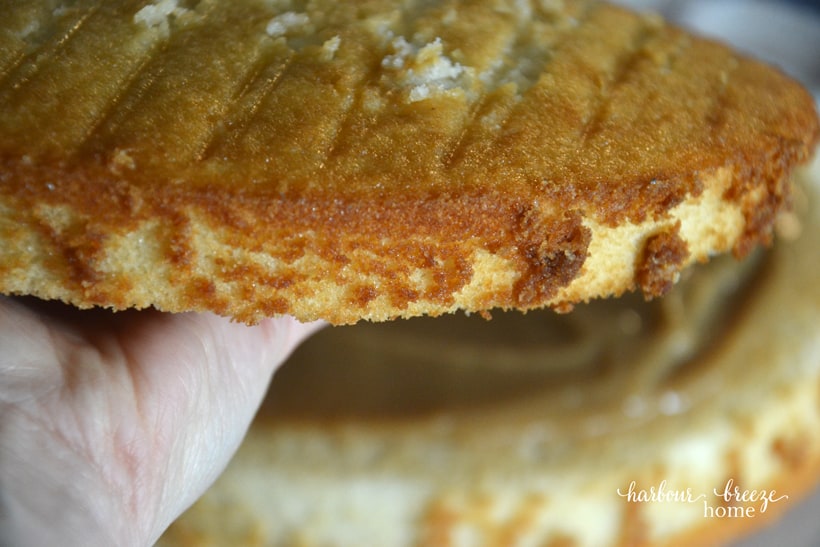
Pro Tip!: Don’t think it would make more sense to set the rounded side down so the top is flat. If you do, the top layer will slide off just before your dinner guests arrive, and you’ll have to hold it together with a giant skewer… (Ask me how I know!;))
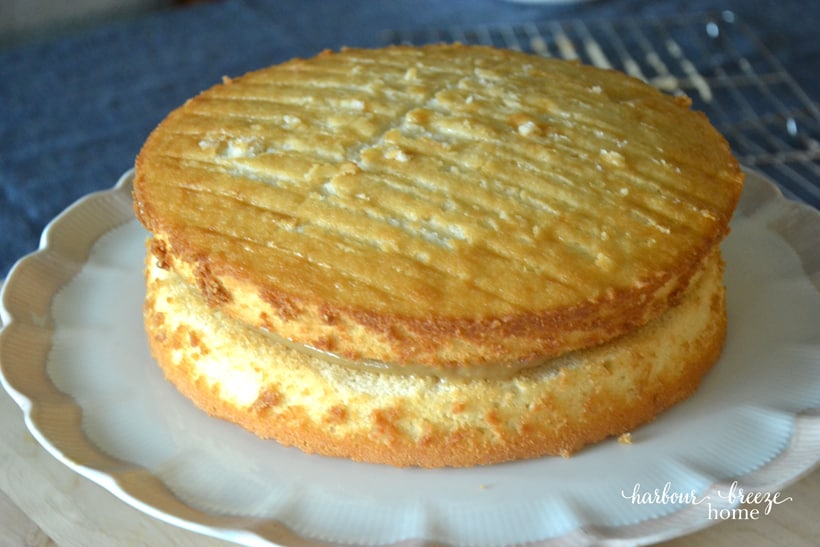
- Trim the top to make it flat. Use a serrated knife held perpendicular to the cake. Bend down so the cake is at eye level as you cut, to make sure you’re cutting straight. Just gently slice away the small “bump” that sometimes forms in the middle of the cake as it bakes.
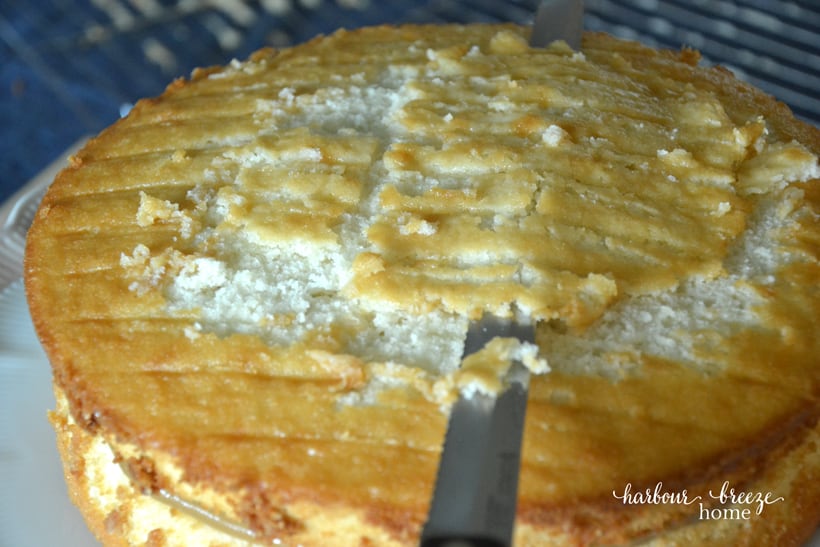
(Honestly, I hardly ever do this step. My family doesn’t seem to mind if the top is a little rounded. But since I knew I’d be showing you these steps, I thought I’d get fancy this time…)
- Ice the whole cake with a crumb coat.
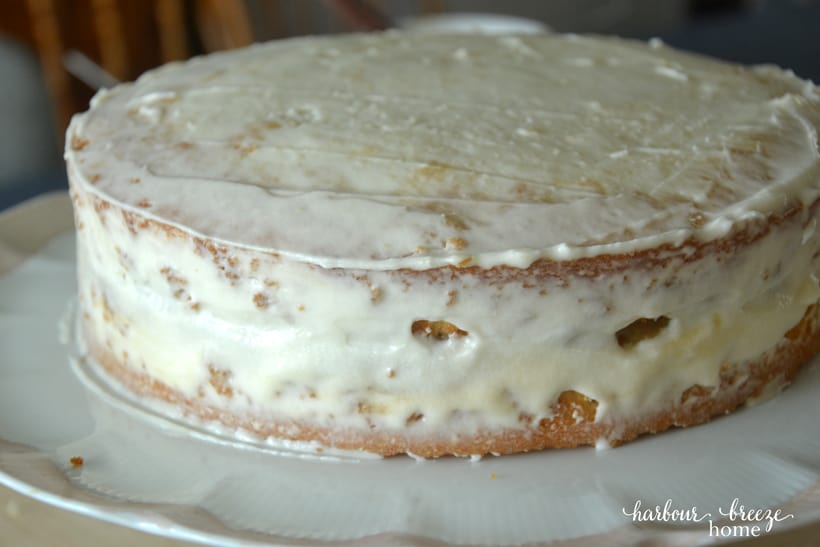
A crumb coat is a thin layer of icing underneath the top layer. It has a thinner consistency so it spreads nicely and “seals in” the crumbs on the cake.
- Spread on the top layer of icing.
I forgot to take pictures of this step because I was doing a Facebook Live during it. So you can watch it in real time here:
- Decorate the cake however you’d like!
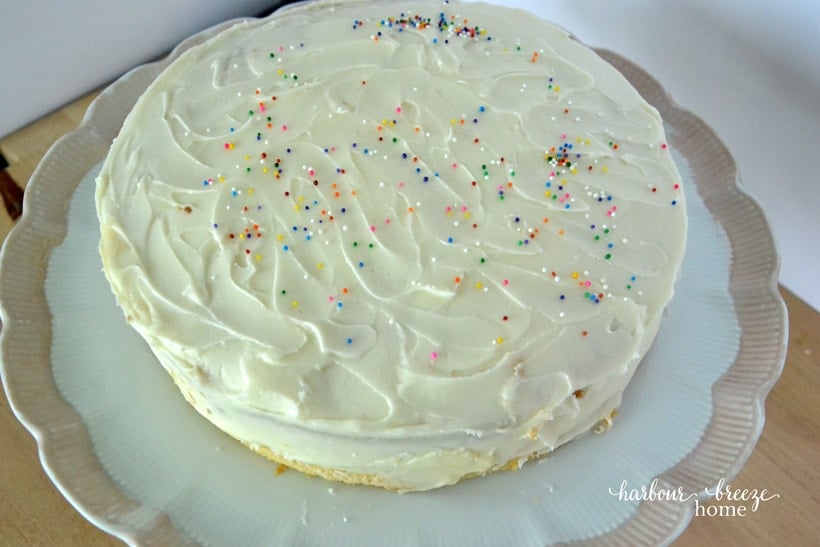
You can go all Cake Boss and get really fancy, but I usually just add a few sprinkles…
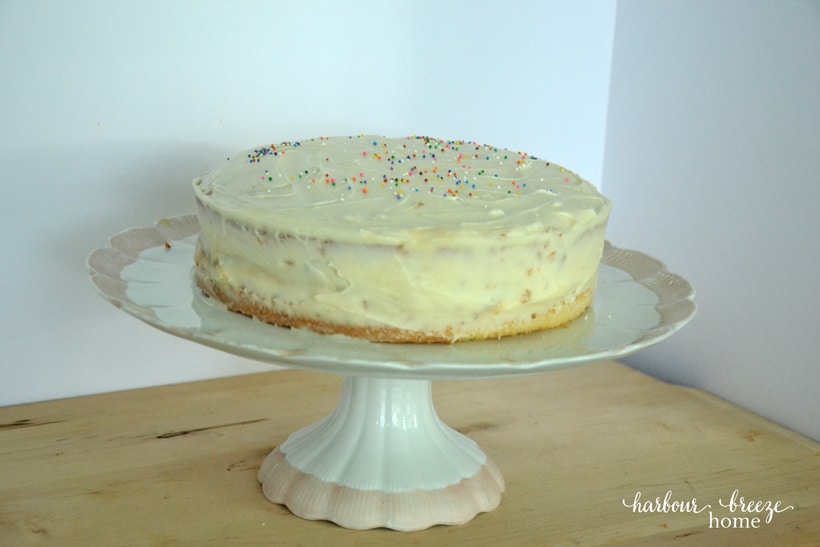
And I’ve given up on perfection. It’s okay if it isn’t perfect.
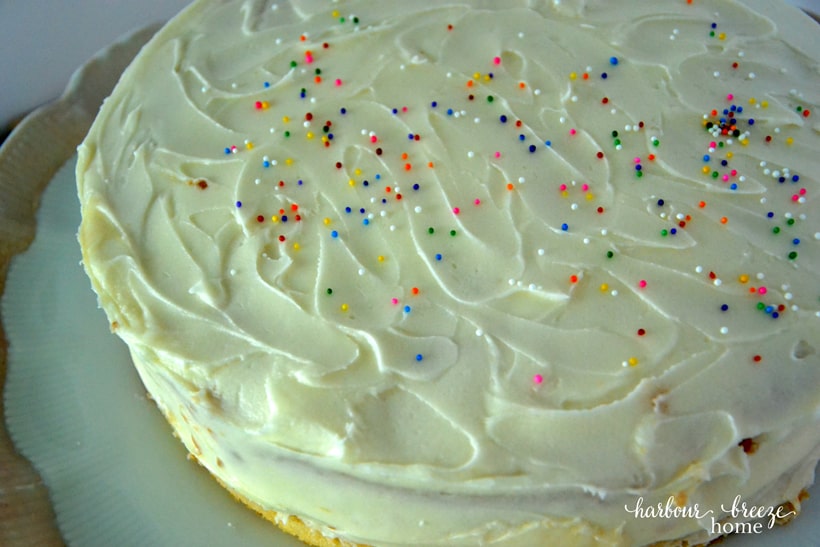
It’s a birthday, after all.
Just celebrate!
Other Cake Recipes You Might Enjoy:
- The easiest way to frost cupcakes
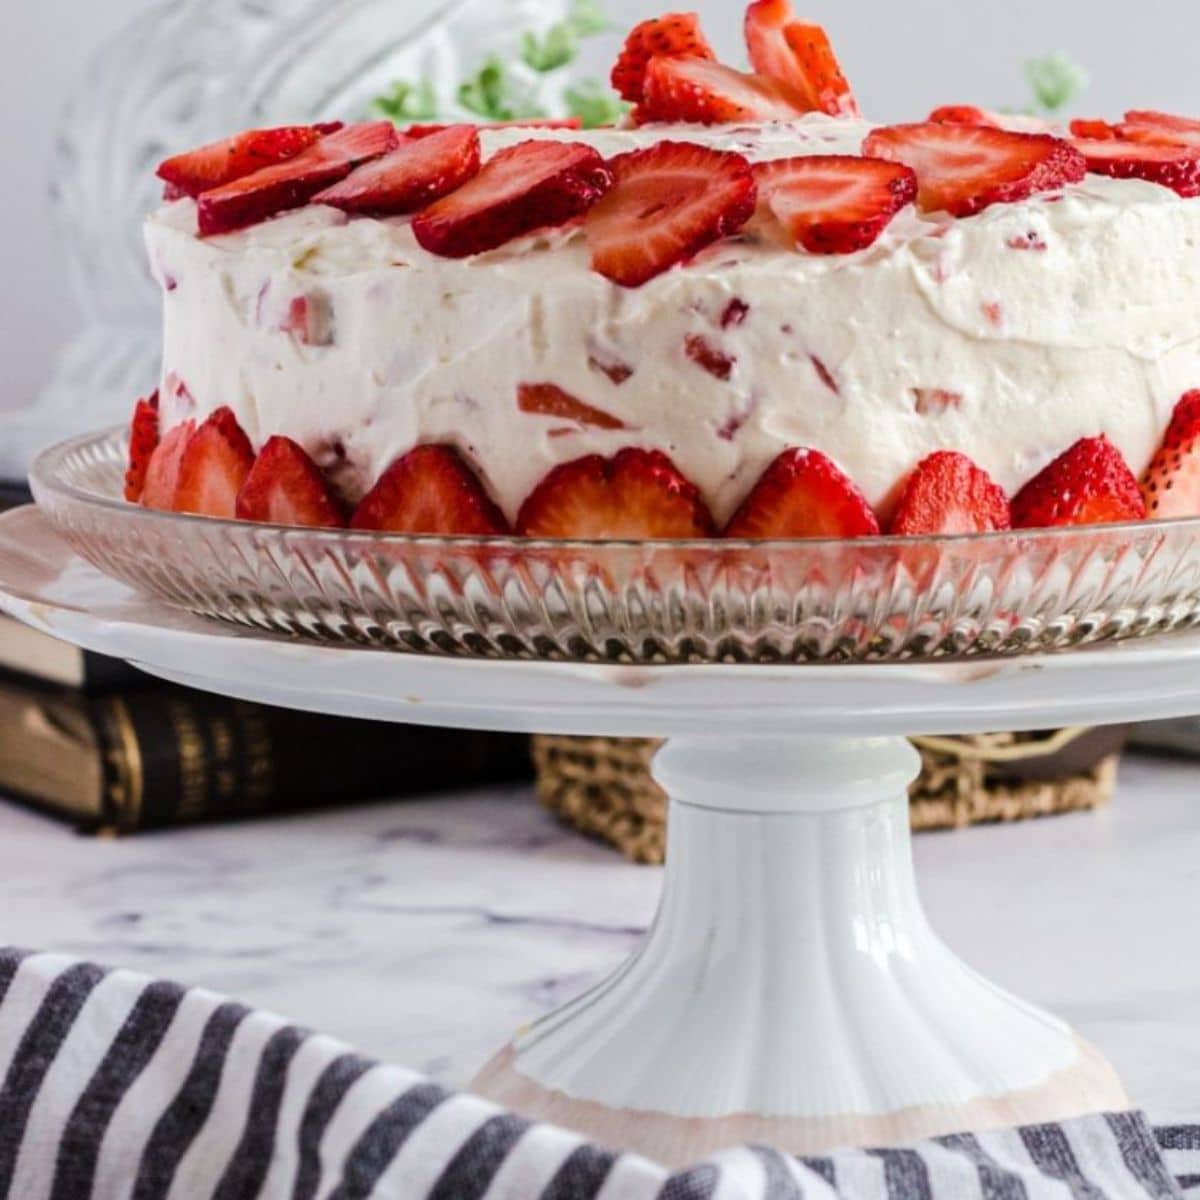
- Vanilla Cake with Strawberries
- Pumpkin Bread with Cake Mix
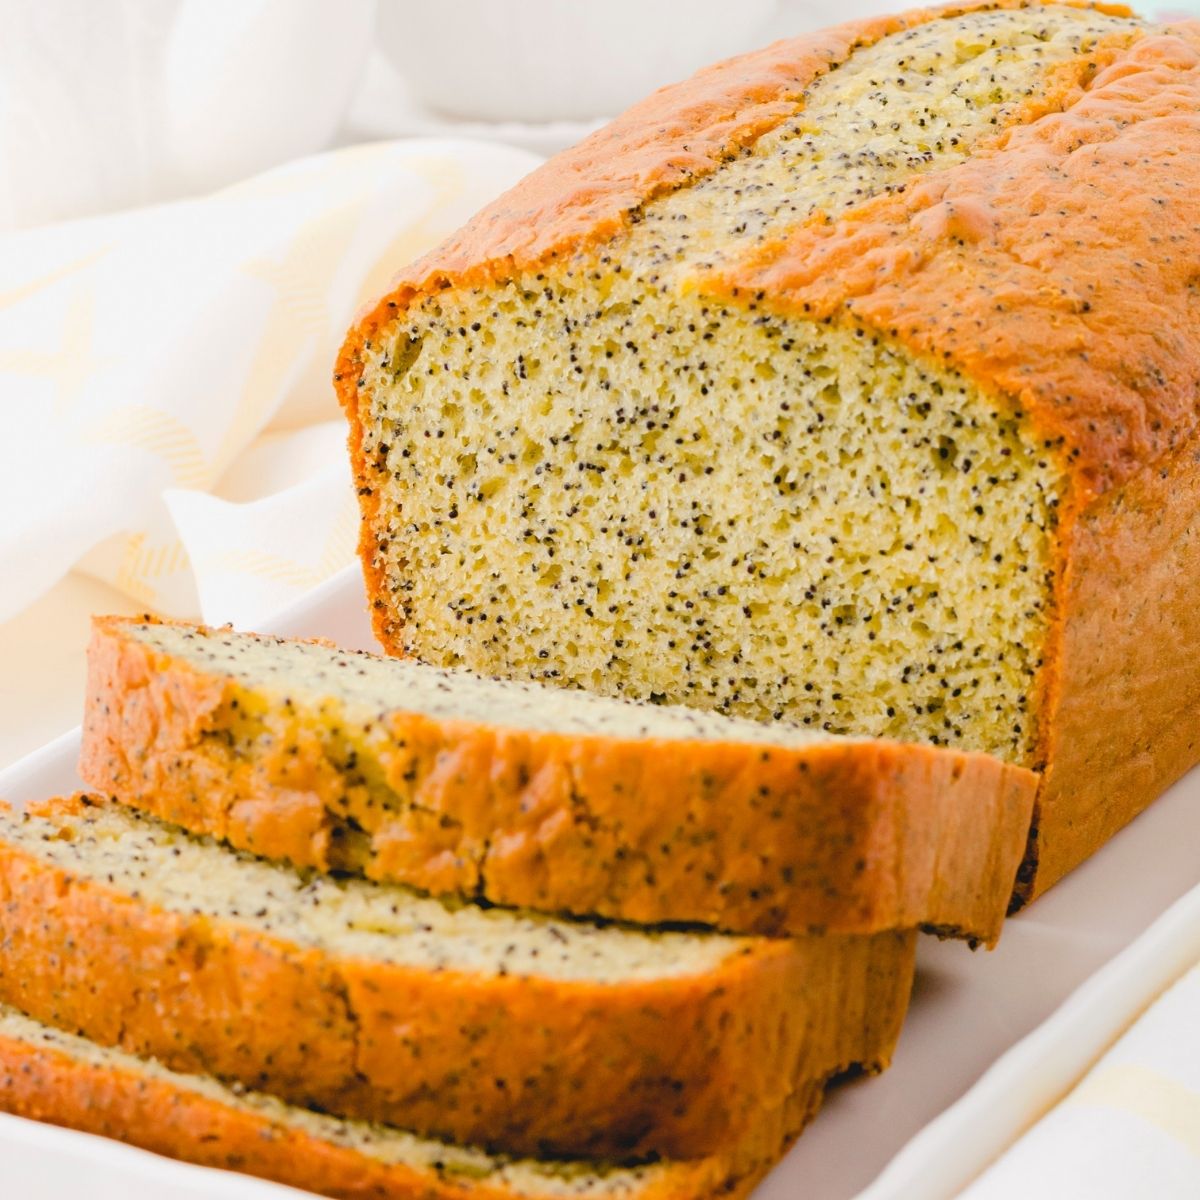
- Poppy Seed Bread with Cake Mix
Want to see some prettier stacked layer cakes?
My photography and cake-making skills have improved since I first wrote this recipe post years ago. I’ve since had the privilege of photographing recipes for other bloggers (and trying out their amazing recipes!). Here are some other stacked cake recipes with much better pictures (that I took;)).
- Chocolate Mayonnaise Cake
- Red Velvet Cake with whipped cream frosting
- Easy Ding Dong Cake recipe