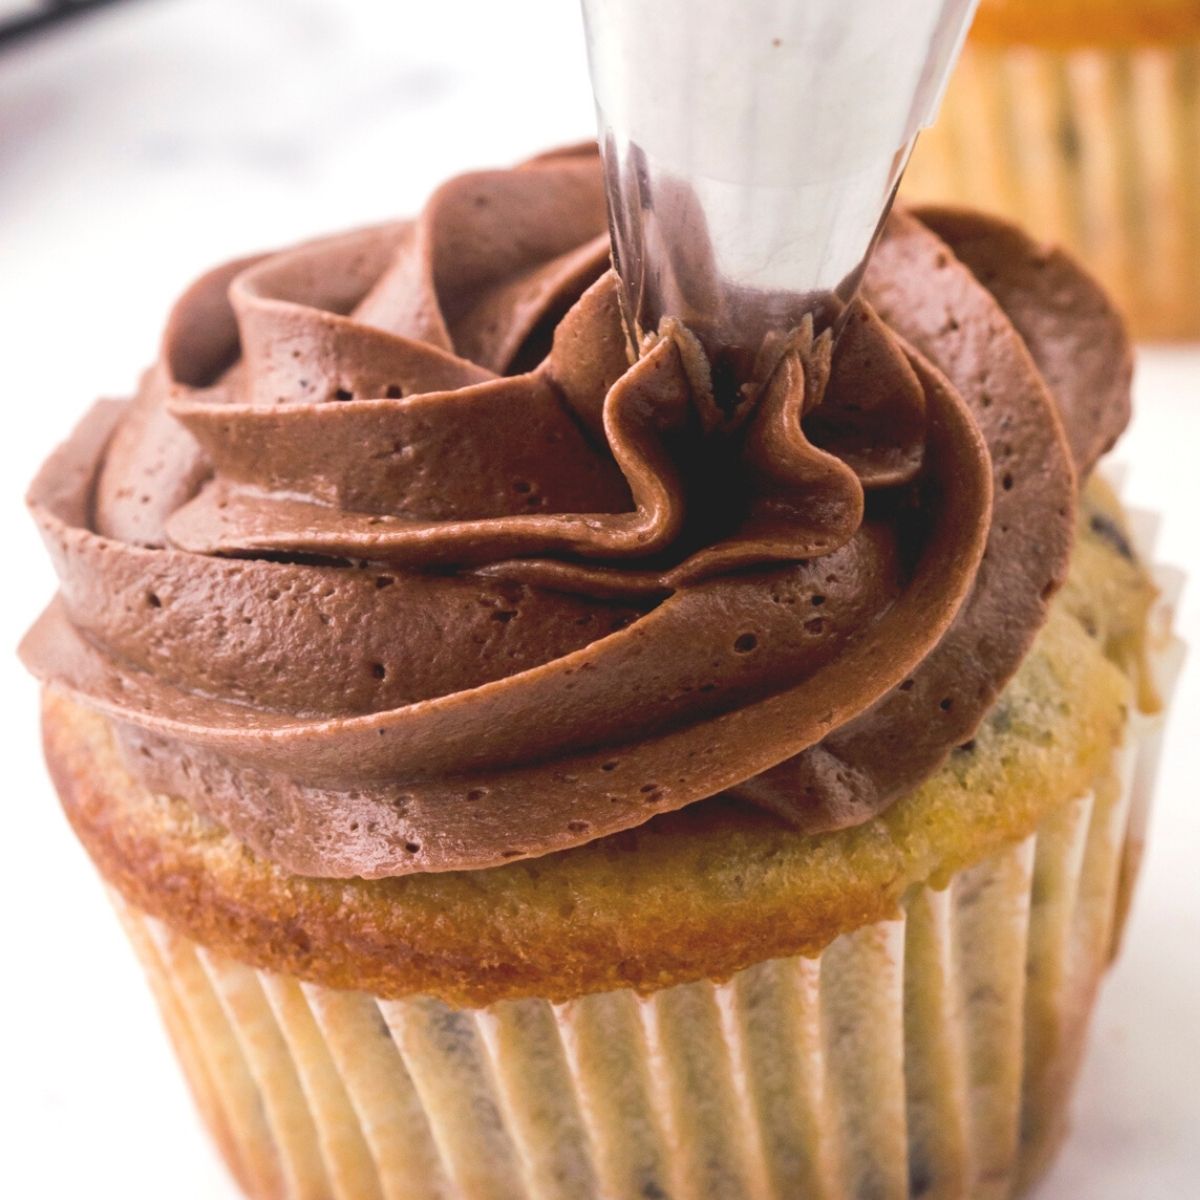
Learn how to frost cupcakes like a pro with these easy steps for using a piping bag.
I wanted nothing to do with frosting cakelike anything after I tried to make an “easy” monster truck cut-up cake for my son.
I worked so hard on that crazy thing, but it caused nothing but trouble.
The cake peeled up along with the frosting, it wouldn’t sit level, and it looked completely ridiculous on the platter with its donut wheels.
“It’s ok, Mommy,” my little 5-year-old son told me, “it just looks like it’s already been in a wreck!” (Bless his sweet little heart.)
The good news is, thanks to my new job as a food photographer, I’ve picked up a whole lot of tips and tricks in the cake frosting department.
Not only have I tackled frosting cakes and cupcakes for photo shoots, I can now honestly say that I actually enjoy it! ;)
Here’s what I’ve learned about frosting cupcakes the easy way – (no wrecks involved! ;). In fact, they turn out beautifully! With the right tools and a little practice, you’ll soon find yourself wanting to make them for any special occasion.
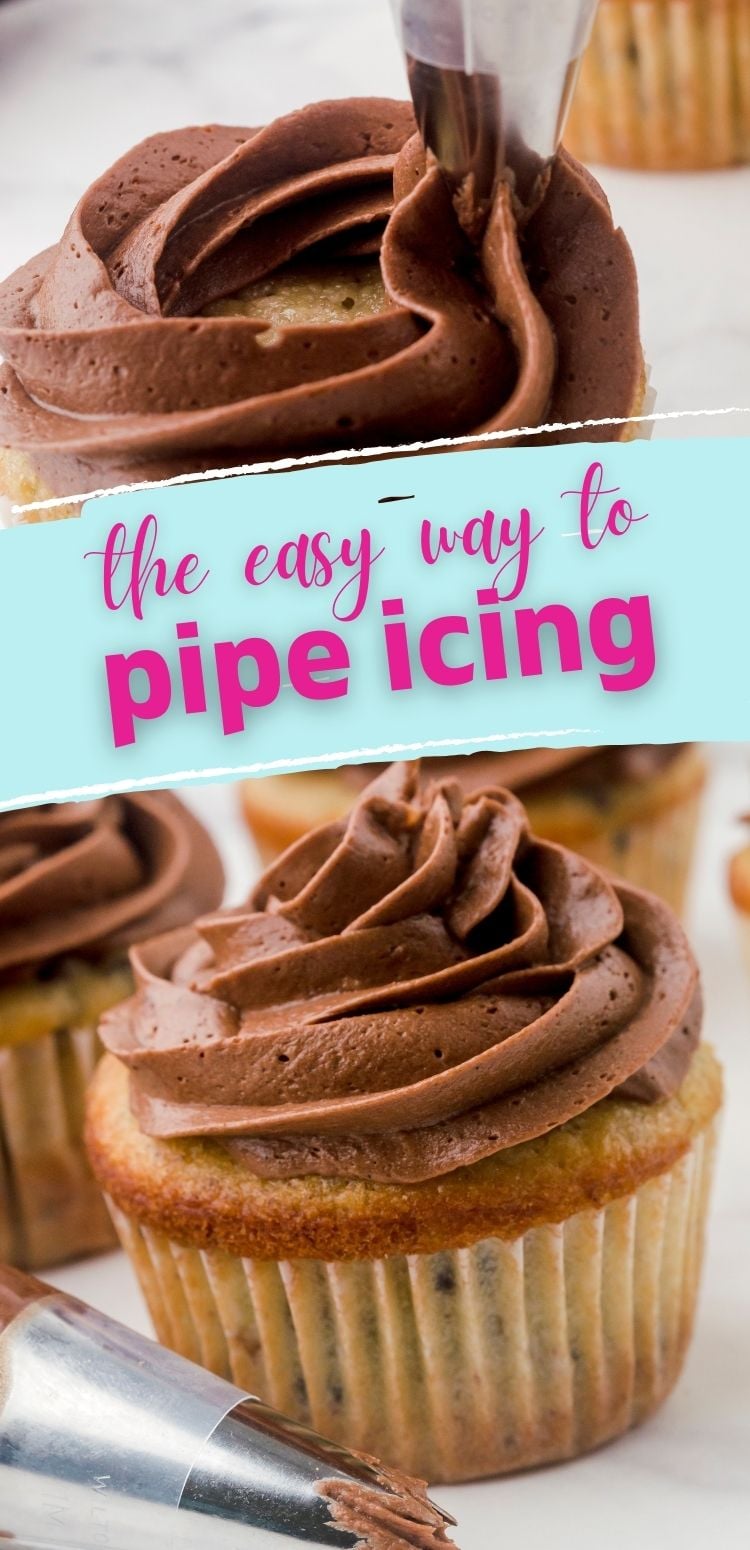
How to Frost Cupcakes the Easy Way!
Supplies and tools needed for icing cupcakes
Disclosure policy: this post contains affiliate links for your shopping convenience.
Whether you’re frosting a cake or cupcakes and would rather not pipe the frosting, I highly recommend a straight icing spatula. Some people prefer offset cake decorating spatulas, but I reach for my small straight spatula the most. It spreads the frosting far more precisely than a butter knife does.
With cupcakes, though, I’ve found that piping on the frosting with a piping bag is actually quicker and easier than spreading it with a spatula, and it looks amazing, too!
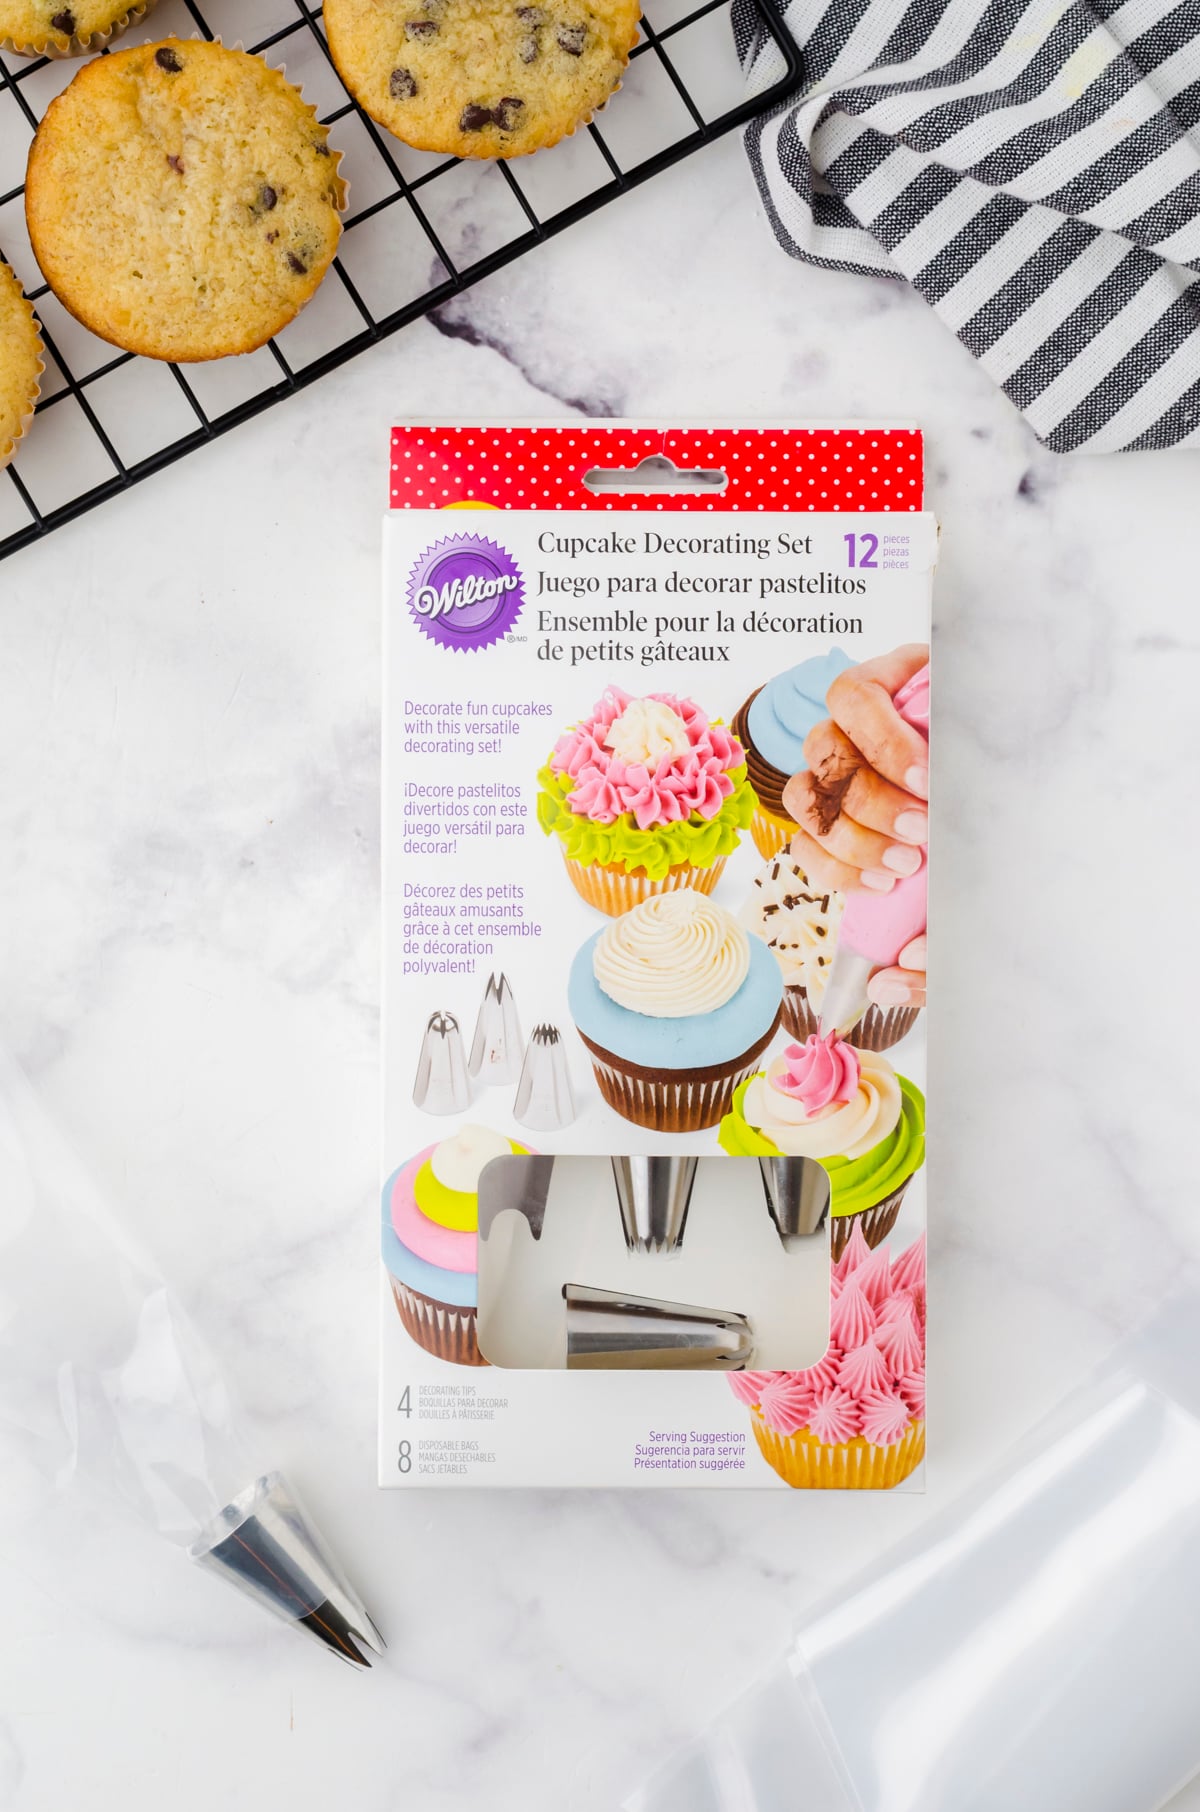
Here are the simple tools you’ll need for piping frosting on cupcakes:
- Piping tips
- Disposable piping bags
Or, you can do what I did and buy a lovely cupcake decorating kit from Wilton. (It’s a very good value, and I love Wilton tips!)
Start with a good frosting that’s easy to work with
One of the biggest keys to beautifully frosted cupcakes is the icing you use. The consistency of buttercream is very important.
If the frosting is too thick, it won’t flow out of the icing bag easily and will make it hard to get a clean design. On the other extreme, thin icing will turn runny and lose its shape at room temperature.
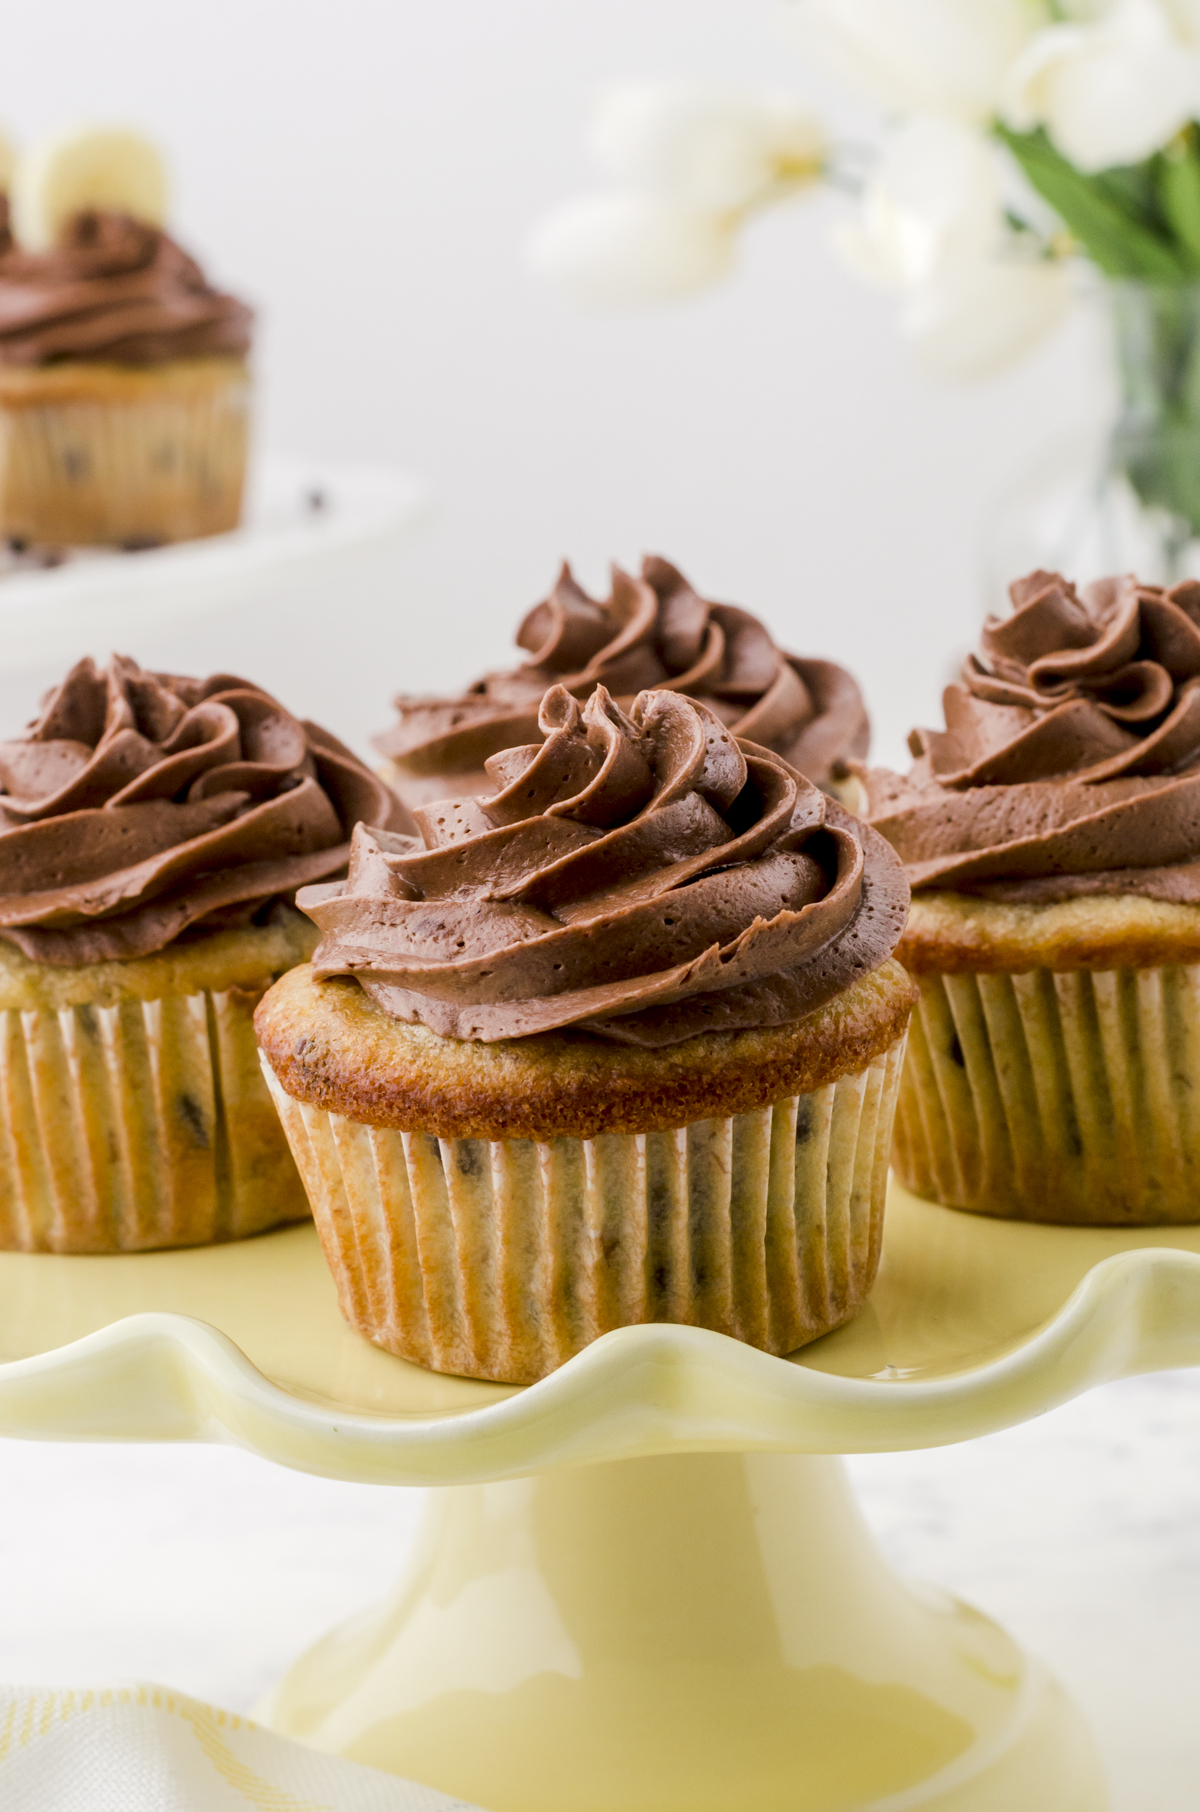
The homemade chocolate buttercream (on this amazing banana chocolate cupcake recipe) I used in these photos was the perfect frosting to work with. Not only was it the ideal consistency, it tasted amazing, too!
If you’re after a light-colored frosting, this lemon frosting looks melt-in-your-mouth amazing!
A step-by-step tutorial for frosting cupcakes with a piping bag
Since I’m a visual learner, I put together a video to walk you through the easy process of frosting cupcakes with a piping bag. You can watch it here or on YouTube, or follow the written steps below it.
Video timestamps:
- Tips for frosting cupcakes with a knife – 18 seconds
- Recommended tools – 40 seconds
- How to put the nozzle in the piping bag – 55 seconds
- How to fill a piping bag – 1:16
- How to pipe a cupcake – 1:38
- How to pipe a cupcake (with an easy swirl) – 2:08
- Put the nozzle (pastry tip) into the piping bag and fill it with frosting.
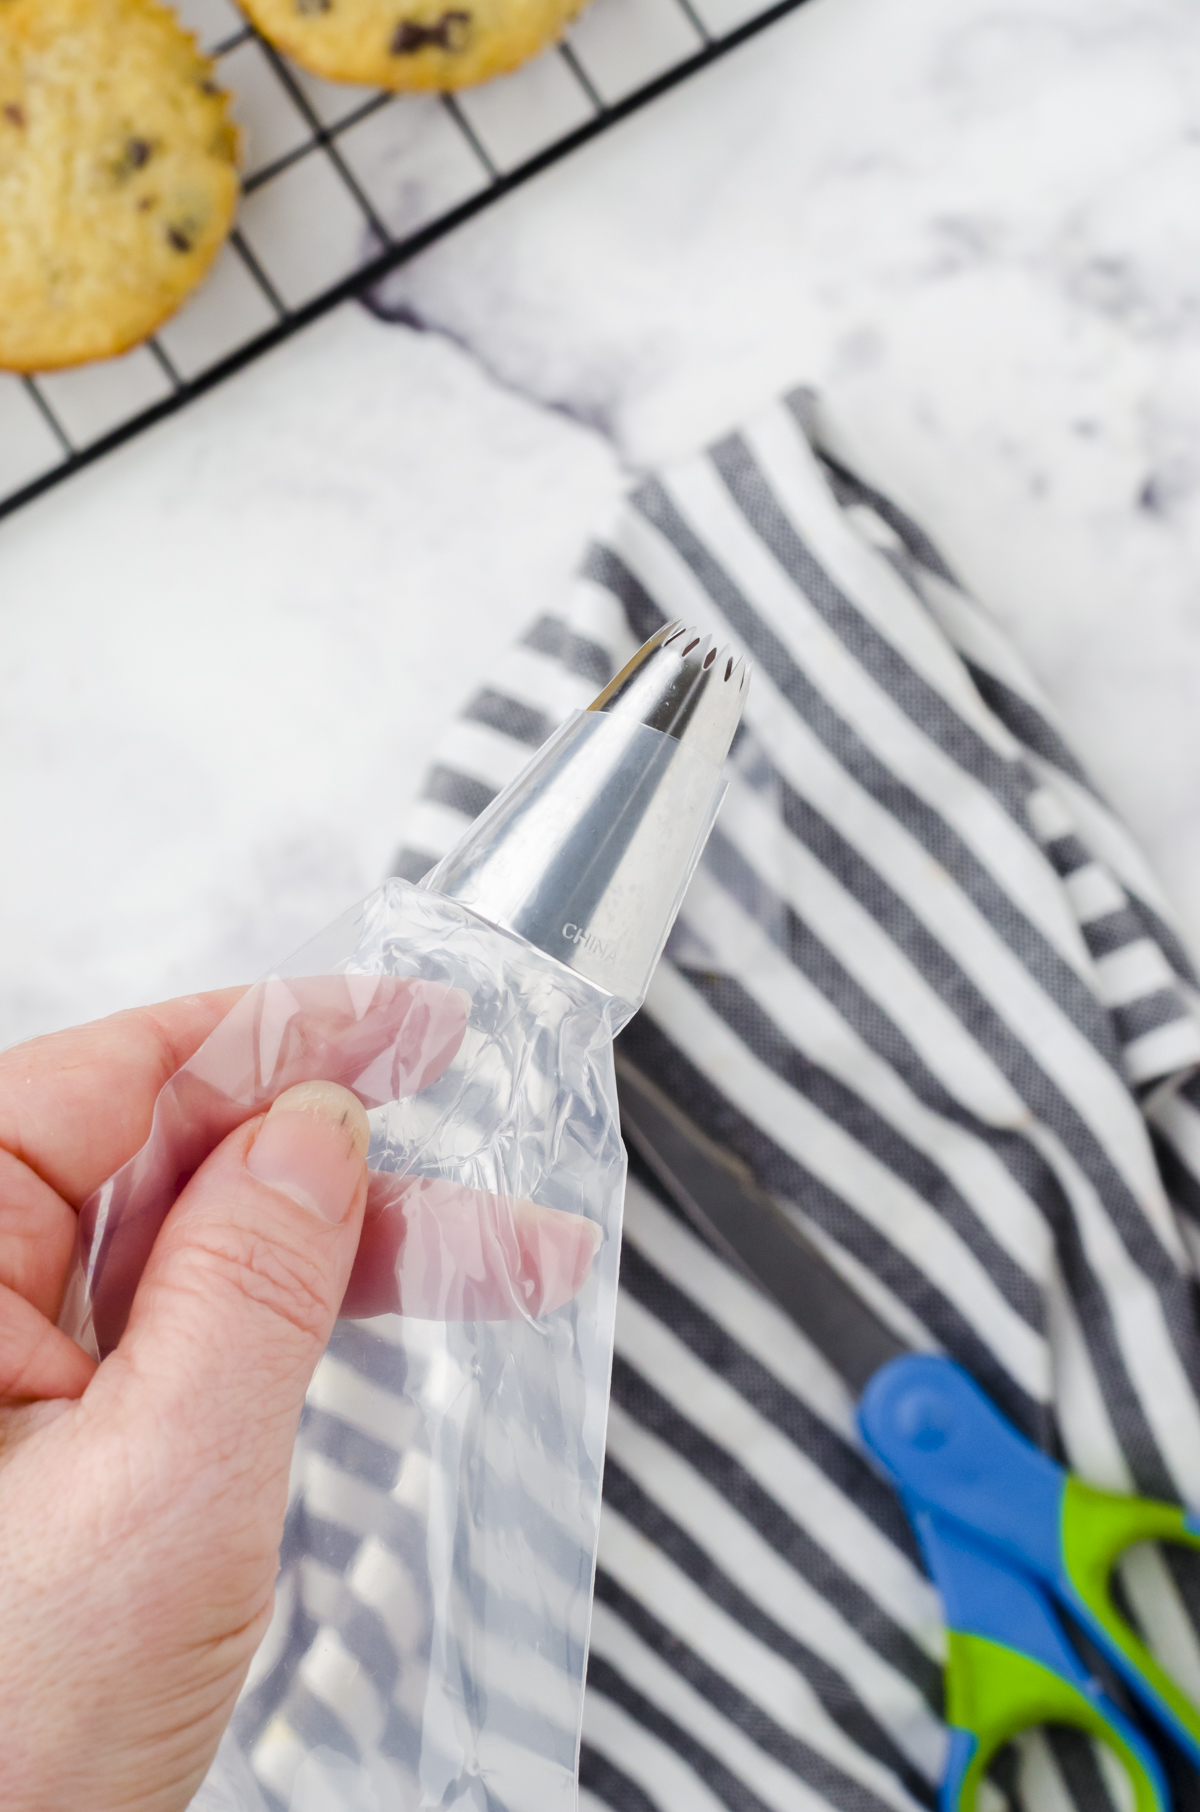
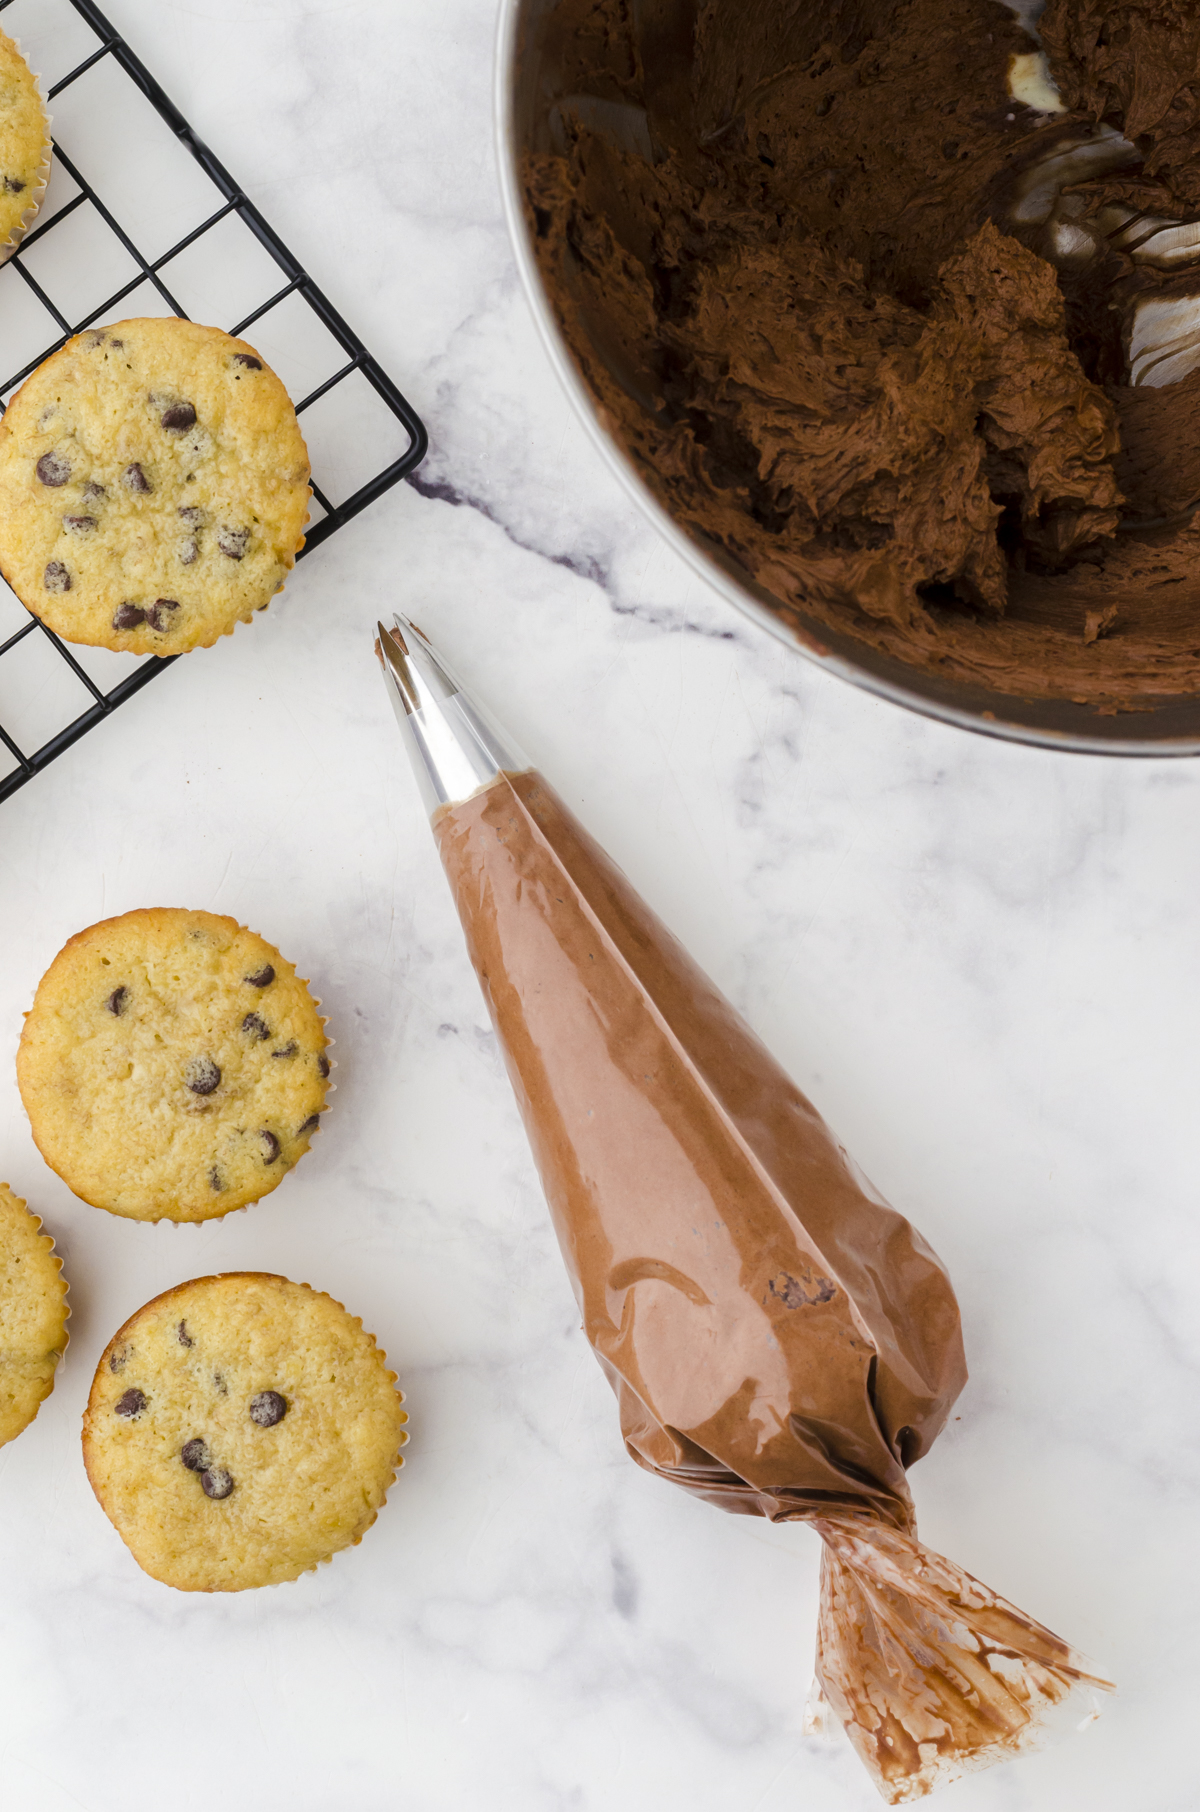
- Cut the end off the disposable pastry bag, then slide the piping tip of your choice down through the opening until it sits snugly at the bottom of the bag.
- Fill the piping bag with a generous amount of frosting.
**Tip: The easiest way I’ve found to fill a pastry bag is to stand it up inside a tall cup and fold the top edge of the bag over the rim. Spoon the frosting in with a spatula, remove the bag from the cup, and push the frosting down toward the tip until it just starts to come out the bottom. Twist the bag tightly right above the level of the frosting.
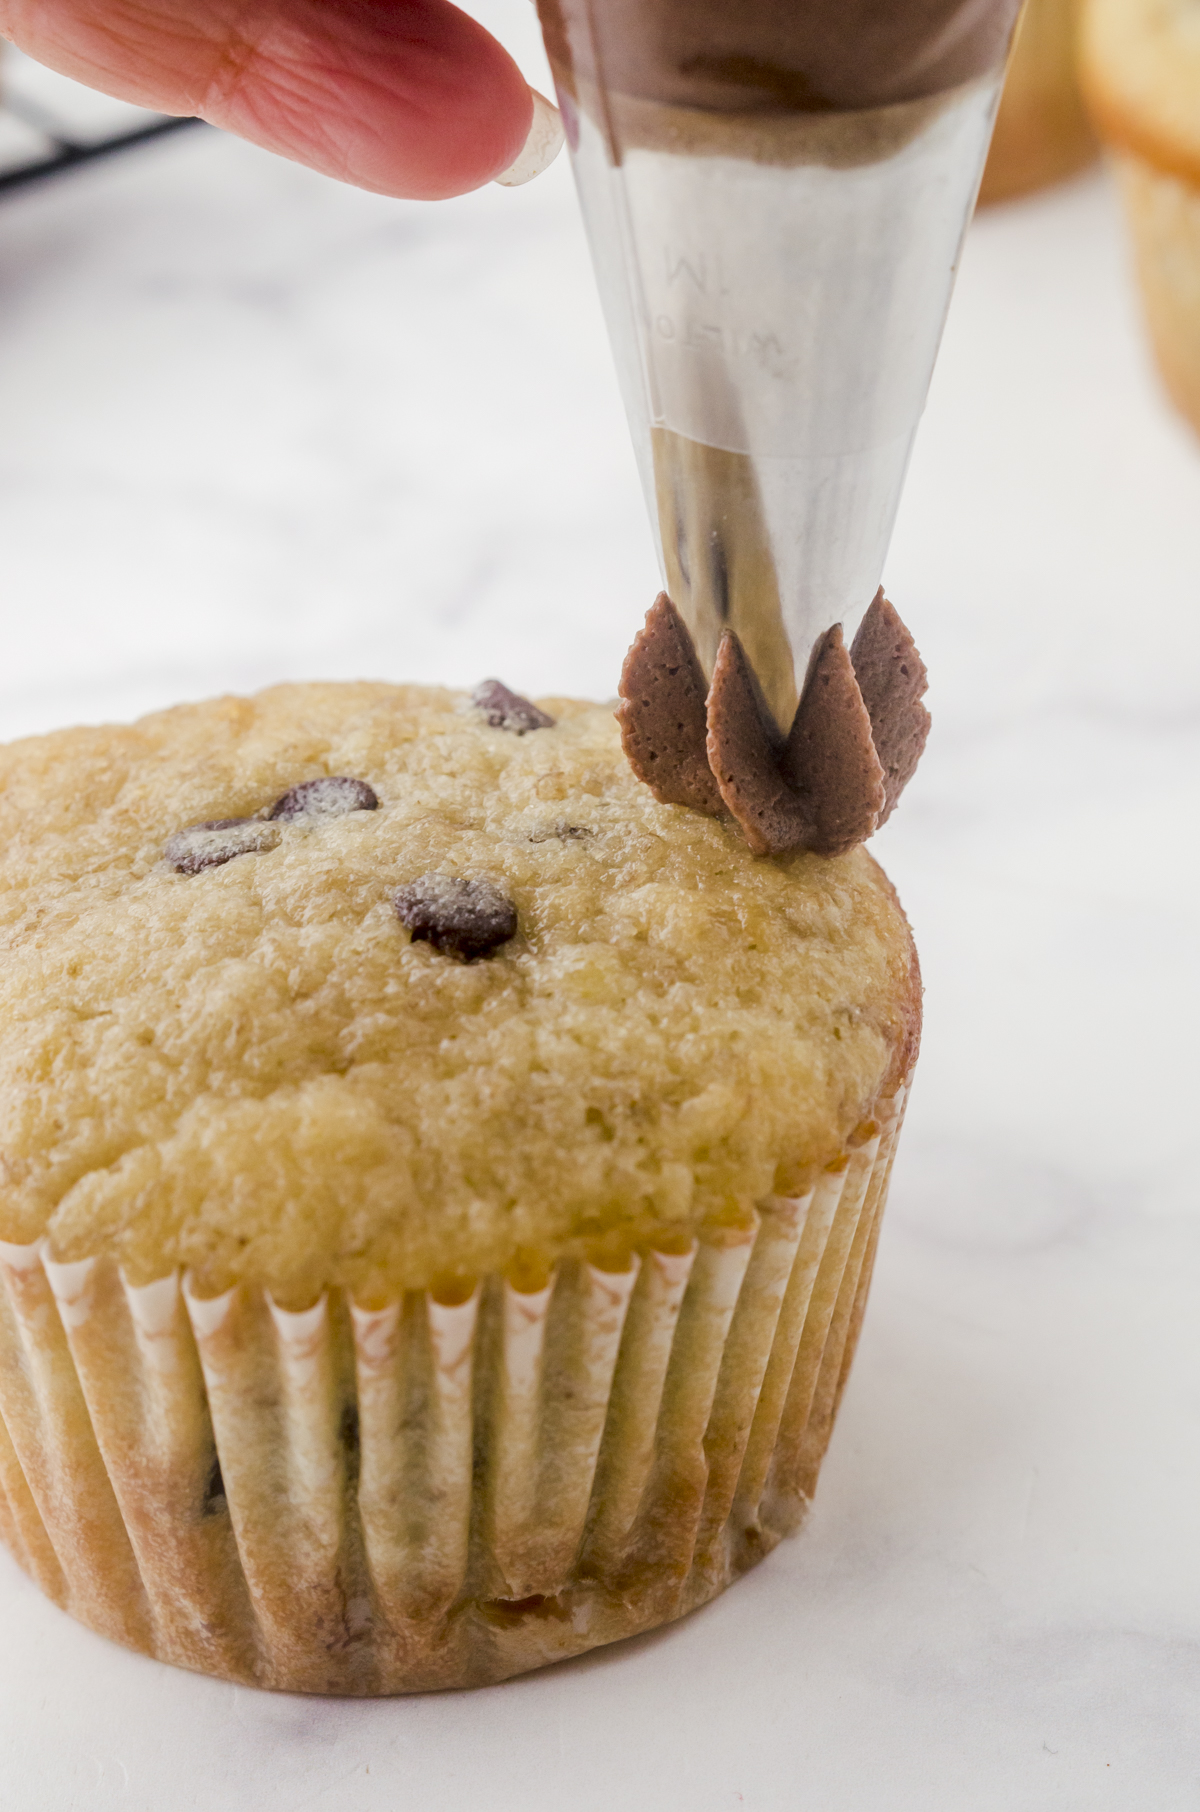
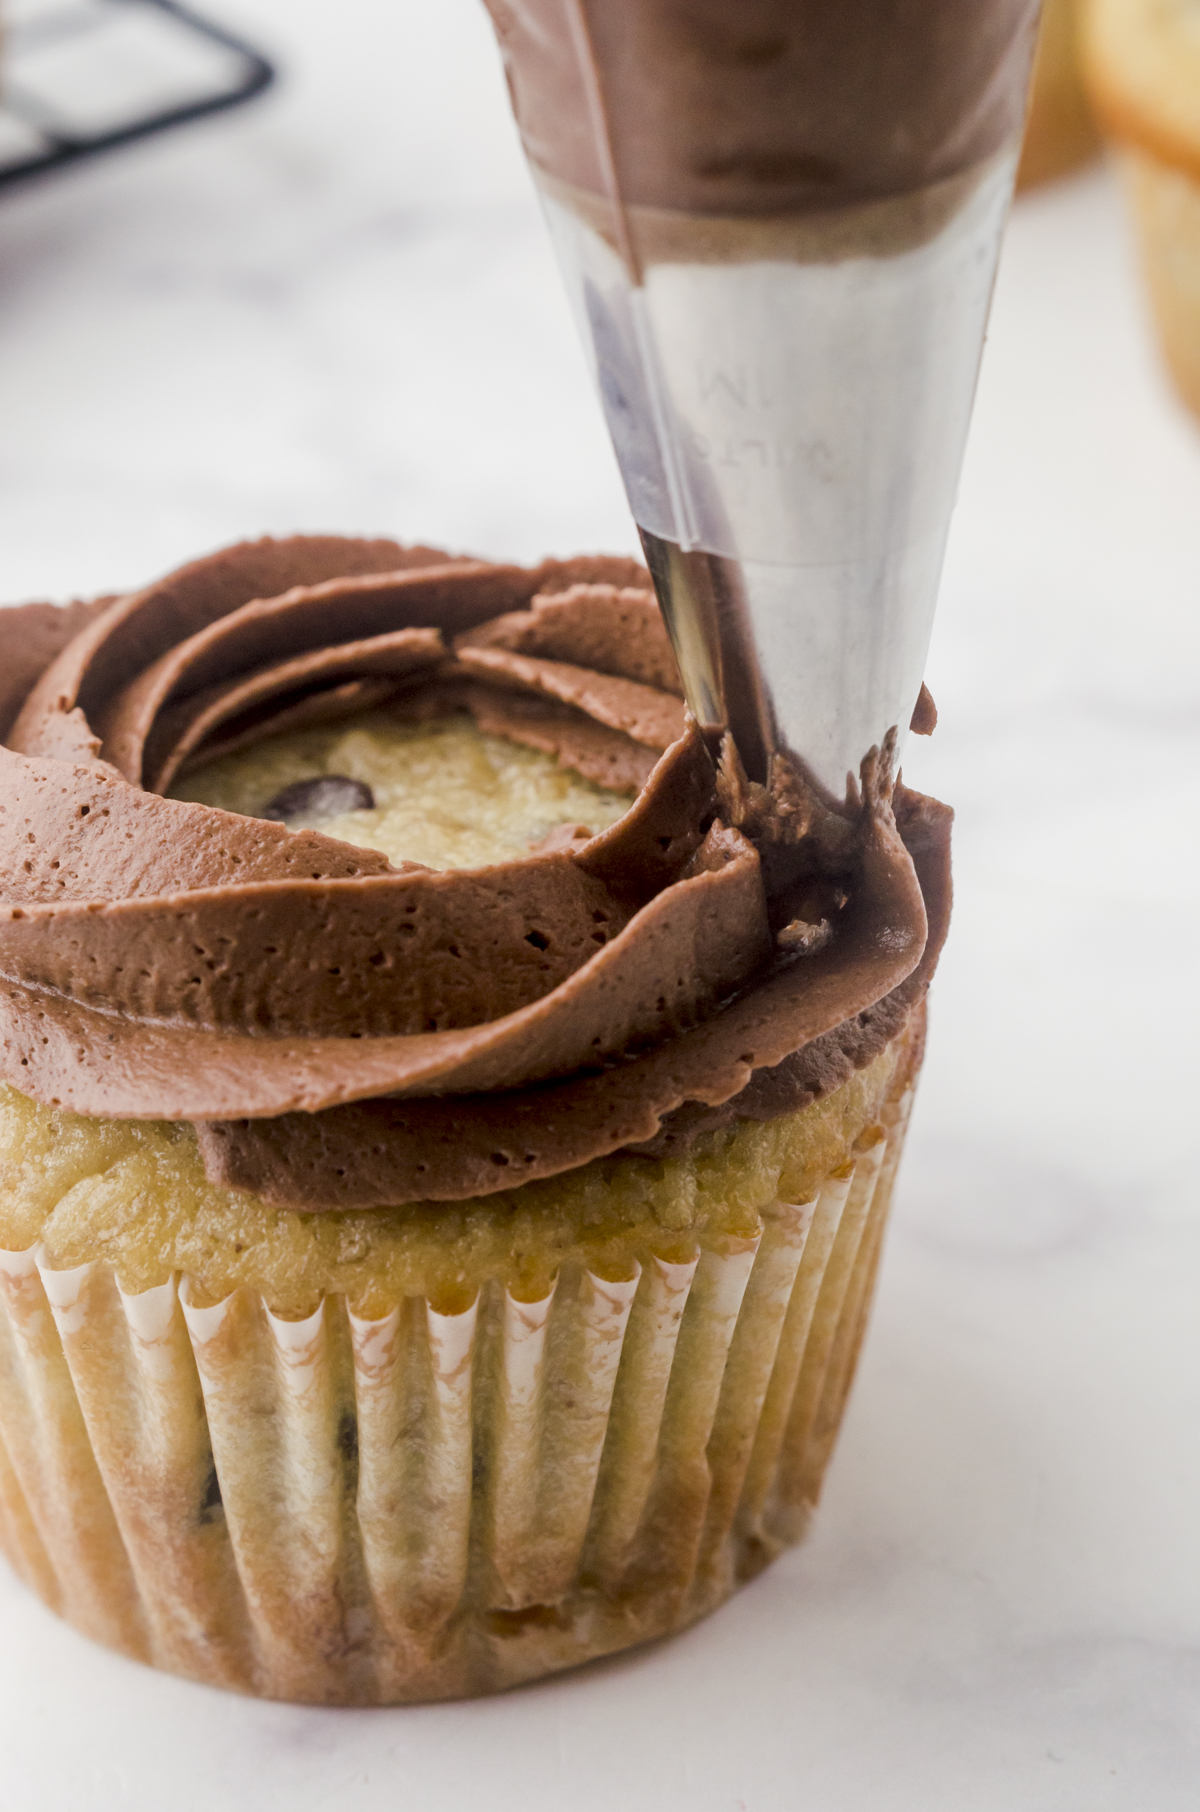
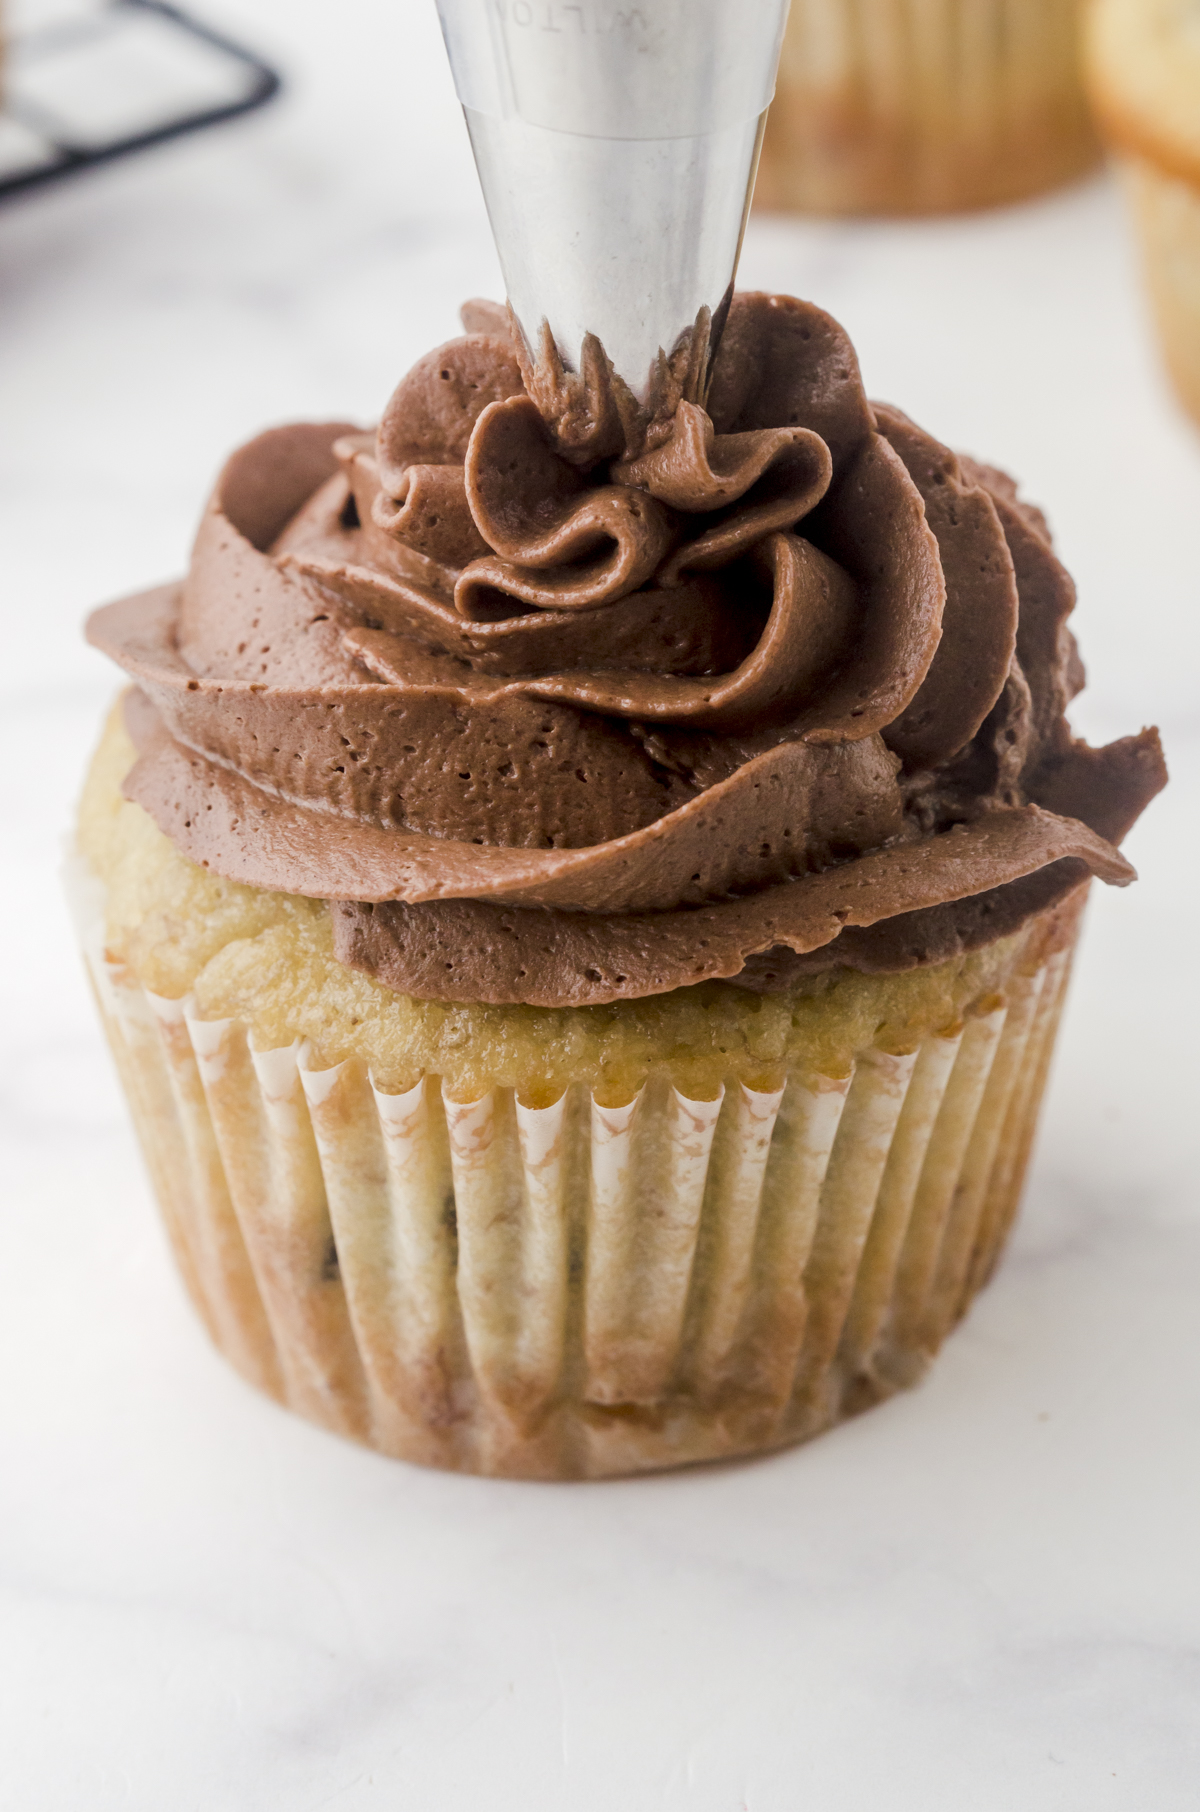
Use your dominant hand to squeeze out the frosting and your other hand to guide it. Hold the piping bag straight up at the 3 o’clock position and start on the outside edge of the top of the cupcake. Gently squeeze and move the frosting in a circle around the cupcake.
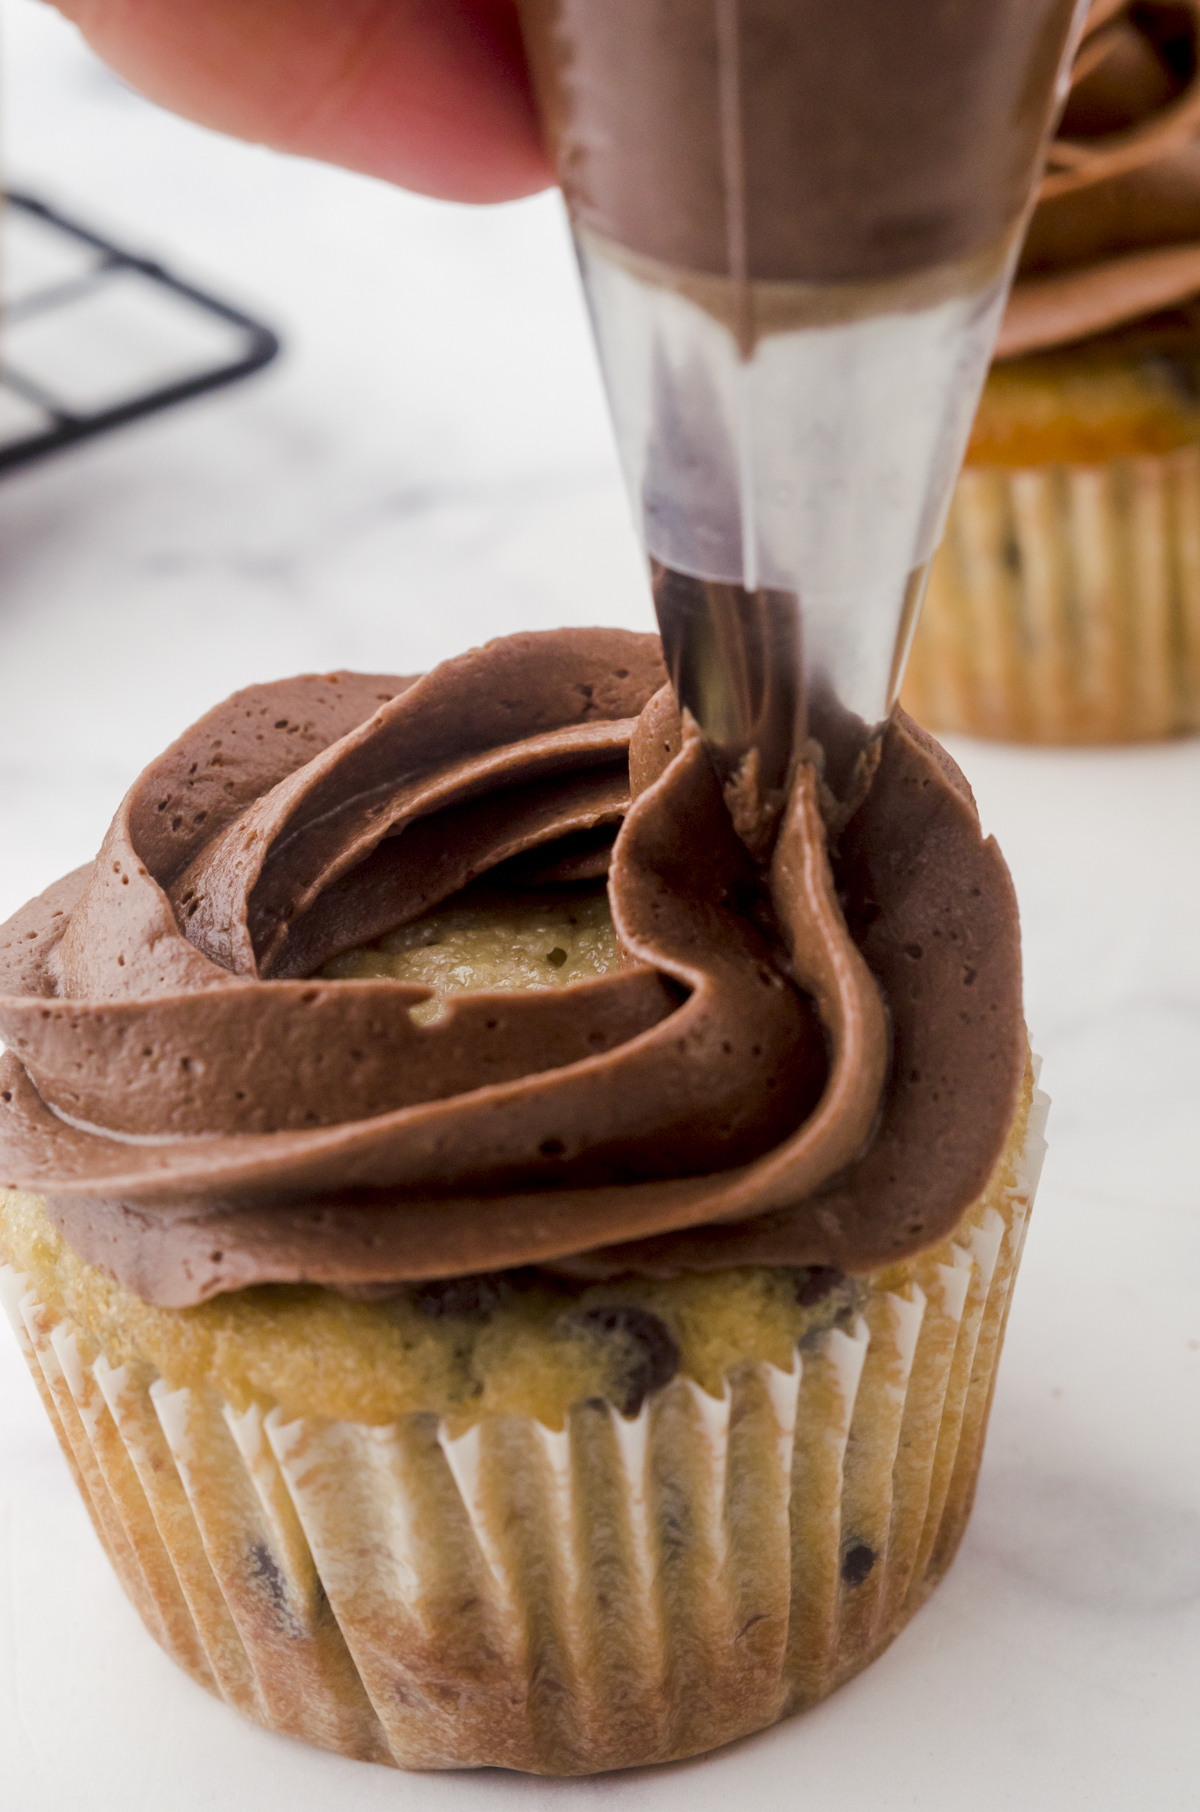
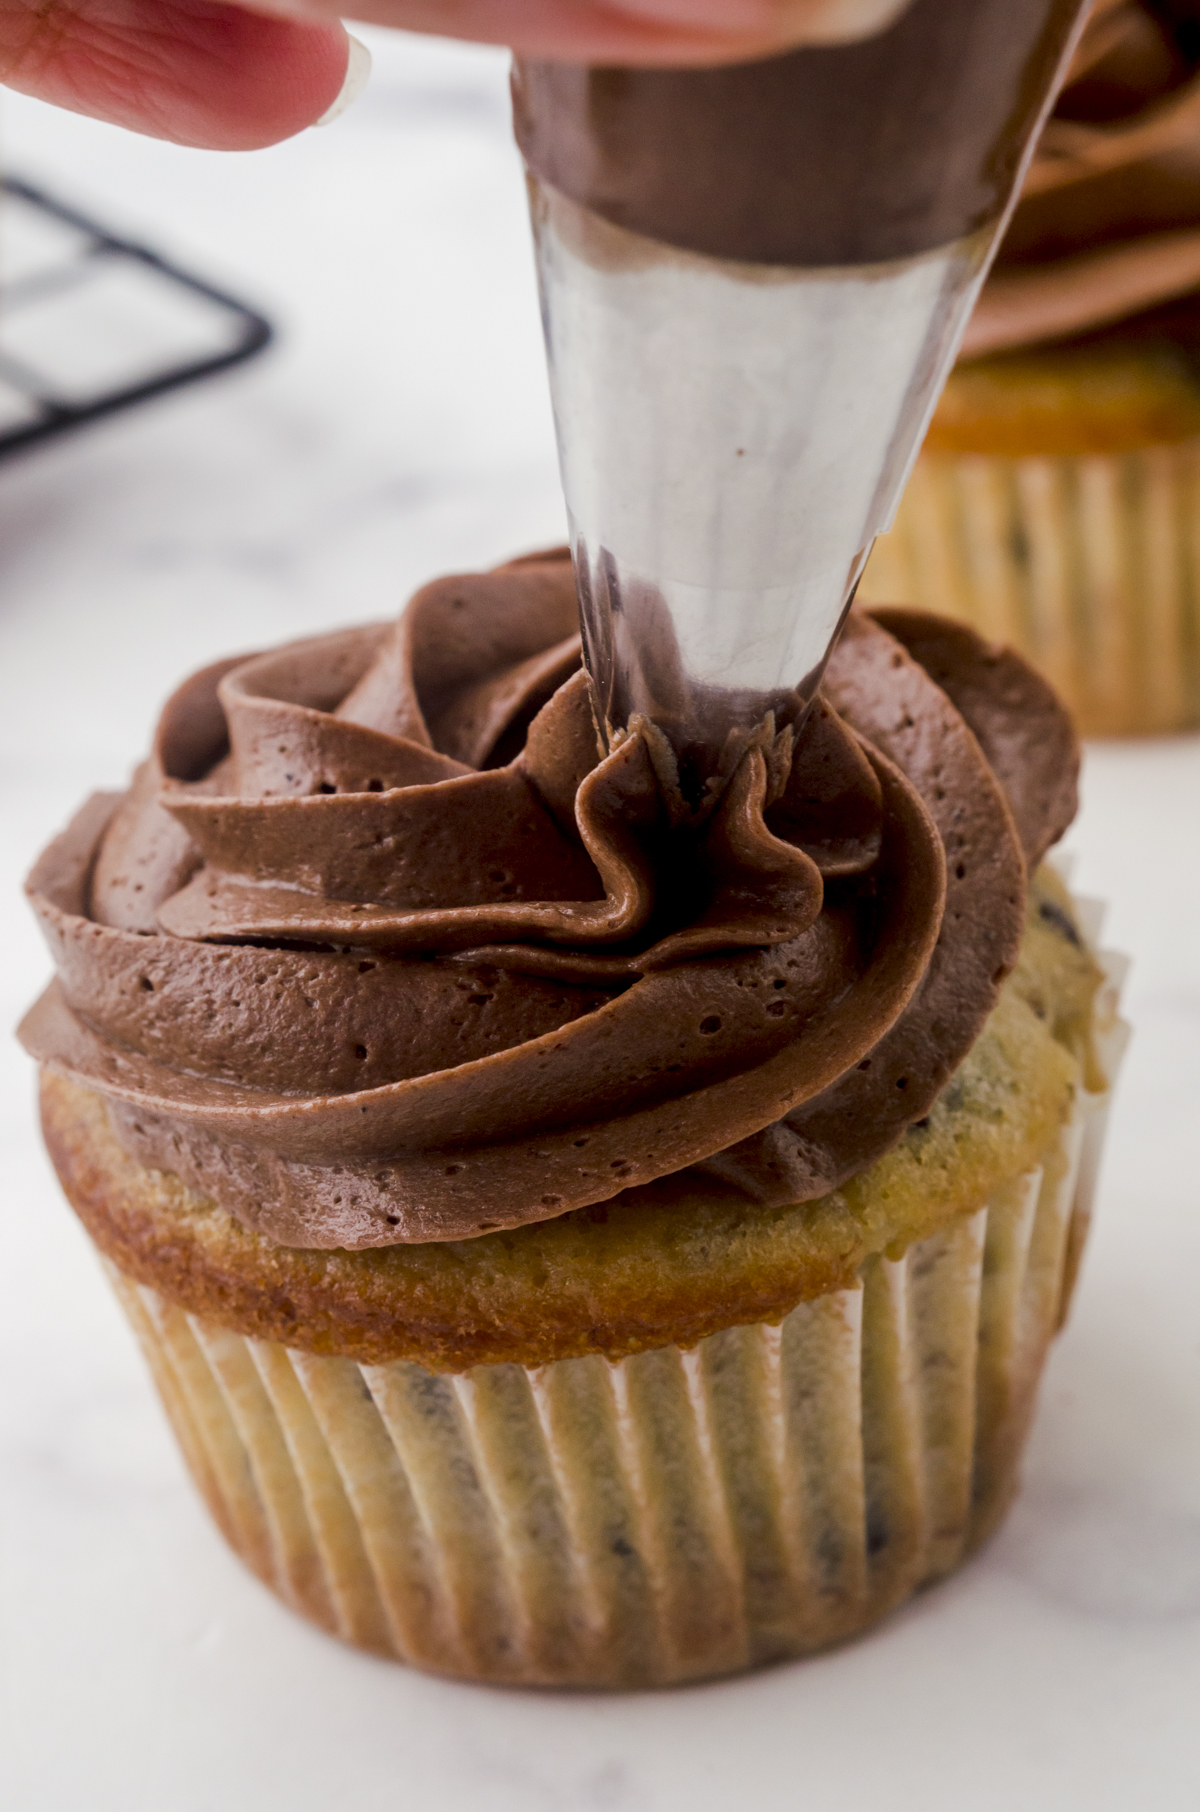
As it flows onto the cupcake, move the bag clockwise in smaller and smaller circles, ending at the center. Then lift the tip straight up and off the top of the frosting to form a nice classic swirl.
Creative ways to decorate the tops of cupcakes
Once the frosting is on, there are plenty of ways to add more decoration if you like. You can use edible décor that hints at the cupcake’s flavor. Here are a few ideas:
- mini chocolate chips
- banana slices
- strawberries
- raspberries
- chocolate curls
- coconut
- crushed nuts
- little straws – like in these pink lemon cupcakes! (They are SO GOOD!)
Or you can use colored sugars, sprinkles, or sugar pearls for a sparkly finish.
I hope this helps as you begin your cupcake decorating journey. Enjoy!
More Baking & Cooking Tips
- How to freeze layer cakes (to make frosting so much easier!)
- How to sift flour and dry ingredients without a sifter
- How to use wax paper in your kitchen
- How to freeze mushrooms (a handy meal prep tip!)
- How to freeze avocados (so you never waste another one again)
- How to boil water in the microwave safely.
- This easy pudding mix frosting spreads beautifully without any piping!
For more recipes, crafts, and ideas for your home all year round, become a VIP!
Become a VIP newsletter subscriber for instant access to the library of free printables (including wall art, gift tags, and more!). Click here or the button below to join today.