How to Clean an Electric Coil Stovetop: Quick, Safe, Step-by-Step Guide
Say goodbye to tedious scrubbing. This clear, fast method will help your electric coil stovetop shine again—without frustration. Follow these safe steps and a few helpful tips to keep your stove clean and functioning well.
I still remember the first time I opened an apartment kitchen and saw the filthiest coil stovetop I’d ever encountered: dark, greasy rings around each element and baked-on spills filling the drip pans. It took a little time, but once I discovered the built-in features of most electric stoves, the whole job became surprisingly simple.
Why regular cleaning matters
Grease and food residue not only look unpleasant, they can burn, smoke or even become a fire hazard. Regularly cleaning the coils, drip pans and the area beneath the cooktop keeps the appliance working efficiently and prevents unpleasant odors. Best of all, most electric coil stoves have simple features that make deep cleaning much easier than it looks.
Step-by-step instructions for cleaning an electric coil stovetop
Materials
- Microfiber or other soft cleaning cloths
- Non-scratch scrub pad or a spirisponge
- All-natural cleaning paste or baking soda
- Dish soap and a basin of hot water
- Optional: disposable drip pan liners for easier upkeep
1. Safety first: Turn off and cool down
Make absolutely sure all burners are switched off and completely cool before you touch them. Hot coils will burn your hands.
2. Remove the electric stove burners (coil elements)
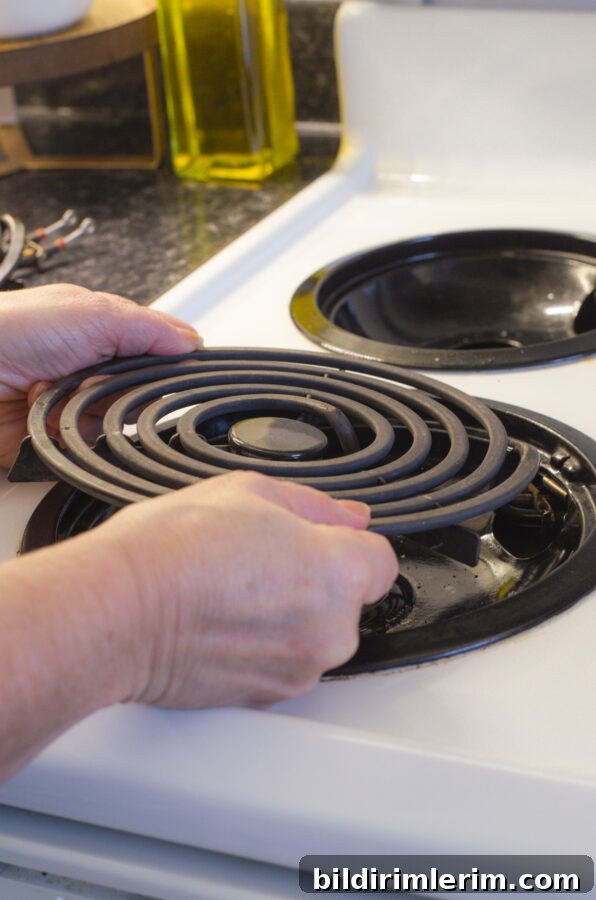
- Gently lift one edge of a cold coil element and pull it away from the socket where it plugs in.
- Set each element aside on a protected surface. Most coils lift out easily without tools.
- If a coil needs cleaning, wipe it gently with a damp cloth and a mild cleaning paste—avoid soaking electrical connections.
3. Remove and clean the drip pans
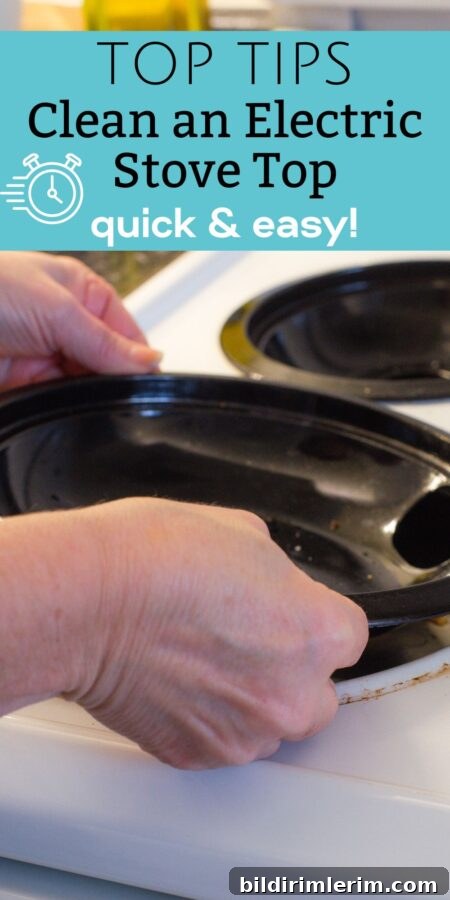
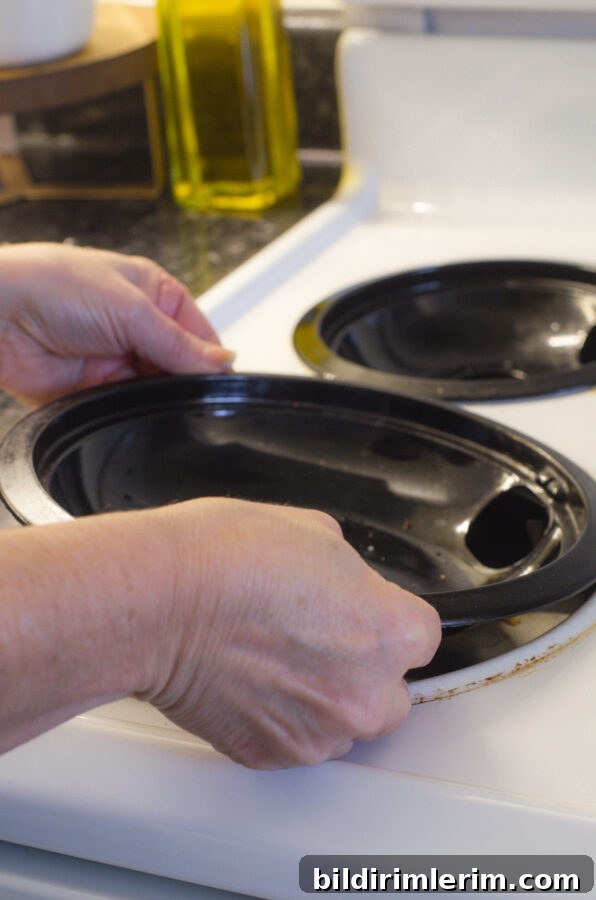
Once the coils are out, lift each drip pan straight out. For baked-on grease or food:
- Soak drip pans in hot, soapy water to loosen residue.
- Use a non-scratch scrub pad with a gentle cleaning paste or baking soda to remove stubborn spots.
- Rinse thoroughly and dry before returning them to the stove.
For easier maintenance, consider using disposable pan liners that fit inside the drip pan to catch spills; replace liners as needed.
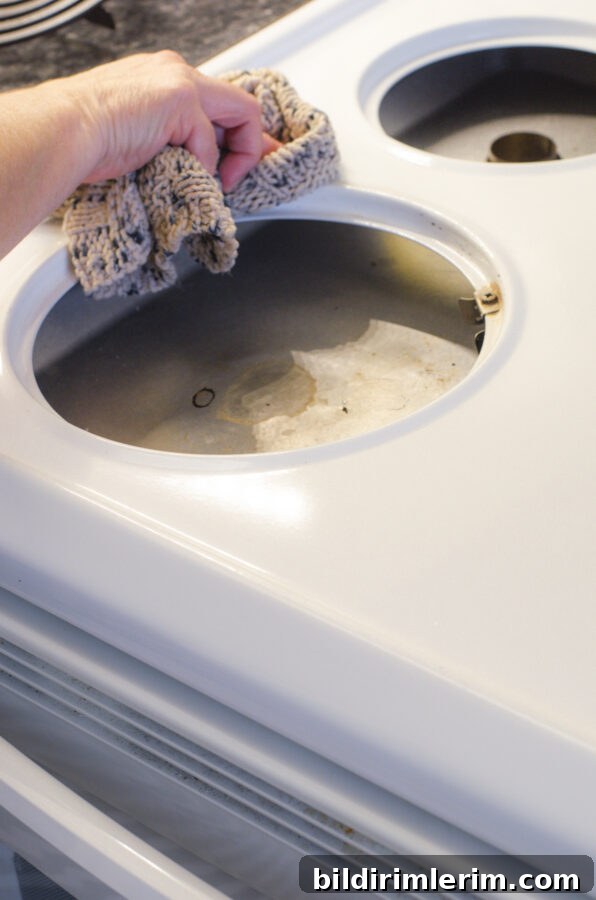
4. Clean the stovetop surface
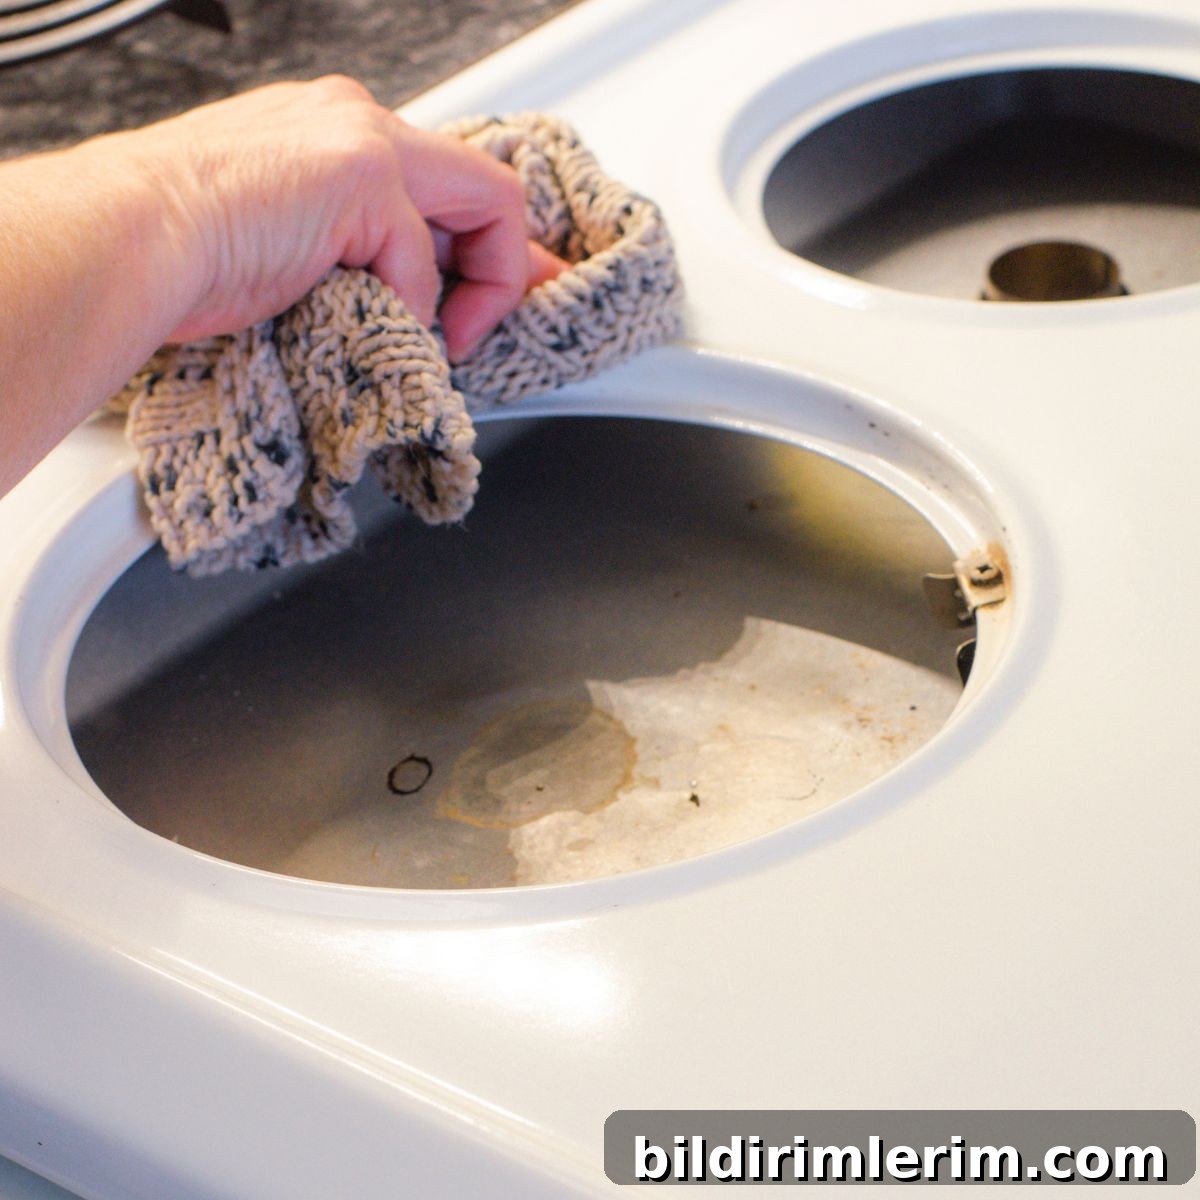
With drip pans removed, wipe the stovetop surface thoroughly. You’ll often find concentrated grime where each drip pan and coil sits.
- Start with a cloth and warm, soapy water to remove loose dirt.
- Apply baking soda or a small amount of cleaning paste to stubborn stains and scrub gently with a non-scratch pad.
- Wipe clean with a damp microfiber cloth and dry to prevent streaks.
5. Lift the stovetop to clean underneath
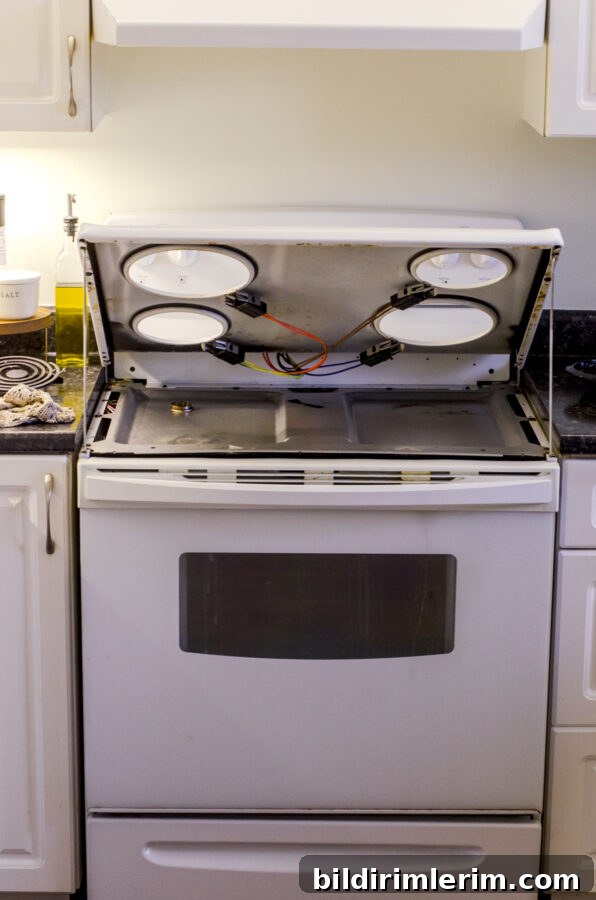
Many electric stoves have a hinged top that lifts like the hood of a car. Gently lift the edge of the cooktop; it will usually stay open on its support arms.
Cleaning underneath the top is essential: grease and crumbs collect there and can create odors or hazards if left in place. Use a cloth or gentle scrub pad and a little soapy water to remove grime from the underside, the sides that meet the countertop, and around the element sockets. Dry thoroughly before lowering the top.
6. Reassemble the stovetop
- Gently lower the stovetop until it clicks back into place.
- Replace dry drip pans and slide each coil back into its socket, making sure elements sit securely.
- Wipe the entire surface once more with a dry microfiber cloth for a final shine.
That’s it—your electric coil stovetop should now be clean, safe and ready for cooking.
Practical cleaning tips and product guidance
Choose non-scratch tools and mild, natural cleaners to avoid damaging finishes. Microfiber cloths remove grease with less effort and fewer chemicals. Baking soda is an inexpensive, effective option for scouring stains, while an all-natural cleaning paste can handle tougher baked-on residue. Avoid wrapping drip pans in aluminum foil—this may trap heat or cause other issues with certain models.
Personal note: Teaching basic care
During years of teaching housekeeping at a camp and retreat center, I realized many young adults hadn’t been shown simple appliance care. Opening that apartment with the filthy stovetop became a small lesson in how a few straightforward steps make regular cleaning quick and painless. Once we lifted the top and cleaned together, everyone could see how much easier maintenance can be.
Other cleaning tips to explore
- How to keep laundry smelling fresh
- Quick routines for a clean house
- Best methods for cleaning glass shower doors
- Simple grout-cleaning techniques for tile floors