
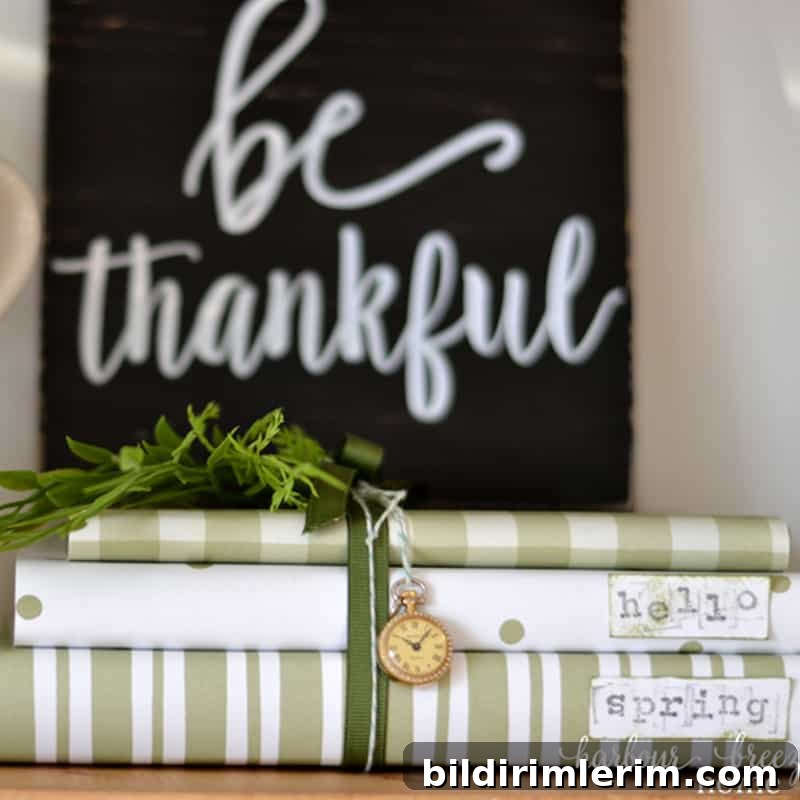
Wondering what to do with the scrapbook papers you’ve collected over the years? Try a quick paper-covered book project — an easy Spring decor DIY you can complete in under 10 minutes. Below is a straightforward method for how to cover books with paper and style them for seasonal displays or simple gift-giving.
While organizing my Craft Room & Office, I rediscovered a stash of scrapbook paper and inks. Since we recently downsized our home, I’ve adopted a strict “use it or lose it” approach to craft supplies. I didn’t want to part with my prettiest papers, so I pulled them out and experimented with new ways to use them. This quick project was the first — and it took less than 10 minutes to complete.
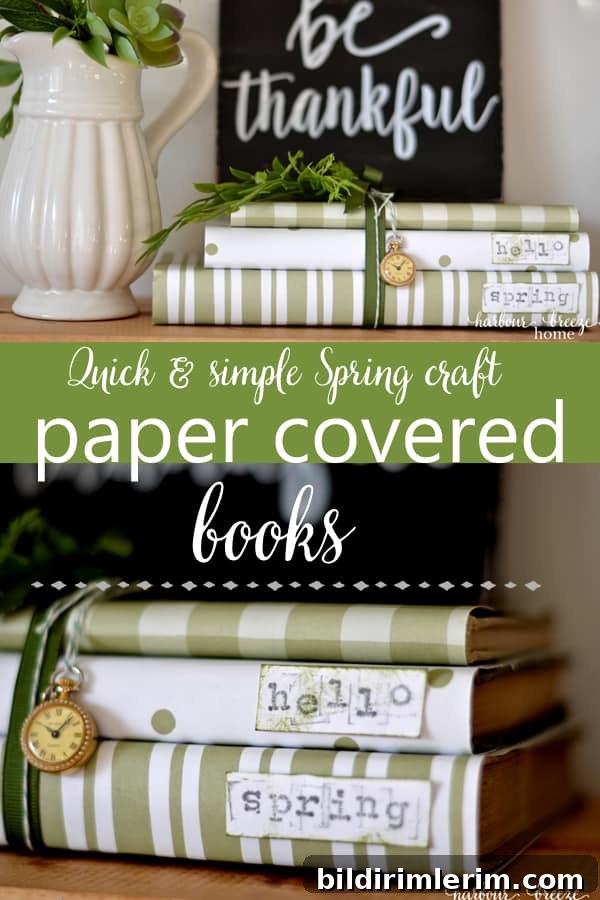
Paper Covered Books — A Simple Spring Decor DIY
Supplies for paper covered books:
- Paper — choose colored or patterned scrapbook paper, wrapping paper, or brown craft paper for a rustic look.
- Books — any hardcover or paperback books will work; choose sizes that stack or display nicely.
- Optional tools — scissors or a craft knife, ruler, pencil, double-sided tape or glue stick, and a bone folder or the edge of a credit card for crisp folds.
The paper I used was lightweight scrapbook paper I’d saved from years of crafting. If you don’t have a stash, similar paper is easy to find at craft stores or budget retailers. Wrapping paper or kraft paper also makes attractive, budget-friendly covers.
How to cover books with paper
Step 1 — Cut the paper to fit, leaving about 1 inch extra on each side to fold over the covers.
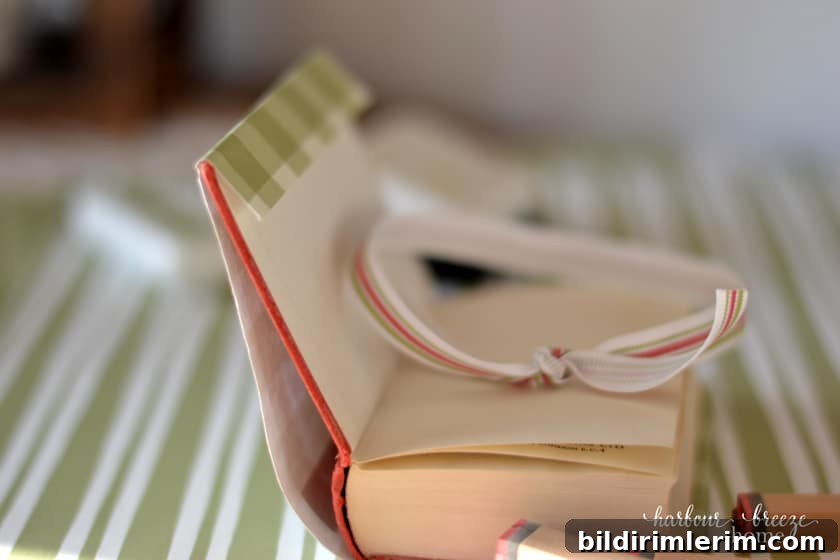
Measure the height and width of the book cover and add roughly 1 inch (2.5 cm) to the top and bottom so the paper can be folded neatly over the covers. Trim the paper to these dimensions. Using a ruler and a craft knife or sharp scissors will give the cleanest edges.
Step 2 — Wrap and secure the paper
Lay the book face down on the paper centered horizontally. Fold the long edges over the front and back covers, pressing the folds flat with a bone folder or the edge of a credit card. Secure the overlapped paper inside the cover with double-sided tape or a thin line of glue. If the pages are valuable or delicate, protect the spine and pages by tucking a small flap of paper inside the front and back covers only, rather than gluing near the binding.
Add a custom label or spine text (optional)
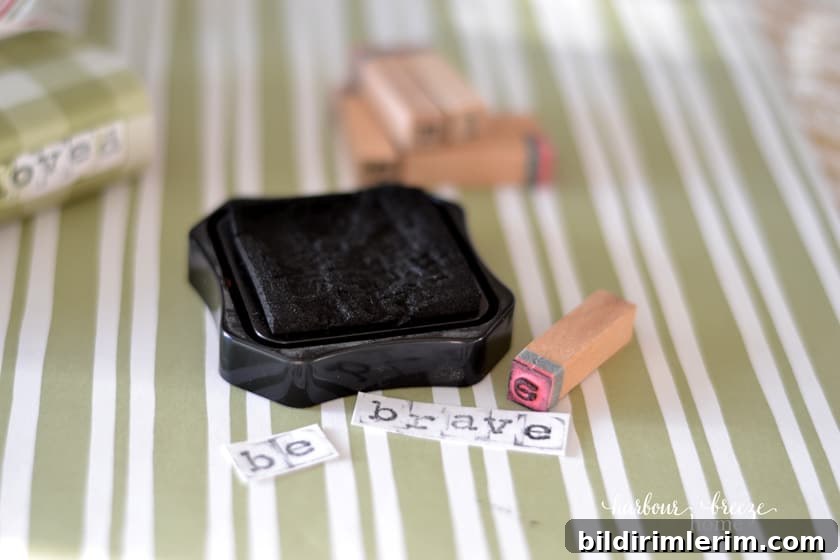
This is an optional, fun step. Use rubber letter stamps and ink pads to stamp a title or short phrase on a strip of cardstock, then adhere it to the spine or front cover. You can also write a handwritten title with a fine marker for a more organic look.
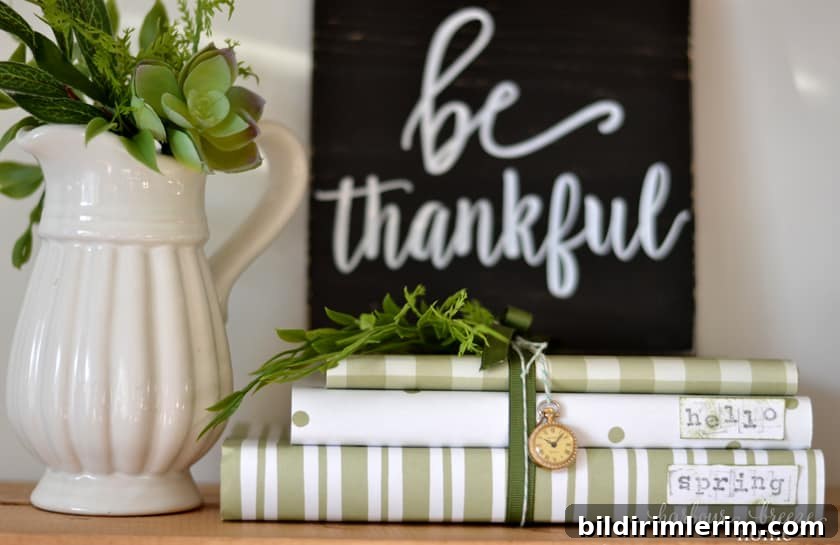
Step 3 — Add ribbon and embellishments
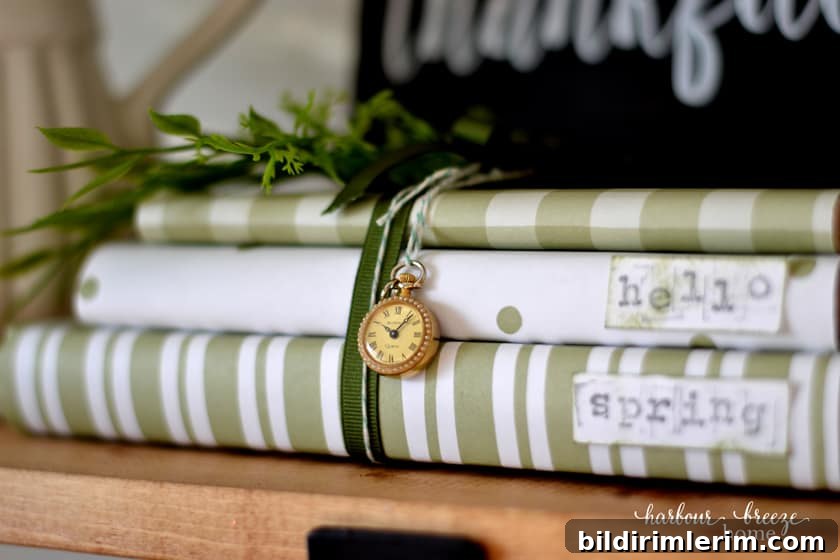
Tie a ribbon around a stack of covered books or attach a bow to a single book. Embellish with bakers twine, a small charm, a faux flower, or a vintage watch for seasonal flair. These accents personalize the books and help them fit into your Spring decor.
Styling and display ideas
I tied a small antique watch to one book as a playful nod to the upcoming time change — a tiny seasonal detail that adds character. Stacked books create varying heights on a mantel, coffee table, or bookshelf; alternate color and pattern to create contrast. Use kraft paper for farmhouse or rustic styles, pastel floral papers for a soft Spring look, or bold colors to add a lively pop to neutral rooms.
Additional ideas and uses

Beyond stacked decor, a single paper-covered book can be a thoughtful, inexpensive gift. Personalize it with a stamped message or a tag and tie a small keepsake to the ribbon. Mix and match paper patterns to coordinate with existing color schemes. You can also label the covers with themes like “Spring,” “Bloom,” or “Home” for seasonal arrangements.
For long-lasting results, avoid gluing too close to the binding and choose acid-free paper if preserving the original pages matters. Store additional covered books flat to prevent bending or warping of the paper covers.
More Spring Home Decorating Ideas
- 10 Minute Spring Throw Pillows Using Iron On Transfer Paper
- Fresh and Cheery Early Spring Decorating Ideas
- 5 Simple & Affordable Ways to Refresh Your Home for Spring