
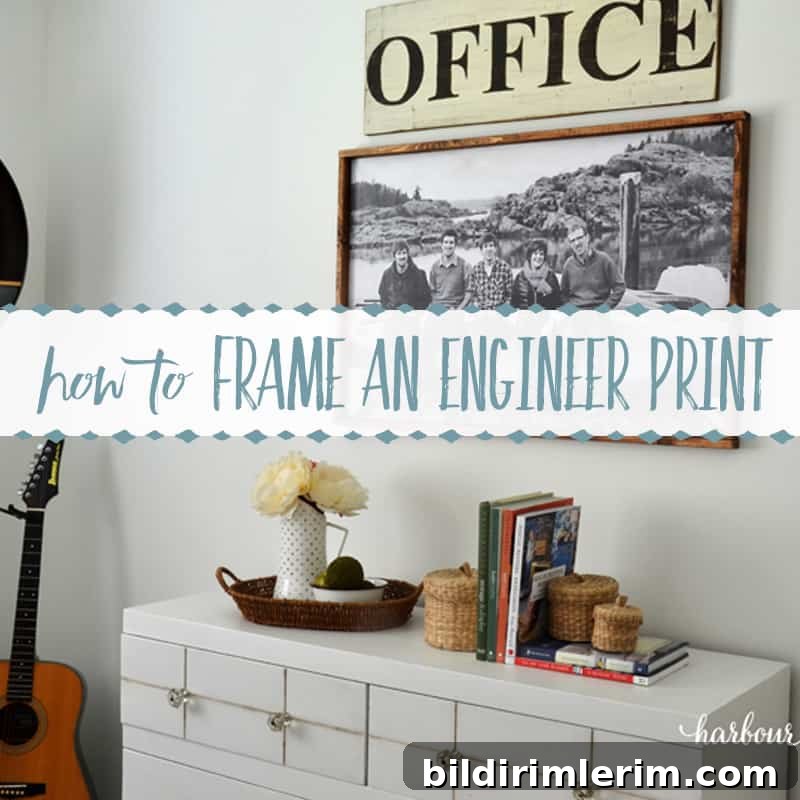
In this article: Learn how to frame an engineer print from Staples with an affordable large art project.
Filling large wall spaces can be a challenge. I’m always looking for budget-friendly ways to add style and personality without spending a lot. One of my favorite solutions is using an engineer print—an inexpensive large-format print that can be mounted and framed to create impressive wall art.
Earlier projects that solve large-empty-wall problems include gallery walls, free printable art collections, and mounting large prints on foam board. This tutorial focuses on framing a large engineer print from a copy center like Staples, Office Depot, or a local print shop.
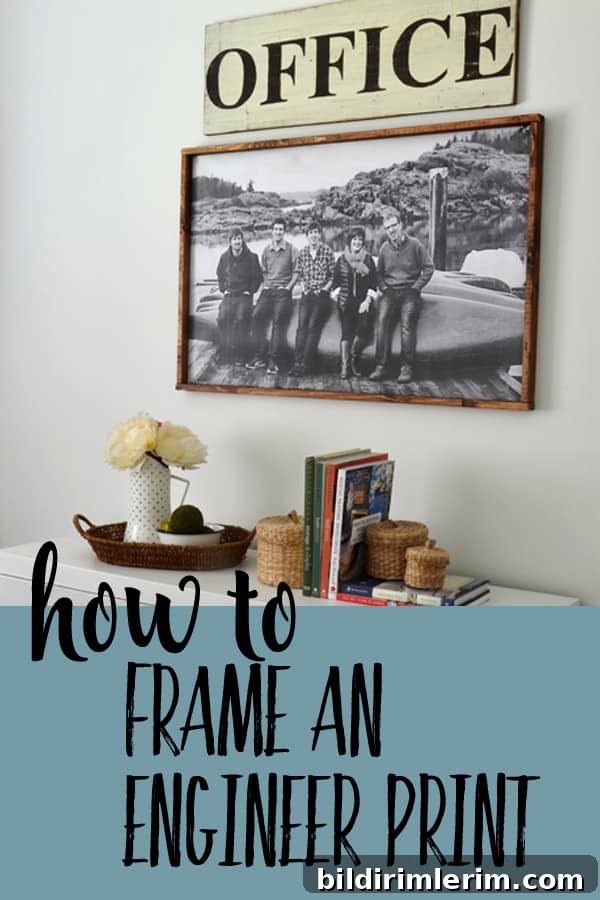
HOW TO FRAME AN ENGINEER PRINT
Disclosure: Some of the resources mentioned are commonly available through print shops and retail suppliers; check locally for availability.
What an engineer print is
An engineer print is a large-format copy shop print originally intended for technical drawings and blueprints. Typical sizes include 18 x 24, 24 x 36, and 36 x 48 inches. The paper is thin—similar to standard printer paper—so it must be handled carefully. Historically these prints were black-and-white only, but many print shops now offer color options as well. The print quality is good for large wall art, and the cost is often remarkably low—some sizes can be printed for only a few dollars.
How and where to get an engineer print made
There are two primary ways to order an engineer print:
- Place an order through a print shop’s online service and pick up the finished print at the store.
- Bring your file on a memory stick or mobile device to a local print center and work with an associate to prepare the image for printing.
I usually choose the in-person option. Staff can check image resolution and scale so the final print will look sharp at a large size. Important update: some print shops now limit engineer prints to line drawings only. Contact the print shop ahead of time to confirm they will print photographic images in the engineer print format.
How to mount an engineer print
Supplies needed:
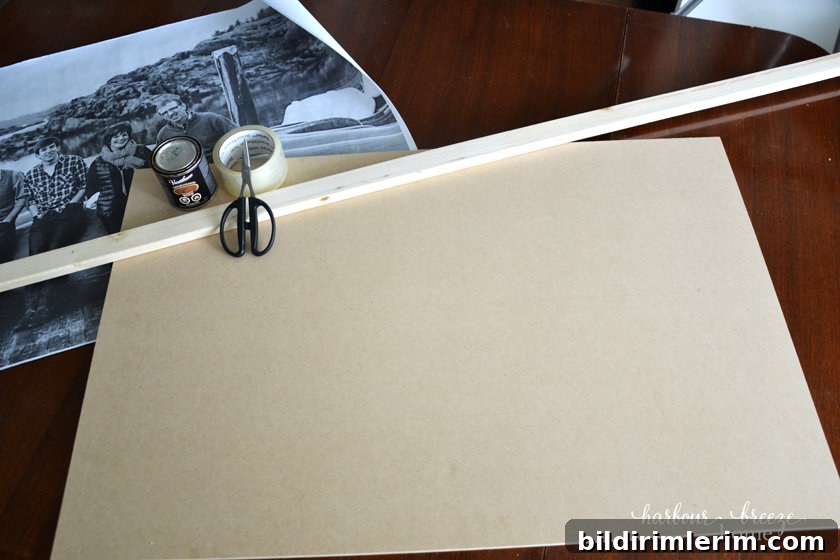
- Engineer print (example shown: 24×36)
- 1/2″ MDF board cut slightly smaller than the print so the paper wraps around the edges (example: 22×34)
- Scotch tape or similar low-tack tape
- Scissors or a utility knife for trimming corners
- Clear packing tape to secure edges
- 1×2 unfinished pine boards for the frame
- Wood stain (optional) and finish hardware
- Brad nailer and 1½” brads or small finishing nails
- Picture hanging hardware or wire
How to mount the engineer print
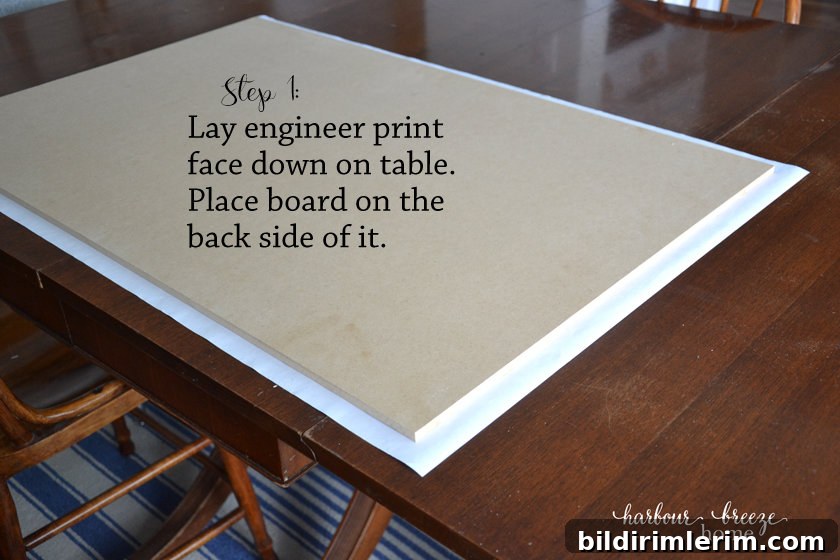
1. Lay the print face down on a clean, flat surface. Center the MDF board on top of the print so the paper will fold evenly around the edges.
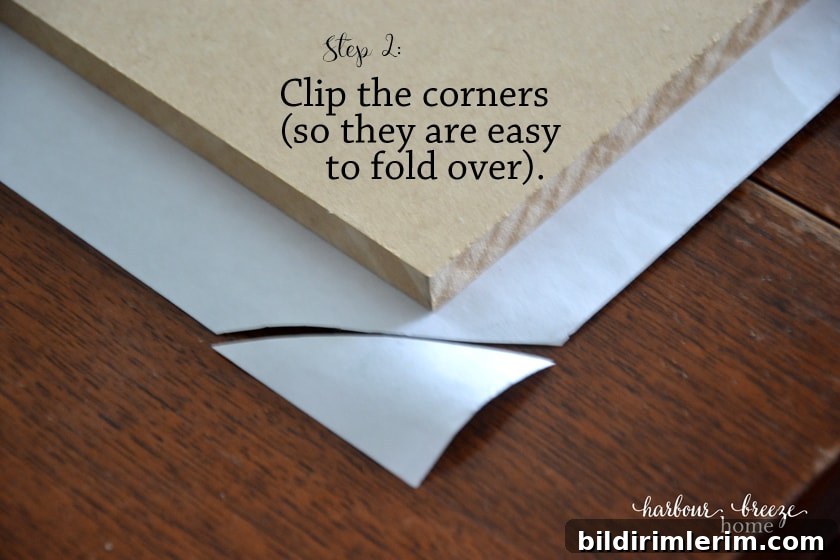
2. Trim the corners of the paper so each corner will fold neatly over the board without bunching. Treat this step like upholstery folding—small triangular cuts make it easier to get a flat, tidy corner.
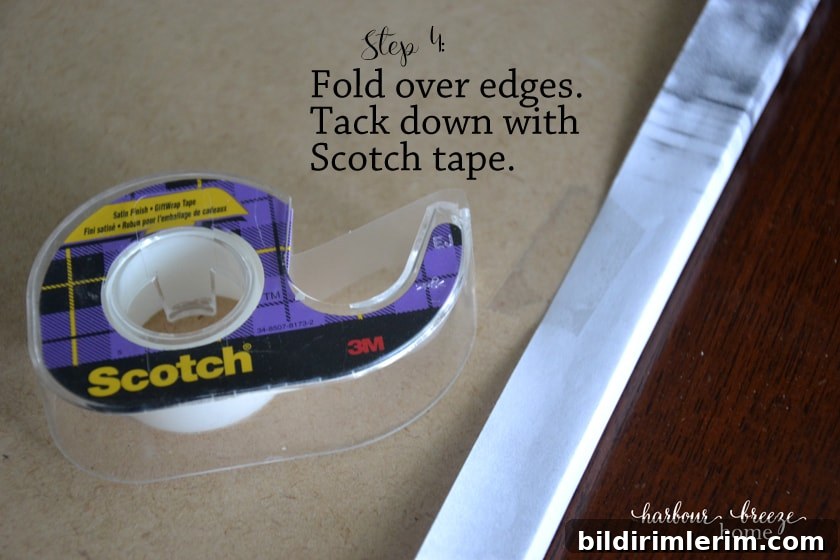
3. Fold each side tightly over the edge of the MDF and secure the paper with a few pieces of Scotch tape. Start by taping the middle of each side, then smooth and tape toward the corners so the paper lies flat and even.
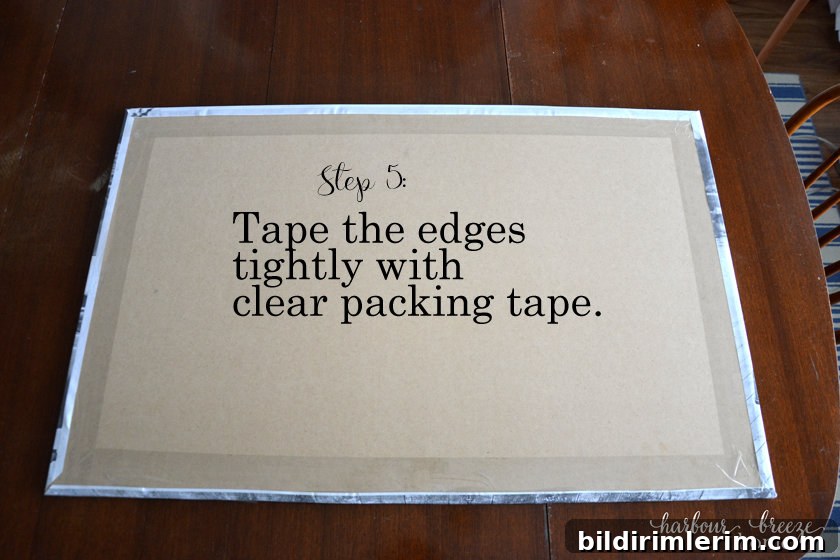
4. Finish by applying clear packing tape along the folded edges on the back of the board to reinforce the attachment and keep the paper firmly in place. This gives a clean, durable bond without adhesives that can bubble over time.
Note: Spray adhesives are sometimes used to mount engineer prints, but results vary. Some people report bubbling or separation over time, so the fold-and-tape method is a reliable, low-risk option.
How to frame the mounted engineer print
A simple wood frame adds polish and weight to the finished piece.
1. Measure the mounted board. Cut two side pieces that match the height of the board, then cut top and bottom pieces that span the board width plus the combined thickness of the two side pieces so they cap the ends. Dry-fit the pieces to ensure accurate alignment.
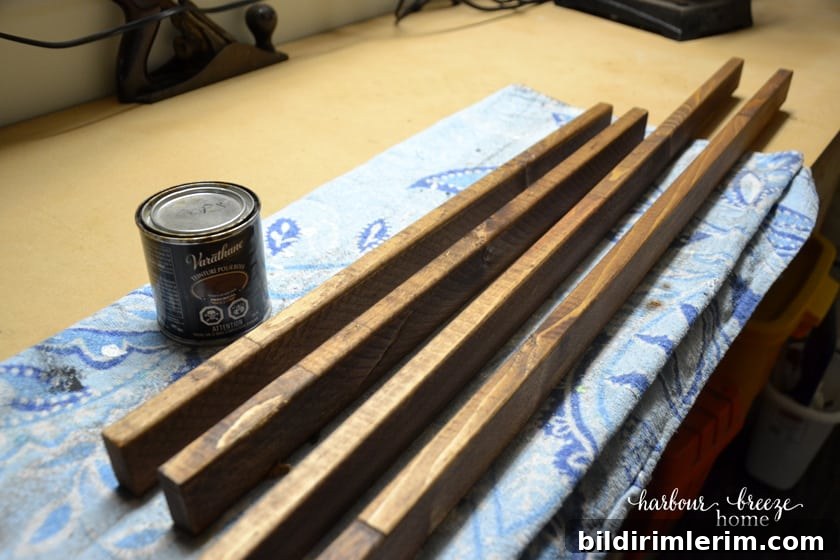
2. Sand any rough edges and apply your chosen wood stain or finish. Allow the stain to dry completely before attaching the frame so it won’t smudge the print or pickup dust during installation.
3. Attach the frame to the MDF-mounted print with a brad nailer or small finishing nails. Align the sides first, then attach the bottom and top pieces. Use clamps or a helper to keep everything square while fastening. Take care to drive nails straight so the frame sits flush against the mounted board.
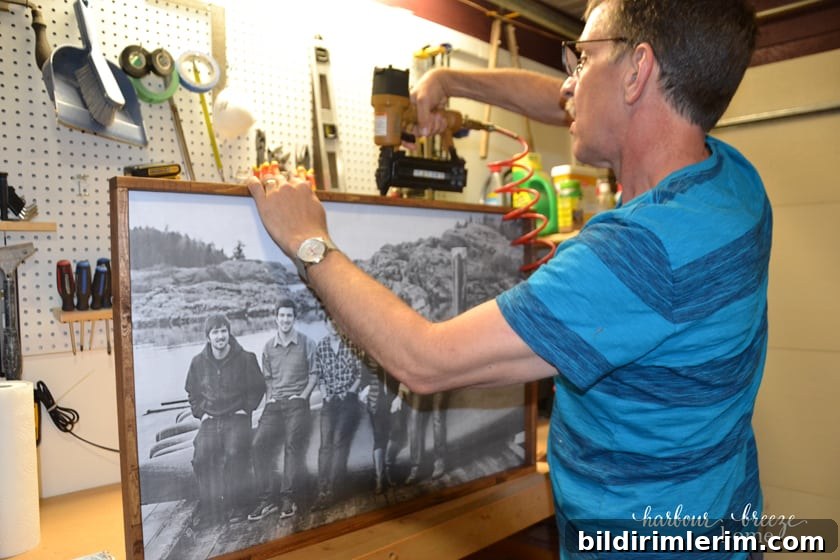
4. Add hanging hardware to the back. A simple picture-hanging wire attached to screws or D-rings on each side is a sturdy choice for larger pieces. Make sure the hardware is rated for the finished weight.
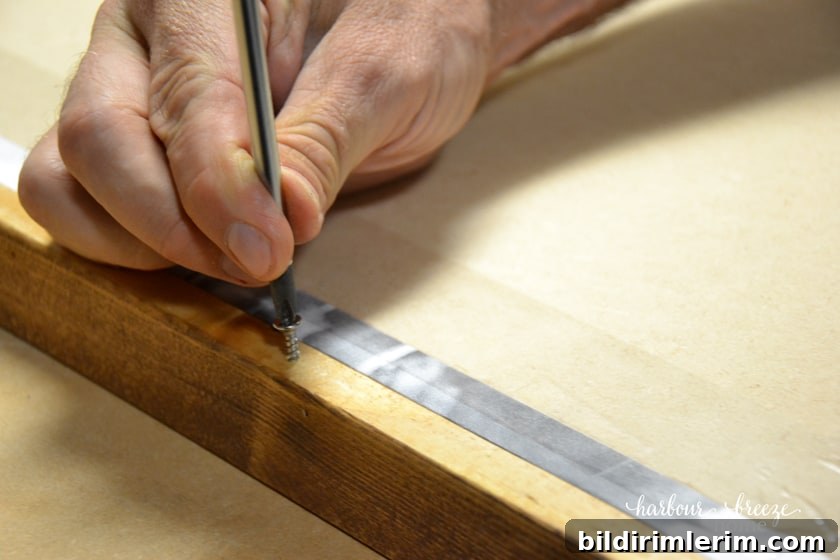
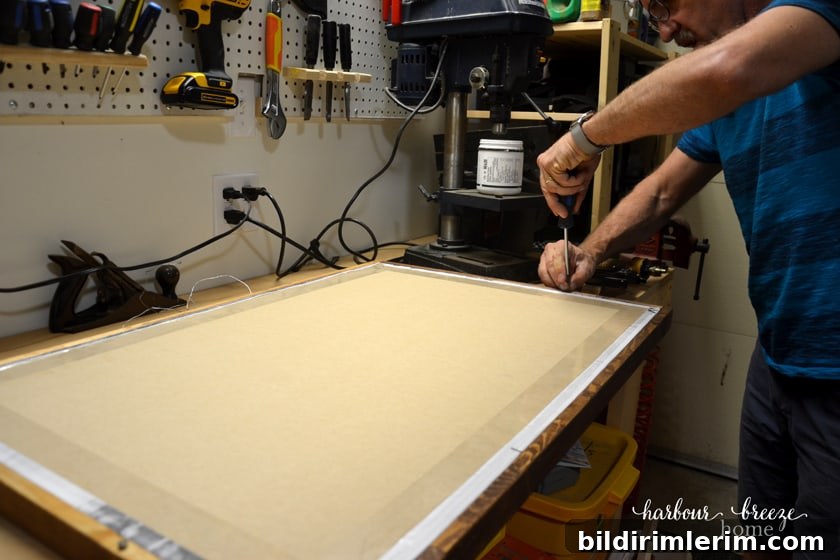
And that’s it: a large, custom art piece made on a budget. The final mounted and framed print makes a bold focal point and looks professionally finished even though the materials are inexpensive.
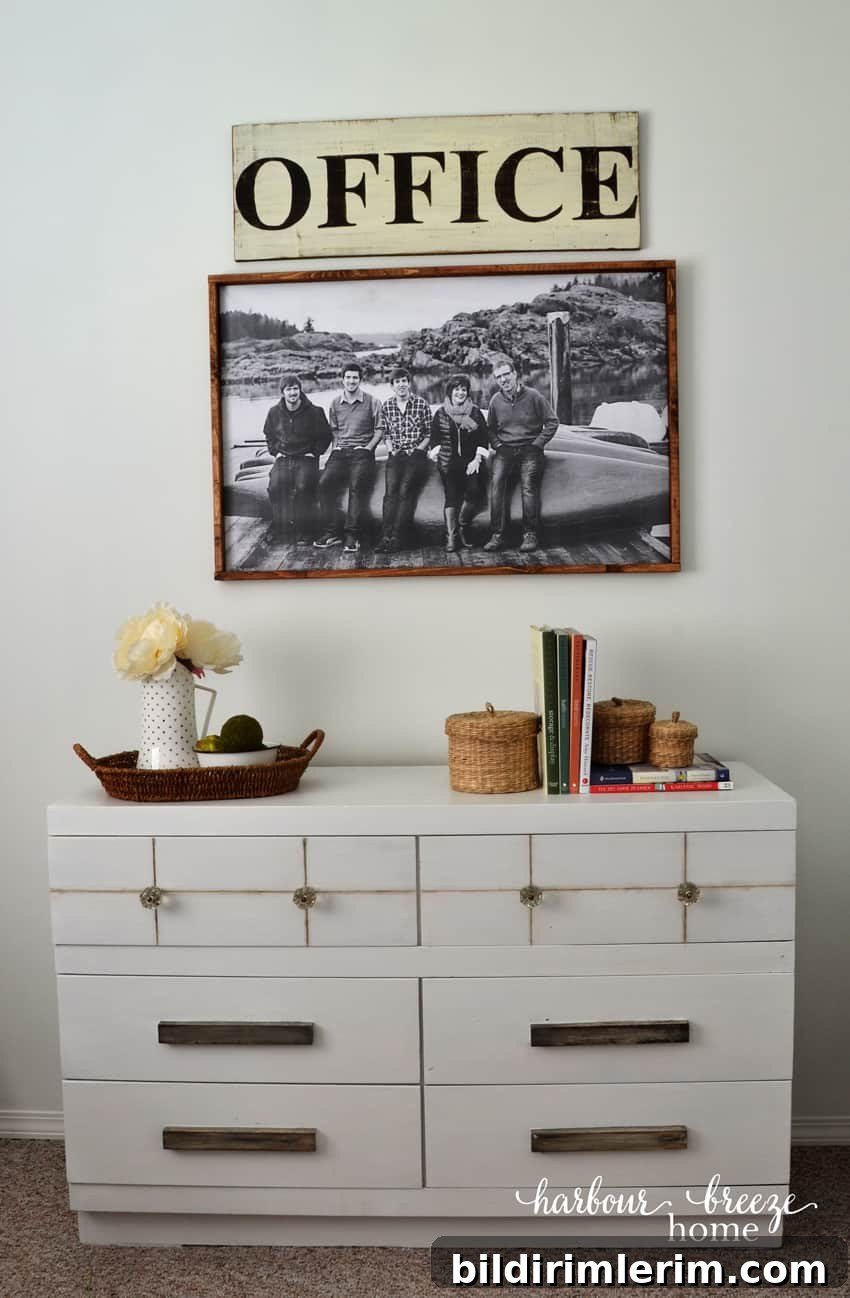
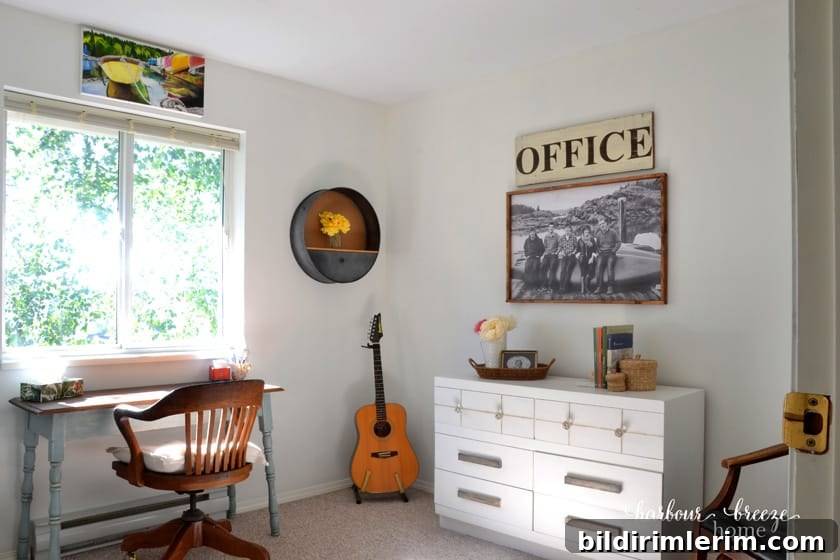
This particular piece ended up in my new office space and really helps fill the wall with visual interest. Now that I’ve completed one, I have several other ideas for different images and color treatments using the same technique.
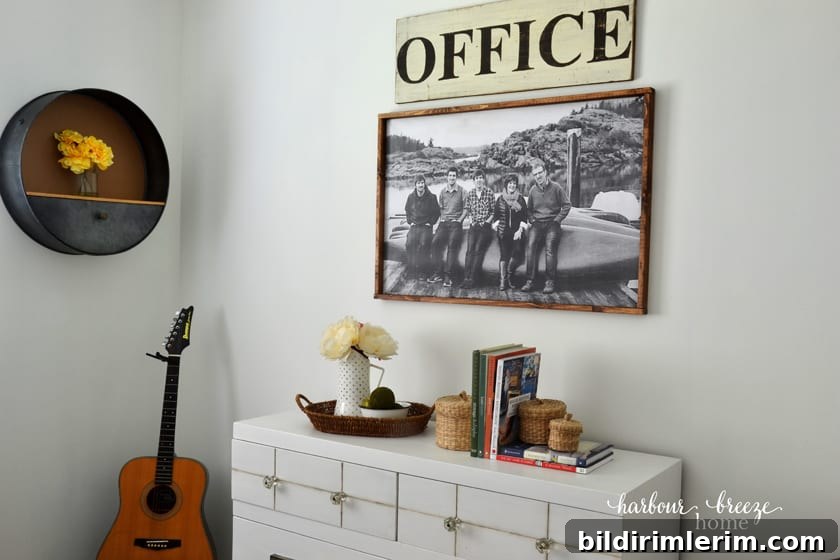
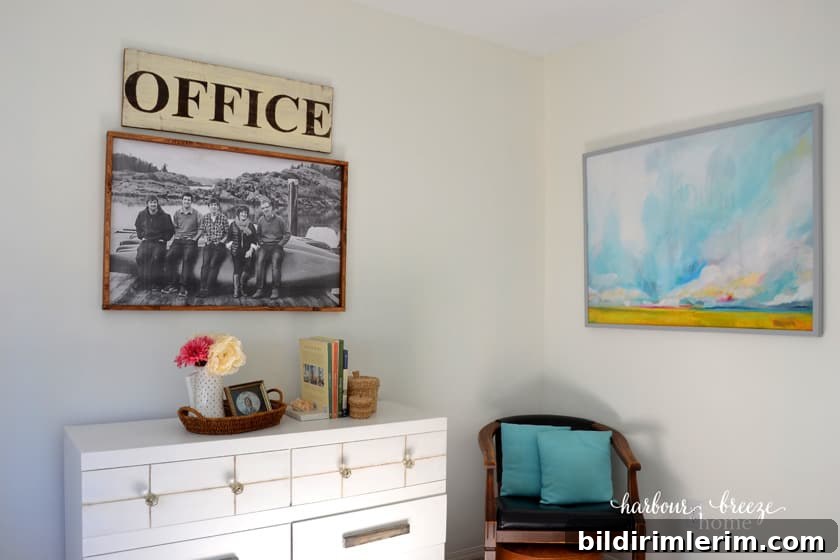
Have you tried using an engineer print in your decor? This method is quick, affordable, and adaptable to many styles—modern, farmhouse, minimalist, or eclectic—and it’s an excellent way to create large-scale art without a big budget.
Other DIY large wall art posts:
- How to make a DIY frame for posters or large art
- How to mount a photo to foam board
- Tips for hanging a gallery wall above a couch