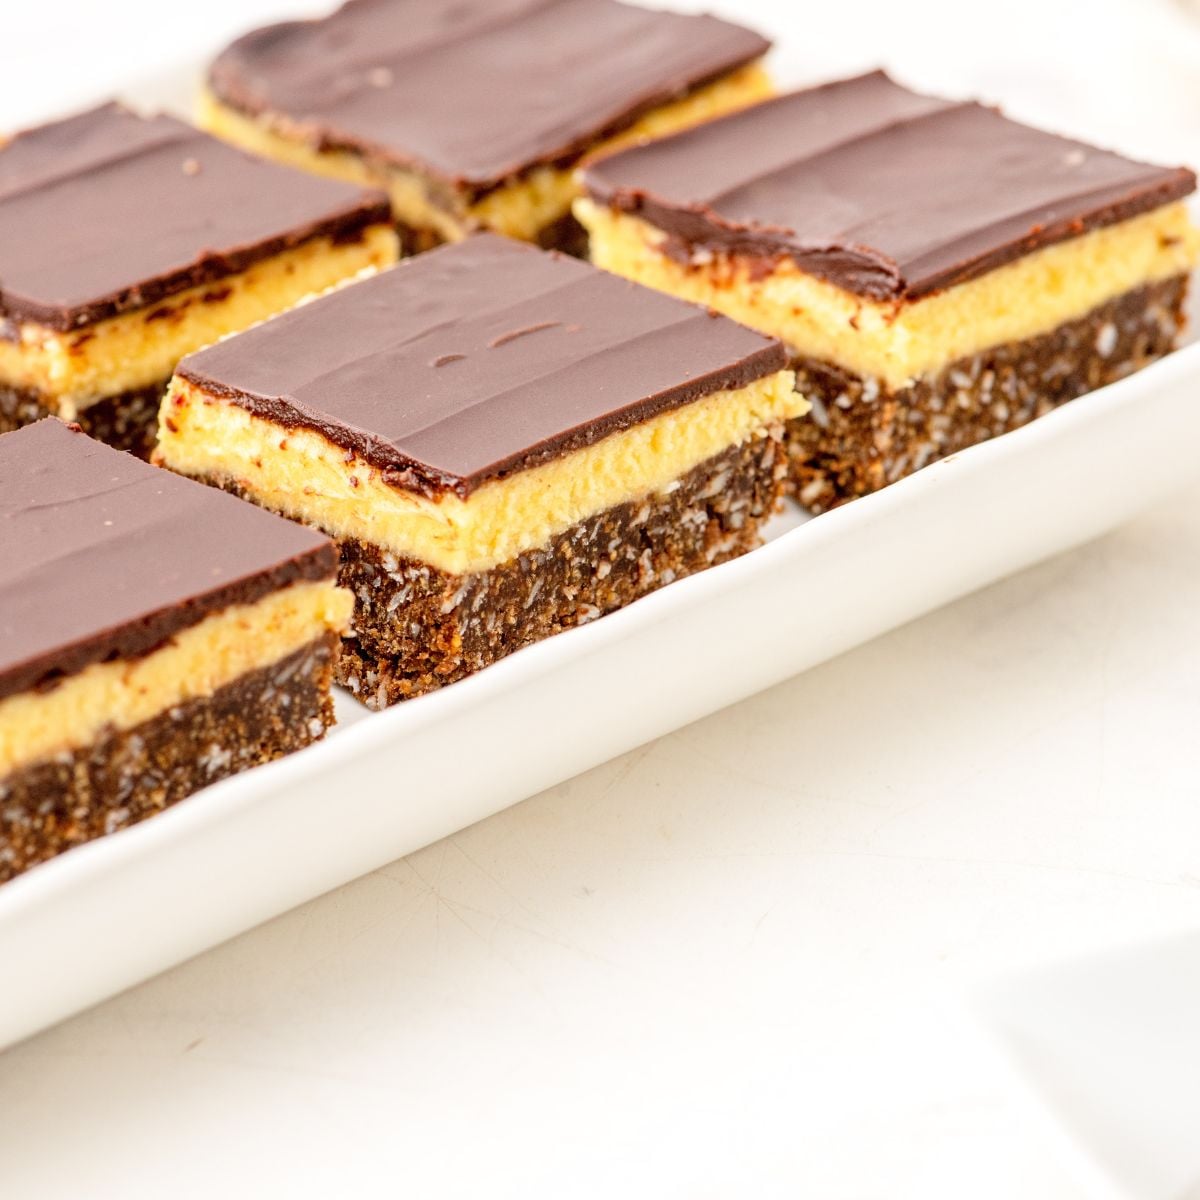
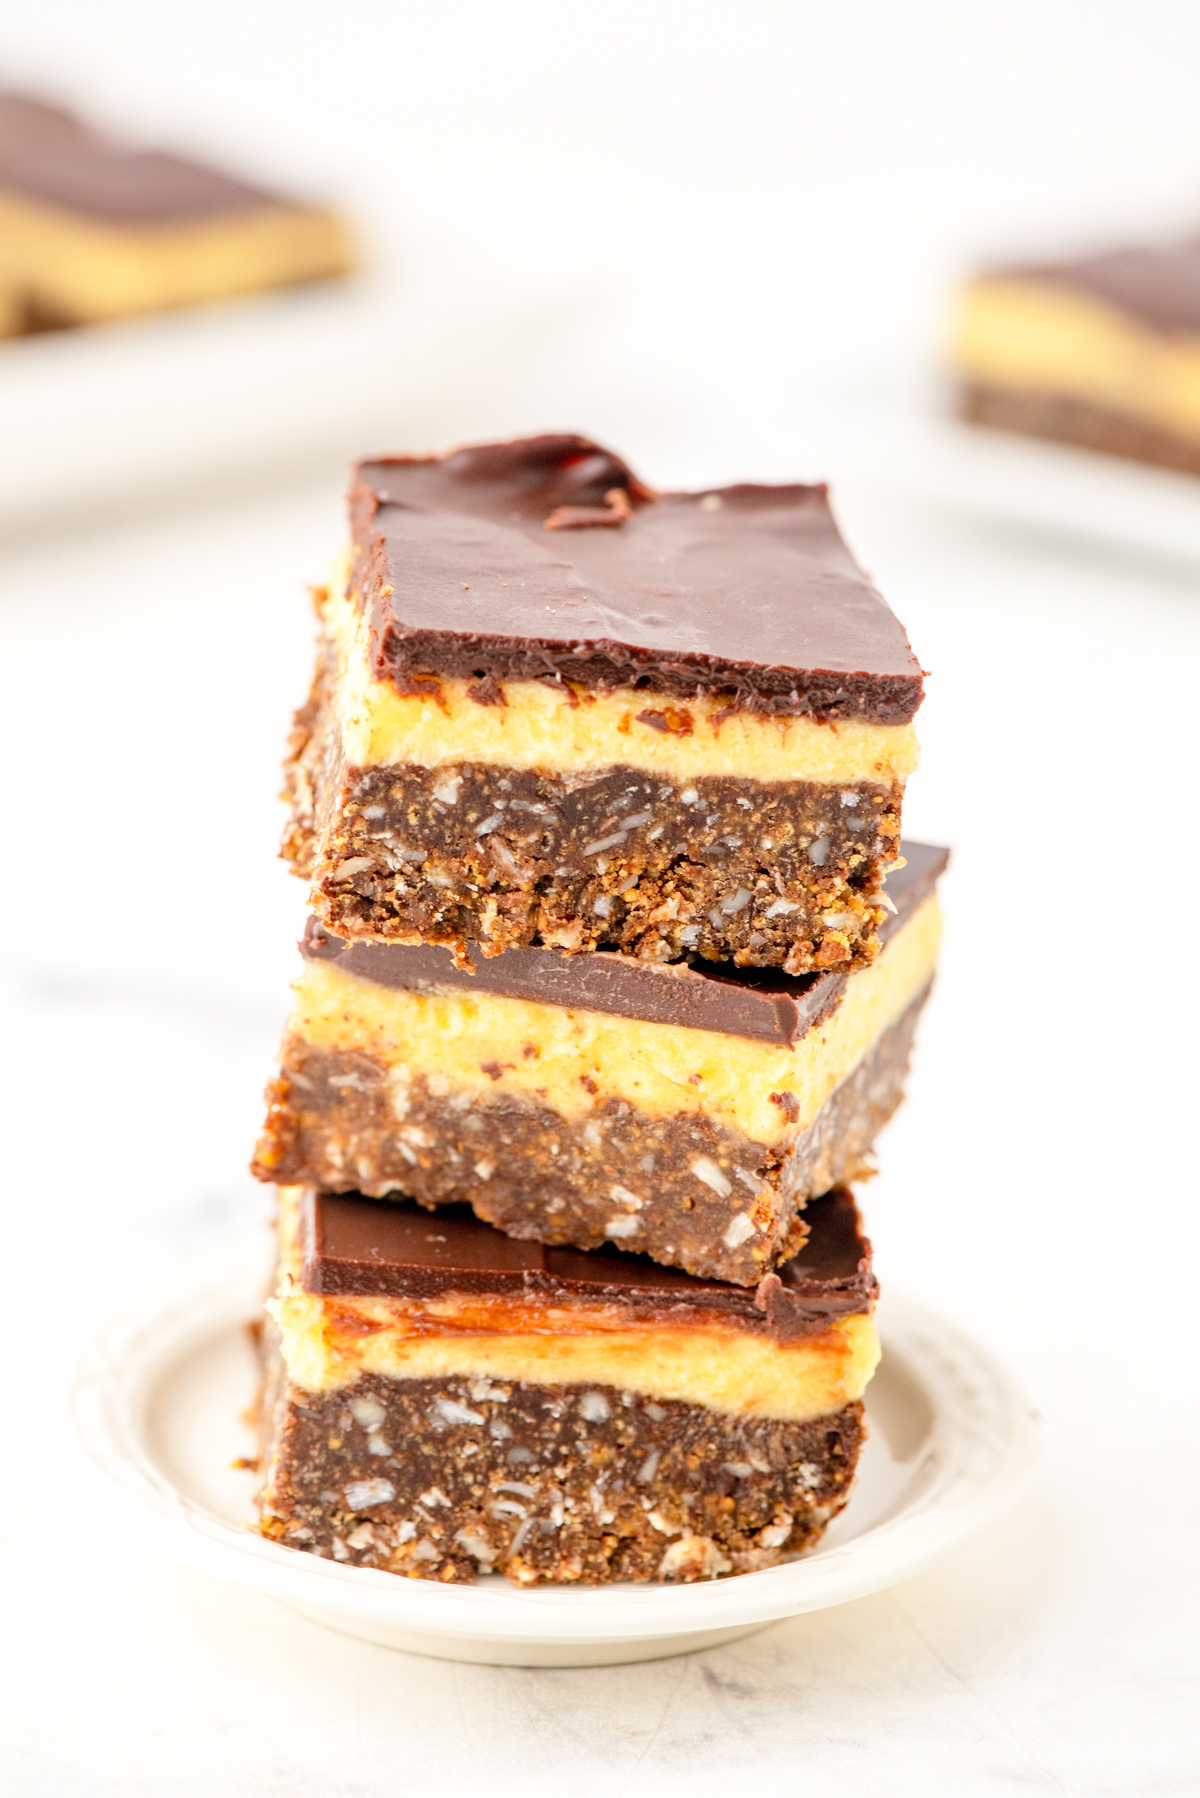
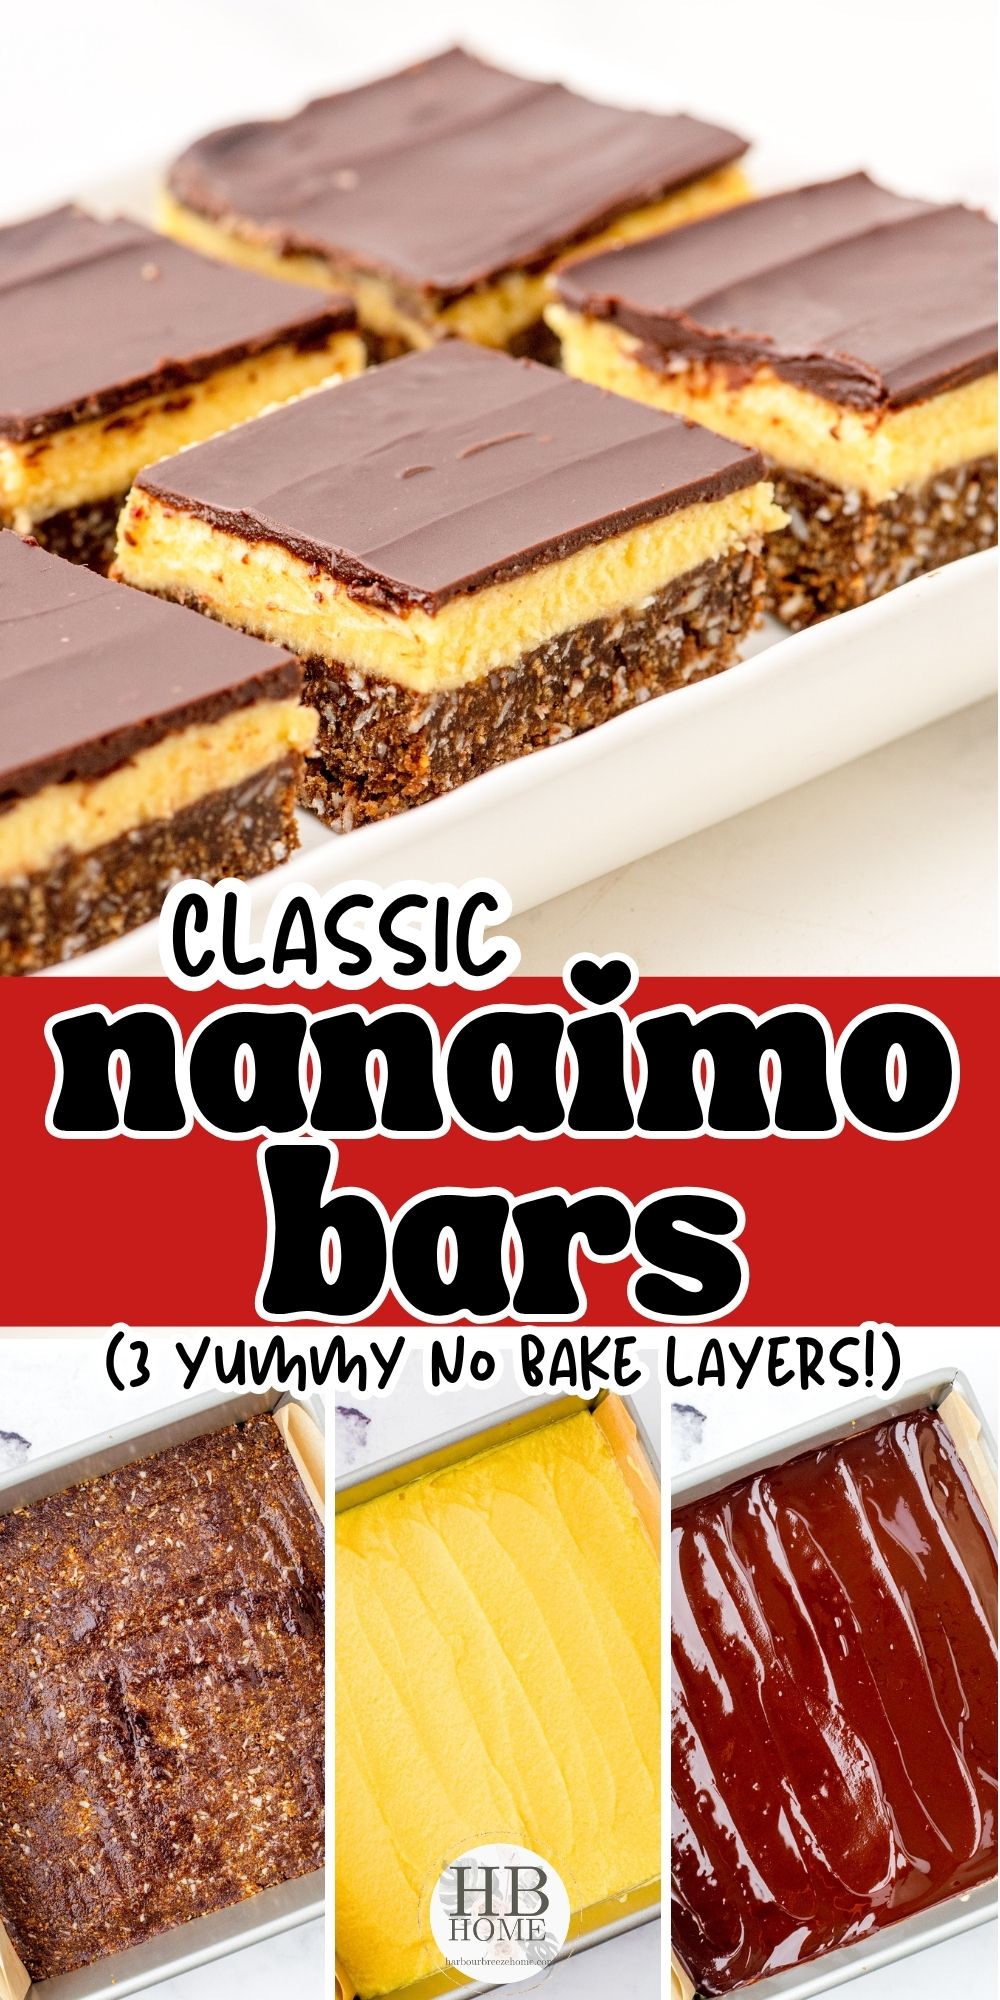
These classic no bake Nanaimo Bars are a dessert square (originating in Canada!) with a chocolate coconut crust, creamy sweet filling, and a chocolate topping — a crowd pleasing favorite for any occasion!
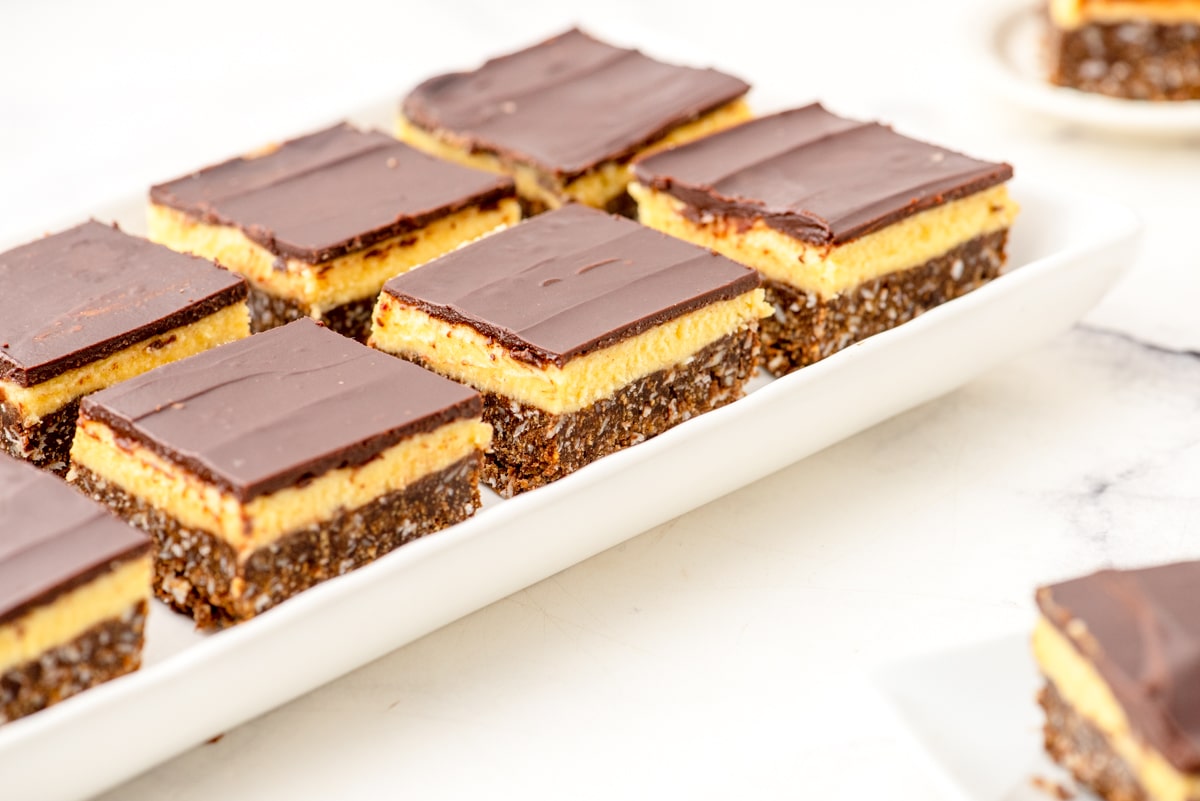
A Cozy Story Behind this Nanaimo Bars Recipe
This recipe takes me right back to my college days! I grew up in a small town in Montana, and when I headed north to Canada for college, I had never even heard of a Nanaimo bar. Lo and behold, one of my Canadian friends introduced me to these no-bake beauties, and I knew right away I had to share them with my mom.
I brought the recipe home, and Mom got right to baking — well, “baking” isn’t quite the word, since these are no-bake! There are three dreamy layers: a chocolate coconut crust on the bottom, a creamy, fluffy filling in the middle with just the right amount of sweetness, and a layer of chocolate on top to finish it all off.
Now, the original recipe (from Nanaimo, BC Canada) calls for a product called custard powder. Back when my mom first made these, custard powder was a staple in Canada, but wasn’t available in the United States. These days, you can find it on Amazon (affiliate link) and in some stores — but if you can’t track it down, don’t you worry one bit. I’ll share my easy substitution down in the tips section so you can make these no matter where you live.
Why You’ll Love This Recipe
- Three irresistible layers — chocolate coconut crust, creamy filling, and chocolate topping.
- No-bake, so your oven stays off!
- A perfect make-ahead treat for potlucks, holidays, or whenever a craving strikes.
- A true Canadian classic that is a universal crowd pleasing treat!
- Rich, fudgy, and just the right amount of sweet.
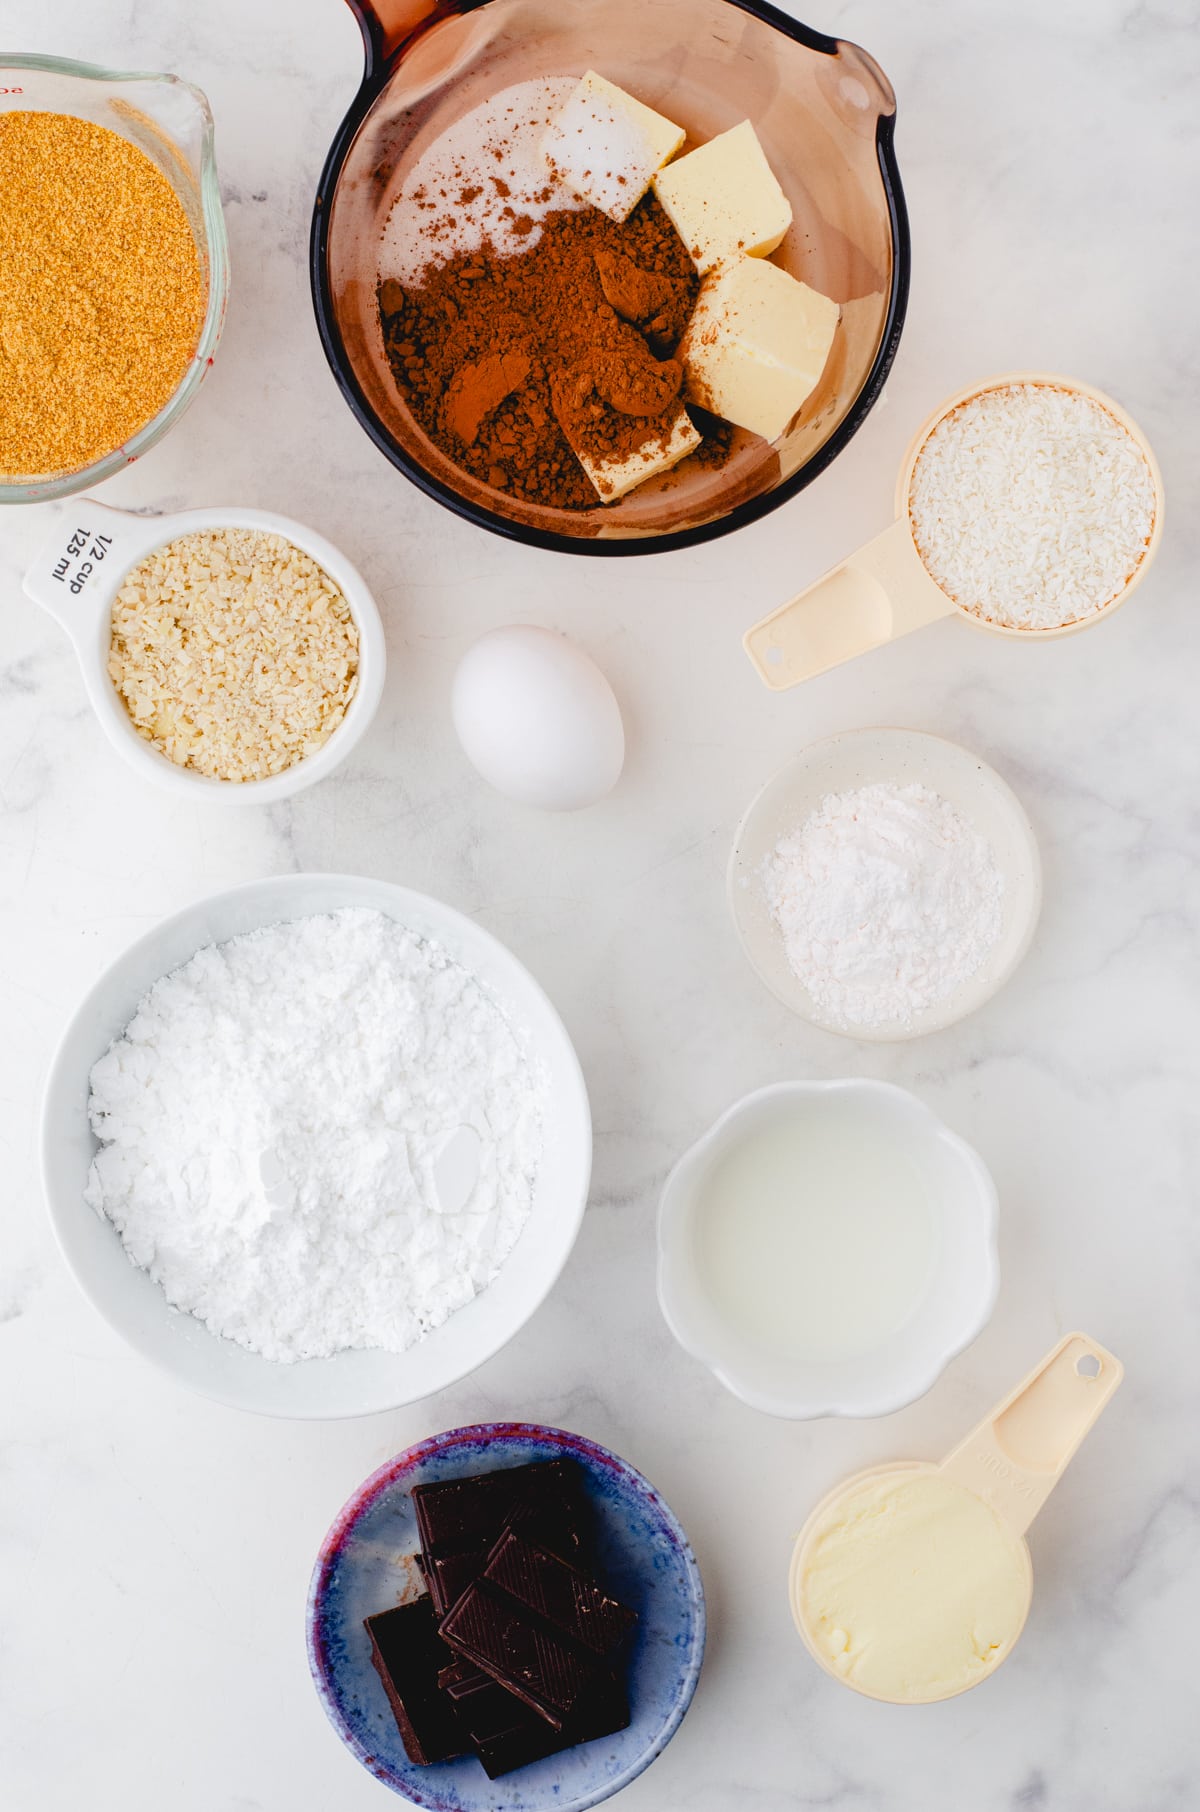
Ingredients
(See the printable recipe card below for exact measurements and instructions.)
You’ll need:
For the bottom layer:
- Butter
- Granulated sugar
- Cocoa powder
- Egg
- Graham cracker crumbs
- Coconut (fine or medium, your choice)
- Almonds, finely chopped
For the middle (custard) layer:
- Butter
- Milk
- Vanilla custard powder (see substitution tip below if you can’t find it!)
- Icing sugar, sifted
For the top layer:
- Semi-sweet chocolate (squares or chips)
- Butter
Step by Step Instructions with pictures for Nanaimo Bars
(For all the detailed instructions, refer to the printable recipe card above.)
Before you get started, line your 8×8 inch pan (or 9 inch works, too) with a piece of parchment paper, leaving a little overhang on the sides. This makes lifting the bars out so easy later — think of it like a little sling!
For the Bottom Layer:
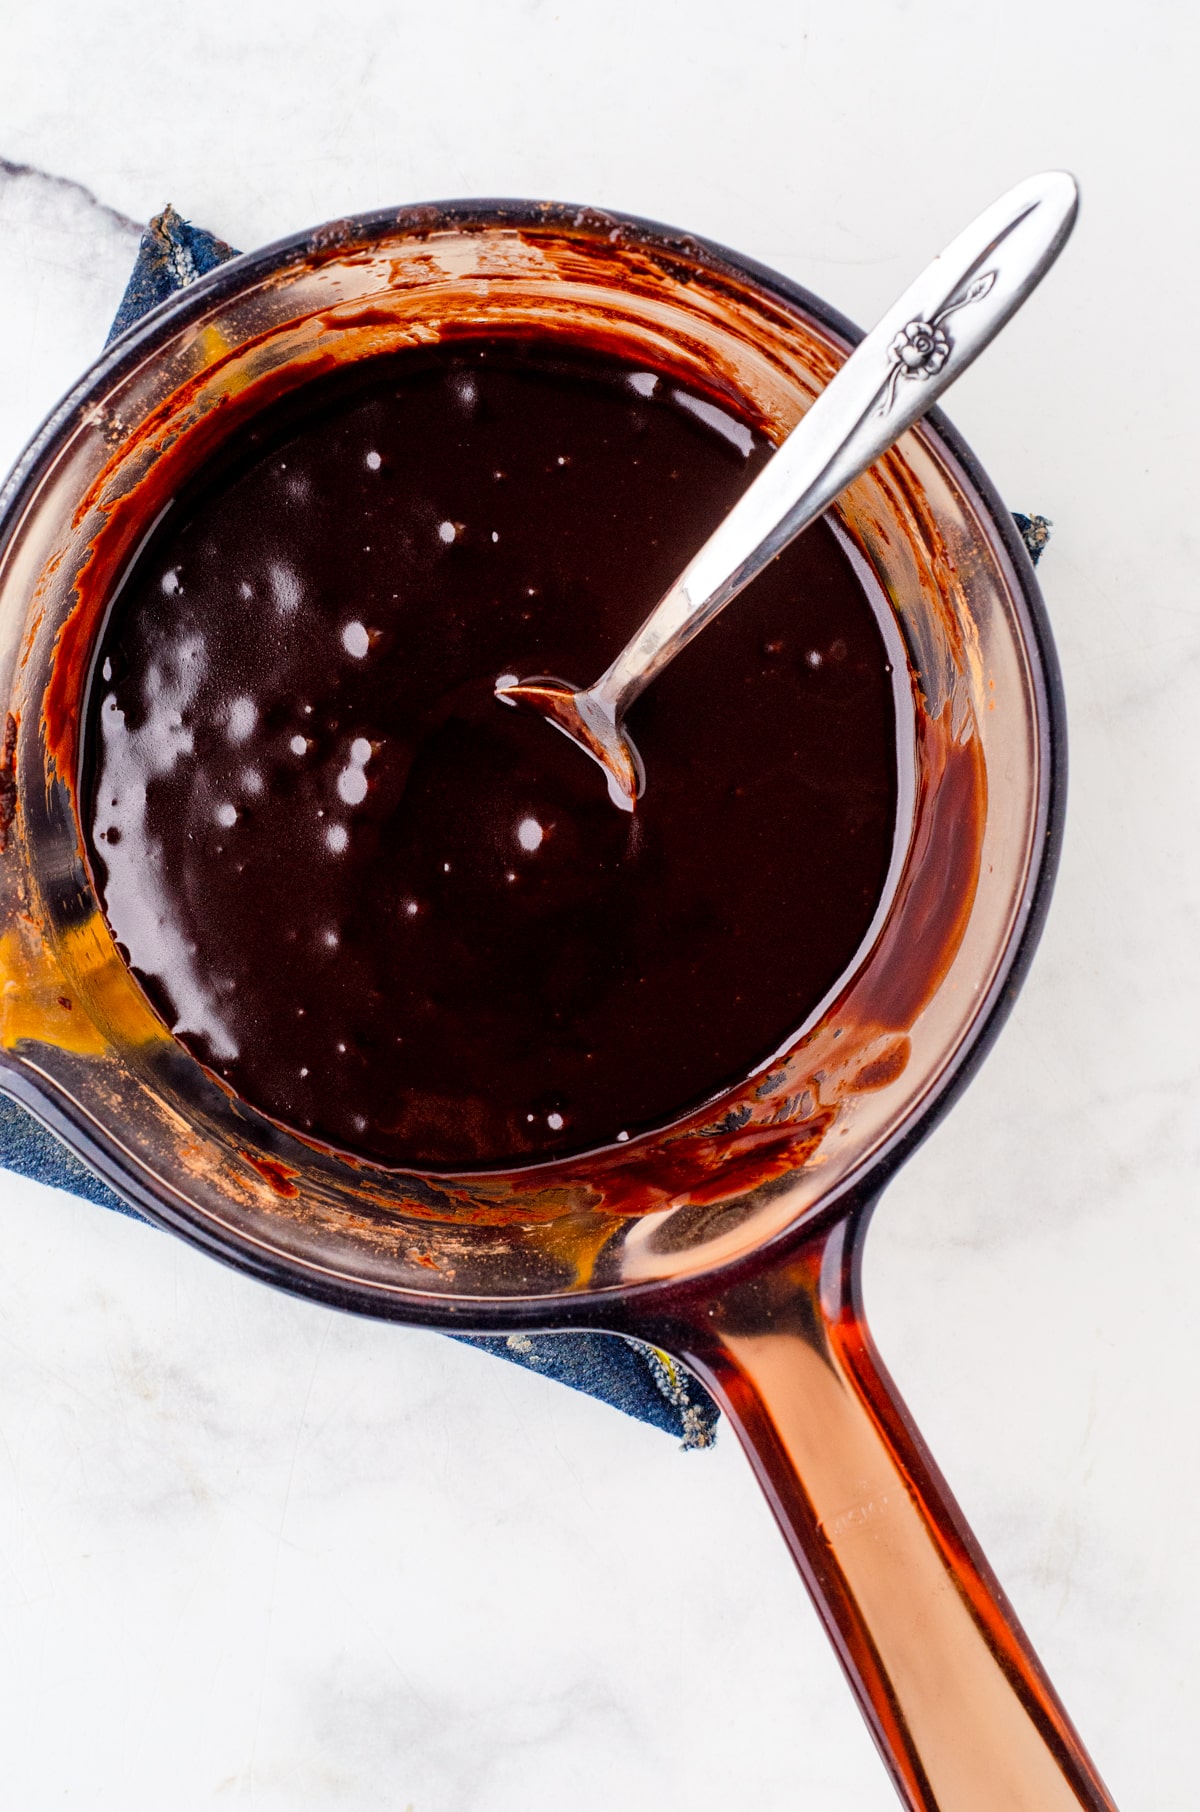
1. Melt the first 3 ingredients together and stir in the beaten egg, cooking until it is thick and glossy. 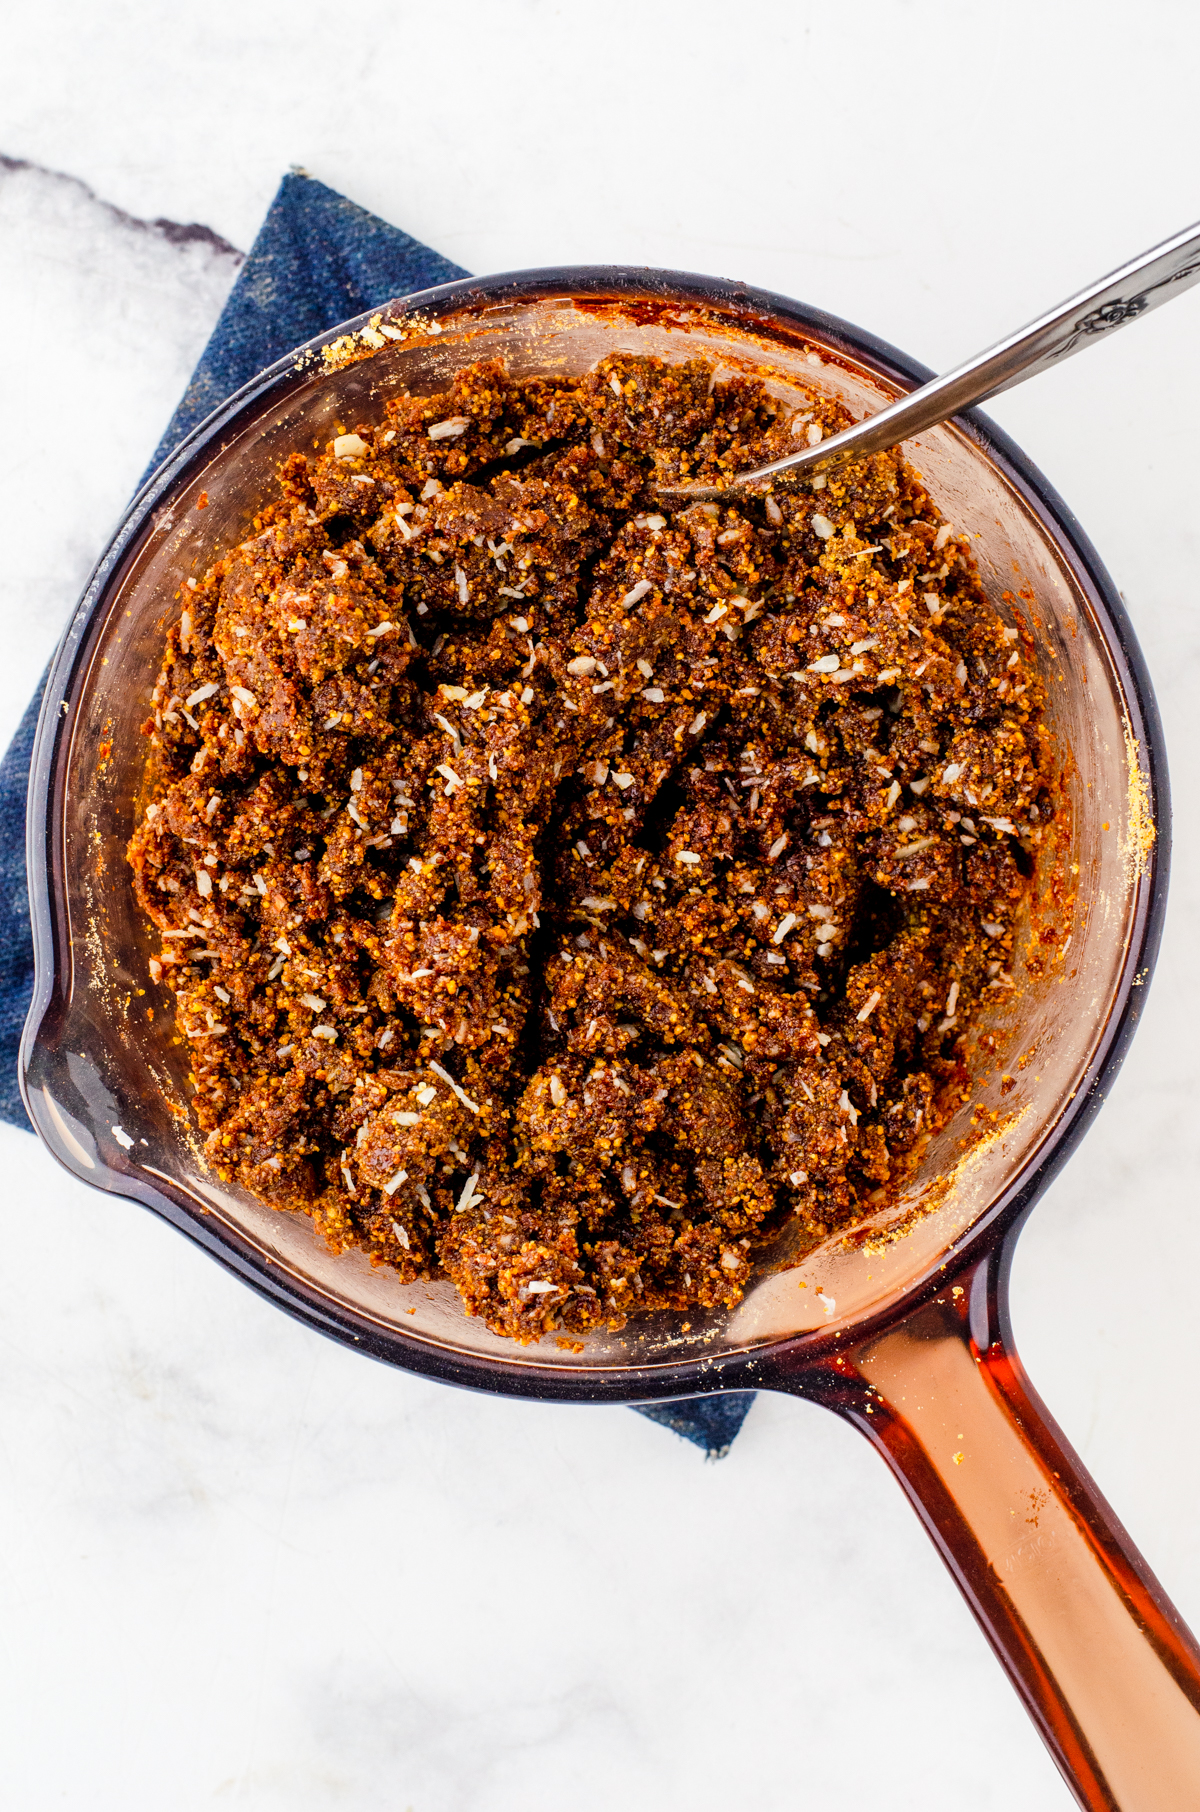
2.Add in the rest of the base layer ingredients and stir well. 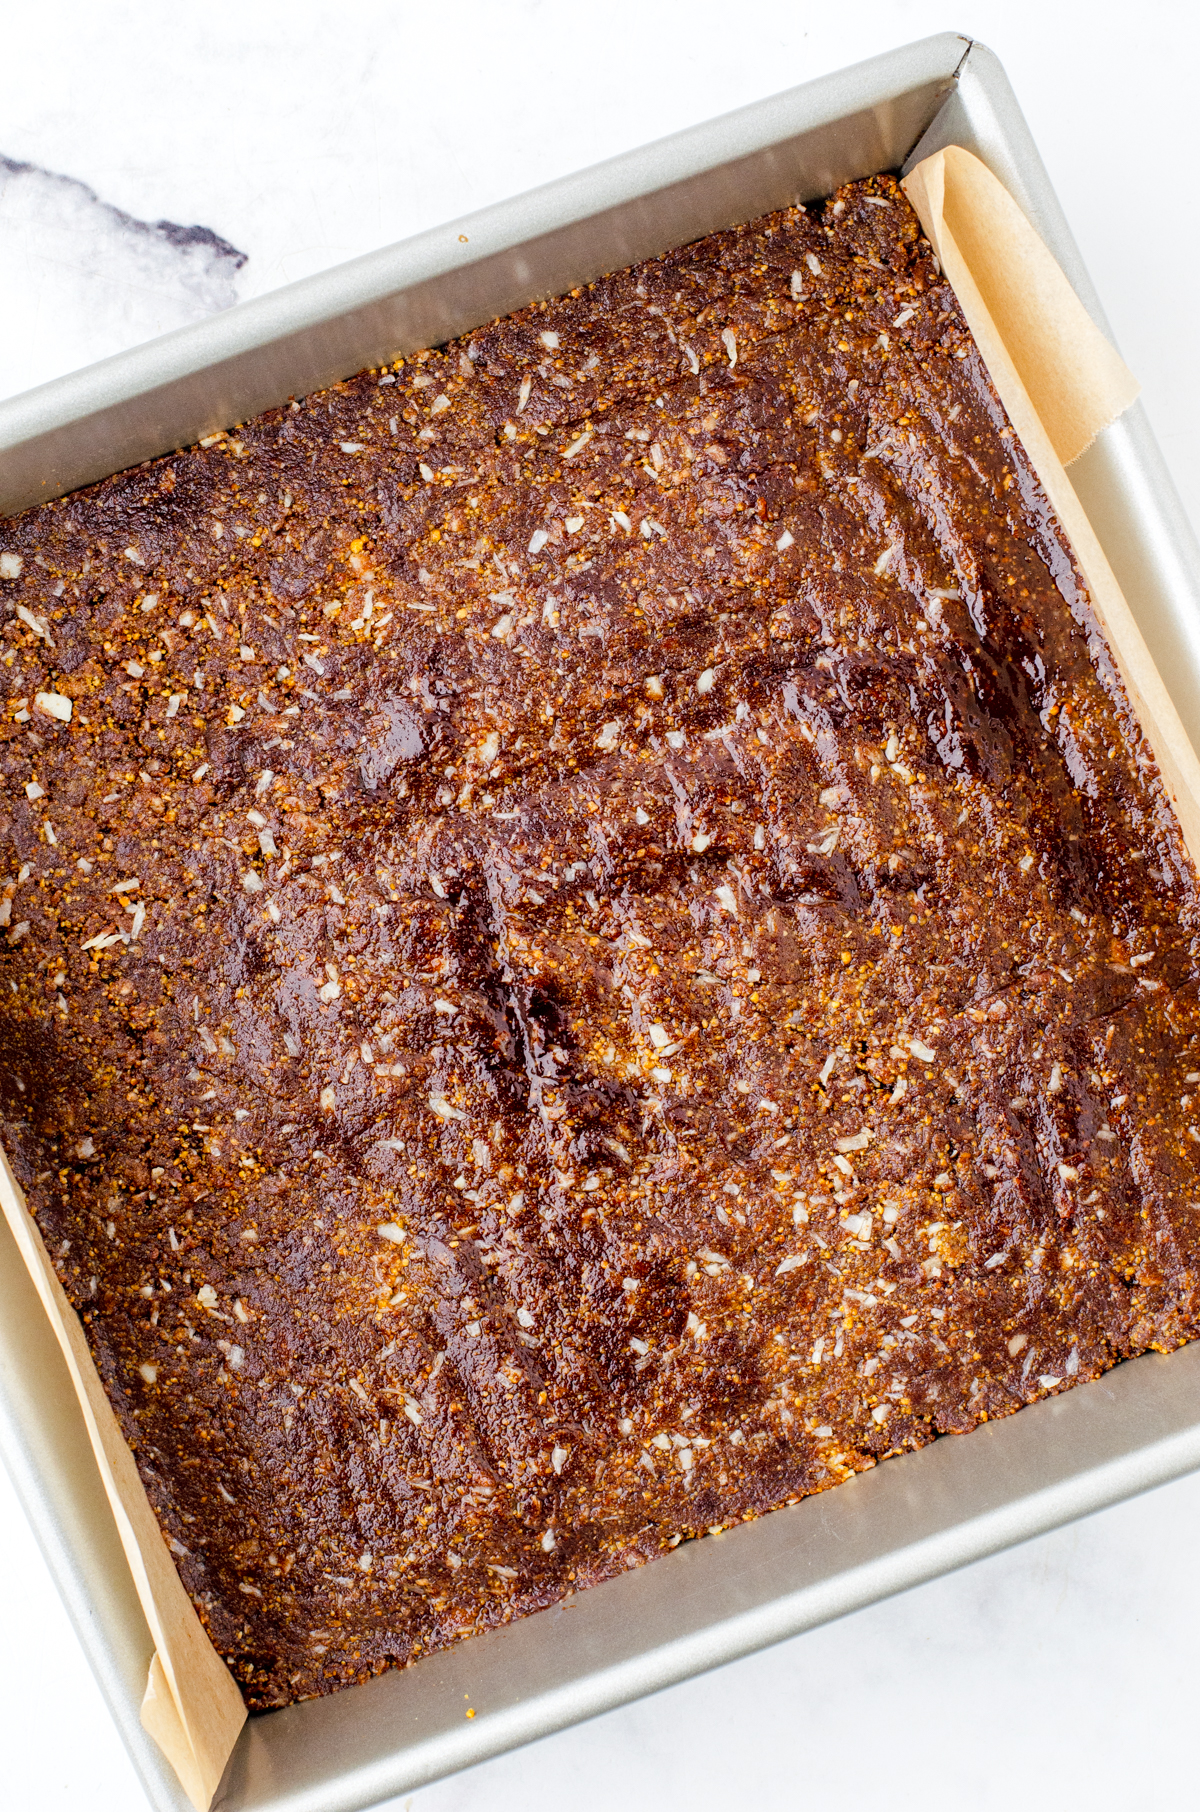
3.Press into the bottom of a 8 or 9 inch square pan.
For the Middle Layer:
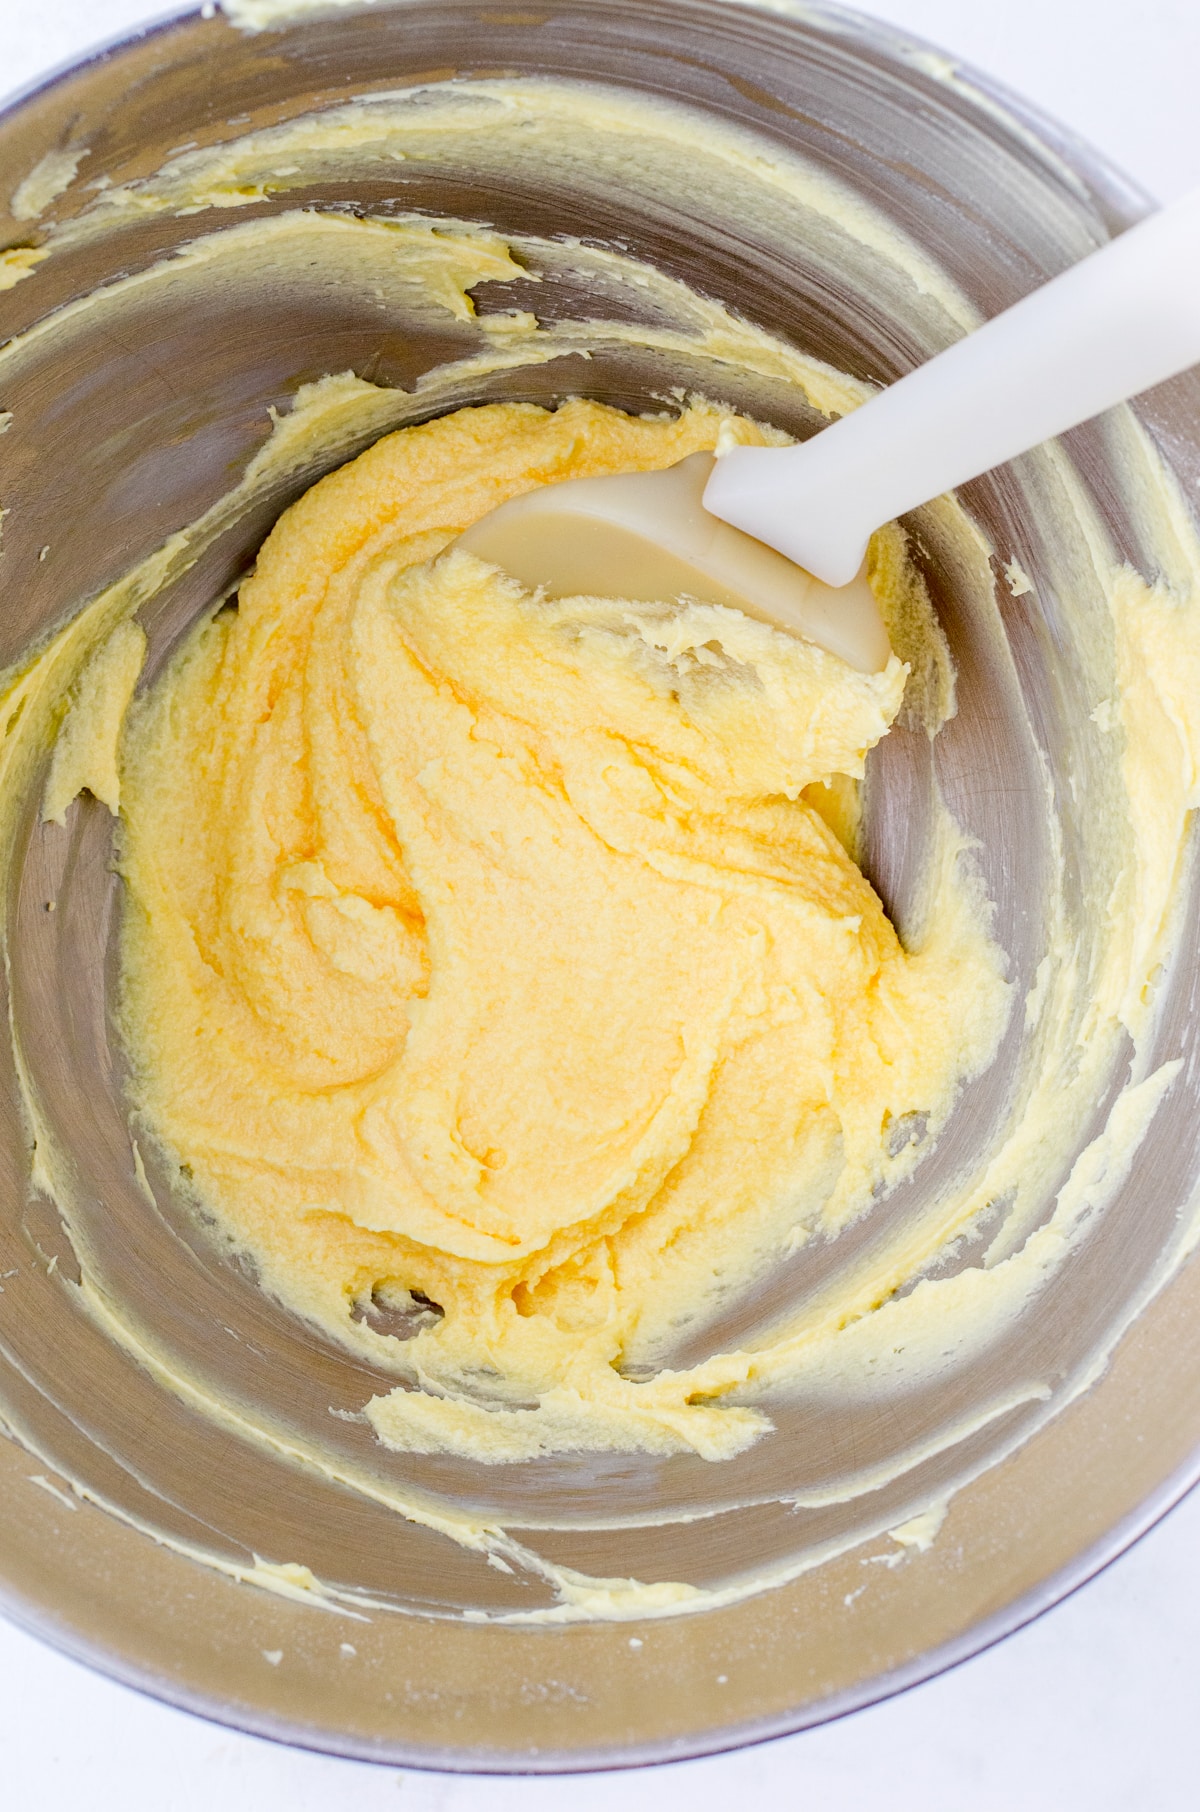
1.Whip all ingredients together using a mixer. 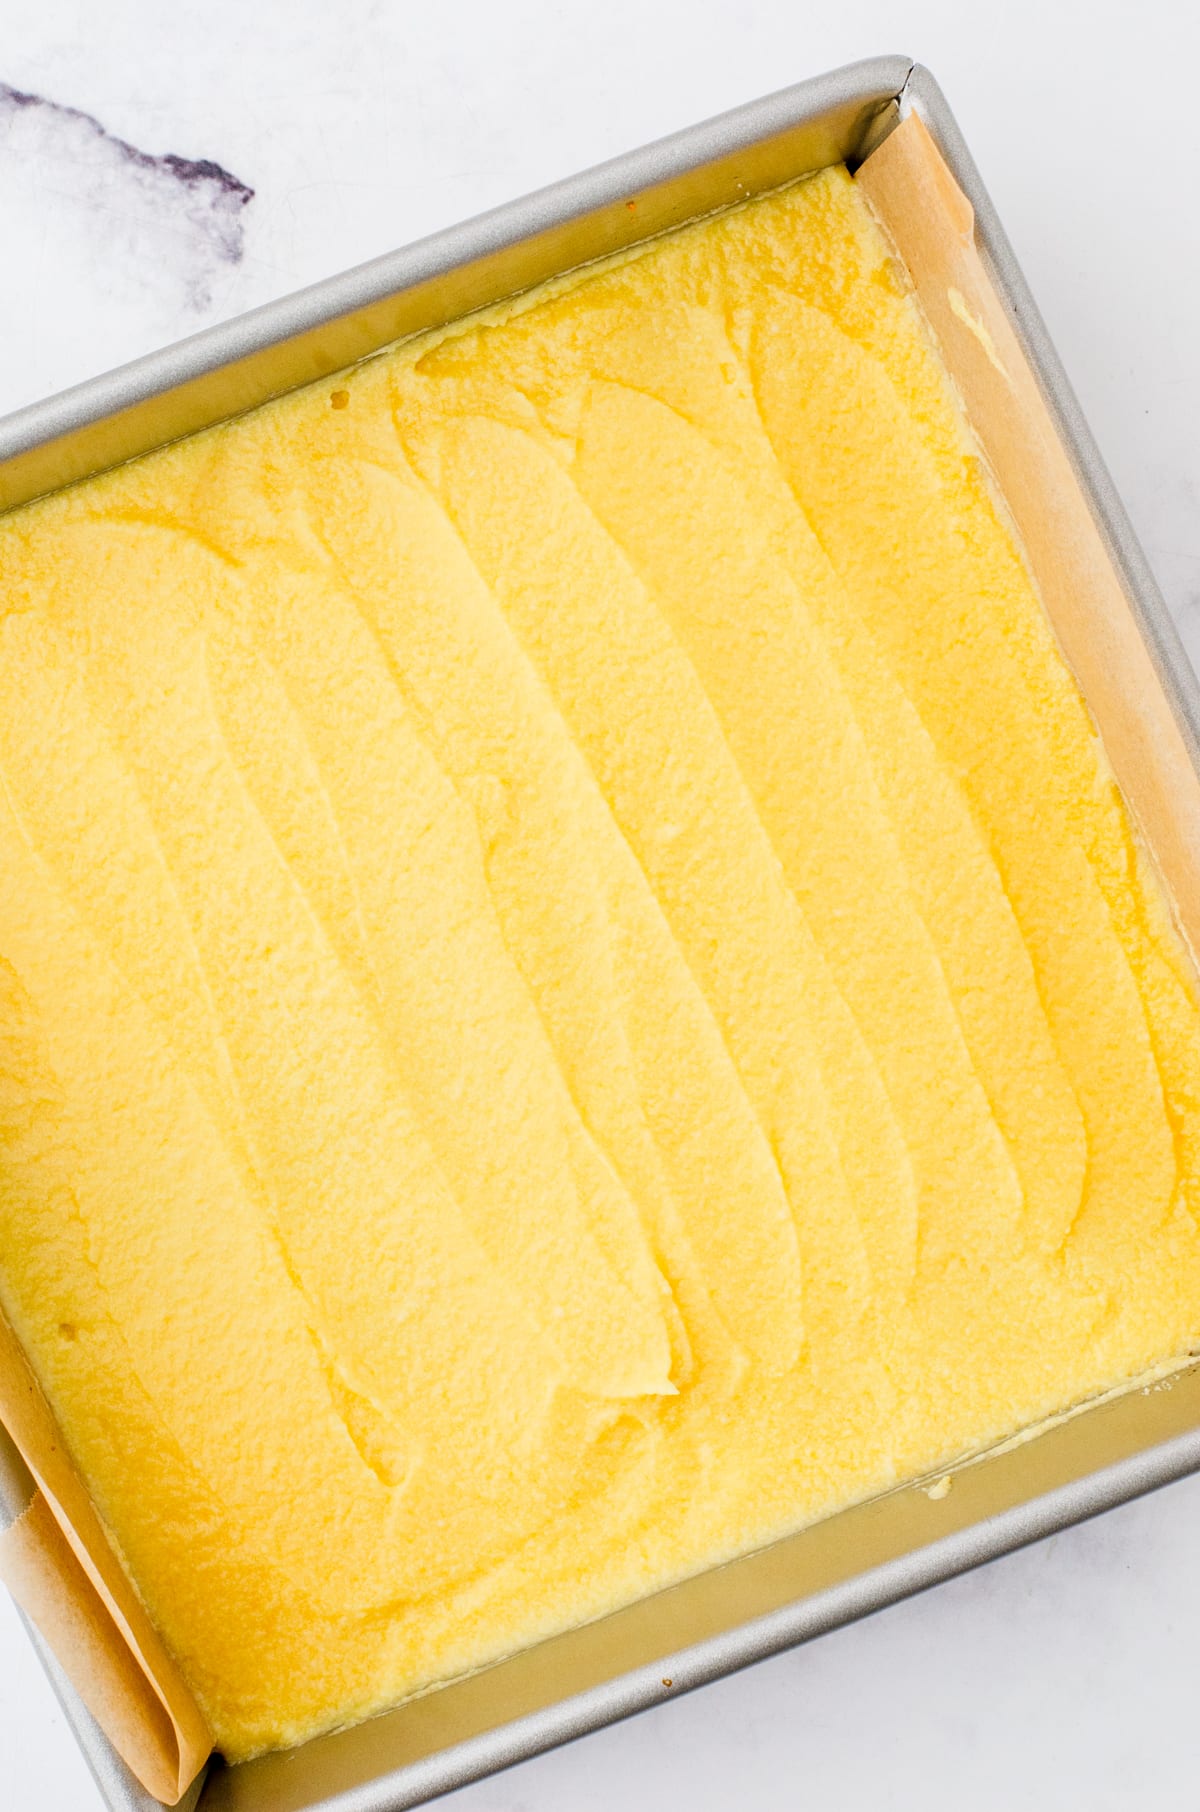
2.Spread over the bottom layer.
For the Top Layer:
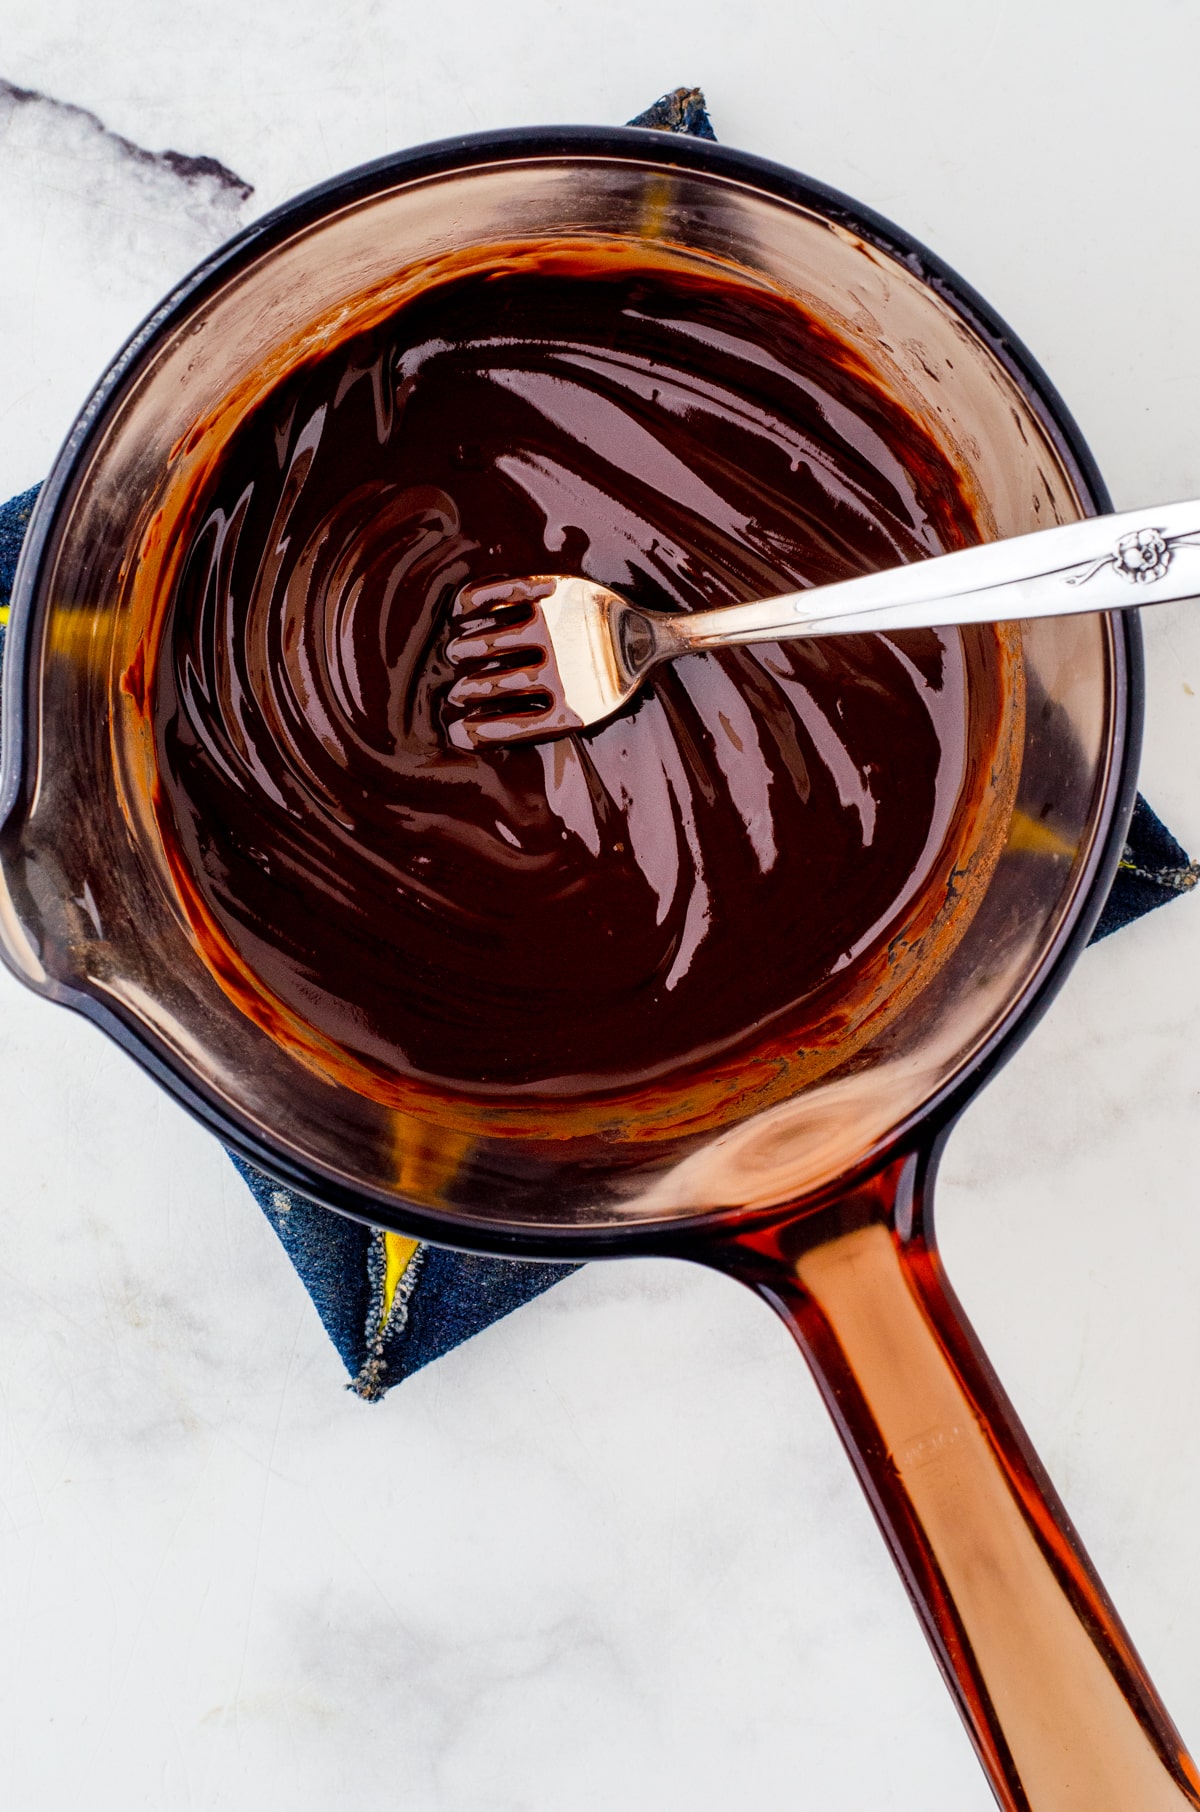
1.Melt chocolate & butter in the top of a double boiler. 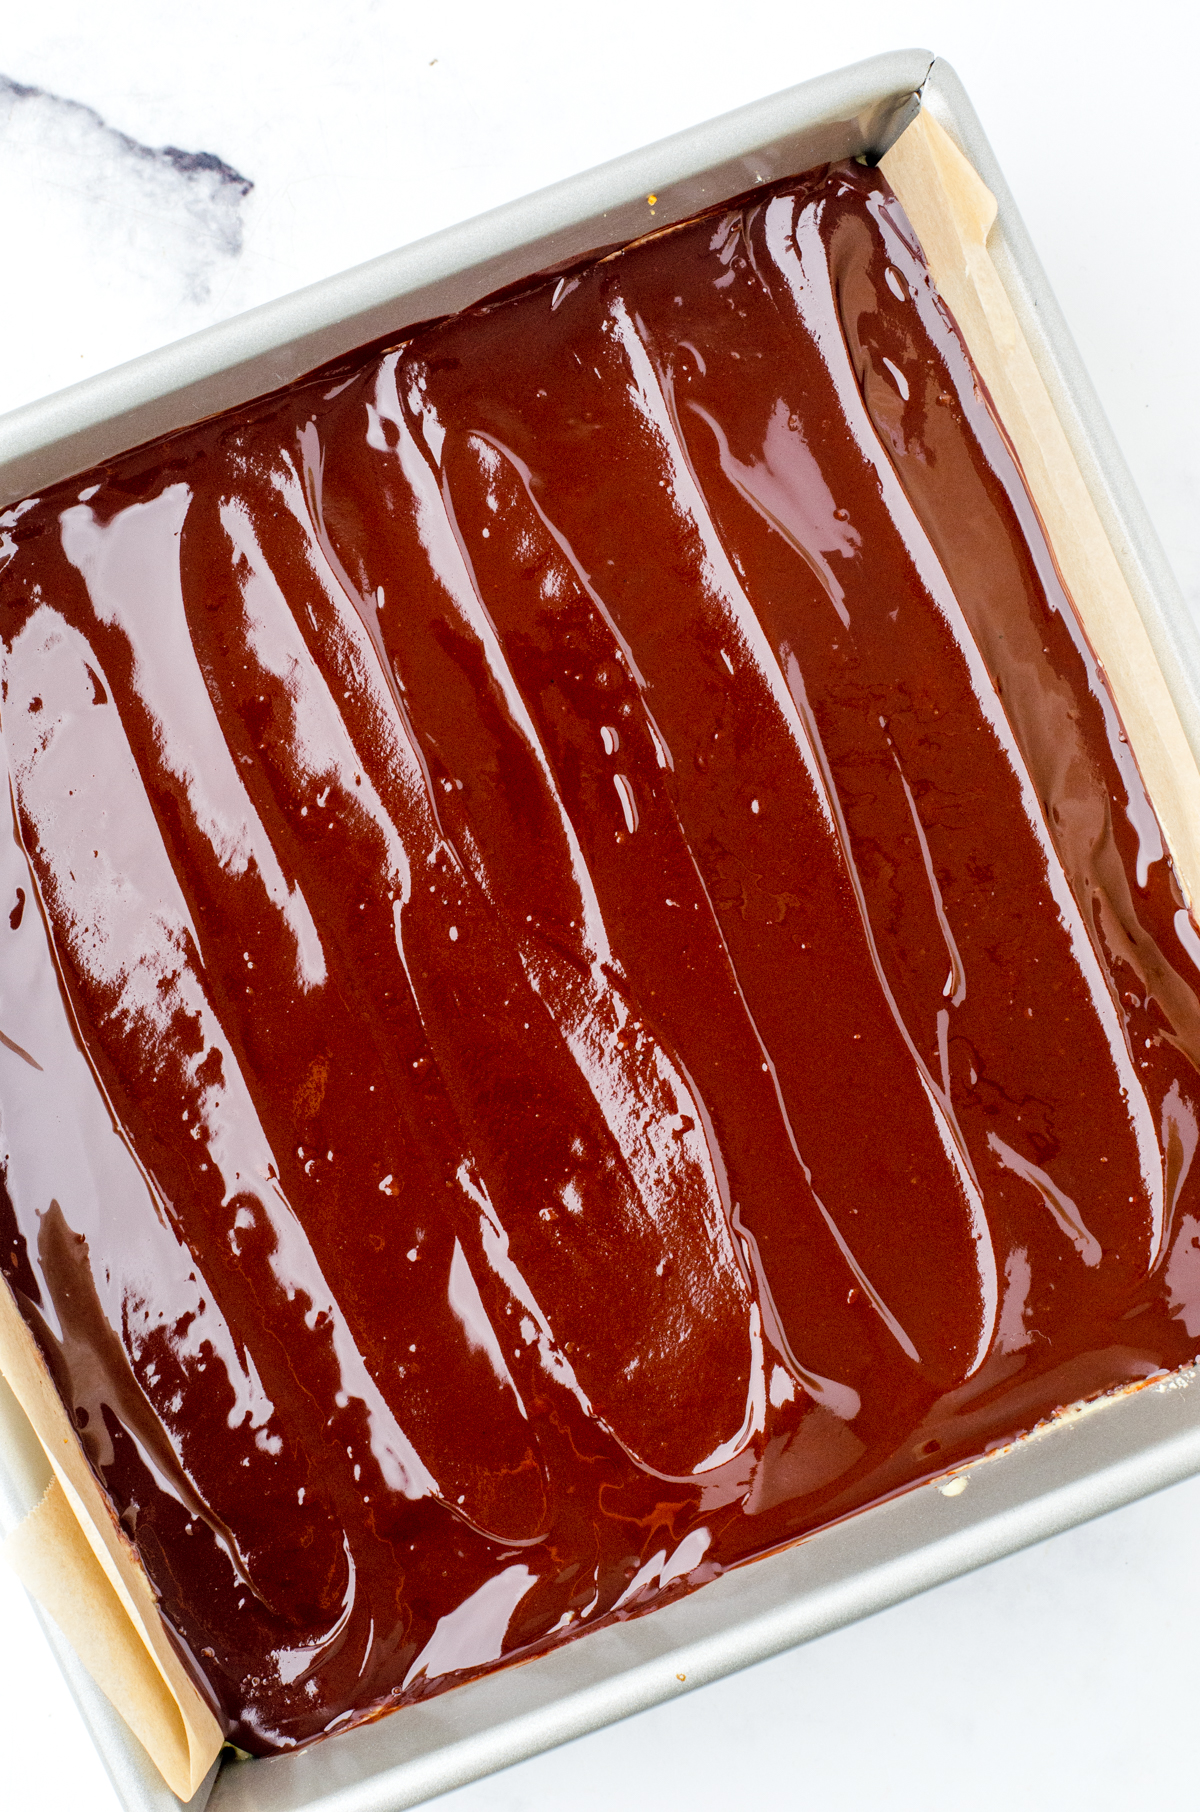
2.Spread slightly cooled chocolate over the chilled layer. 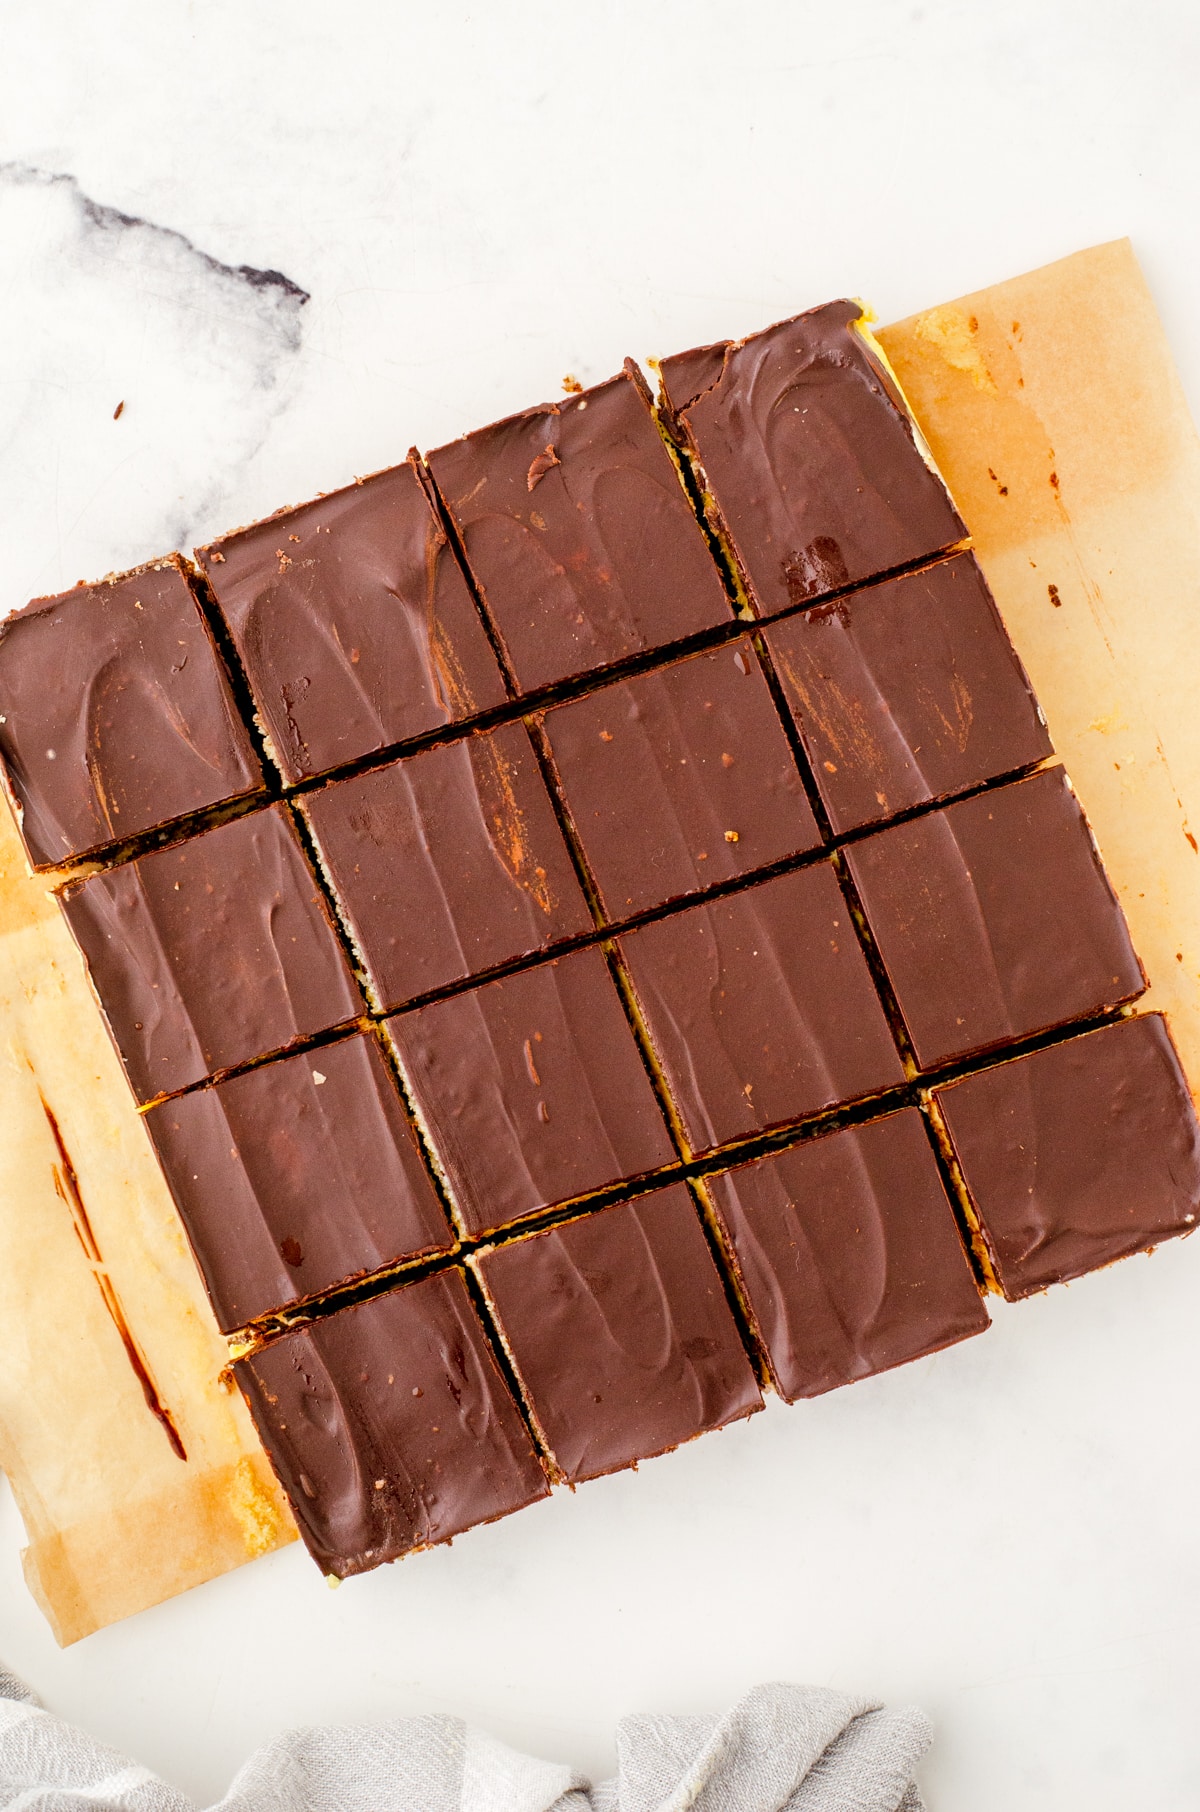
3.Chill and slice into squares.
Watch me make these No Bake Dessert Bars
Tap the play button below to watch a quick Nanaimo Bars video:
Helpful Tips When Making This Recipe
- Substitution for Custard Powder:? Don’t have custard powder? No problem! Substitute the 2 tablespoons of vanilla custard powder with 2 tablespoons cornstarch, 1 teaspoon vanilla extract, and a small pinch of yellow food coloring for that classic custard color.
- Sift your icing sugar before measuring — it whips up so much nicer and smoother!
- Line your pan with parchment paper for easy removal and clean cutting.
- For perfectly clean slices, dip a long knife in hot water, wipe it dry, and let it rest on the chocolate for a moment before slicing straight down. Repeat between cuts!
Substitutions and Variations
- Pan size: A 9×9 inch pan works too — your bars will just be a bit thinner.
- Smaller squares? Cut into 32 pieces instead of 16 — these bars are rich, so a little goes a long way!

Grandma Rita’s Kitchen Tips
Up here in Canada, you can find Nanaimo Bars in bakeries and even in some grocery stores all year long! They are a lovely dessert for get togethers and fit in nicely on cookie tray platters for Christmas – or any time of the year!
Other Dessert Bars You Might Enjoy:
- These butterscotch brownies are dangerously good and ready in 30 minutes!
- This original scotcheroos recipe is a yummy twist to rice krispies squares.
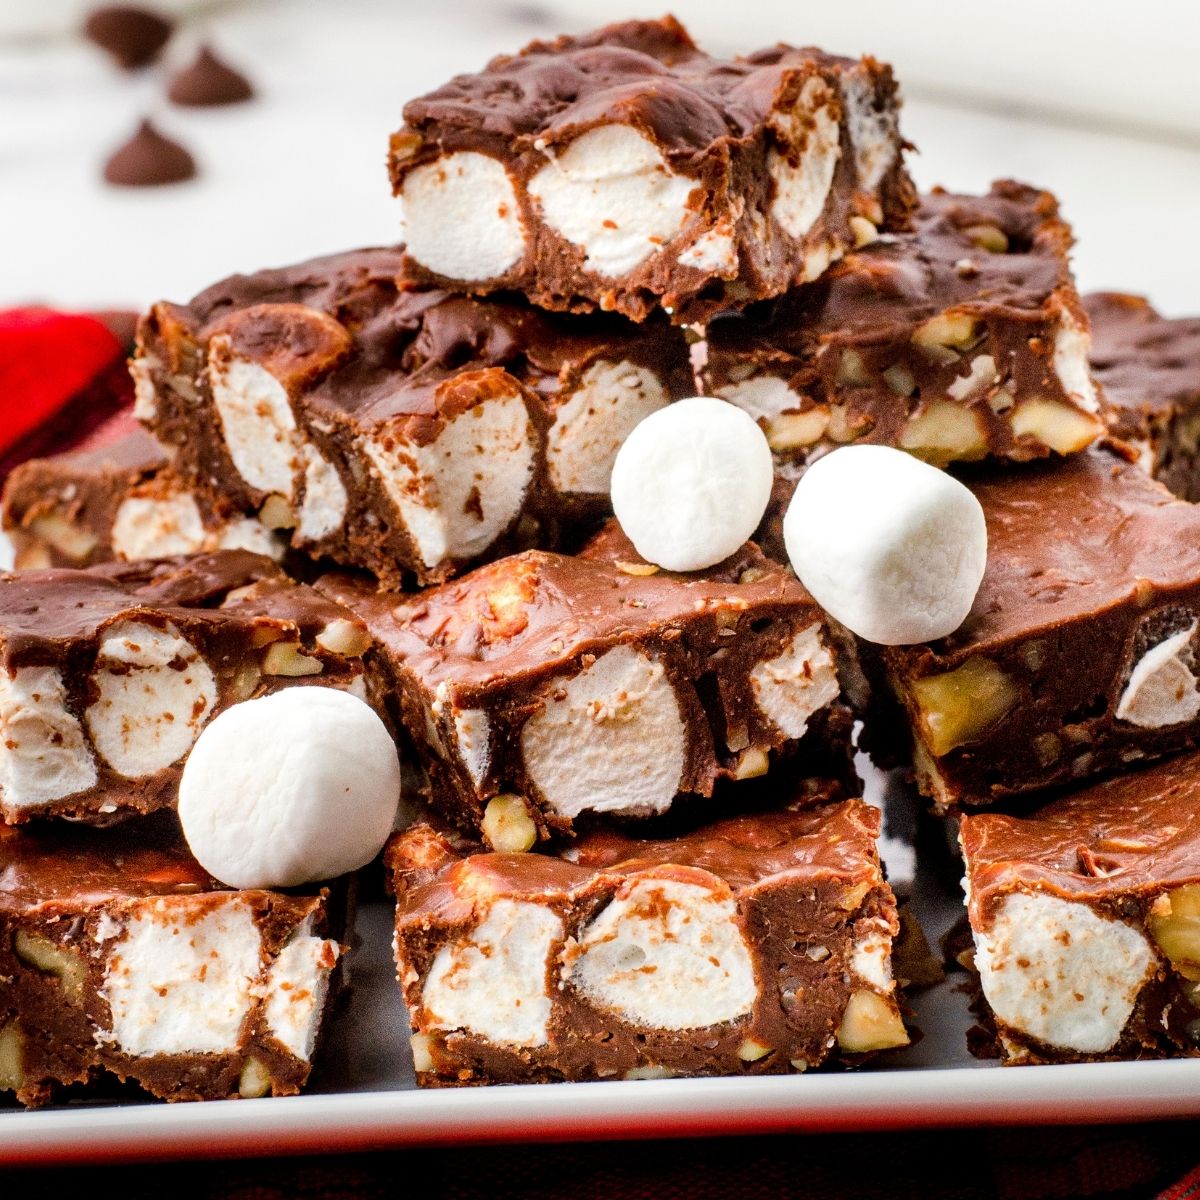
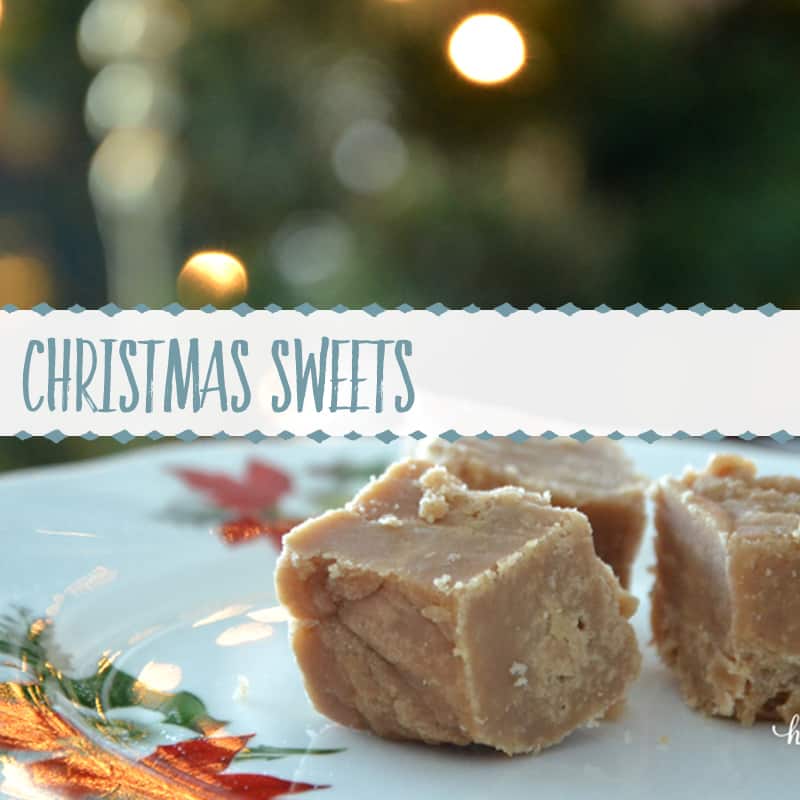
- This easy fudge recipe with condensed milk can be made in 5 minutes using your microwave!
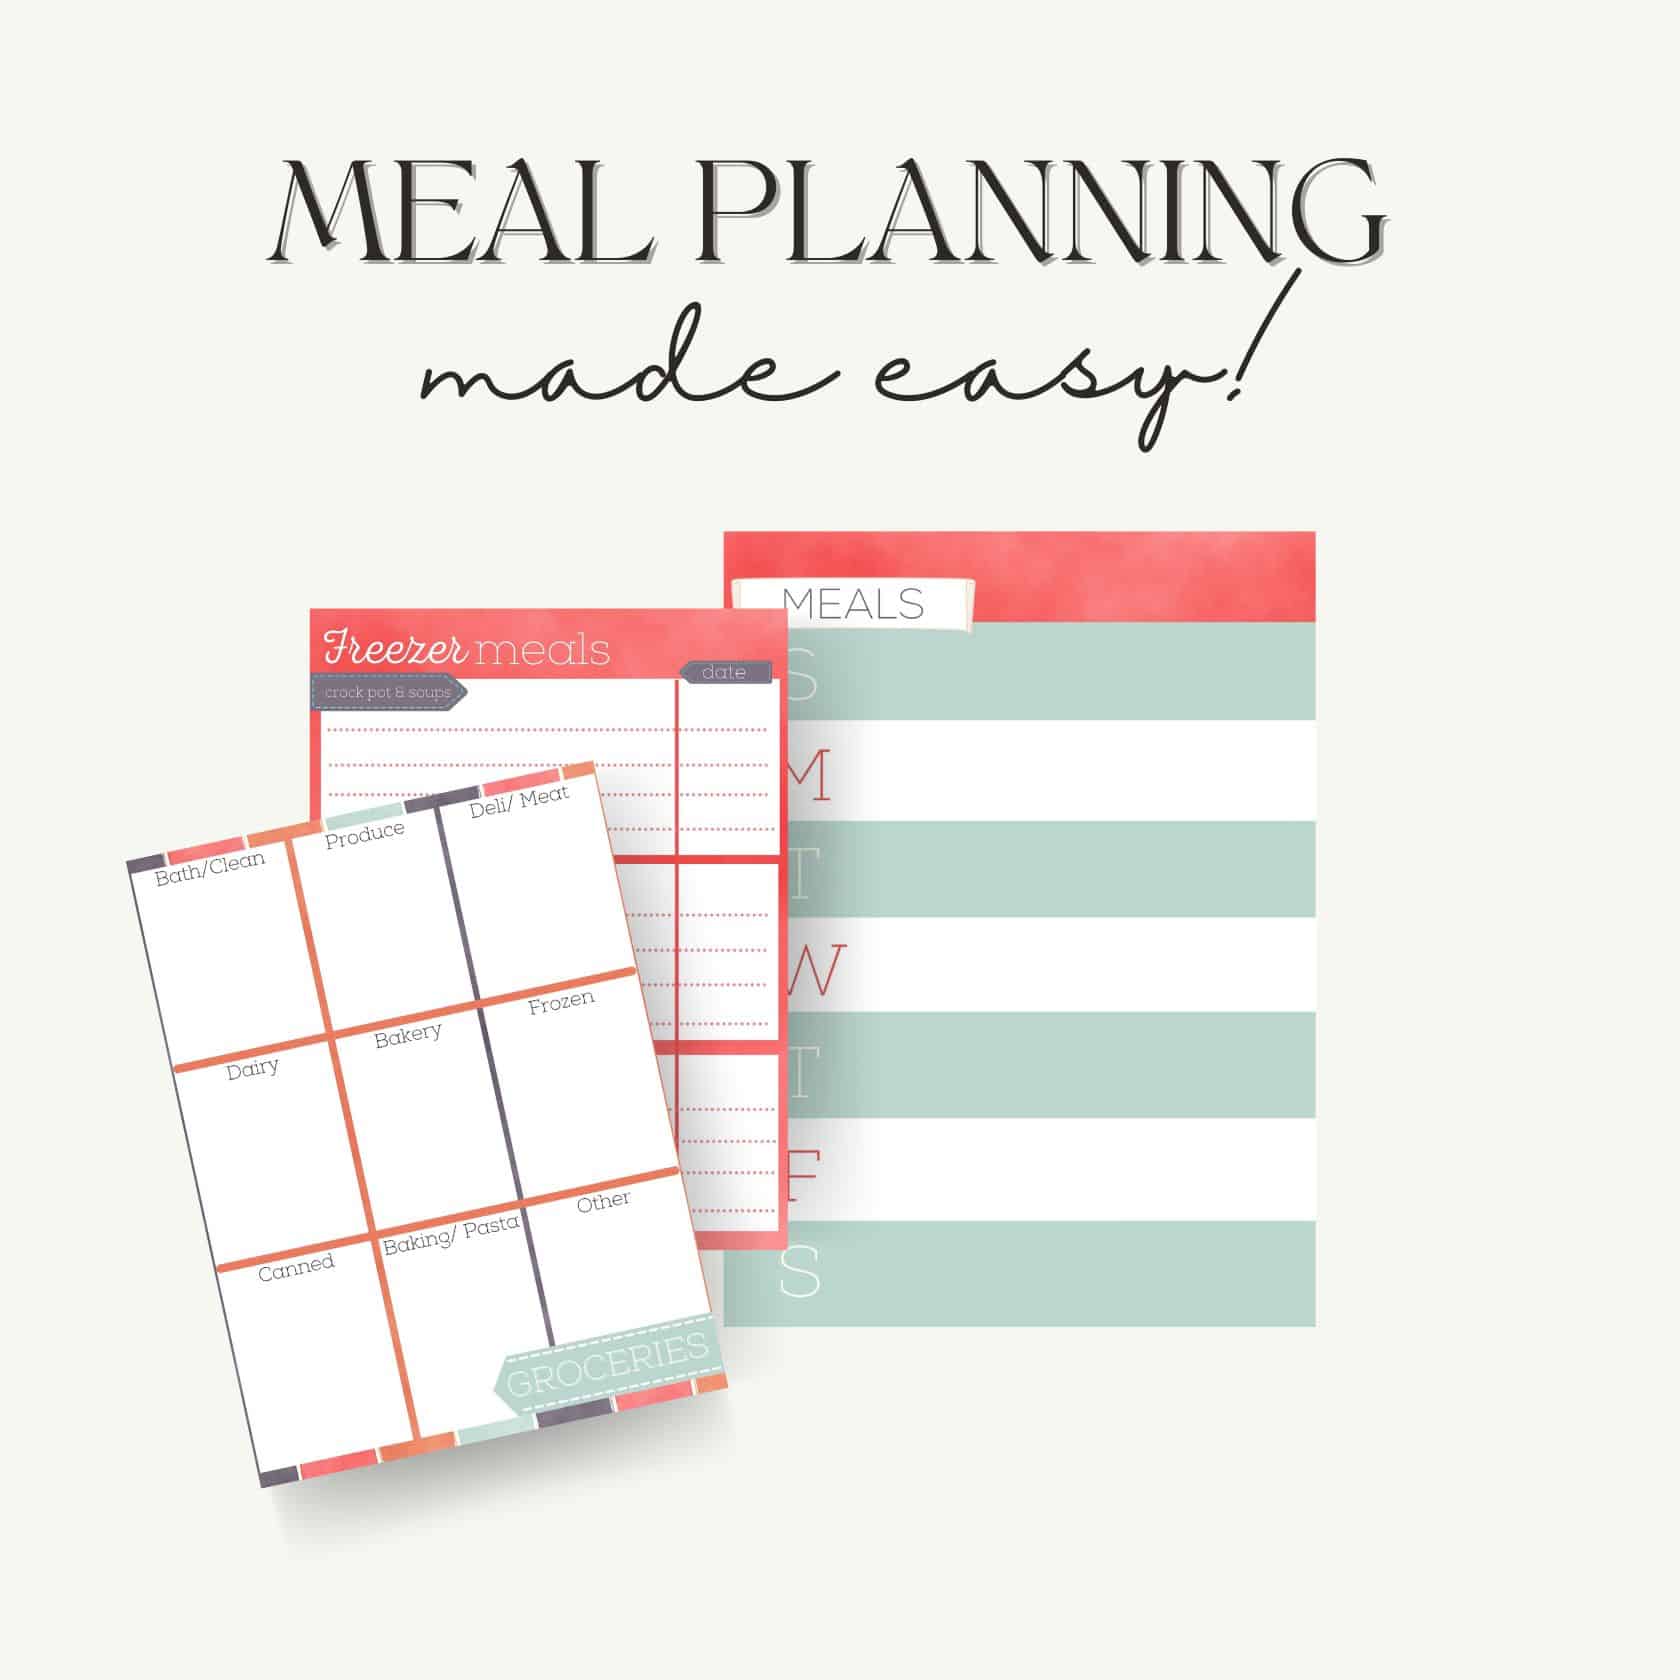
Snag the planner I use to simplify grocery trips and dinners!
Don’t lose track of this recipe! Save it on Pinterest so it’s ready when that craving strikes. Follow me on Pinterest for even more recipes and inspiration for your home.
Classic Nanaimo Bars
Classic Nanaimo bars are a rich no-bake Canadian treat with three irresistible layers: a chocolate coconut base, a creamy custard filling, and a glossy chocolate top. They're easy to make ahead and perfect for potlucks, holidays, or any sweet craving!
Ingredients
Method
- Line an 8x8 inch pan with parchment, leaving overhang on the sides for easy lifting later.
- Melt the butter, sugar, and cocoa powder together in the top of a double boiler.
- When melted, slowly whisk in the beaten egg, stirring constantly until the mixture cooks, thickens, and turns glossy.
- Take off the heat and fold in the graham cracker crumbs, coconut, and chopped almonds.
- Press firmly into the lined pan to make the base layer.
- For the middle layer, lightly whip the butter, then beat in half the milk, the custard powder, and half the icing sugar until combined. Add the rest of the milk and icing sugar, then whip until light and smooth.
- Spread the custard evenly over the base and refrigerate until firm.
- For the topping, melt the chocolate and butter together in a double boiler.
- Once it has cooled slightly but is still pourable, pour it over the chilled custard and spread evenly.
- Refrigerate until completely set.
- Run a knife around the edges, then lift the bars out with the parchment. Cut into 16 generous squares, or smaller if you like.
Notes
A 9x9 inch pan also works; the bars will just be slightly thinner.
For tidy slices, warm a long knife in hot water, dry it, rest it briefly on the chocolate, then cut straight down. Repeat for every cut.