Build your own sliding barn door for extra style and charm, and to free up precious floor space.
Someone recently told me sliding barn doors had fallen out of fashion this year. I do keep an eye on trends, but I think the most important thing is styling our homes so they feel like home to us!
The sliding barn door we built years ago for our former house is still one of our favorite projects ever.
Trend or not, I absolutely love sliding barn doors, and I think a lot of you do too!
***
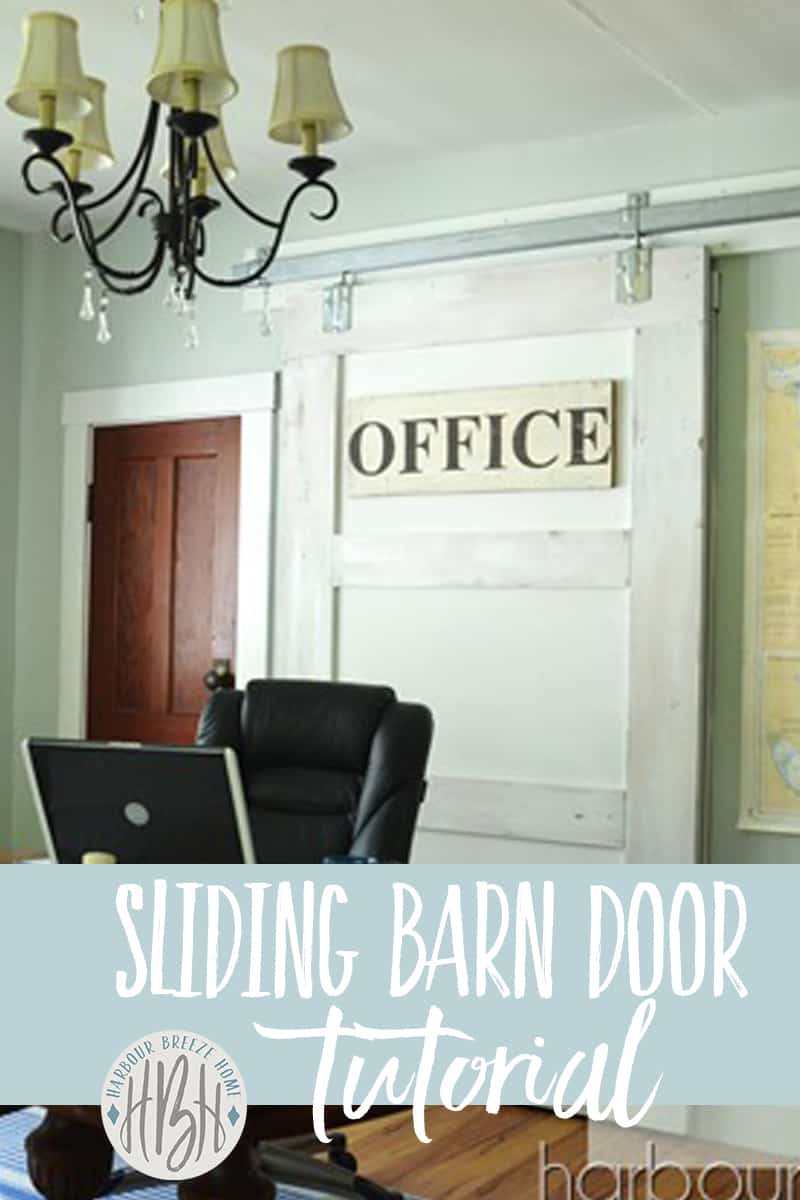
During our Dining Room-turned-Office makeover, the odd closet with a missing door was one of the trickier challenges. After looking at our options, a sliding barn door seemed like the best answer. It gave us the look we wanted and solved the practical problem too. Here is how we built it.
Making a DIY sliding barn door:
We started by following The Handmade Home's tutorial on how to build a barn door.
1. Measure the opening where the door will go.
(Like theirs, our door is very large and heavy, measuring 49 inches by 84 inches.)
2. Buy your building and painting supplies
Disclosure: This post may include affiliate links to make your shopping easier.
Building supplies:
- a sheet of MDF,
- 1 x 8 boards for the outer edges,
- 1 x 6 boards for the middle,
- and sliding barn door hardware. We found ours at our local Home Hardware. Here is similar barn door hardware.
Painting supplies:
- Wood stain in the color of your choice
- Aqua Lock primer
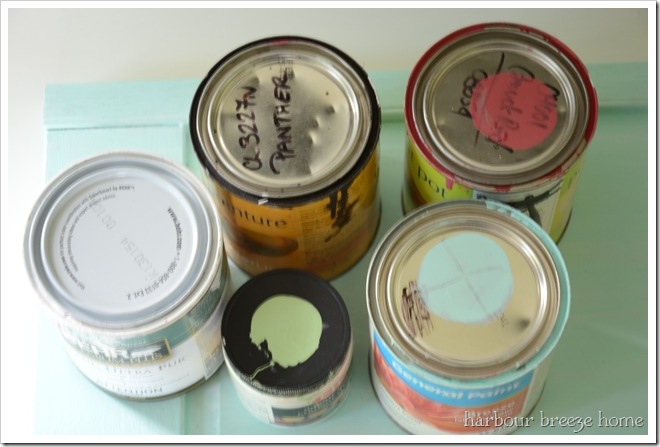
- Paint in the color of your choice
3. After cutting the back of the door to the right size, glue the side and top boards in place and secure them with a nail gun.
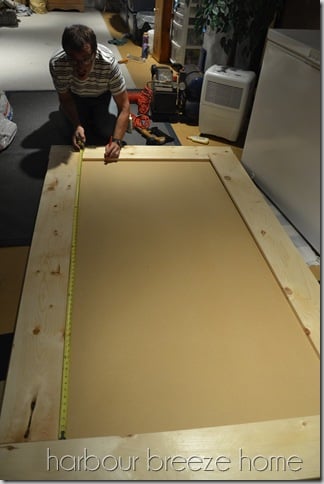
4. Glue and nail the center boards into place.
5. Once the glue has fully dried, stain the outer and center boards by wiping the stain on and then wiping it off.
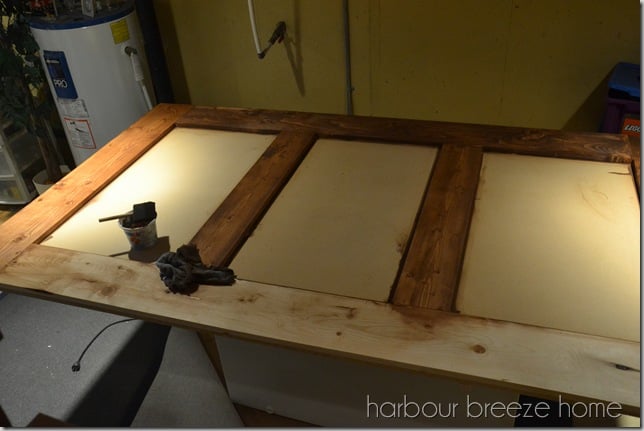
6. Coat the insets and the back of the door with Aqua Lock primer.
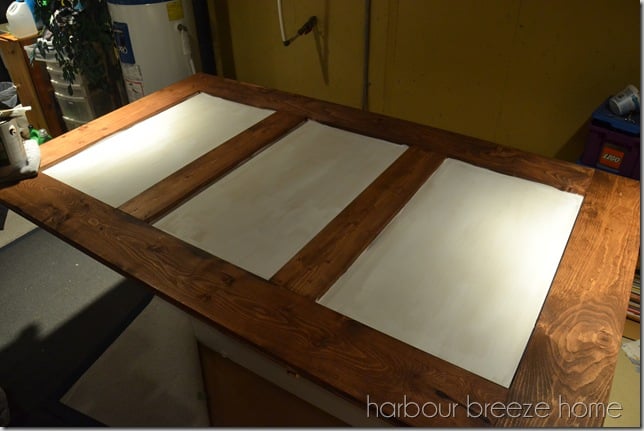
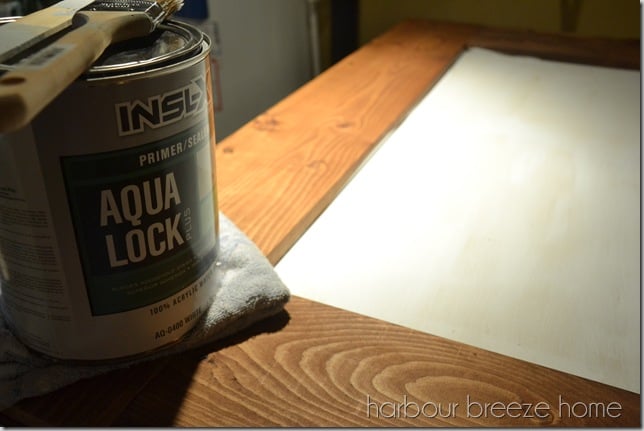
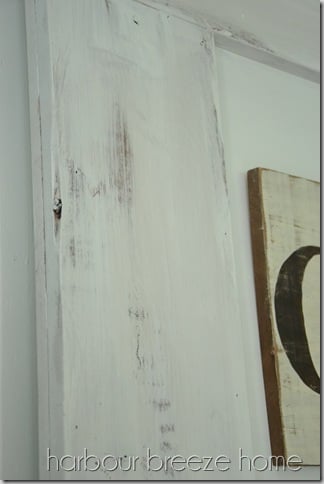
7. For a rustic finish, once the primer is dry, dab a little Vaseline in random spots on the stained sections of the door.
Paint won't stick where the Vaseline is, which creates an aged, weathered look. Then paint the door in the color you like. (This door is painted in White Heron by Benjamin Moore.)
8. Reinforce the wall where the door will hang by firmly attaching a 12-foot 2 x 8 board to the studs.
(Our rail was 12 feet long.)
9. Mount the rail itself at the right height for the door.
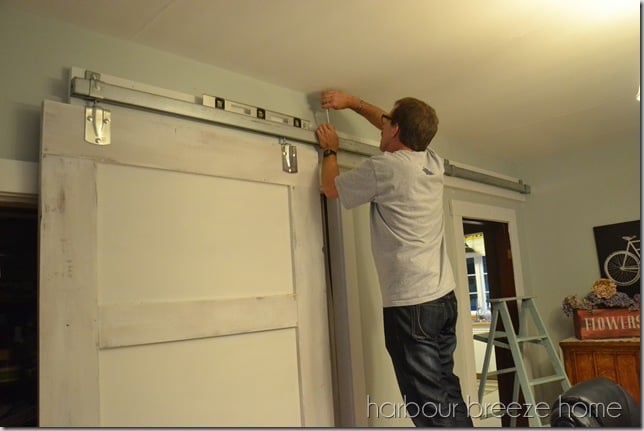
(While we worked on the rail, we propped the door on some boards to take some of the weight.)
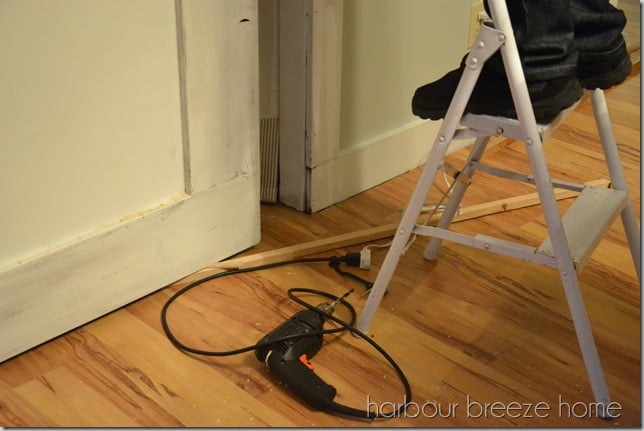
10. Step back and admire your handiwork! :)
This DIY sliding barn door hides the odd closet nicely, and when it's slid all the way across…
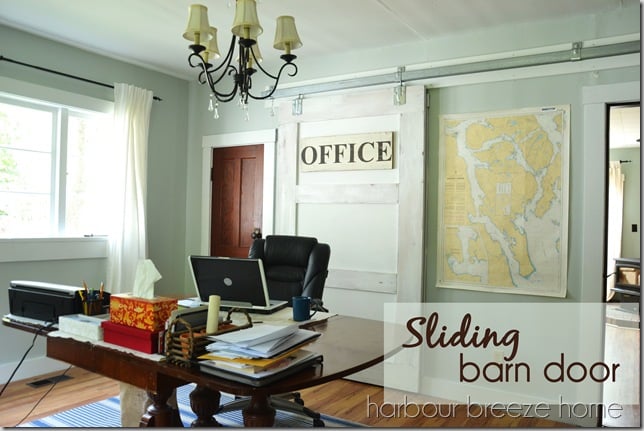
it closes off the room from the rest of the house.
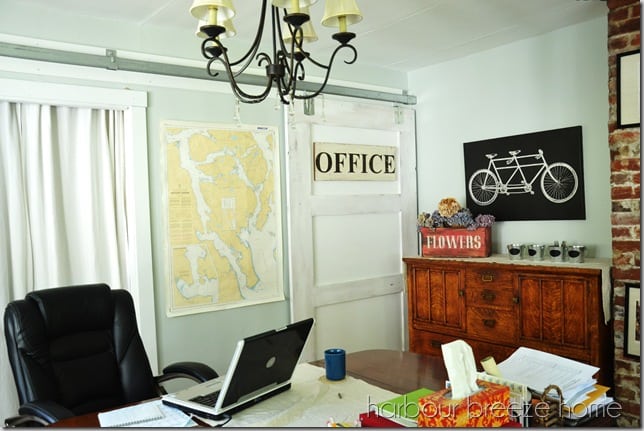
{We really love it!! :)}
If you're looking for more farmhouse DIY projects, you might enjoy these:
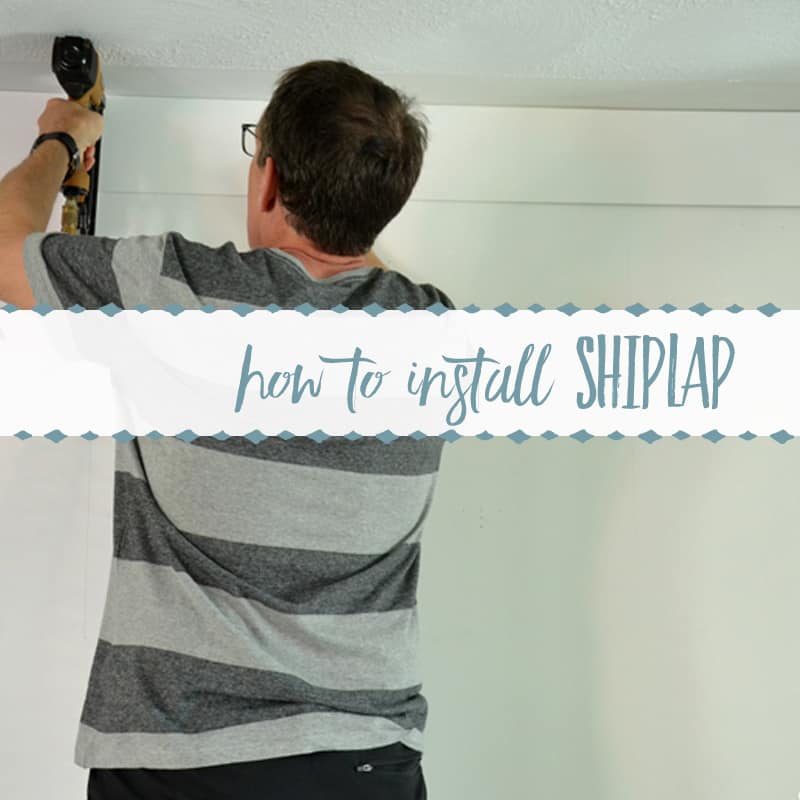
- An easy way to make farmhouse shiplap walls.
- Adding a shiplap accent wall to a bathroom.
- DIY shelves inspired by Fixer Upper.
- An Ikea Billy hack that makes bookshelves look built in!