
Simple Bookkeeping System for New Etsy Sellers
I’ve been an Etsy shop owner for six days, so I’m not claiming to be an expert. Still, I ran into a question early on that I couldn’t find a clear answer for: how should I organize the bookkeeping side of a brand new Etsy business? I wanted a straightforward system to track sales, expenses, and receipts right from the start so nothing gets lost and tax time is less stressful when the shop grows.
Because I couldn’t find a concise guide geared toward absolute beginners, I decided to use a low-tech, reliable method that I learned from previous direct-selling experiences. The goal was simplicity and consistency: a system that takes only a few minutes per transaction and makes monthly record-keeping painless.
Here’s the system I put in place and why it works well for a tiny, just-starting-out business. It can be scaled or replaced later with software once your volume and revenue demand a more robust approach.
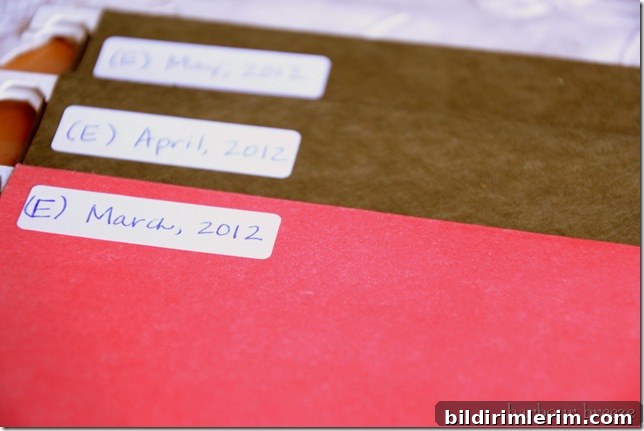
Monthly Folders
Set up 12 file folders labeled with the months of the year. I labeled mine with an “E” in front to indicate these are Etsy records, which helps if you keep multiple small-business records in the same file box. Having a dedicated folder per month keeps receipts and notes organized chronologically and makes it easy to assemble quarterly or annual summaries.
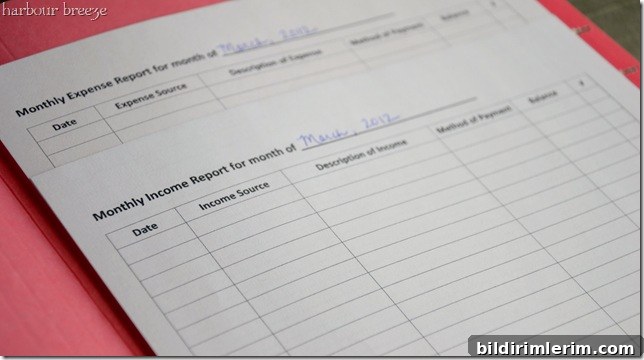
Income and Expense Sheet
Place one Income and Expense worksheet inside each month’s folder and use it as a running ledger for that month. Each time you make a sale or incur a business expense, record the date, description, category (for example: materials, shipping, fees), and the amount. Keeping those entries current makes it much easier to see cash flow and prepares you to summarize totals for tax reporting when needed.
Receipts and Supporting Documents
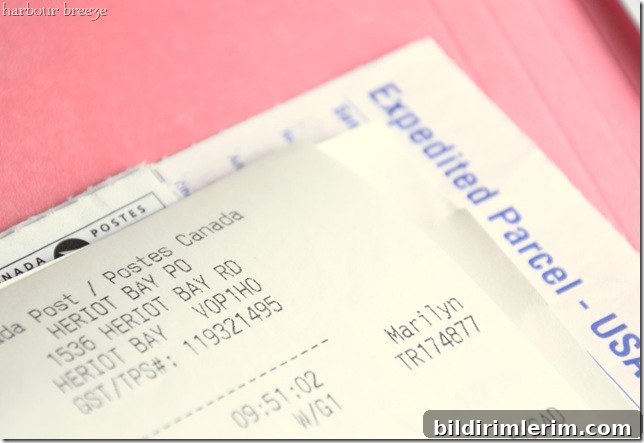
When you record a transaction on the monthly sheet, place the associated receipt, invoice, or confirmation email in that same month’s folder. If a receipt is digital, print it or save it to a dedicated folder on your computer, then include a printed copy with the physical folder or note the file name on your worksheet. Having all supporting documents in one place prevents the dreaded hunt for a missing receipt later on.
How to Use This System Efficiently
Make a habit of recording transactions as they occur, or set a daily or weekly time to update the sheets if you prefer batch processing. At the end of each month, review the folder to ensure every receipt has a matching entry and totals are correct. This monthly review is also the time to note any deductions you may want to track separately, such as home office expenses, packaging materials, or shipping costs.
For small volumes, the physical system keeps costs low and is easy to maintain. When your shop reaches higher sales volume or you want automated reporting, consider migrating the same structure to a spreadsheet or bookkeeping software. Until then, a paper-based approach is predictable, low-cost, and audit-friendly.
Why Start With a Simple System?
Beginning with a simple, reliable process helps you develop the discipline of record-keeping before the paperwork becomes overwhelming. It reduces anxiety about missing receipts, makes it easier to see how your business is performing month to month, and sets you up to provide clear documentation if you ever work with an accountant or prepare taxes yourself.
My business is still very small and the profits are modest, but establishing this routine now means I won’t scramble to organize records later. If your business grows, you can adapt or replace this simple system with software that fits your new needs, but the core practice—record every transaction and keep supporting receipts—remains the same.
If you try this system, keep it consistent and tweak categories to match your products and expenses. A little organization up front saves a lot of time and stress down the road.