
I’ve been thinking about a full refresh of our main bathroom for a very long time. For months I imagined simple updates—fresh paint, some new fabric, a few small changes—but once I began to plan in detail it became clear a minor makeover wouldn’t do. What looked like small fixes would actually turn into a much larger project. Nearly two years later, the room still looks the same as it did back then.
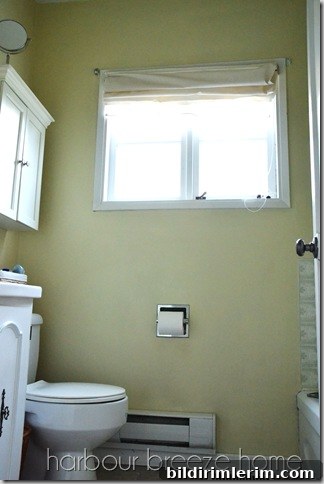
Finally, we have a clear, practical plan to move forward. It all begins with this corner of the room:
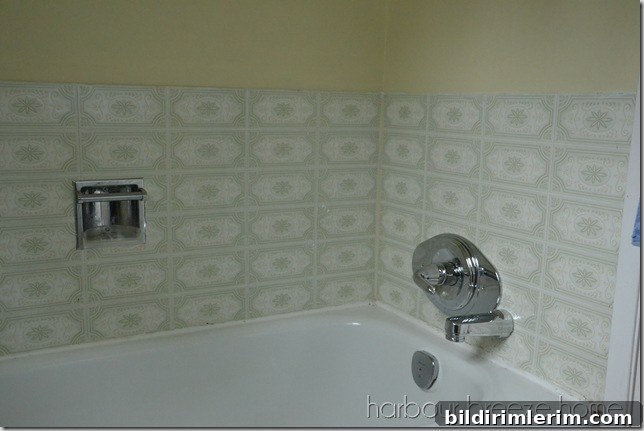
One of my primary goals is to address the dated tile around the tub. The 1970s retro look isn’t the direction I want to take, so the first step is removing the thick, old caulking around the tub and assessing what lies beneath. You can see just how prominent the caulk is in spots.
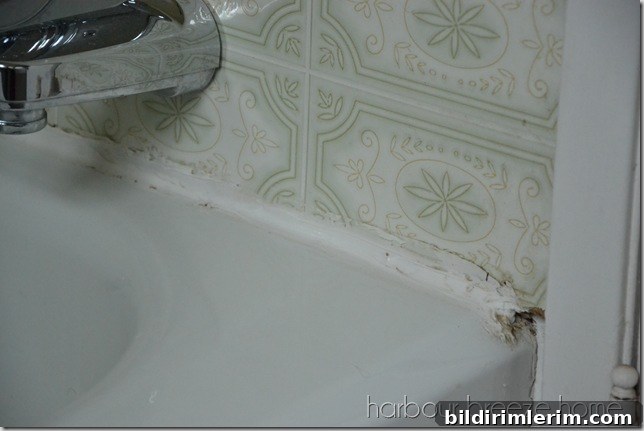
Some areas had nearly an inch of caulk buildup. As soon as I started cutting it out I realized this was the moment of commitment—the makeover had moved from an idea to a concrete renovation. Once the caulk was removed, it revealed the true condition of the tub surround and made the scope of work obvious.
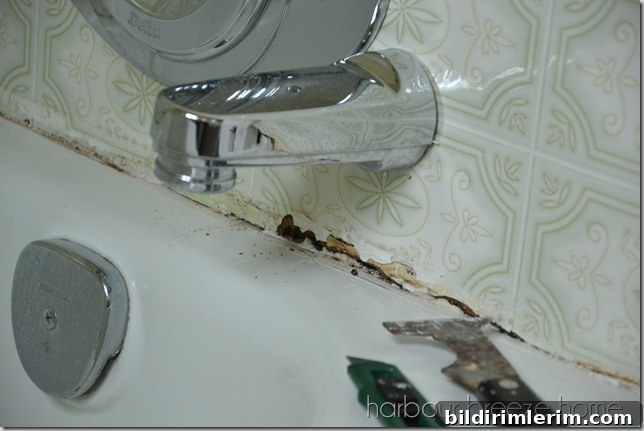
With that done, I’m fully committed. The plan is to start with the tub wall, remove the old tile and any compromised backer material, and replace it with a waterproof, modern solution that fits the look I want.
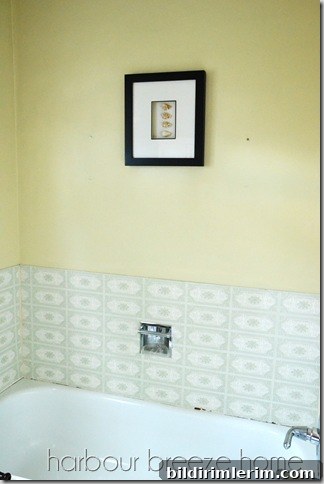
After completing the tub surround, we’ll move on to the rest of the compact bathroom, upgrading finishes, lighting, and storage to make the space feel larger, brighter, and more functional. This small footprint needs careful planning to maximize usability while keeping a clean, timeless aesthetic.
Here’s the practical approach I’m following, in broad strokes:
- Remove deteriorated caulking and old tile, then inspect the underlying wall and tub flange for water damage. This initial demolition reveals what structural or waterproofing work is required.
- Replace or reinforce the substrate where needed. For a long-lasting result, install a proper waterproof backer board or membrane behind the new tile or paneling.
- Choose durable, neutral tile or an alternative wall system that complements the limited space—large-format tile, classic subway tile, or a solid-surface panel can both modernize and visually expand the room.
- Use quality grout and properly seal all transitions. Caulking will be applied deliberately and sparingly so seams look clean rather than overbuilt.
- Update fixtures, lighting, and storage to improve function and brightness. Small changes like a new showerhead, a better vanity light, and smart shelving can dramatically improve the room’s feel.
- Keep finishes cohesive and timeless to avoid another style overhaul in a few years. Neutral palettes, layered lighting, and thoughtful hardware choices go a long way.
I have a handful of design ideas I’m excited about, but the real starting point was removing that stubborn caulk. Once that was out, the renovation suddenly made sense. This is a small bathroom that needs an honest, well-planned update—nothing overly trendy, just a smart, practical renovation that improves function and looks great for years.
I’m looking forward to sharing progress as we move from demolition to rebuild. Big ideas—small room—good results.