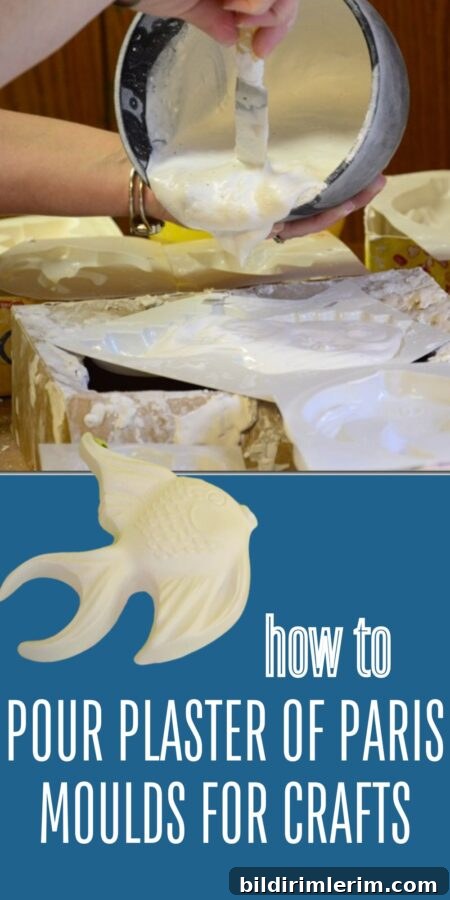
Enjoy a timeless crafting project with plaster of Paris molds. Kids and adults alike love personalizing finished pieces by painting them with their own designs.
For more than 20 years my husband and I worked at a year-round camp and retreat center. Although the camp offered many activities, crafts were always the most popular.
When I was in charge of choosing summer camp craft projects, one option never lost its appeal: painting plaster craft molds.
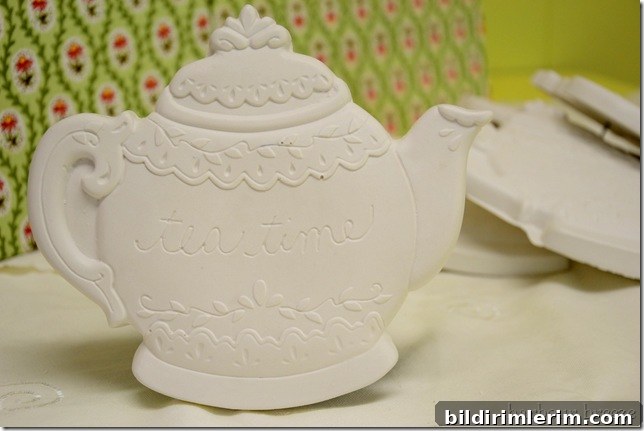
Plaster molds are inexpensive, easy to produce in large quantities, and perfect for groups. We routinely went through hundreds of molds each summer.
Each spring we spent several days pouring hundreds of plaster-of-Paris pieces so they would be ready for campers to paint throughout the season.
This guide explains the process we used for pouring plaster designs using molds, including supplies, mixing tips, and care for finished pieces.
What type of plaster of Paris should you use for plaster crafts using molds?
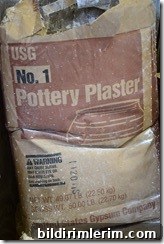
For large-scale pouring we used a pottery-grade plaster often labeled “No. 1 Pottery Plaster” sold in 50-pound bags. You can find similar products through craft suppliers or local building supply stores. If you only plan a few pieces, smaller consumer packages of plaster of Paris work fine.
Safety note: This is a messy job. Prepare the workspace and yourself accordingly. Wear an apron or old clothes, use rubber gloves if you have sensitive skin, and protect surfaces with paper or cardboard. Always read and follow the safety warnings on the plaster packaging.
I learned this method from our long-time craft shop coordinator, who refined the process over decades. The steps below are efficient and straightforward once you get the hang of them.
Supplies needed for pouring plaster of Paris molds
Note: choose dedicated, easy-to-clean tools for mixing and rinsing plaster—don’t use kitchen utensils or sinks.
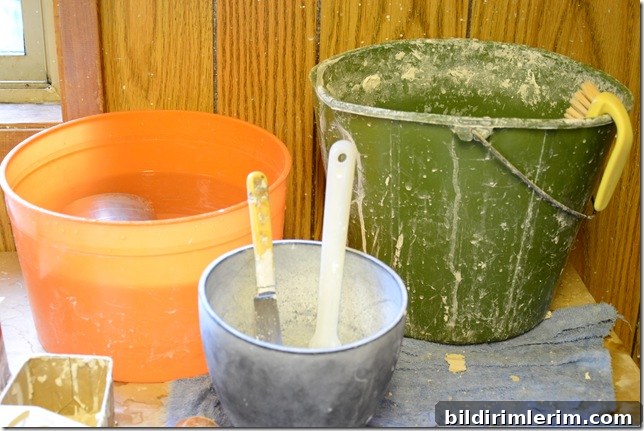
- Bucket of clean, lukewarm water with a one-cup scoop
- A separate bucket with rinse water
- A scrub brush for cleaning tools
- A rubber mixing bowl suitable for plaster
- An old knife or stirring tool
- A measuring cup for plaster powder
- An old spatula for scraping the bowl
- Plaster molds in the shapes you want
- Wire cut and bent to form hangers (if you plan to hang finished pieces)
Where to purchase plaster molds
If you don’t already have molds, there are many places to find them. Look for craft shops, online marketplaces and suppliers of soap or candle molds—soap molds often work well for plaster. You can also find themed molds such as cars, animals, vases, or classic camp-style shapes through craft suppliers and specialty mold makers.
How to pour plaster of Paris molds for crafts
- Arrange molds so they’re stable and won’t tip during pouring. Cardboard boxes, cottage-cheese containers, or shallow trays make handy supports.
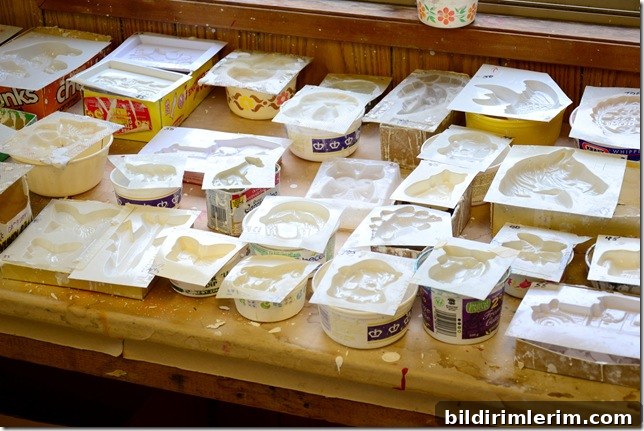
2. For each small batch, pour about 3/4 cup of lukewarm water into your mixing bowl.
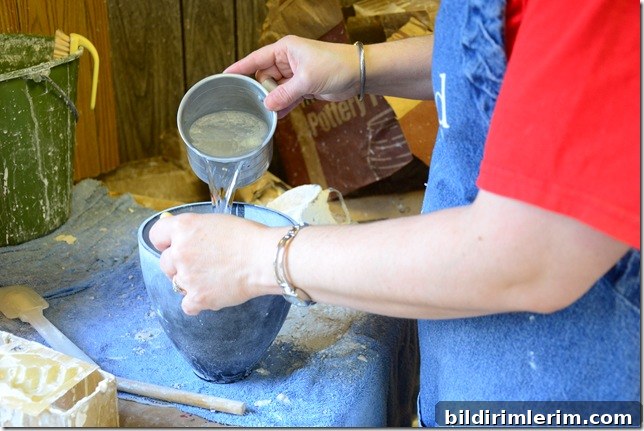
3. While stirring, add plaster powder to the water. The exact powder-to-water ratio varies with room temperature and humidity. A good starting point is roughly 3 1/2 cups of powder per batch. Aim for a smooth, slightly thick consistency similar to thin pancake batter.
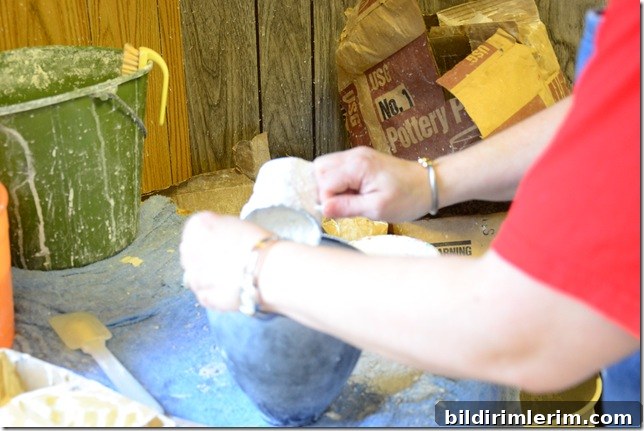
Be careful not to make the mixture too thick—plaster sets quickly, and you want enough working time to pour before it begins to firm up.
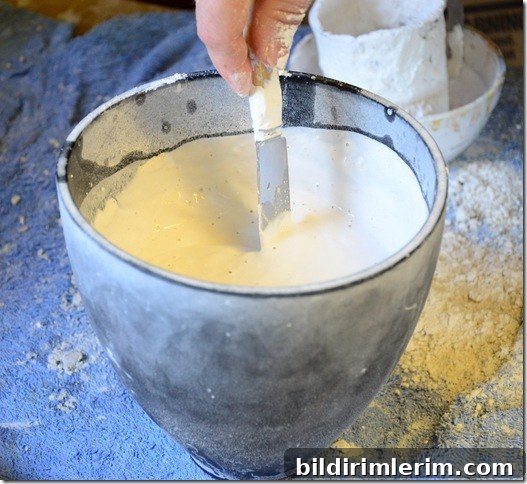
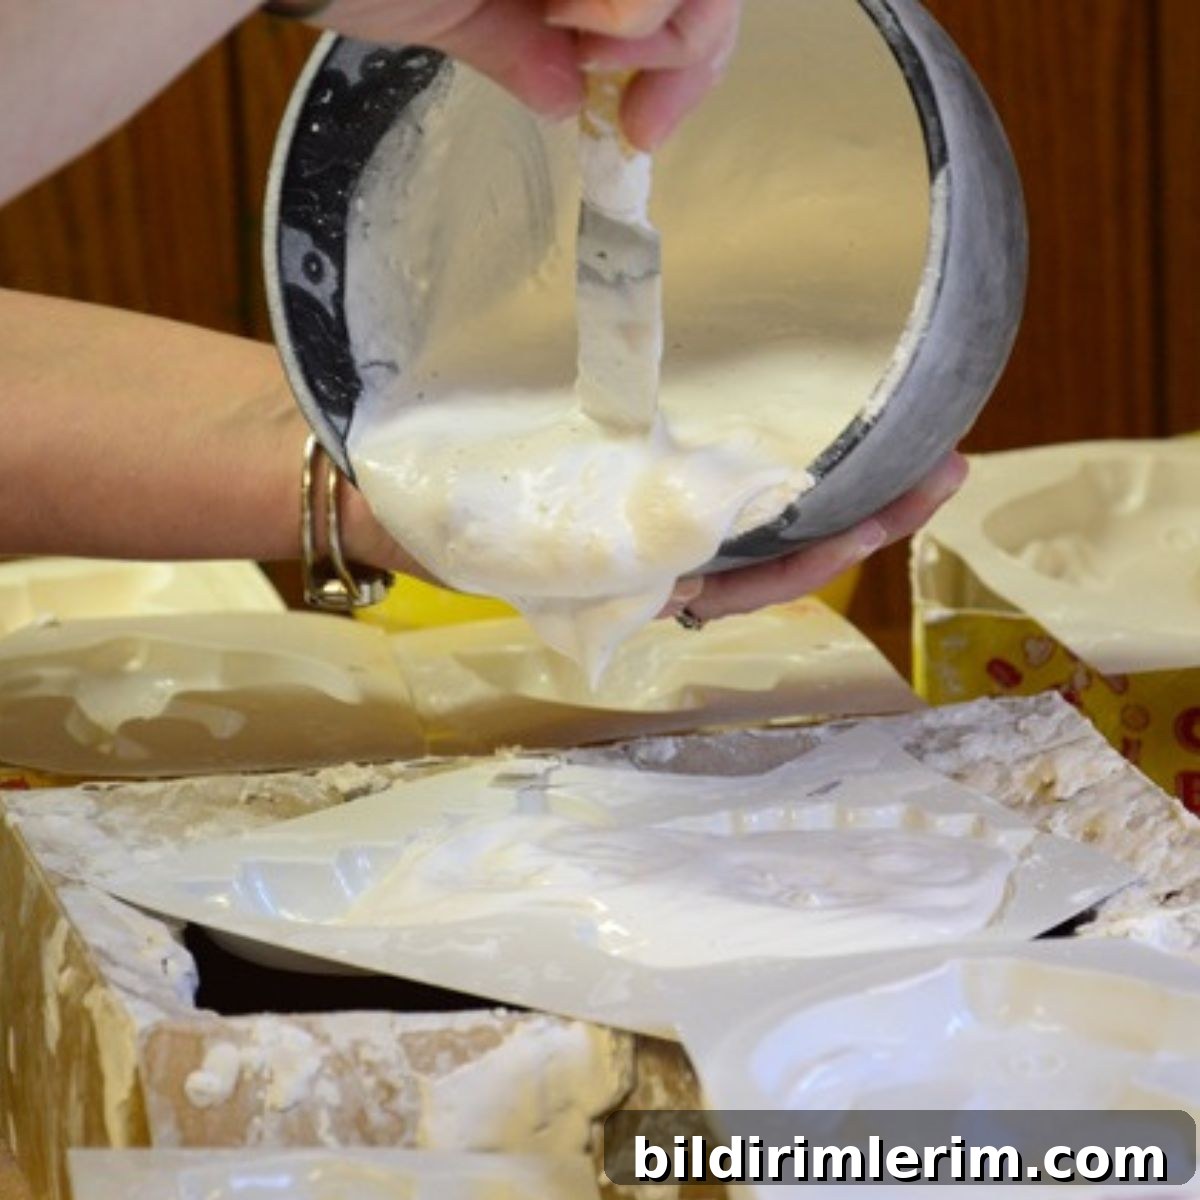
4. Pour the plaster into the molds promptly—the mixture begins to set upon contact with the water in the molds.
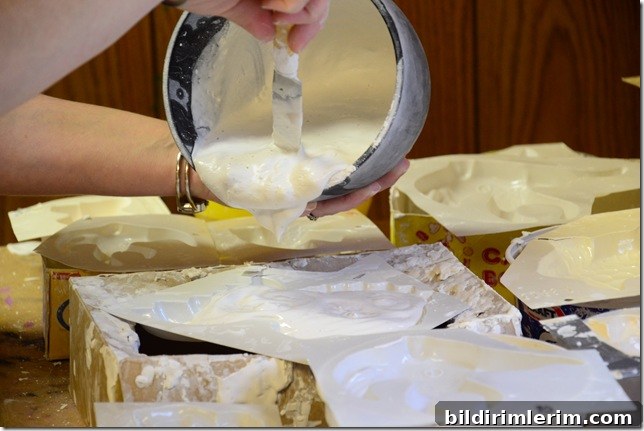
5. After pouring, gently shake and tap the molds to encourage air bubbles to rise to the surface and to distribute the plaster evenly.
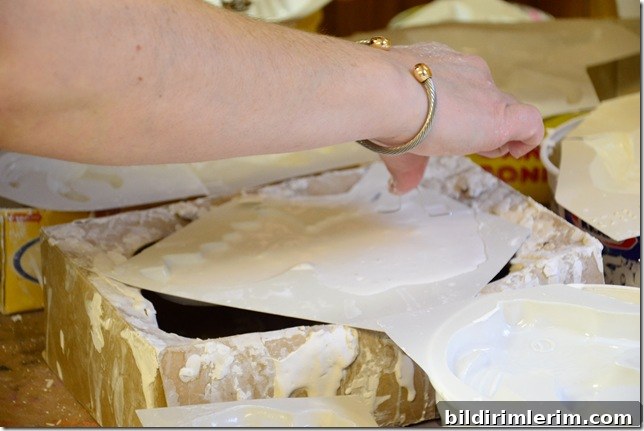
6. If you want the finished piece to hang, insert a pre-bent piece of wire into the wet plaster while it is still soft. Position it near the back and press in gently so it is secure as the plaster sets.
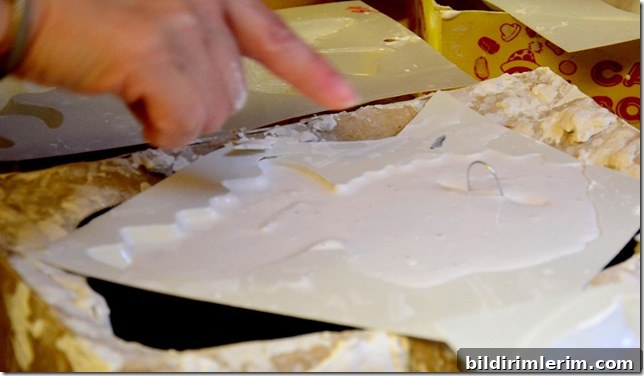
On average, one small batch filled about seven small-to-medium molds. Exact yield depends on mold size.
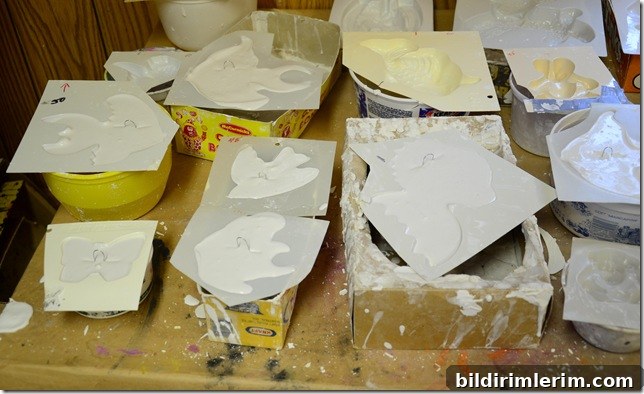
7. Immediately scrape the bowl as clean as you can with a spatula, then rinse tools and the mixing bowl in the separate rinse bucket. Important: never rinse plaster from tools down a household sink or drain—dried plaster can clog plumbing.
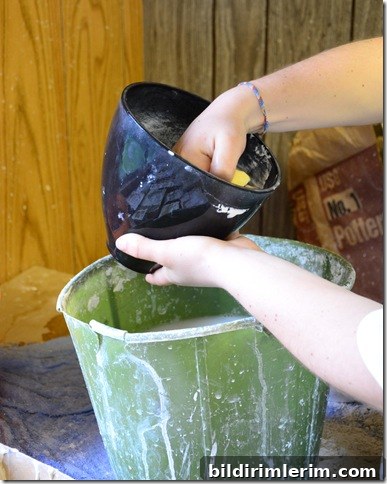
Pieces usually harden within an hour or less. You’ll feel the mold warm while the plaster is curing; when it cools again, the piece is typically set and ready to remove.
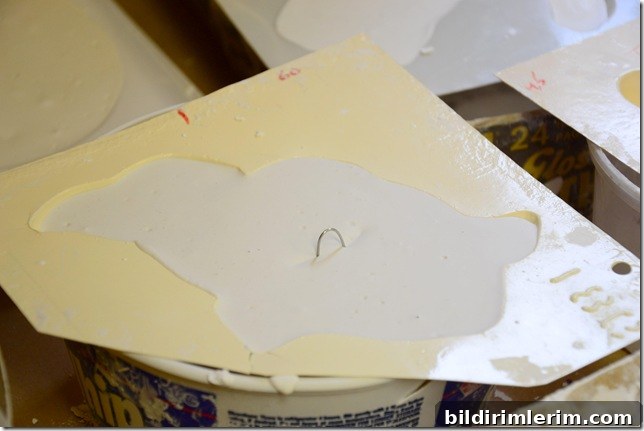
To demold, turn the mold over and give it a gentle tap—most pieces pop out easily. Careful handling of molds extends their life; with gentle use, molds can last many years.
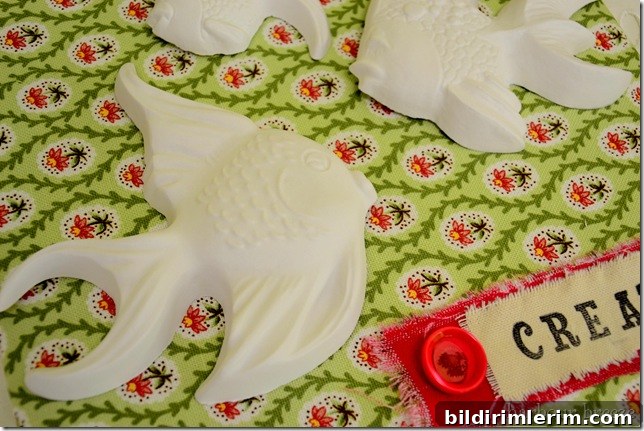
We repeated this process across several long work sessions to build our camp’s collection. One 50-pound bag of plaster typically yields many small and medium pieces—enough to supply craft sessions for a large group.
When drying the finished pieces, allow airflow around the backs as well as the fronts. Plaster is porous while it cures and can retain moisture; good air circulation helps prevent mildew.
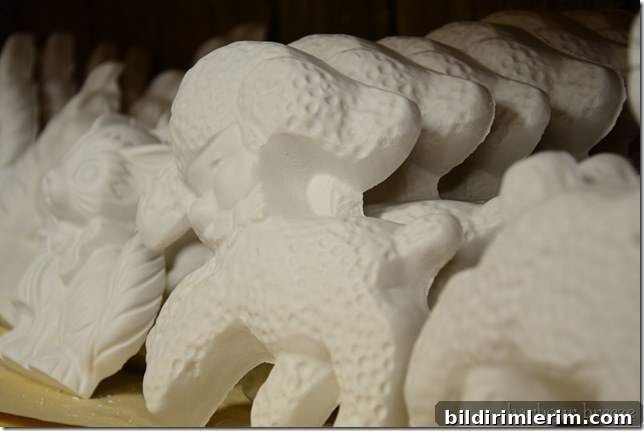
How do you use these plaster molds for crafts for kids and adults?
Painting plaster molds is a simple, satisfying craft for all ages. For younger children, use washable tempera paints; older children and adults can use acrylic paints for bolder, longer-lasting color. After paint dries completely, consider sealing the piece with a clear spray or brush-on sealer to protect the finish. Hang finished pieces by the embedded wire or display them on shelves as seasonal or room decor.
Other camp craft ideas & tips
- Plan projects that fit your group’s age range and attention span. Simple paint-and-seal pieces work well for large groups.
- Try pairing plaster pieces with other materials—mosaic frames, painted wooden plaques, or mixed-media accents add interest.
- Pre-pour an abundant supply of simple shapes before busy craft days so participants can focus on painting and finishing.