
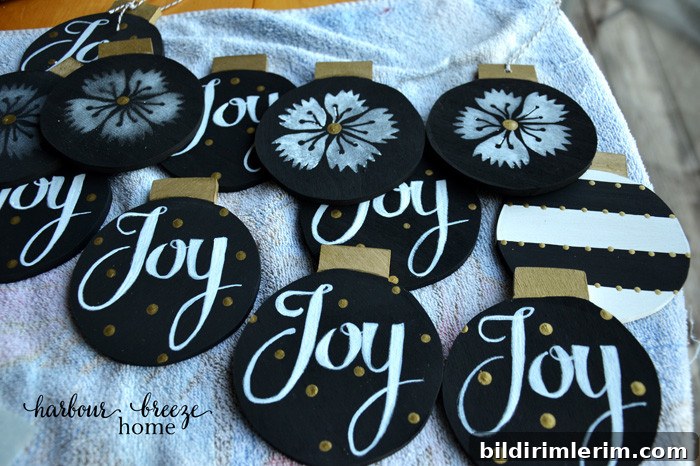
Yesterday I shared a step-by-step tutorial for creating chalkboard-style wooden ornaments. While we’re on the topic of homemade decorations, here are two additional creative options for handmade wooden ornaments that are simple to customize and perfect for gifting or decorating your tree.
Both ornament ideas start the same way: cut a pattern from 1/4-inch Baltic birch plywood with a scroll saw. Baltic birch is stable and easy to cut, and the thin plywood works well for lightweight ornaments that hang neatly on branches or gift packages.
Wooden Ornament 1: Stenciled Design
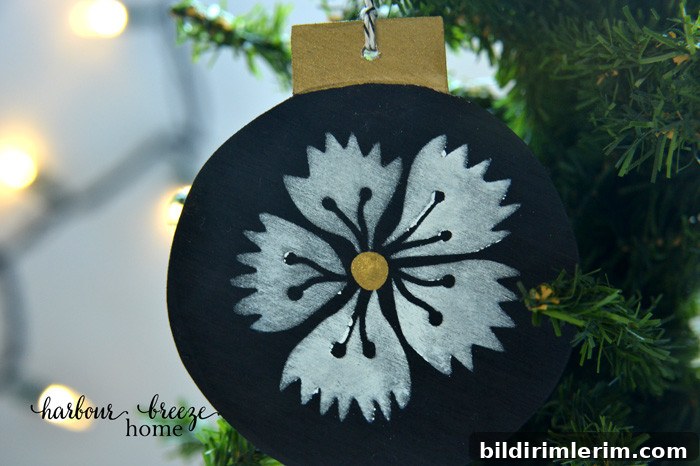
This first ornament is ideal if you like the look of handpainted accents but prefer a faster, more precise approach than freehand lettering. Use a small stencil—flowers, snowflakes, stars, or geometric shapes—and apply paint sparingly for clean, crisp details. A little metallic gold or silver dot in the center adds a touch of shine and contrast.
Painting this piece in black and white creates a chalkboard-like aesthetic that is currently very popular. To achieve that soft, worn chalkboard feel, sand the painted surface lightly before applying a second, muted coat of white or off-white for highlights. You can swap the color palette to match any holiday theme: red and green for a traditional look, soft pastels for a modern tree, or metallics for an elegant finish.
Finishing tips: sand edges smooth after cutting, drill a small hole for hanging, and seal the painted surface with a clear satin varnish or matte spray sealer to protect the paint and keep the ornament looking fresh year after year. Add twine, ribbon, or a thin metal hook to hang them—these ornaments also make charming gift tags.
Wooden Ornament 2: Snowman Scene
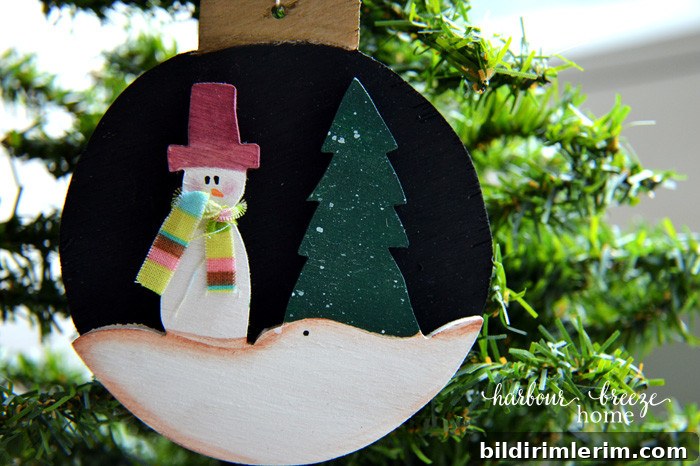
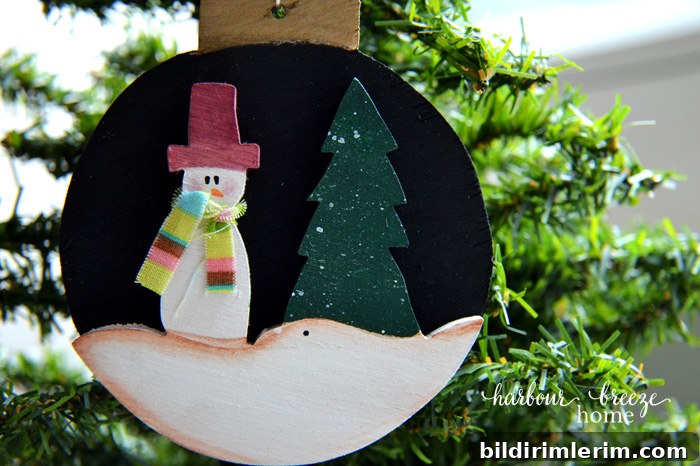
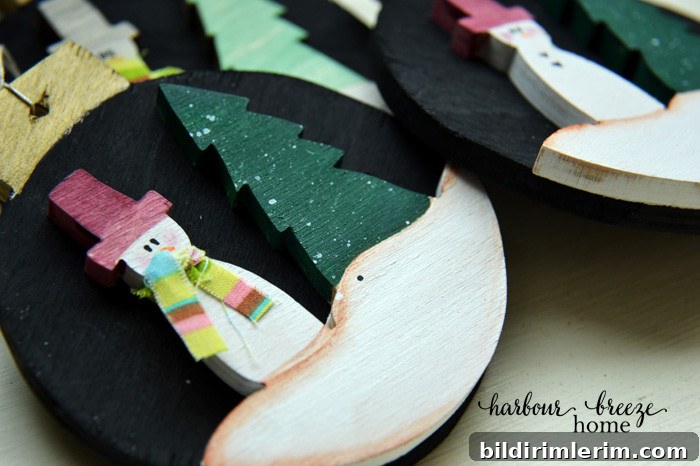
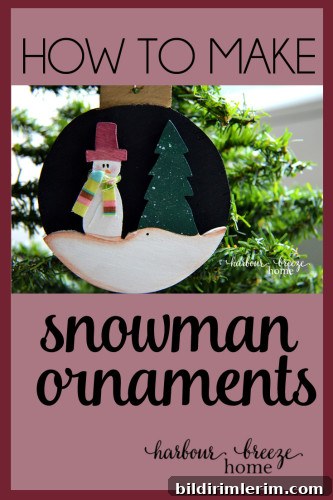
The snowman scene is a bit more involved, but the extra effort yields a charming, dimensional ornament. This design is cut in two layers: a base layer and a top layer with the scene details. After cutting, paint each layer separately, allow the paint to dry fully, then glue the layers together so the raised elements cast gentle shadows and create visual depth.
I like to add small fabric scraps as scarves to give each snowman a cozy, handmade touch. For quick, realistic-looking falling snow, try the toothbrush splatter technique: dip an old toothbrush in diluted white acrylic paint, wipe off excess water, then gently run your thumb across the bristles while aiming downward at the ornament—this produces tiny, natural-looking speckles that mimic snowfall.
Attachment and finishing: glue the layers using wood glue or a strong craft adhesive, clamp or press until dry, and sand any rough edges. Finish with a clear coat to protect the paint and keep the fabric scarf in place. These layered ornaments make great keepsakes and can be personalized with initials or small date markings for commemorating special seasons.
This project is part of a seasonal series focused on handmade Christmas ideas. Other projects in the series have included paper star ornaments, painted antler signs, paper white bulbs, holiday baking recipes, and more simple handmade decorations. These wooden ornaments fit well into a collection of handmade holiday decor and are excellent for craft nights, classroom projects, or small-batch gifting.
Now it’s your turn: are you working on any handmade Christmas projects this season? I’d love to hear about your ornament ideas, variations, or tips. Share your experience in the comments below or on the Facebook page for more inspiration and community ideas.
Happy handmaking!