
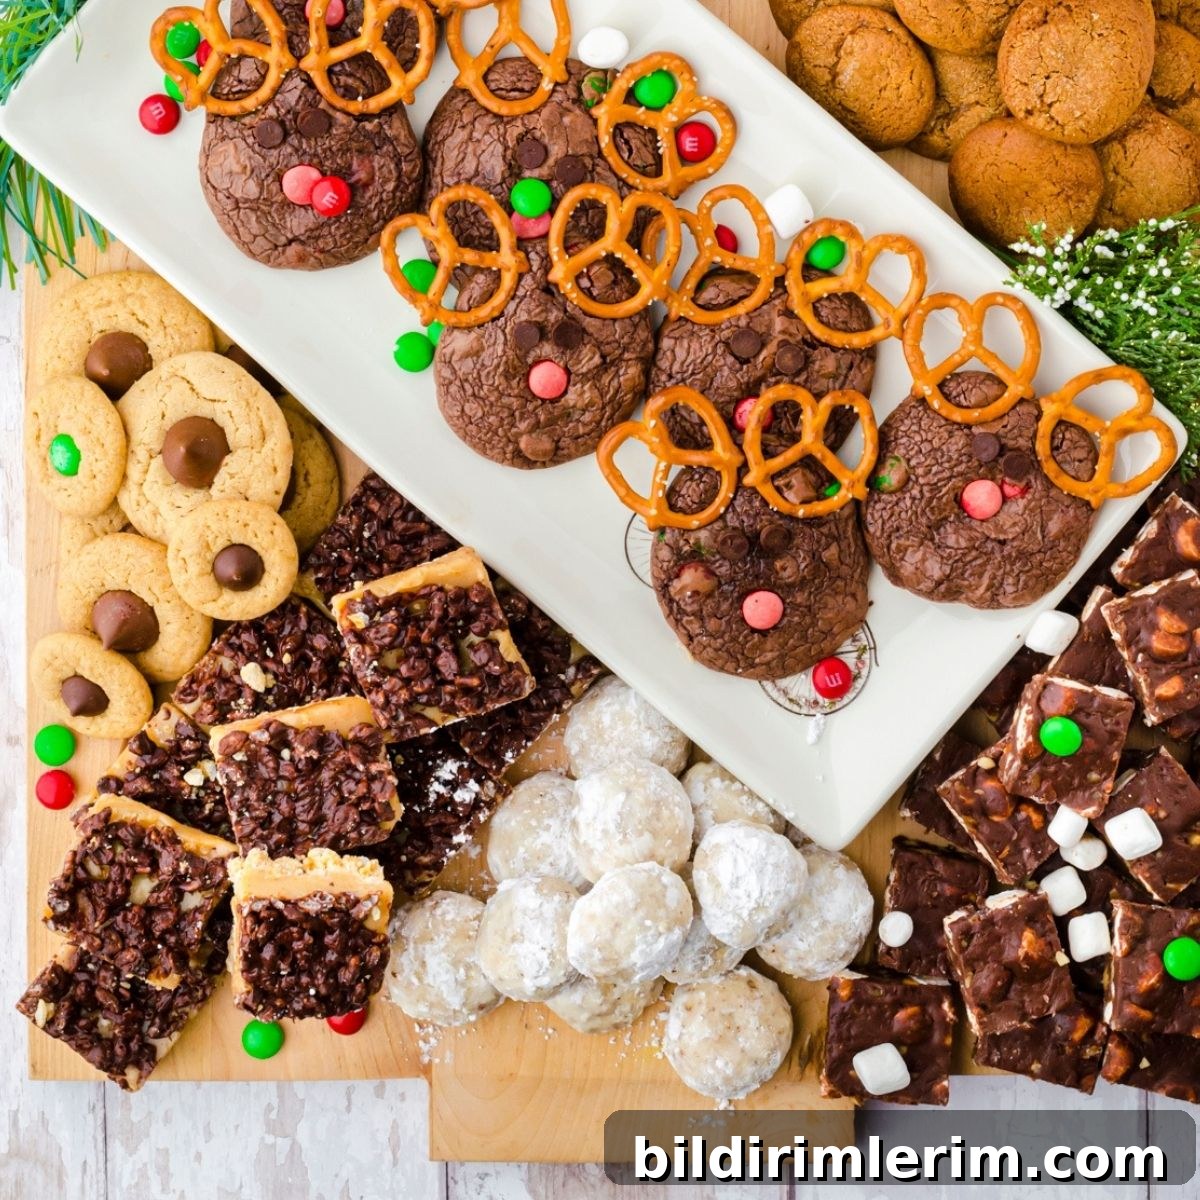
Entertain with ease this holiday season by creating a festive Christmas charcuterie board using your favorite Christmas cookies!
One of the things I cherish about the Christmas season is the excuse to gather with friends and family. Those gatherings are joyful, but planning them can become stressful—especially when it comes to food and presentation.
If you want a simple, beautiful solution, consider a Christmas cookie charcuterie board. It’s an effortless way to present an assortment of holiday treats that looks impressive and invites guests to graze.
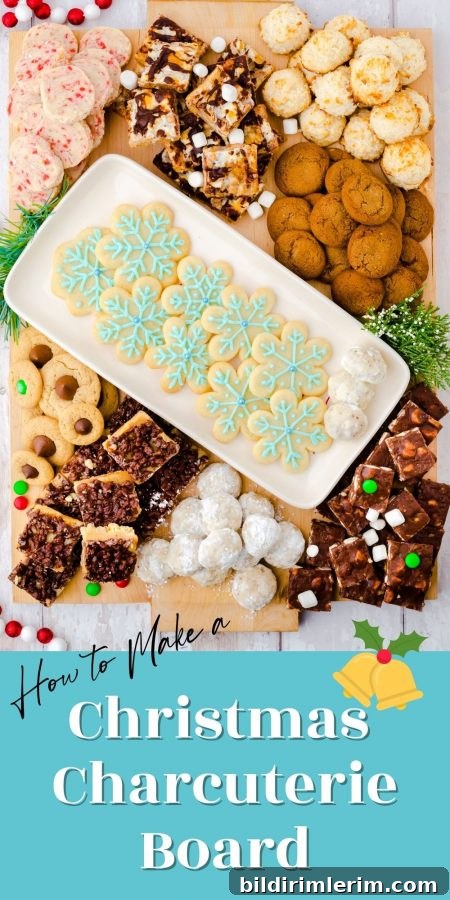
What is a Charcuterie Board?
Charcuterie boards trace their roots back to European hors d’oeuvre traditions, but the idea has evolved into a versatile party trend. Traditionally these boards feature cheeses, cured meats, fruits, and small bites. For a holiday twist, swap savory items for an assortment of cookies and small desserts to create a dessert-focused charcuterie board perfect for a Christmas party or family gathering.
Choose a board or platter that fits your gathering. Large, flat wooden boards or oversized cutting boards work well because they give you plenty of surface area for arranging a variety of shapes and colors.
For the examples in this article, I used a large wooden cutting board to display an abundant assortment of homemade cookies.
How to Assemble a Christmas Cookie Dessert Charcuterie Board
A cookie charcuterie board is a festive and flexible alternative to the classic savory platter. It allows you to mix homemade and store-bought cookies, candies, and small baked goods into a single eye-catching display that’s easy to prepare in advance.
Step-by-Step Assembly
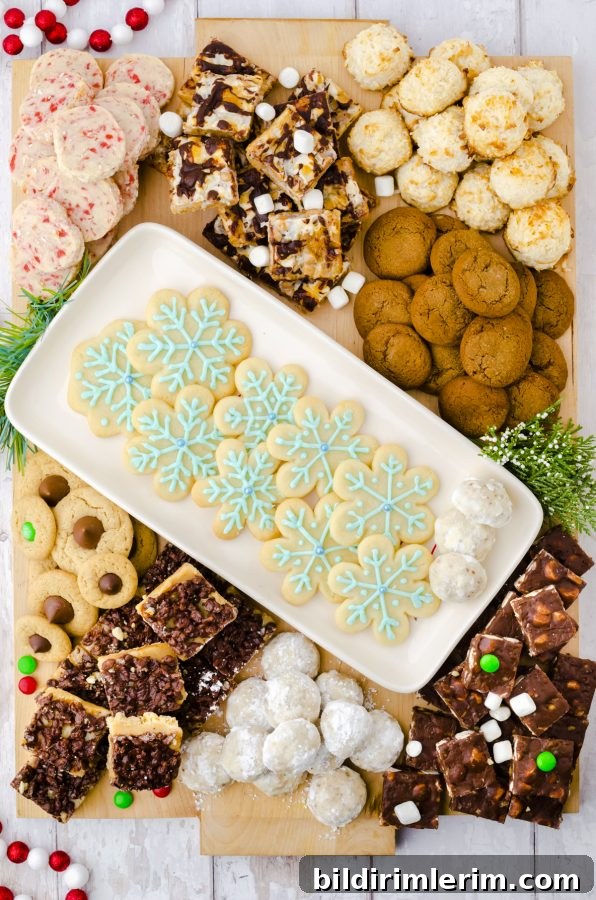
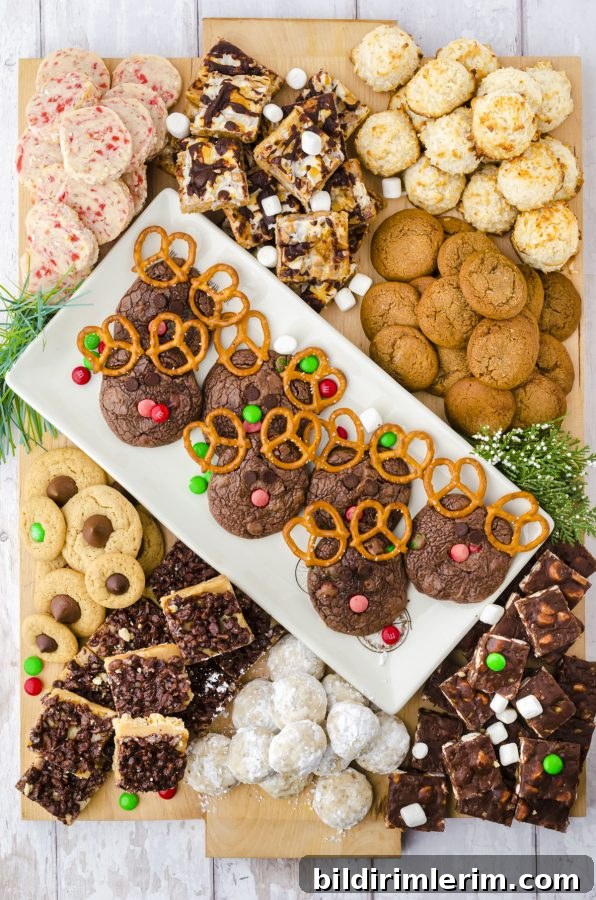
- Choose a “star” cookie to anchor the board—place a group of those cookies in the center or slightly off-center, arranged diagonally for visual interest.
- Start in one corner and pile one type of cookie so it looks full and inviting. Stacking adds height and texture.
- Work around the board, alternating colors, shapes, and sizes. Contrast darker cookies with lighter ones and mix round, rectangular, and cut-out shapes.
- Scatter small treats like mini marshmallows and red-and-green candies to add festive pops of color.
- Fill gaps with faux greenery or fresh herb sprigs like rosemary for a pine-like, seasonal scent and evergreen look.
- Assemble the board ahead of time and cover it lightly with plastic wrap. Remove the wrap just before serving to keep cookies fresh and the presentation pristine.
These simple steps let you create a visually appealing spread with minimal fuss. The fun part is customizing the board to your taste and the preferences of your guests.
Cookies and Treats That Work Well
A wide variety of cookies and holiday treats look and taste great together on a dessert charcuterie board. Here are ideas for mixing textures and flavors:
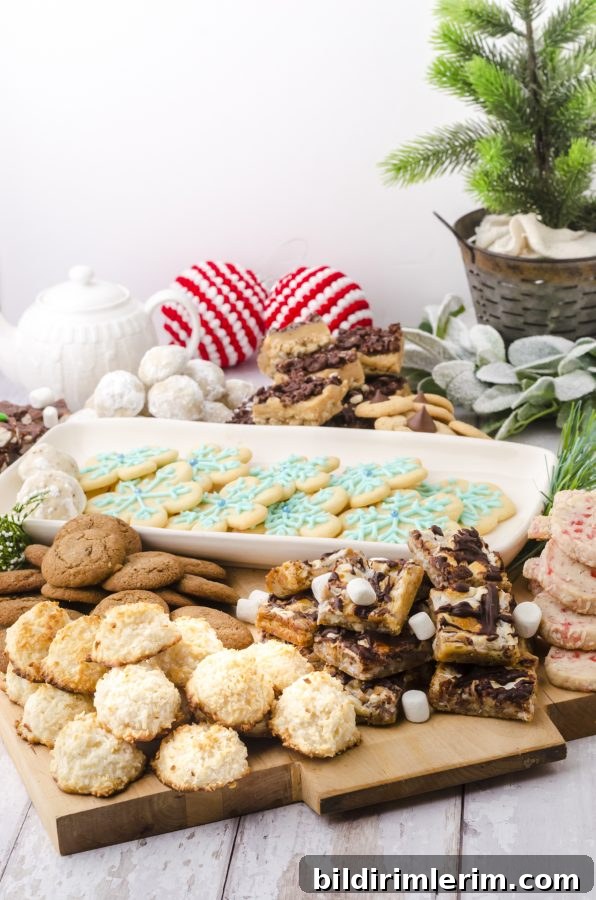
- Decorated cut-out sugar cookies (snowflakes, stars, gingerbread shapes)
- Soft sandwich cookies or jam-filled cookies
- Chocolate-based bites like brownies, fudge, or brownie reindeer cookies
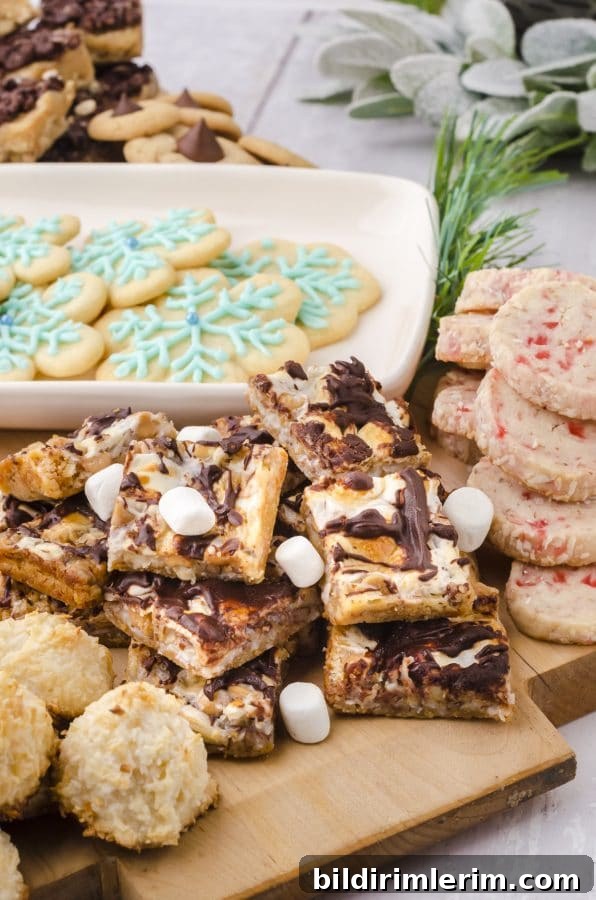
- Coconut macaroons or chewy cookie varieties
- Spiced cookies such as gingersnaps
- Peanut butter blossoms and nutty cookies
- Bar cookies—like s’mores-style squares or caramel toffee bites
Mix homemade favorites with a few quality store-bought cookies if time is tight. The mix of textures—crisp, chewy, fudgy—keeps the board interesting and appealing for a variety of tastes.
More Creative Holiday Charcuterie Ideas
- Arrange cookies in a tree shape and tuck rosemary sprigs underneath to suggest branches.
- Create a cookie wreath by forming a circular arrangement of cookies and greenery.
- Include small plates of fresh fruit—grapes, clementine segments, or sliced apples—to balance sweetness.
- Scatter candy canes, peppermint bark pieces, and seasonal chocolates for variety and color.
- Consider serving individual “jarcuterie” cups—small jars filled with a few cookie selections—for grab-and-go convenience.
Practical Tips for Presentation and Storage
Presentation matters—but practicality does too. Keep these tips in mind:
- Use small bowls or ramekins for loose candies to keep them contained and tidy.
- Group similar colors and shapes to create visual sections while leaving some organic overlap for a natural look.
- Label allergy-prone items (nuts, peanut butter, etc.) so guests can make informed choices.
- Store cookies that crisp up in airtight containers if you’re making them ahead of time; softer cookies can be stacked with parchment between layers.
- If transporting the board, assemble loosely at the destination and finish details like fresh greenery after arrival.
Recipe Snapshot
Yield: About 25 servings (depending on cookie sizes) | Prep Time: 20 minutes (arranging only) | Total Time: 20 minutes
Ingredients for a Cookie Charcuterie Board
- A variety of homemade or store-bought Christmas cookies in assorted shapes, colors, and sizes (examples: peanut butter blossoms, snowballs, rocky road fudge, caramel toffee squares, brownie reindeer cookies, gingersnaps, coconut macaroons, s’mores bars, and festive iced cut-outs)
- Mini marshmallows
- Red and green candies or chocolate-coated candies
- Faux greenery or fresh rosemary sprigs for decoration
Instructions
- Place the chosen “star” cookie group on the board and position it diagonally to anchor the layout.
- Begin at one corner and pile one cookie type to create height and fullness.
- Continue arranging cookies around the board, alternating colors and shapes for balance and contrast.
- Sprinkle mini marshmallows and seasonal candies in open areas for color and texture.
- Tuck greenery or rosemary sprigs into gaps to add a festive, aromatic touch.
- Cover the assembled board lightly with plastic wrap if preparing ahead, and remove the wrap just before serving.
A Christmas cookie charcuterie board is a joyful and flexible centerpiece for holiday entertaining. Whether you bake every cookie yourself or mix homemade and store-bought finds, the key is variety, color, and a relaxed approach. Your guests will appreciate the festive display and the opportunity to sample a wide selection of holiday treats.
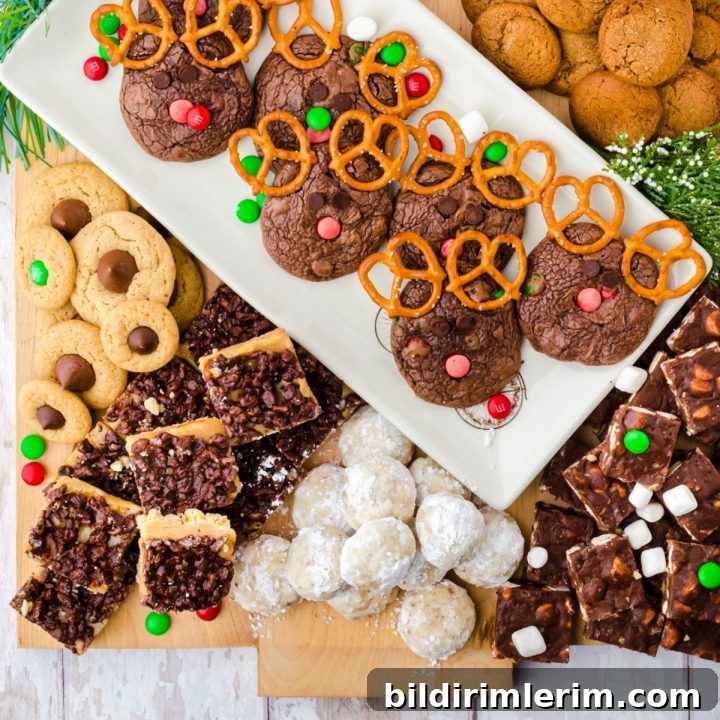
Want more ideas? Try varying the board theme—classic red and green, snowy white with silver accents, or a rustic pine-and-burlap aesthetic—to match your holiday décor and create a memorable dessert display.
© Rita Joy