
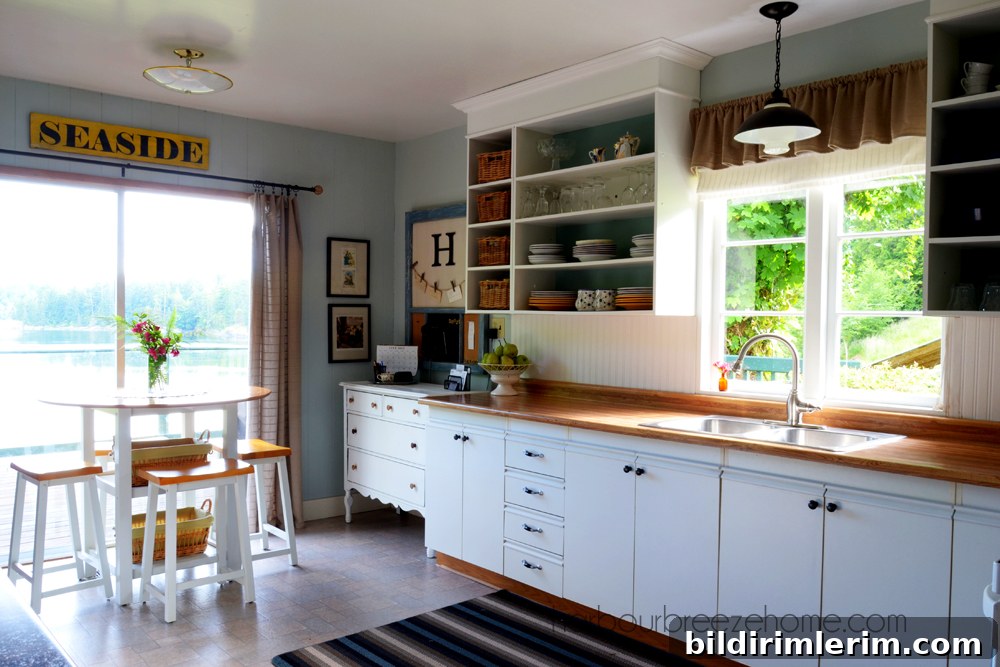
Four-Year Update: Painted European Cupboard Doors and How the Paint Has Held Up
A few months ago, a reader found my original post about painting European-style cupboard doors and asked a simple but important question: how has the paint held up over time? After four years of daily use, here’s a clear update on the results, what I learned, and practical tips if you’re considering the same budget-friendly kitchen refresh.
Back when I did the makeover, our goal was straightforward — give the kitchen a fresh, more personal look without spending a lot. The cabinets themselves were in good condition, but the wooden trim and the absence of hardware made the space feel dated. Instead of replacing the doors, I chose to paint the wooden trim for a cleaner, brighter appearance and to shop thriftily for accents.
The preparation was simple: I taped off the non-painted surfaces, applied an oil-based primer to ensure adhesion, and finished with Benjamin Moore’s Cloud White for a clean, durable topcoat. That combination was chosen for its proven performance on trim and for achieving a crisp look that brightens the room. The original tutorial explains the step-by-step process for anyone who wants the full how-to.
Four years on, I’m still pleased with the result. The painted trim has held up well across most of the kitchen. The areas that show the most wear are predictable: the two doors directly below the sink receive the most frequent contact and exposure to moisture, so they display the most signs of use. Even with that wear, the overall finish remains attractive and functional.
If you notice minor scuffs or small areas of wear like I did, refreshing the finish is easy: a light scuff-sanding followed by a quick coat of the same Cloud White will typically restore the look. For higher-traffic doors, consider a tougher topcoat or a satin/semigloss sheen, which tends to clean and wear better in kitchen environments. Regular cleaning with a gentle, non-abrasive cleaner also helps maintain the paint’s appearance.
For anyone planning a similar update, here are concise tips based on my experience:
- Preparation matters: clean surfaces thoroughly, sand lightly, and use a quality oil-based primer where adhesion is a concern.
- Choose the right finish: satin or semi-gloss performs better in kitchens than flat finishes because they resist stains and wipe clean more easily.
- Expect wear in high-contact zones: areas next to sinks, trash pull-outs, and frequently opened cabinets will show signs of use first.
- Keep a small amount of your paint for touch-ups: a quick touch-up eliminates the need for a full repaint later.
- Consider hardware upgrades: adding or updating handles and knobs enhances functionality and completes the refreshed look.
Overall, this low-cost update proved durable and rewarding. The painted trim gave the kitchen a fresher, more modern feel without replacing existing cabinetry, and minor maintenance has kept the space looking neat for years. If you want to see the full kitchen makeover with before-and-after photos and the detailed tutorial, you can find the original reveal post with lots of pictures in the linked project write-up.
If you have specific questions about paint type, prep, or tools I used, feel free to ask — I’m happy to share tips from the experience to help you plan a successful, budget-friendly cabinet update.