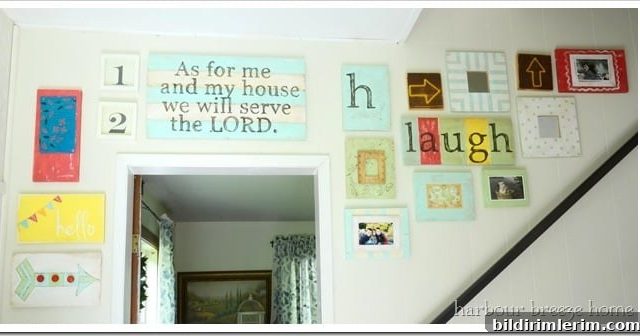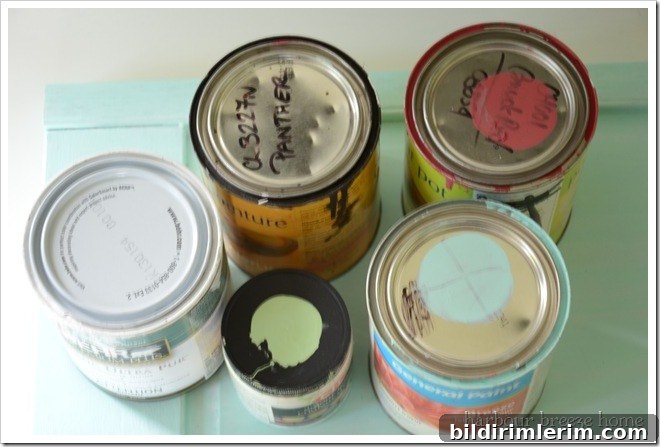
I started my entryway gallery wall project by selecting a simple palette of latex house paints suitable for creating a weathered, coastal-inspired look. The paints I used were mostly mistints, plus one named shade called Panther; because most were leftover mistints I don’t have specific names for them. The mix of soft neutrals and muted coastal tones gave me the aged, beach-cottage feel I wanted.
Materials and tools
- Latex house paints (white for a base coat + a few colored mistints and one darker shade: Panther)
- Sandpaper or a sanding sponge (optional, for extra distressing)
- Clean rags for wiping off paint
- Paintbrushes or foam brushes
- Scotch tape for temporarily securing photos
- Mod Podge or other decoupage medium (optional, for permanent images)
- Frames or wood panels prepared for painting
Simple step-by-step: faux frames with a weathered finish
This project is intentionally straightforward and forgiving, ideal if you want a quick DIY that still looks done with intention. The process uses a white base coat to create depth, then a top coat that gets partially removed while it is still tacky to reveal the base and create a worn patina.
- Prep surfaces: Clean the frames or panels so paint adheres evenly. If your pieces have glossy finishes, scuff lightly with sandpaper.
- Apply the base coat: Paint each frame with white latex paint as the base. Let it dry fully so it won’t lift when you apply the top coat.
- Add the top coat: Brush on your chosen mistint colors over the white base. Work one piece at a time so you can manipulate the paint while it’s still slightly wet.
- Create the weathered effect: When the top coat is almost dry but still tacky, use a damp rag or paper towel to wipe away areas of the top color. The white base will show through in places, producing a natural, worn look.
- Refine and distress: If you want more variation, lightly sand edges and corners once paint is dry to expose more of the base coat and create gentle natural wear.
- Seal if desired: For a more durable finish, apply a clear matte sealer. Skip this if you prefer an unfinished, more authentic aged appearance.
Why this technique works
Using a white base coat under colored mistints gives a soft, layered effect that reads as naturally aged. Wiping away top layers while they’re tacky creates irregular, organic patterns that mimic years of wear and sun-bleached finishes common in beach-style décors. The result is a customizable faux frame that looks collected rather than manufactured.
Displaying photos: temporary vs. permanent
If you want your faux frames to hold pictures permanently, you can adhere photos with Mod Podge or another decoupage medium. That method seals the image into place but makes swapping photos later difficult. For flexibility, I opted to secure my prints with simple scotch tape so I can change pictures as seasons, moods or décor updates call for.
Quick tips for a successful entryway gallery wall
- Plan your layout on the floor before you hang anything—mix sizes and finishes for visual interest.
- Use a consistent color story (soft neutrals and muted coastal tones work well) so the wall reads cohesively.
- Vary frame spacing but keep a common margin to make the group feel intentional. About 2–4 inches between pieces is a good starting point.
- If you want to change images seasonally, use removable ways to secure photos (like scotch tape) or lightweight clips that won’t damage the frame surface.
This approach to faux frames is low-cost, adaptable, and fast—perfect for a beachy entryway or any space that benefits from a relaxed, vintage-inspired look. It really is an easy project that yields a lot of character.
For the Gallery Wall reveal, click here.
For the Light Reflector Arrow Sign Tutorial and the basic painting technique, click here.