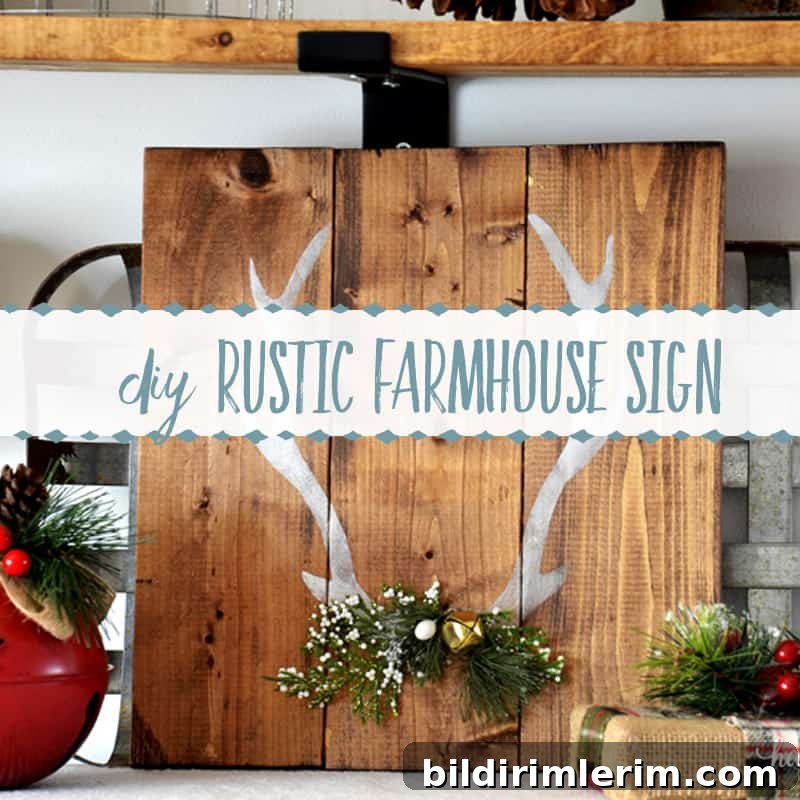
Learn how to create a simple DIY farmhouse sign for Christmas using a custom stencil. This tutorial demonstrates two different ways to use a stencil to achieve distinct rustic looks.
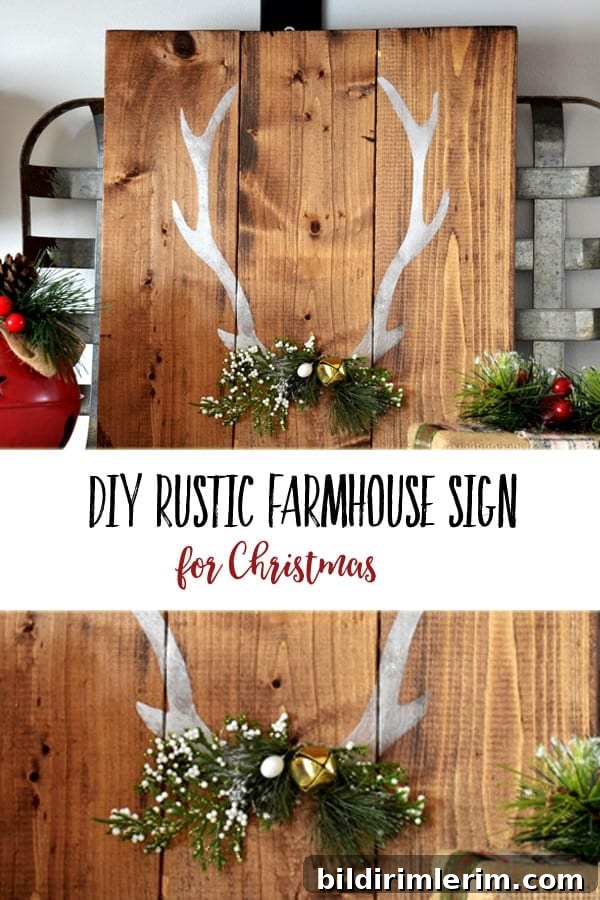
Why Make a Wooden Farmhouse Sign?
A handmade wooden farmhouse sign is an affordable, stylish way to refresh seasonal decor, create personalized gifts, or stock a craft market table. With a custom stencil you can tailor the design—antlers, text, or any silhouette—to match your home’s rustic aesthetic or the recipient’s taste. Adding Christmas greenery or small bells transforms the piece into festive décor that fits farmhouse, rustic, or modern country interiors.
How to Make a Rustic Wood Sign for Your Home
Disclosure: This project description references commonly used craft supplies for convenience. Use products available in your area or preferred brands.
Supplies Needed
- Wood sign base (the example was made from 1 x 3 pine boards assembled into a pallet-style sign)
- Wood stain (e.g., Varathane in Mission Oak or a shade you prefer)
- Foam brush and cloth or rag for wiping stain
- Stencil film or peel-and-stick stencil material
- Acrylic or chalk-style paint for background and stencil colors (white, gray, black or your chosen palette)
- Stencil brush or small round stenciling brush
- Craft knife (X-Acto) and sharp scissors
- Piece of glass or smooth cutting surface to place stencil film on while cutting
- Optional: faux greenery, jingle bells, felt flowers or other embellishments
Step 1: Stain the Wood Base
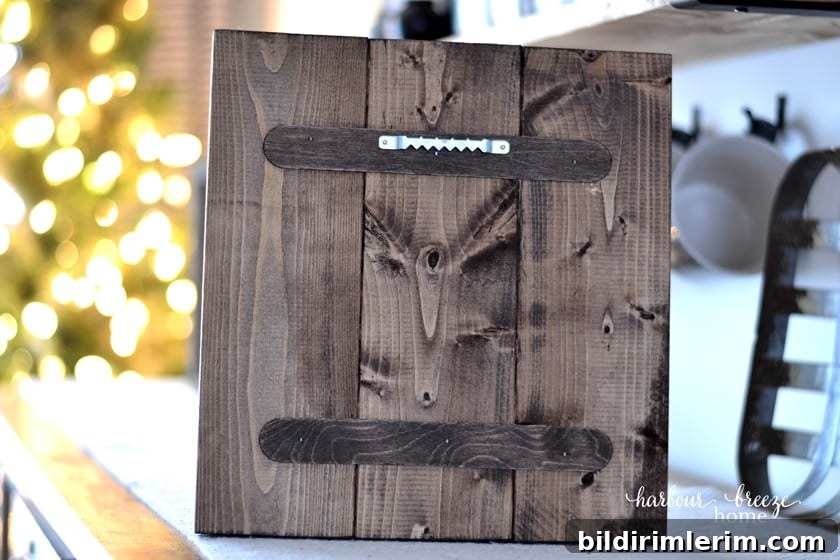
Begin by preparing your wood base. For a pallet-style panel, assemble boards and sand smooth, then apply wood stain with a foam brush and wipe with a rag to achieve the desired depth of color. You can also use a single board or any size you prefer. Allow the stain to dry completely before stenciling.
Choose a printable silhouette or drawing—search for an image such as “antler outline” or another motif you like. Print it at the size you need, then use it as a cutting guide for a custom stencil on stencil film.
Step 2: Cut the Custom Stencil
Transfer the printed design to stencil film and cut carefully with an X-Acto knife on a piece of glass or other smooth surface. Glass lets the blade slide and prevents the material from catching like a cutting mat sometimes does. For detailed areas, cut a bit with the knife and finish with sharp scissors for cleaner edges.
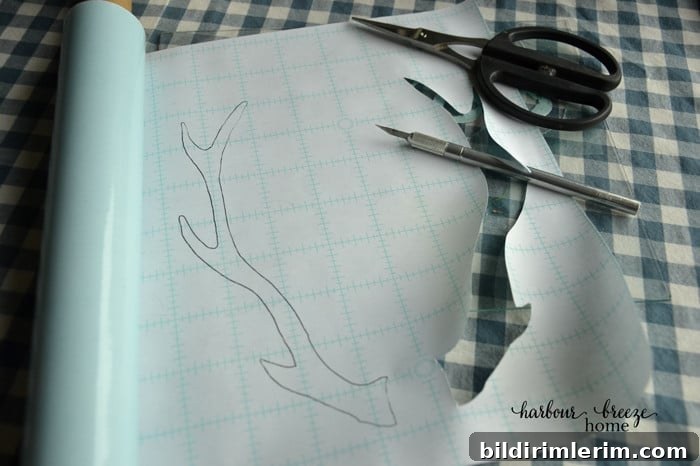
A useful technique is to plan two different applications of the same stencil: use the cut-out portion as a conventional stencil, or use the removed pieces as a reverse stencil for an inverted or silhouette effect. Both yield distinct rustic results.
Tips for Cutting Stencils
- Place the stencil material on a flat piece of glass when cutting; the glass allows the blade to move smoothly and prevents snagging.
- For intricate shapes, partially cut with the knife and complete the cut with scissors to improve control and accuracy.
Option 1: Reverse Stencil (Cut Pieces Stuck Down)
- Peel the backing from the cut-out shapes and press those solid pieces firmly onto the stained wood. Use the edge of a paintbrush or a credit card to smooth all edges and ensure good adhesion.
- Paint the background color over the entire sign, working in thin layers to avoid paint bleeding under the stencil edges. Thinning paint slightly helps the wood grain show through for a weathered farmhouse look; layering two colors (for example, white with a gray wash) adds depth.
- When the paint is dry to the touch, peel off the solid pieces to reveal the stained antler or motif beneath. The reverse stencil creates a natural, rustic silhouette effect.
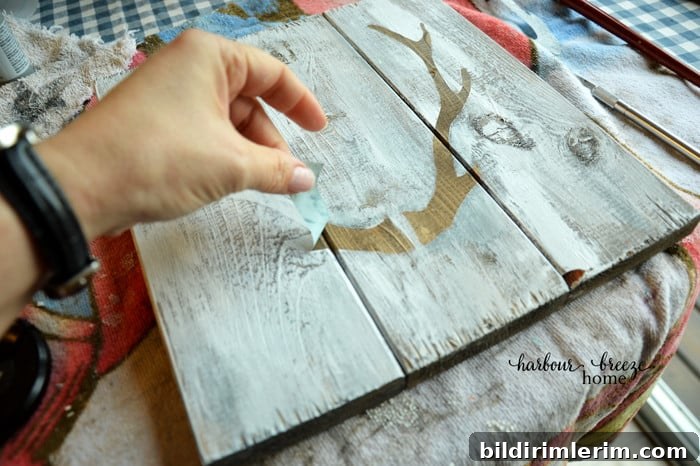
This method highlights the stained wood within the stencil shape and gives a soft, vintage finish that complements farmhouse decor.
Option 2: Traditional Stencil Method
- Paint the entire sign background first, including the sides, and allow it to dry completely. A layered mix of white and gray paints creates a weathered base.
- Apply your peel-and-stick stencil film on top of the dry background, pressing firmly around all cut edges to prevent paint seepage.
- Load a stencil brush with paint, then offload most of it onto a paper towel. Stencil by gently pouncing or stippling from the outside edge of the stencil toward the center; build the color in light layers to avoid bleed-through.
- Once coverage is even and satisfactory, carefully peel off the stencil to reveal crisp, painted artwork.
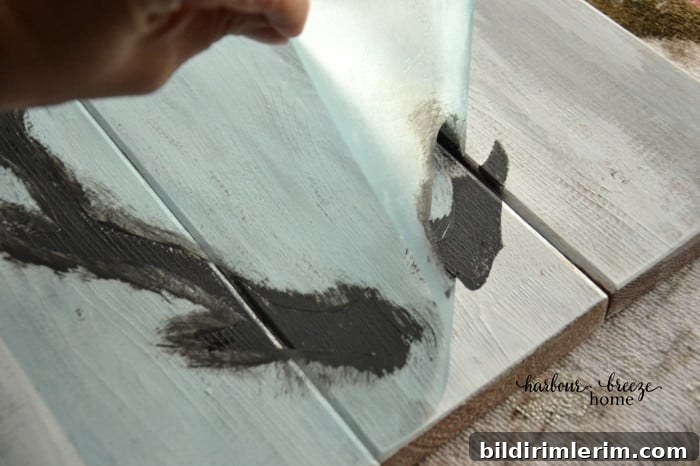
This approach yields a clean, graphic appearance—ideal for bold contrast such as black antlers on a light background or vice versa.
Optional Embellishments
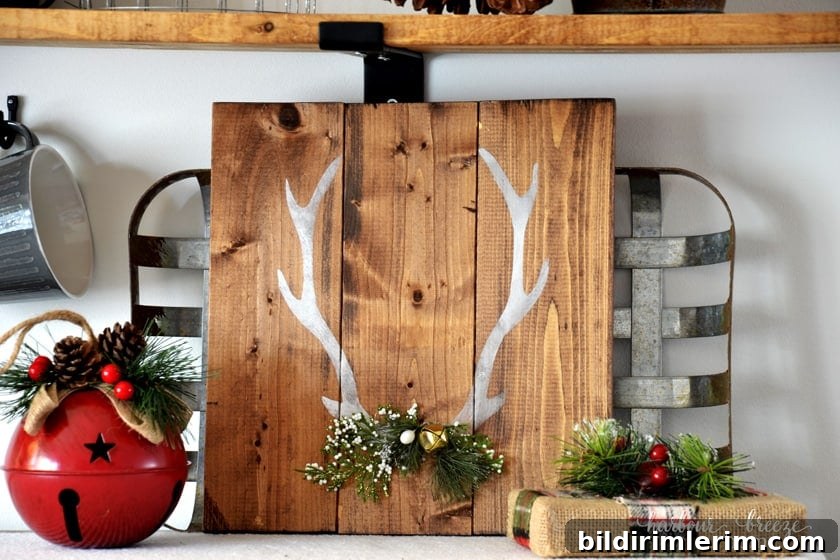
- Add faux greenery, a small sprig of pine, or jingle bells to make the sign clearly festive for Christmas.
- Attach felt flowers and leaves for a softer, more feminine touch—pink and green felt accents work well for a nursery or a more whimsical display.
Project Summary
- Yield: 2 signs (using the same stencil for two different looks)
- Prep Time: approximately 30 minutes
- Active Time: approximately 30 minutes
- Total Time: about 1 hour, plus drying time
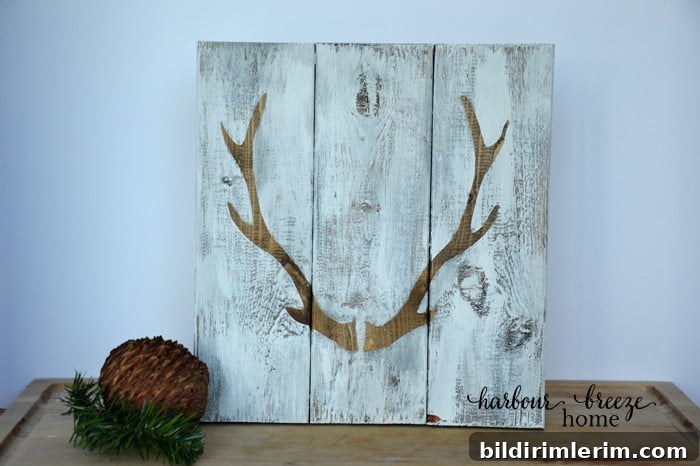
This simple DIY farmhouse sign project is ideal for beginners and experienced crafters alike. It demonstrates how a single custom stencil can produce multiple styles—reverse silhouette or crisp painted imagery—so you can match your seasonal decor or create handmade gifts with a professional-looking finish. Experiment with different paint colors, layering techniques, and small embellishments to personalize each sign.
If you try this project, photograph your finished piece and save the design template for future signs. With a few basic supplies and a custom stencil, you can make charming, budget-friendly farmhouse decor that suits Christmas themes, everyday rustic styling, and thoughtful handmade gifts.