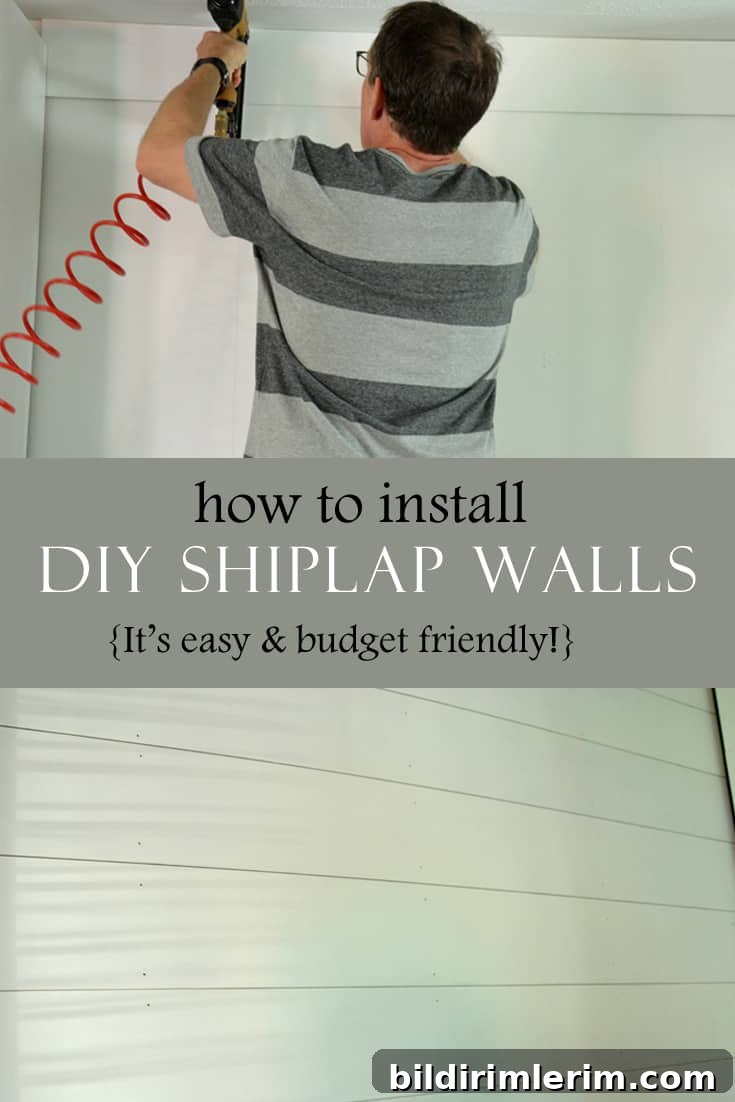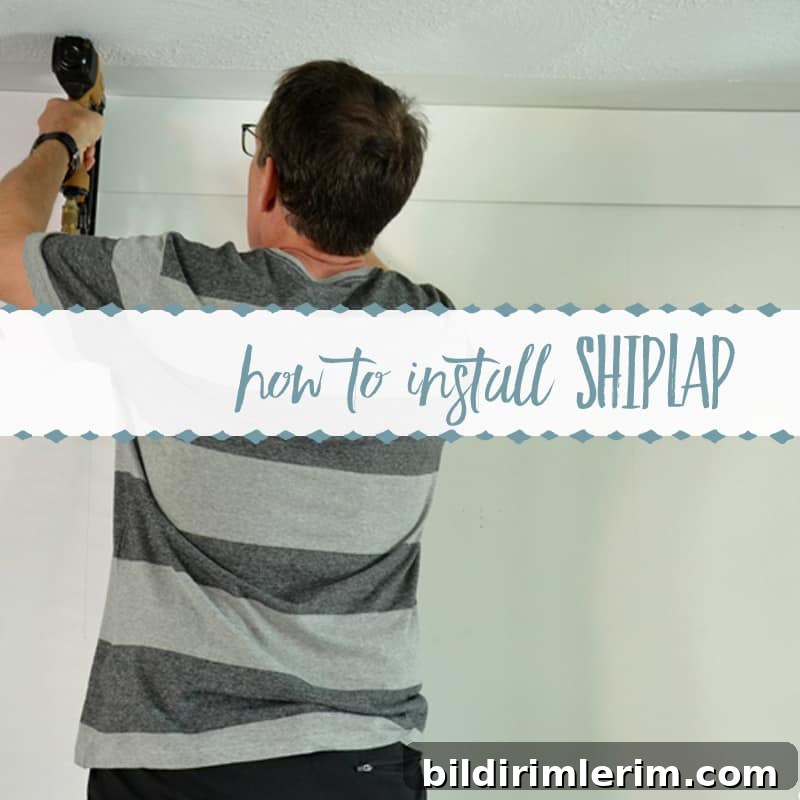
Add a touch of farmhouse charm with this simple, budget-friendly method for creating a DIY faux shiplap wall using plywood cut into strips.
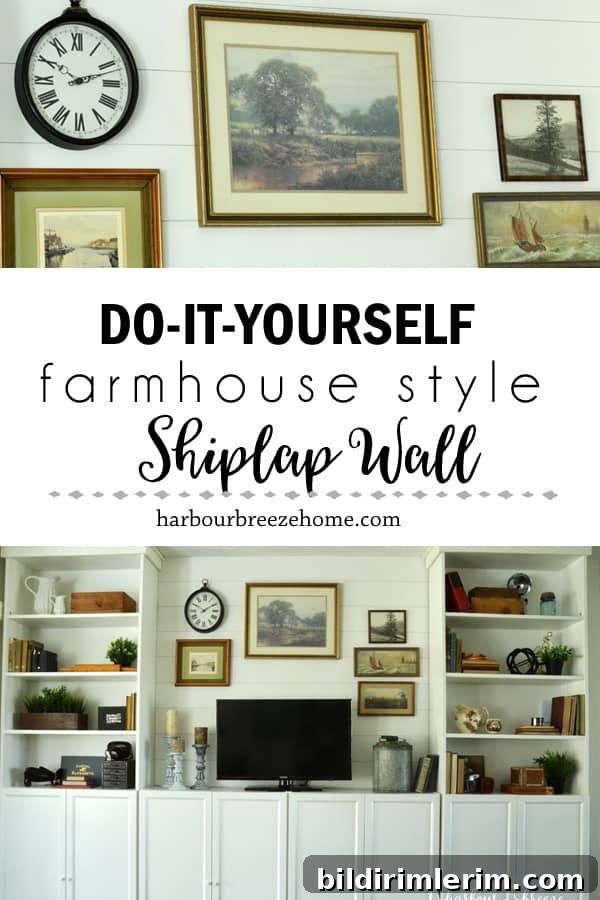
How to Make a DIY Faux Farmhouse Shiplap Wall from Plywood
If you love the clean, cozy look of farmhouse interiors, a shiplap accent wall is one of the most effective and affordable upgrades you can add. This step-by-step guide shows how to create a faux shiplap wall using thin plywood strips, paint, and a few basic tools. The technique is fast, budget-friendly, and well-suited for a wide range of rooms—living rooms, bedrooms, entryways, or behind built-ins—and works especially well when you want the classic horizontal lines and texture of shiplap without the cost of solid wood panels.
I’d admired shiplap for years and finally decided to try a small installation between two tall bookcase units. The whole project—from measuring to the final coat of paint—was straightforward and took surprisingly little time when planned well. Below are the supplies, practical tips, and a simple sequence of steps to help you get professional-looking results.
Supplies Needed for a Farmhouse Shiplap Wall
- 1/4 inch mahogany veneer plywood (one sheet was enough for our accent area)
- Paint in your chosen color (we used a soft white in an eggshell finish)
- 4-inch foam roller and roller tray
- Stud finder
- Straight edge or long level to draw guide lines on the wall
- Pennies or thin spacers to create consistent gaps between boards
- Pneumatic nailer (or finish nails and a hammer)
- DAP Alex Fast Dry Acrylic Latex Caulk Plus Silicone (or similar filler)
Step-by-Step Process for Installing a Farmhouse Shiplap Wall
- Measure the wall area you want to cover. Carefully measure the width and height of the area between any trim, shelving, or built-ins so you can plan the board layout and determine how many strips you’ll need. Decide on the board width—our boards were 5 1/2 inches wide to suit the scale of the space.
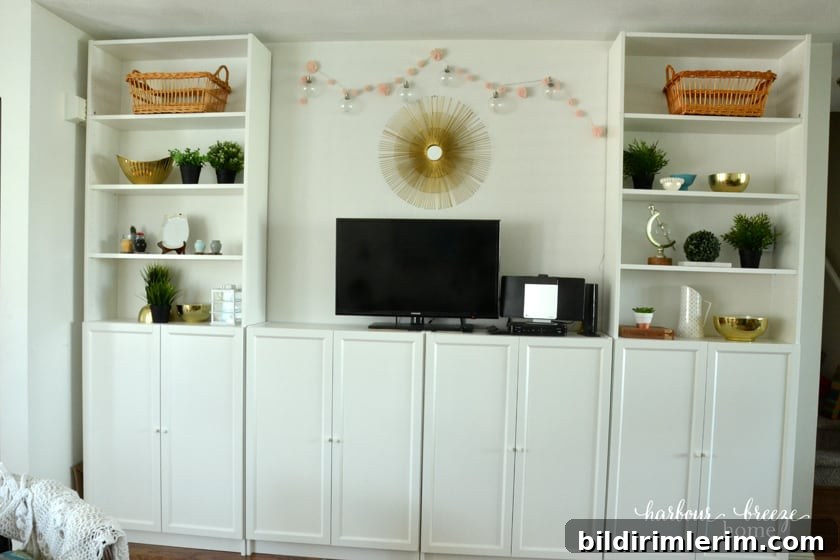
Taking accurate measurements up front helps avoid costly mistakes and ensures the boards line up nicely with adjacent furniture or trim.
- Buy the plywood and plan your cuts. Draw the cut layout on paper so a lumber yard or hardware store staff can understand your needs. Most stores will cut plywood into strips for you if you don’t have a table saw or rip blade at home.
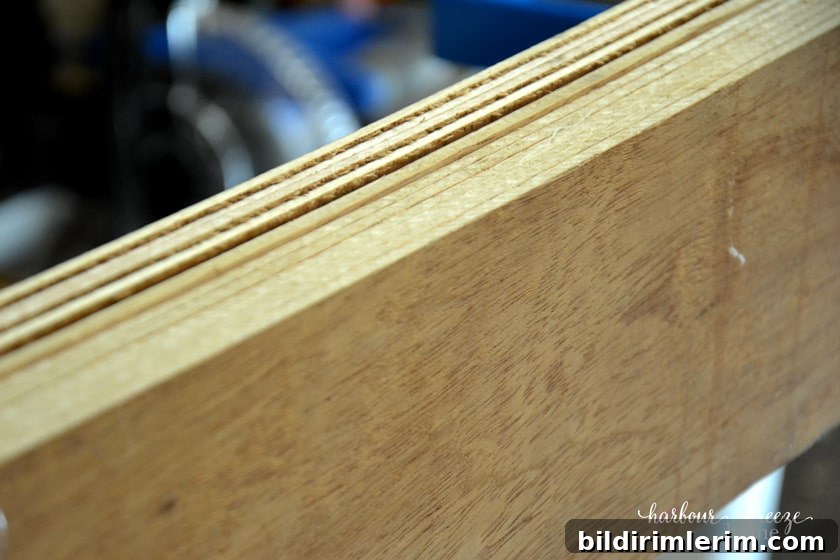
We used a mahogany veneer plywood that was slightly thinner than standard 1/4 inch underlayment, and it performed well once painted.
- Have the plywood cut into strips if necessary. If you don’t own a saw capable of ripping a full sheet, ask the store to cut strips to the width you planned. Clear, labeled cut lines make this quick and accurate.
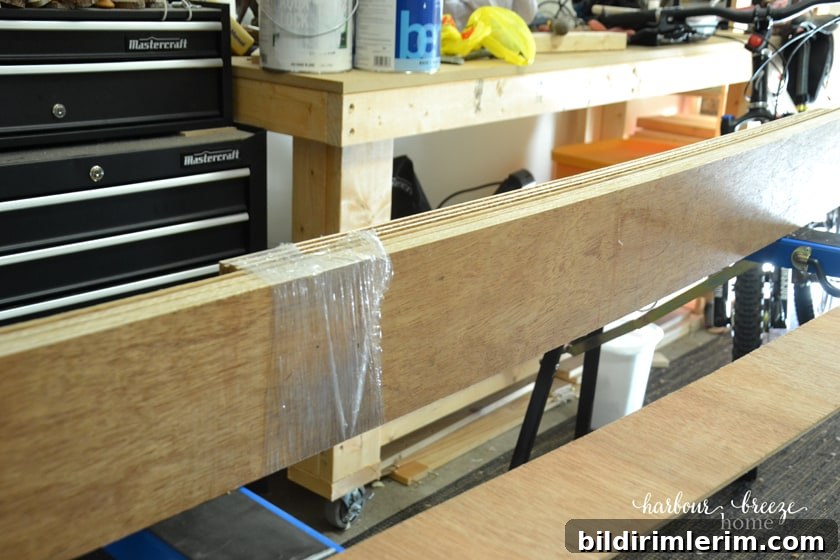
- Paint the faces and edges of each board before installing. It’s much easier to get full coverage before the boards are attached. Paint the underside face and both edges as well as the visible face—you’ll save time touch-up later.
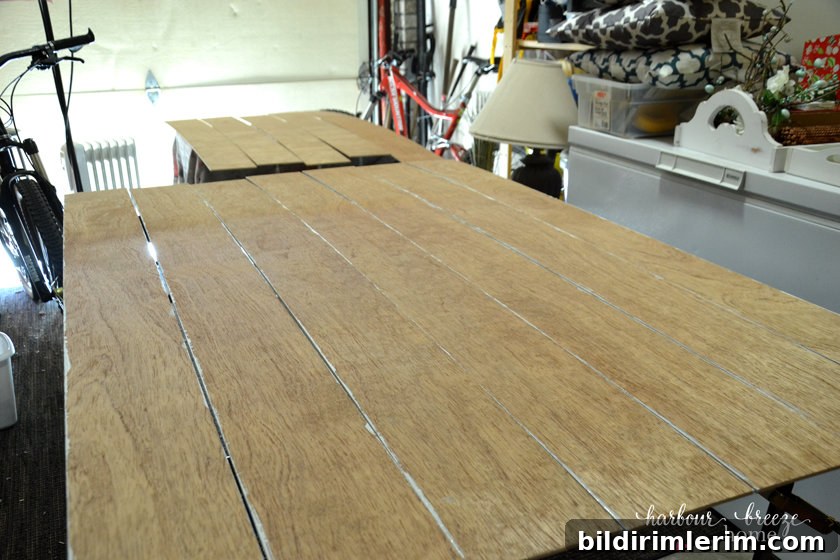
Note: Paint the smoother face that will show on the wall; avoid painting the decorative veneer side if it highlights wood grain you don’t want visible. Two coats on the visible face and sealed edges give the best, even finish.
- Locate and mark wall studs with a stud finder and a pencil. Use a straight edge or level to draw faint horizontal guide lines so your boards stay perfectly straight as you work.
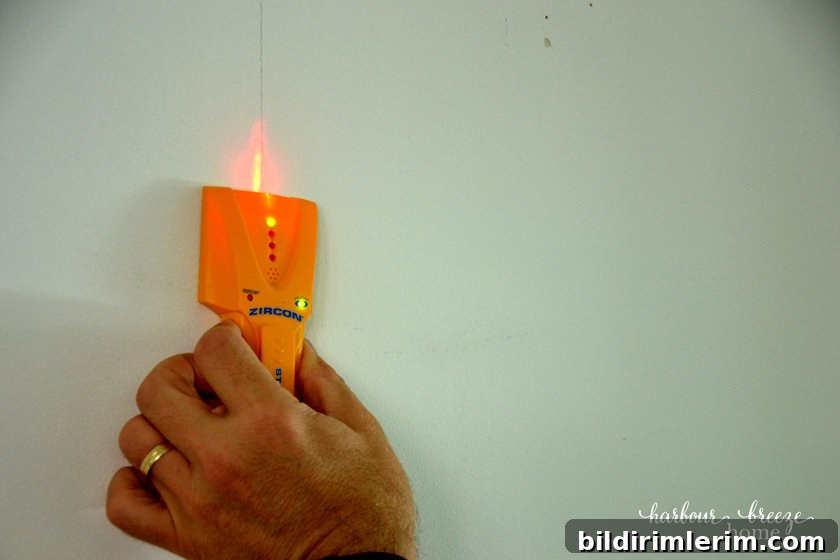
- Attach the first board near the top of the wall and nail into studs. Use your pencil stud marks as guides and fasten each board with a pneumatic nailer or finish nails driven into studs. Ensure the first board is perfectly level—this sets the alignment for all subsequent boards.
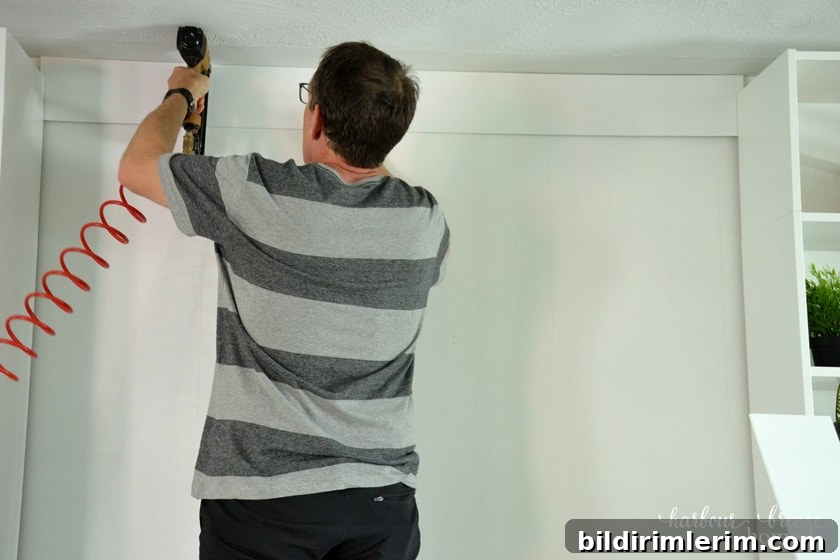
- Use pennies or thin spacers to maintain even gaps between boards and work down the wall. Consistent spacing creates the classic shiplap shadow line and gives a polished, professional look.
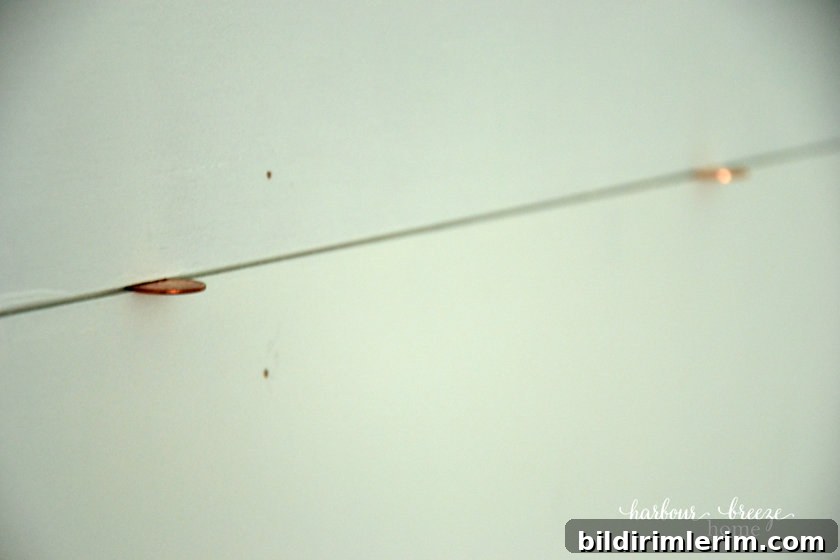
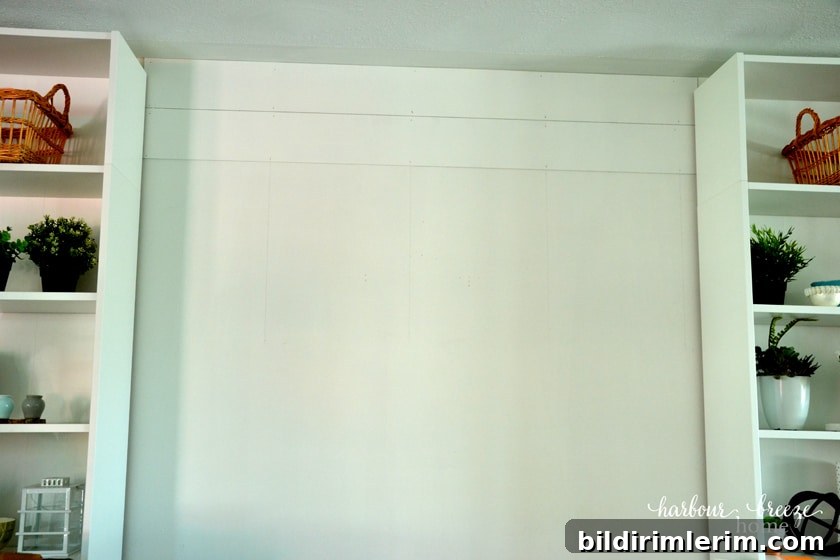
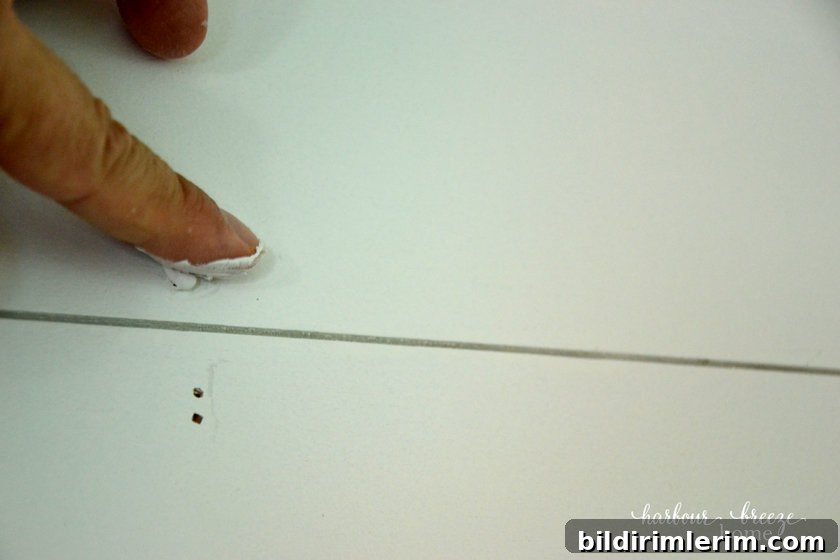
- Fill nail holes and seams, sand smooth, and touch up paint. After all boards are installed, use a small amount of filler or acrylic caulk to cover nail holes and any visible seams. Sand lightly when dry and apply a final coat of paint for a seamless finish.
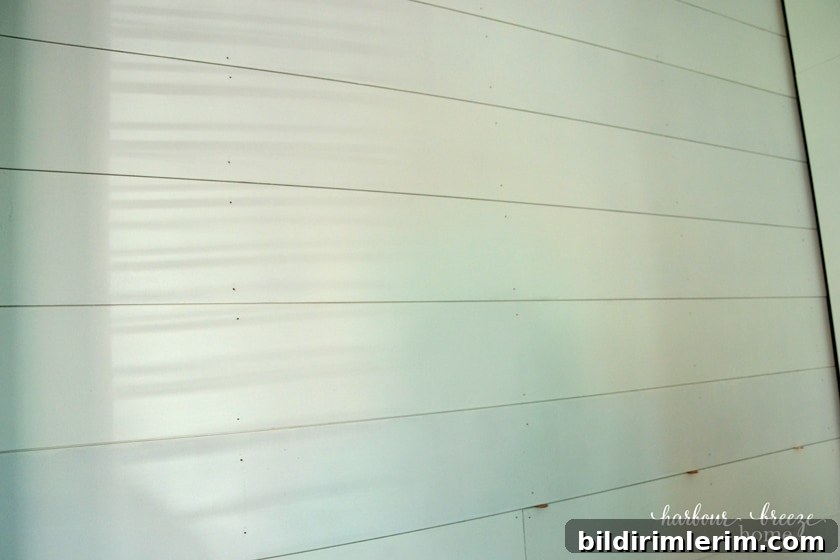
A fingertip works well to press filler into small holes; clean the excess and smooth before it dries. The touch-up coat unifies the boards so the wall reads as continuous shiplap rather than individual strips.
- Step back and enjoy the transformation. Shiplap adds texture, depth, and a fresh farmhouse character to any room. Even a small accent area can change the entire feel of a space.
We were thrilled with the difference a few painted plywood strips made in our living area. Before the installation the wall felt plain; after, the space gained warmth, architectural interest, and a timeless farmhouse vibe.
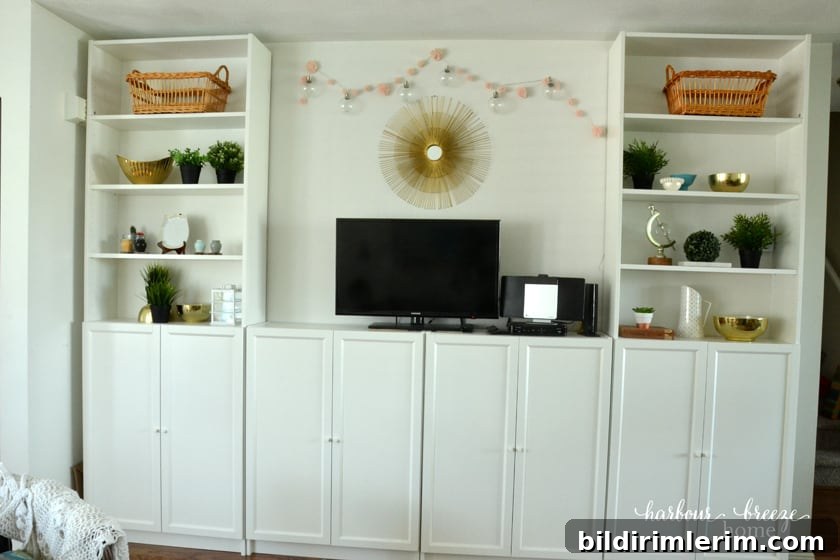
Here is the finished look—paired with built-ins, the shiplap creates a custom, designed appearance without the high cost of full millwork.
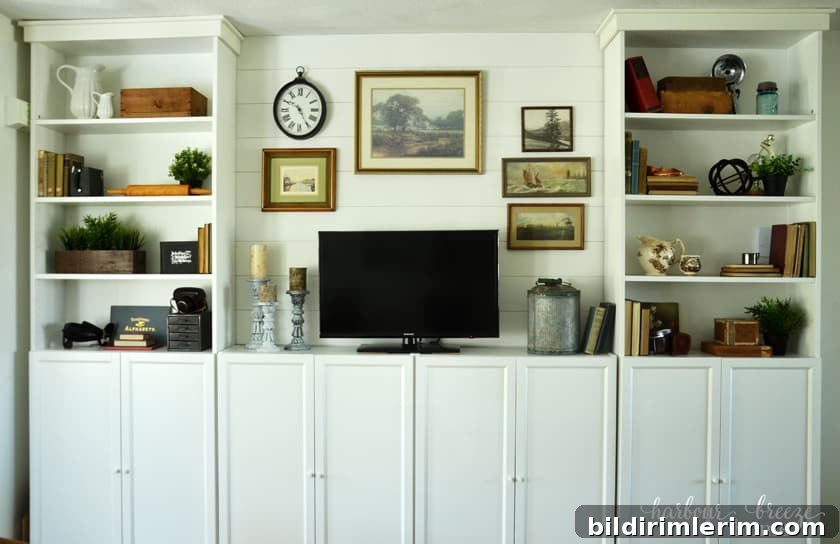
A shiplap accent wall is a versatile, high-impact project that can be completed in a day with minimal tools. Use this method to achieve a farmhouse look on a budget—adjust board width, paint color, and spacing to suit your style and the scale of the room.
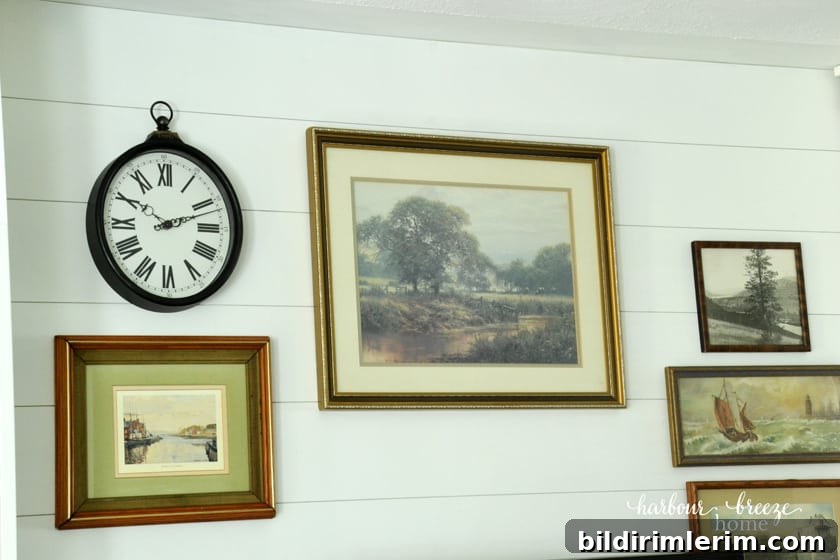
Tips: keep your first board perfectly level, paint edges before installing, and use consistent spacers for a professional finish. With these simple steps you can add lasting farmhouse charm and architectural interest to your home.