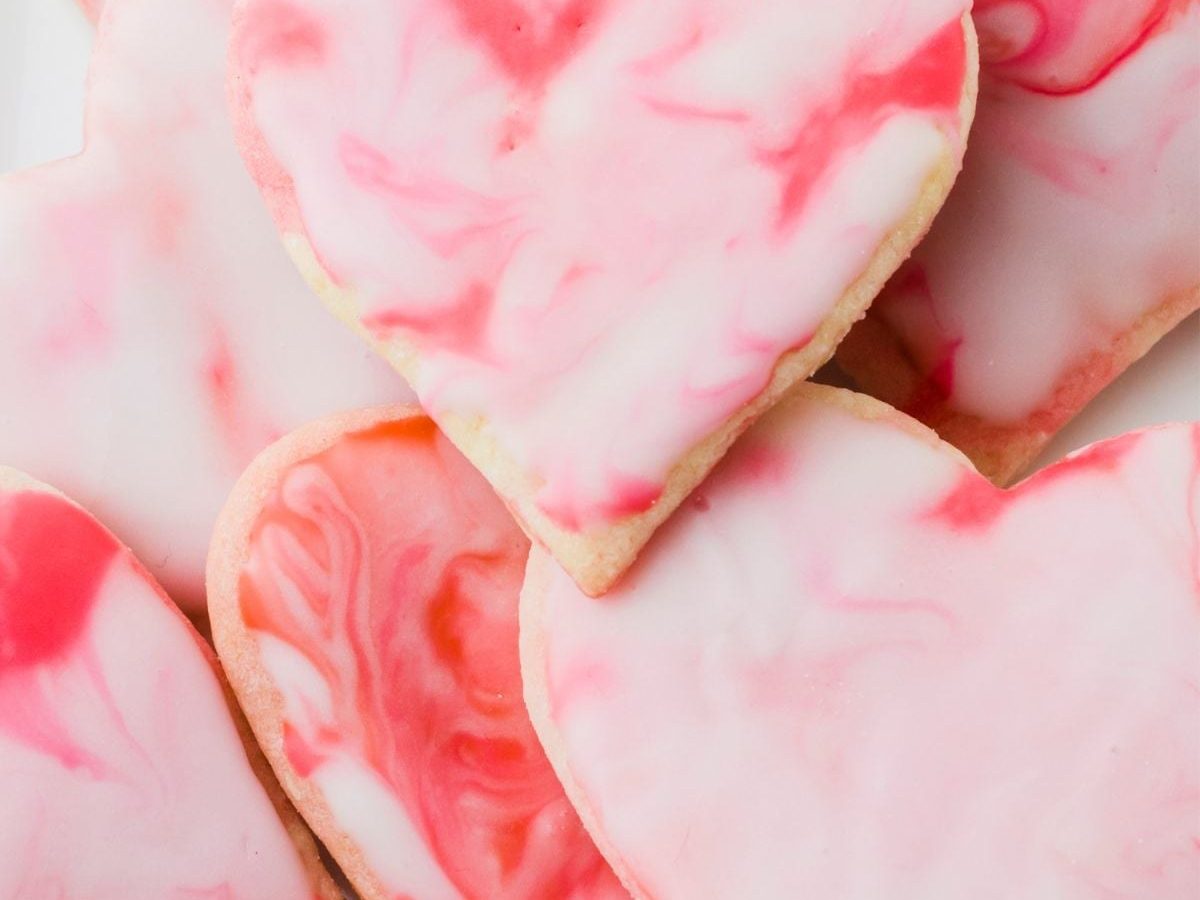
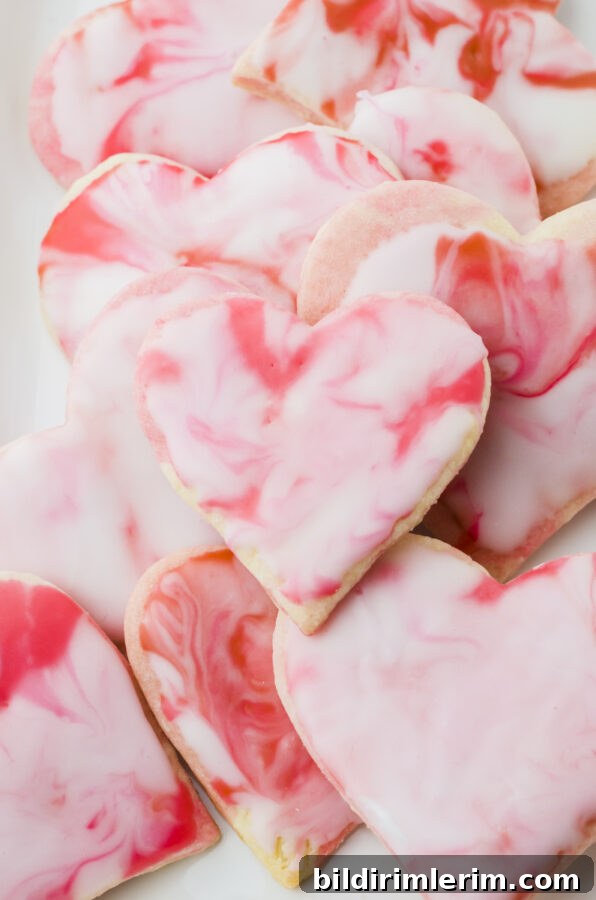
Make a simple marbled icing for sugar cookies using only three ingredients. Swirl, dip, and let it set for beautiful holiday or Valentine’s cookies—no royal icing required.
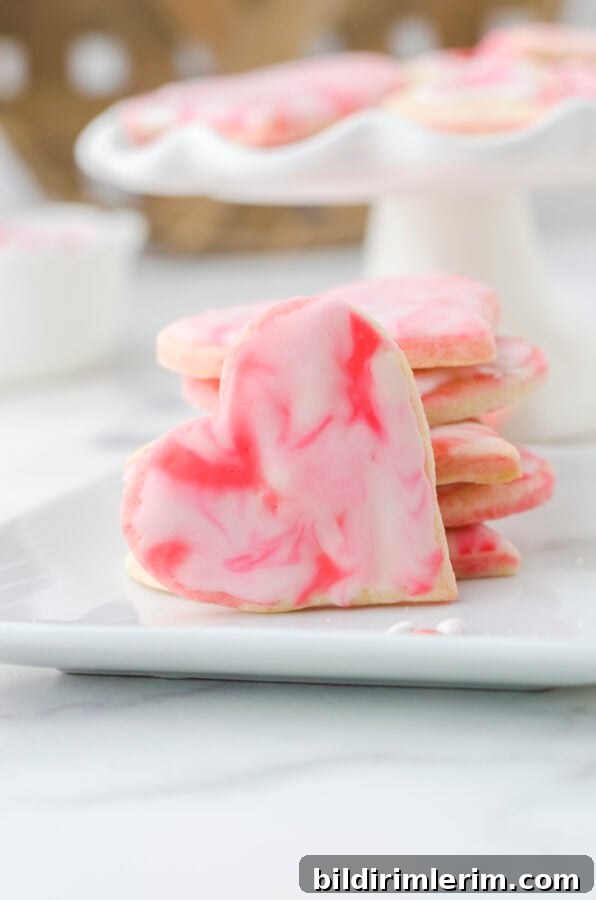
I tried marbled heart sugar cookies for Valentine’s Day and wanted the icing to match. After a few tests I landed on a buttercream-like marble icing that sets firm on the surface but remains soft to bite. It’s made with just powdered sugar, milk and a little extract, and it works on any sugar cookie—homemade or store-bought, rolled or soft.
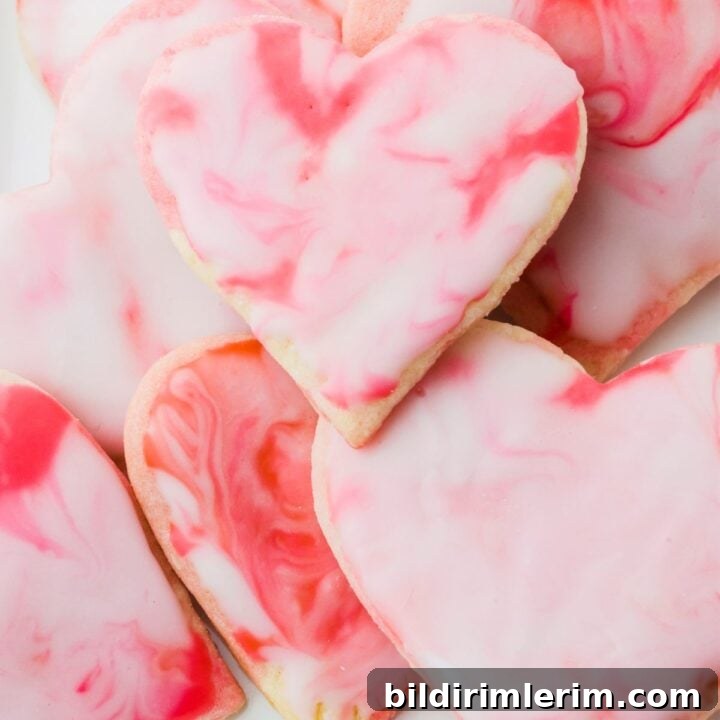
Marbled Icing for Sugar Cookies
5 minutes
5 minutes
This quick marbled icing is an easy, eye-catching way to decorate sugar cookies using only three main ingredients and your choice of gel colors.
Ingredients
- 3 1/4 cups powdered sugar
- 1 teaspoon almond, vanilla, or lemon extract (use white vanilla if you want the icing to stay very white)
- 4–5 tablespoons milk
- Wilton paste or gel food coloring in red and pink (or colors of your choice)
Instructions
- In a large bowl, stir the powdered sugar with the extract and 3 tablespoons of milk. Mix until smooth, then add the remaining milk a little at a time until the icing is easy to stir but still thick enough to coat the back of a spoon. The correct consistency is the key—run a knife through the middle of the icing and the line should fill in slowly over 6–8 minutes.
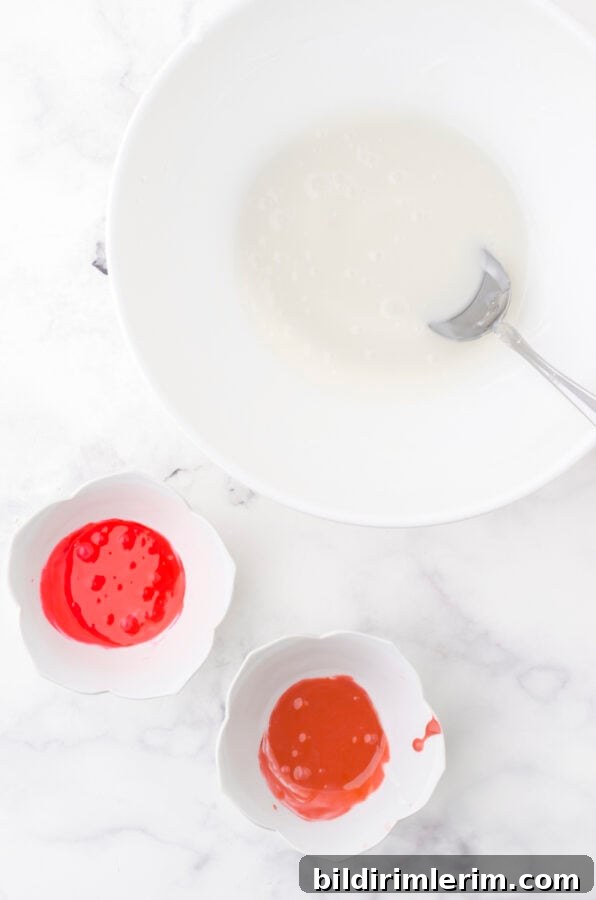
- Portion a small amount of the base icing into two or three small bowls and tint each with gel food coloring until you achieve the shades you want.
- Pour the white icing into a shallow bowl or container. Drizzle the colored icings over the top in a loose, random pattern—there’s no need to be precise.
- Dip a cookie straight down into the icing, lift it up, and gently rock it side to side to swirl the colors across the surface. Pop any air bubbles immediately with a toothpick or cake tester.
- Place cookies on a cooling rack and let them dry completely before stacking or packaging.
Notes
This icing does harden on the surface, so keep any extra bowls covered with plastic wrap while you work. If the icing thickens as you go, add a few drops of milk to loosen it. Gel coloring is preferred because it gives vivid color without thinning the icing.
Ingredients for this marble frosting recipe
For exact measurements, refer to the recipe card above.
- Powdered sugar (icing sugar) – a smooth, sweet base that sets well.
- Milk – thins the icing to the right consistency for dipping and marbling.
- Extract – almond, vanilla, or lemon; white vanilla helps keep the icing bright.
- Gel food coloring – paste or gel colors give bold hues without thinning the icing.
Step-by-step: 3-ingredient marble icing
The printable recipe card above includes the exact measurements and a quick checklist. Below are the essential steps in straightforward terms.
-

Mix the icing base and make small bowls of coordinating colors. -
Drizzle the colored icing over the white base in a random pattern. -
Dip a cookie straight down and lift it up slowly to create the marble effect.
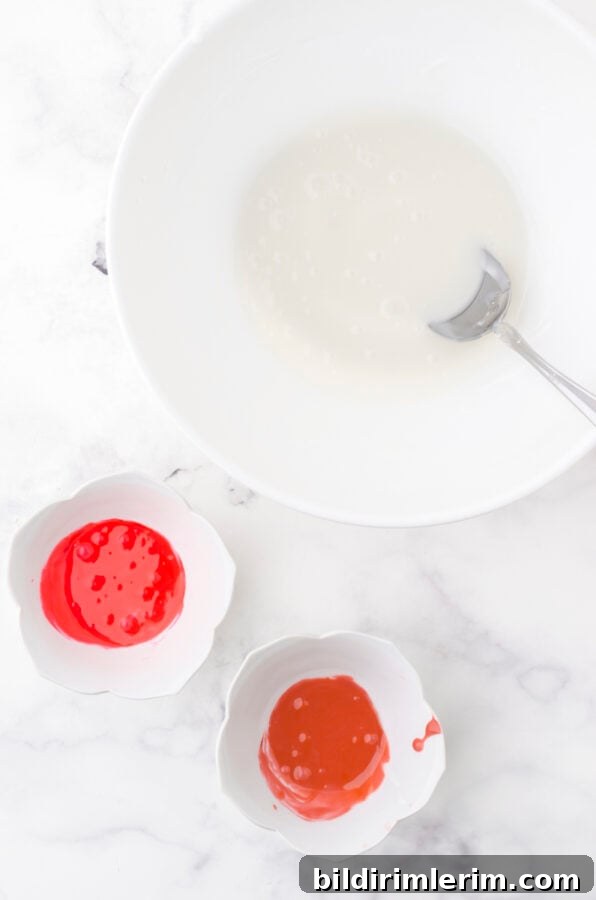
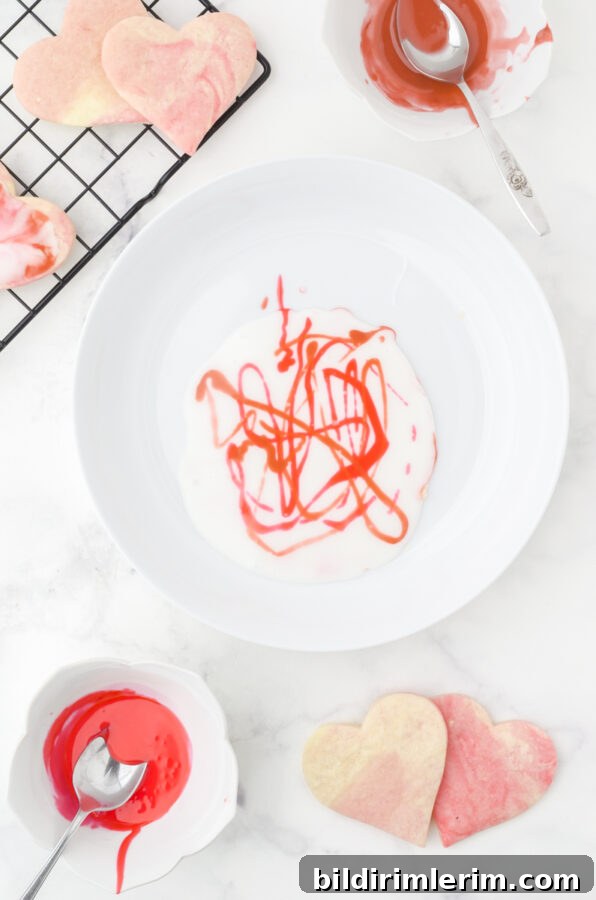
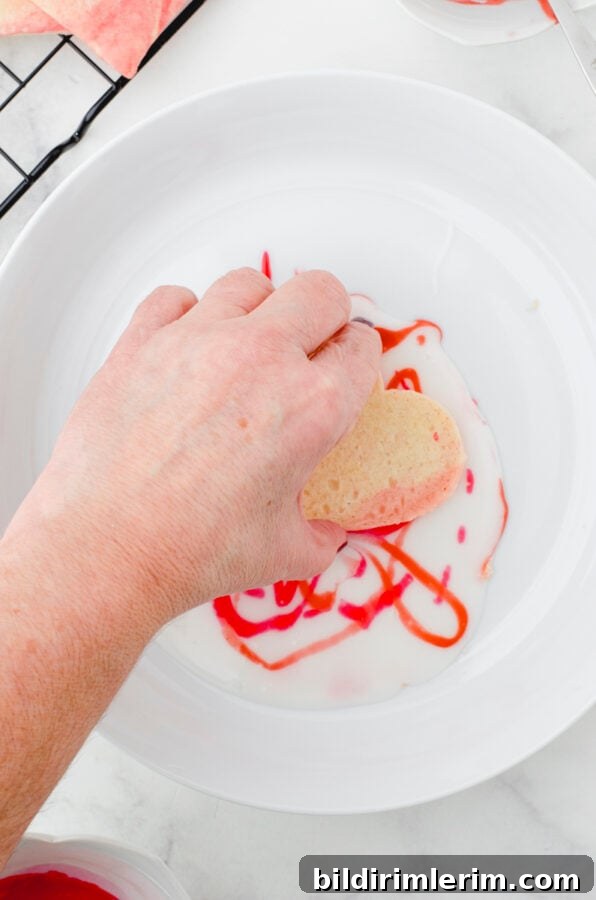
Mix the icing: combine powdered sugar, extract and a splash of milk, then add milk slowly until the texture is right. The knife test helps: run a knife through the center—if the line refills in 6–8 minutes, the consistency is ideal. Tint small bowls with gel coloring, pour the white base into a shallow dish, drizzle the colors on top, and dip each cookie. Pop bubbles immediately and let the cookies dry completely on a wire rack before handling.
Christmas color ideas for marbled cookies
- Peppermint pink & white: This icing often yields a soft pink rather than a deep red. Embrace a peppermint look with pink and white, or use a no-taste red gel and let it rest to deepen.
- Tree green & white: Swirl green into white for tree-shaped cookies.
- Snowy blue & white: Soft blue paired with white works well for snowflakes or mittens.
- Red & green: Drizzle both sparingly—too much blending will make colors brown, so swirl gently.
- Gold & white: Swirl a pale yellow or ivory and brush on edible gold dust after the icing dries for a festive finish.
Helpful tips for marbled icing
- Cover extra bowls of icing with plastic wrap to prevent them from hardening while you work.
- If the icing thickens, loosen it with a few drops of milk—do this gradually so you don’t over-thin it.
- Use gel or paste coloring for stronger hues without thinning the icing.
- Allow cookies to dry fully before stacking or packaging; a wire rack speeds drying by allowing air to circulate.
- Keep swirls light: a few gentle motions preserve the marble pattern—over-swishing blends the colors into a muddy tone.
Marbled icing vs. royal icing
Royal icing, made with meringue powder or egg whites, dries rock-hard and is excellent for fine piping. This marbled icing is simpler—just powdered sugar, milk and extract—yet it still dries firm on top so cookies can be stacked and packaged once fully set. It offers a softer bite and, to many tastes, a better flavor than royal icing. Use marbled icing when you want beautiful cookies without the extra work of royal icing techniques.
Frequently asked questions
Does marbled icing harden?
Yes. The surface sets firm while the interior remains slightly tender, making the cookies pleasant to eat.
How long does it take to dry?
Drying time varies with thickness and humidity—expect several hours. Touch gently to check for dryness before stacking.
Can I use this on store-bought cookies?
Absolutely. It works well on any sugar cookie and is an easy way to dress up plain bakery cookies.
Why did my colors turn muddy?
That usually happens if you over-swirl or if one color is much thinner than the others. Keep all icings the same consistency and swirl lightly.
Can I make these ahead?
Yes—once fully dry, store cookies in a single layer or with parchment between layers in an airtight container for several days.
Other frosting recipes and tips
- Easy methods for frosting cupcakes and cookies.
- Simple frostings suited for sugar cookies when you want a quick finish.
- Traditional gingerbread cookie recipes that pair well with royal icing for detail work.
Pin this to save the recipe