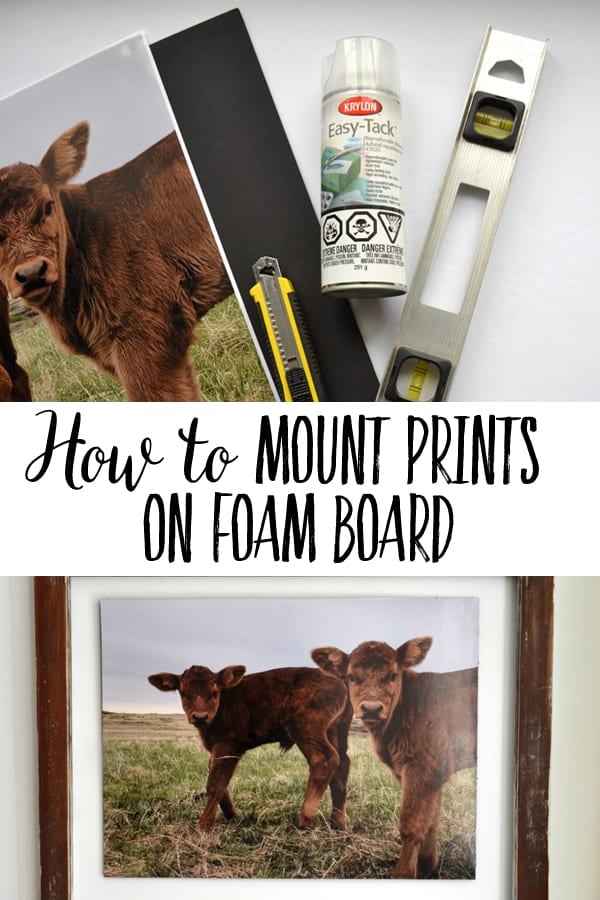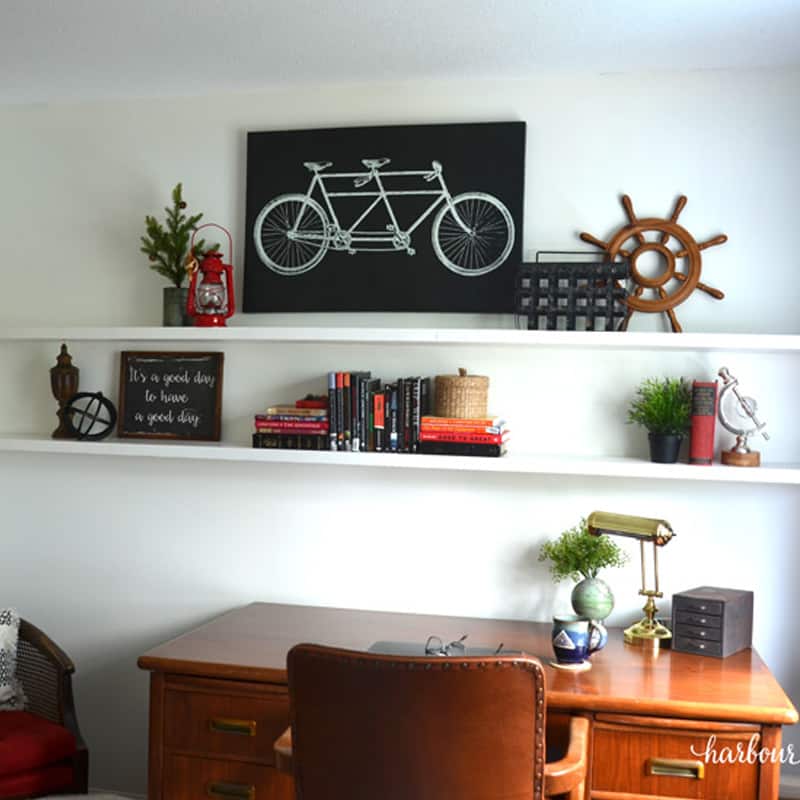
Discover how to affix pictures and posters to foam board using spray adhesive along with my advice for precise, straight cuts and simple hanging solutions.
Transforming a photo or poster onto foam board is a wonderful, affordable method for decorating large, bare walls. It achieves a polished appearance, remains light enough for a single nail, and costs much less than professional framing.
Having mounted numerous prints over time, I've gathered insights from both success and mistakes (especially regarding cutting!). Here is my straightforward process, along with tips ensuring edges are sharp, not ragged.
Note: This article features affiliate links for products similar to or identical to those I utilized for this project. Should you purchase through a link, I receive a minor commission without any extra charge to you.
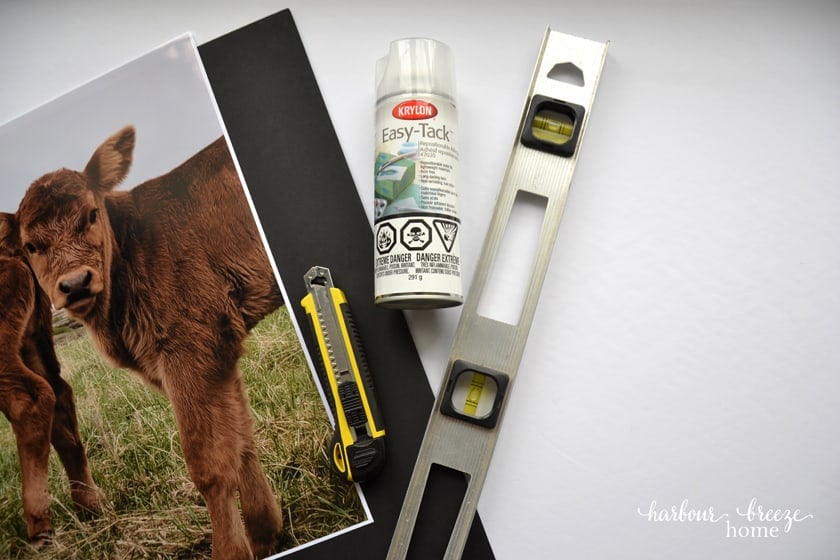
Materials Required
- The artwork intended for mounting (My example was a digital print from Staples, measuring 18 X 24 in a glossy finish)
- Black Foam Core board
- Use drop cloths or towels to protect your workspace
- Heavy Duty Art Knife
- Extended metal ruler
- Paper brayer ~optional
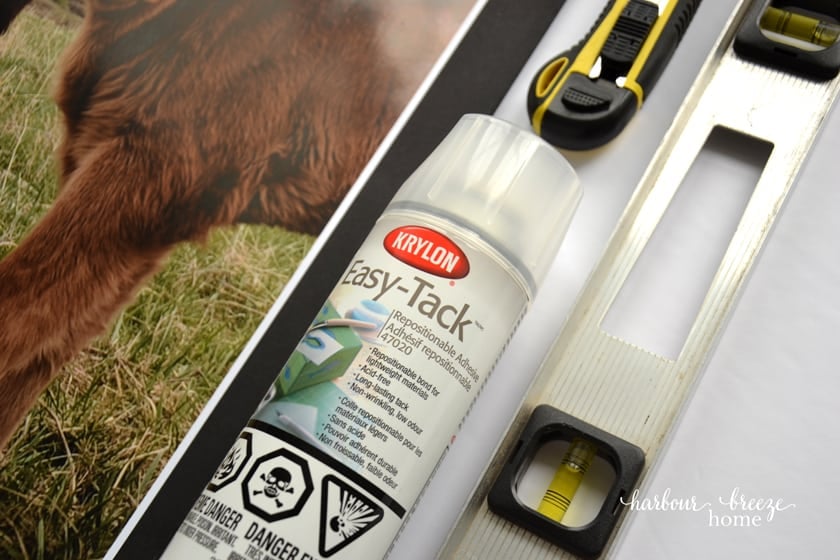
- Krylon Easy Tack Spray Adhesive
- Substantial Cutting Board
- Sawtooth Foam Hanger
Black or white foam board? Both options perform well. I prefer black as it provides a defined, finished look to the edges, though white is more forgiving if your cut isn't flawless.
Affixing a Photo to Foam Board
Initial Step: Trimming the Print
If your picture has a white border, remove it first utilizing your metal ruler and art knife. I trim only two sides, the bottom and the left. Subsequently, align these trimmed borders with two edges of the foam board, leaving the remaining trim for later.
Second Step: Spraying the Foam Board
Cover your working area with old towels and ensure you are in a well-ventilated spot. Apply an even layer of adhesive to the foam board, strictly adhering to the can's instructions.
Third Step: Positioning and Smoothing the Print
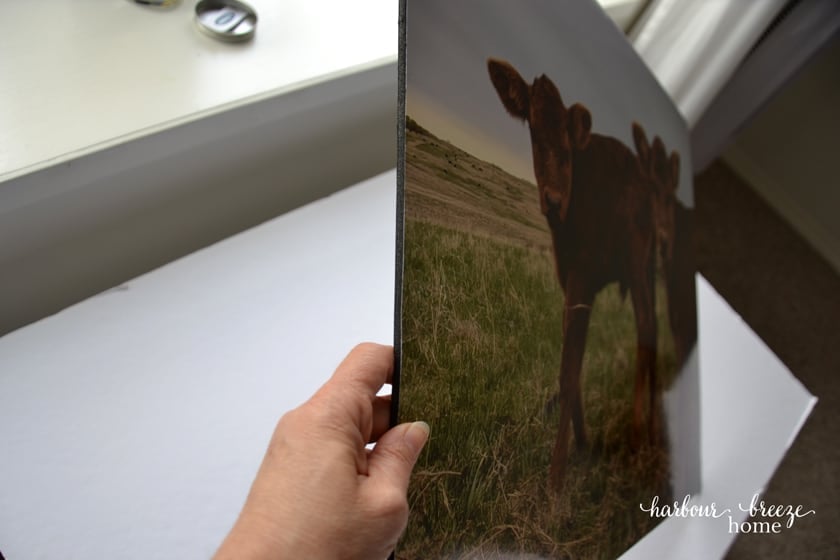
Align your trimmed borders with a corner of the board, then gently place the print down, smoothing it across from one side to the other. Pass a brayer or a clean, dry cloth over the entire surface to eliminate air pockets.
Fourth Step: Removing Excess Foam Board
Place your metal ruler along the print's perimeter, press it down firmly, and guide your knife along the ruler to cut away the surplus board. Avoid attempting a single, deep cut; numerous lighter passes will yield a significantly cleaner boundary.
Guidance for Precise and Level Cuts
My initial large print attempt didn't go as planned, so please take note of this experience!
- Employ a keen blade; this is the most crucial piece of advice. A blunted blade rips foam board rather than slicing it, resulting in uneven, crumbly edges. Before beginning, ensure the blade is snapped off or exchanged, even if it seems adequate.
- Utilize a straight ruler that remains perfectly level. I once used a metal level, but since it lifted slightly from the board's center, I could not maintain a firm grip or keep the knife consistently against it.
- Execute multiple passes. Apply steady pressure, yet anticipate needing several cuts to fully penetrate the board's thickness.
- Perform the cutting action upon a cutting mat. This safeguards your tabletop and allows the blade to glide with ease.
What is the Optimal Way to Affix Pictures to Foam Board?
The correct method hinges on whether you intend for the attachment to be permanent or removable.
- For sizable pictures and posters, spray adhesive is my preferred choice. It uniformly coats the entire back, ensuring the print lies flat without any bubbles or ripples.
- Double-sided tape or photo mounting squares suit smaller images, but large prints risk rippling between the adhesive pieces.
- For brief displays, such as at a party, a school assignment, or a trade show, use repositionable mounting putty or an adhesive that allows easy removal.
Methods for Displaying a Photo on Foam Board
Insert a sawtooth foam board hanger into the rear of the board, positioning it near the top center, and then hang it from a nail. It is straightforward, and given foam board's lightness, heavy hardware is unnecessary.
Creative Uses for Foam Board Mounted Artwork
- Arrange a gallery wall featuring printables, similar to these sets of botanical prints.
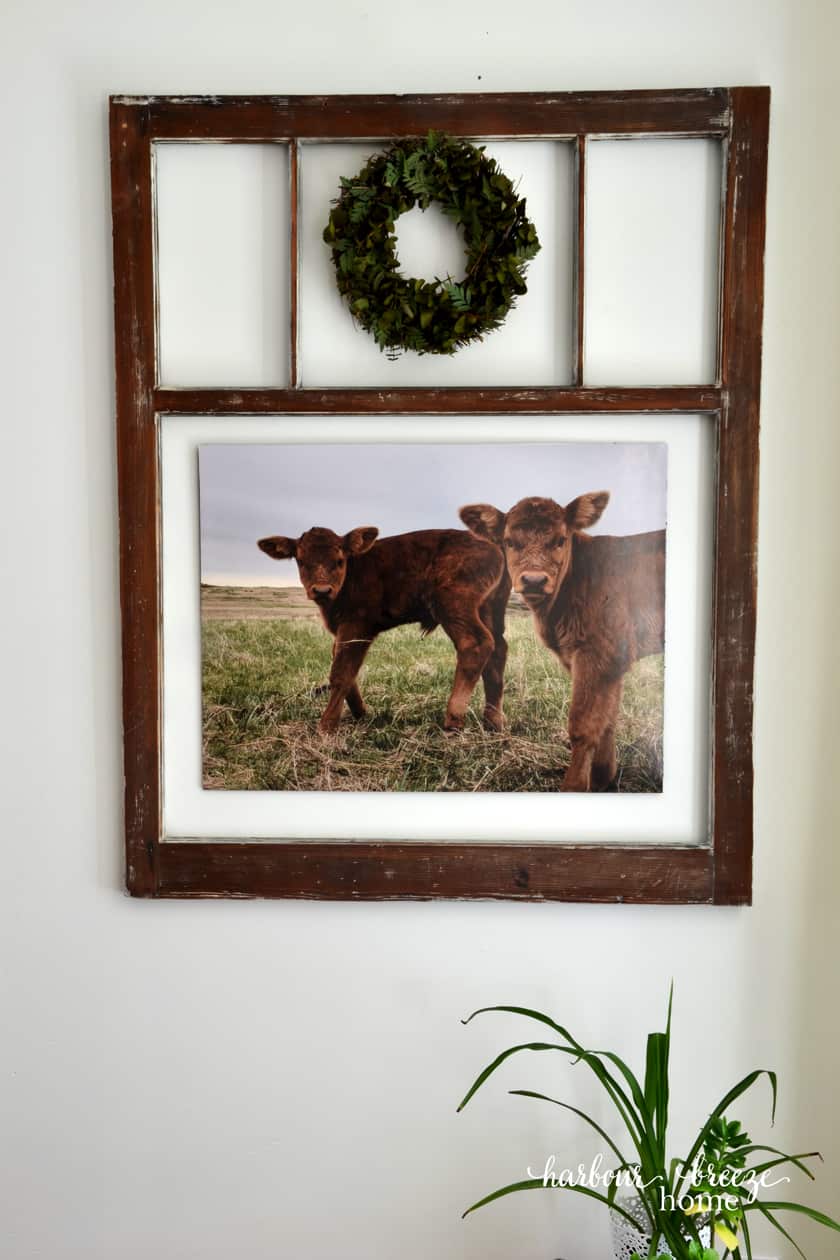
- Incorporate an old antique window as a decorative frame for mounted prints.
- Mount photos onto foam board, affix adhesive velcro to the back, and then connect them to fabric display boards for a trade show setting.
- Employ this inexpensive technique to display a poster or art piece for a college dorm student.
Foam Board Mounting Frequently Asked Questions
Is poster board an acceptable substitute for foam board?
It works for small, light photos, but poster board is thin and prone to warping or bending. Foam board maintains rigidity and flatness, making it superior for anything intended for hanging.
How can I cut foam board without causing tears?
Use a brand-new, sharp blade alongside a flat metal ruler, executing several gentle passes rather than one forceful cut. A dull blade is almost invariably the cause of foam board tearing.
Will spray adhesive cause my photo to bubble or wrinkle?
Not if you spray evenly and smooth the print down slowly from one side to the other. Run a brayer or a clean, dry cloth over it right away to push out any air.
How do I hang foam board without nails?
Removable adhesive strips made for hanging pictures work well, since foam board is so light. Check the package for the weight limit.
- Easy DIY Picture Frame for Large Art or Posters
- How to Frame an Engineer Print ~ A DIY Large Art Project
- Vintage Botanical Prints – Pine Cone Winter Wall Art
- The Quickest & Easiest DIY Wall Art Project Ever – Using Book Pages
For more recipes, crafts & ideas for your home all year round, become a VIP!
Become a VIP newsletter subscriber and get instant access to the library of free printables (including wall art, gift tags, and more!). Click here or the button below to join today.