
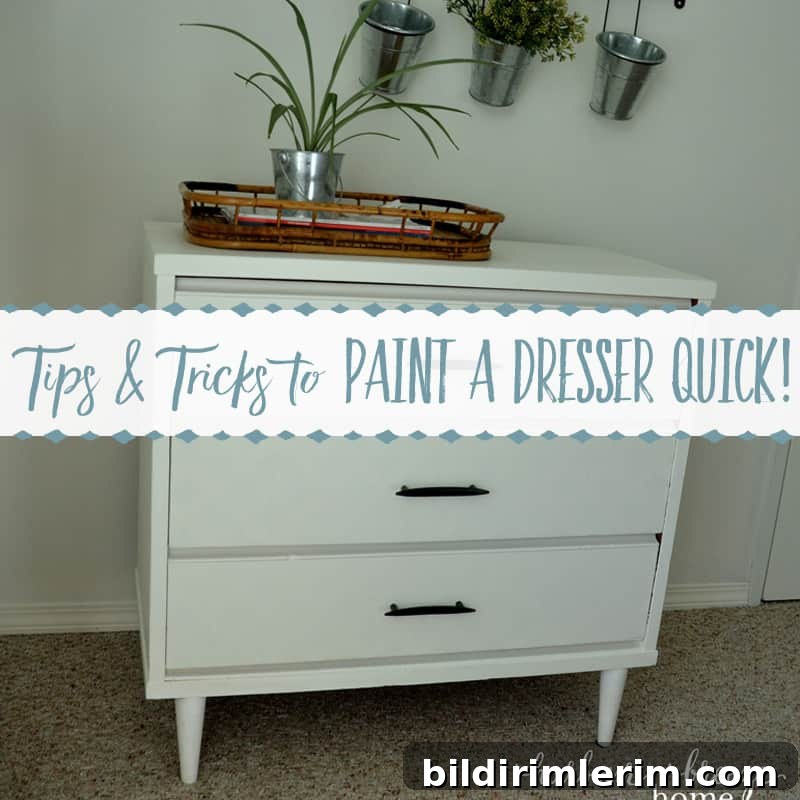
Refresh a tired dresser with paint: practical, fast techniques for how to paint a dresser quickly and achieve a clean, lasting finish.
Painting a dresser can be either a careful, slow restoration or a quick, satisfying update. If you want a fast, attractive makeover that still looks professional, follow these simple dresser-painting tips and time-saving tricks.
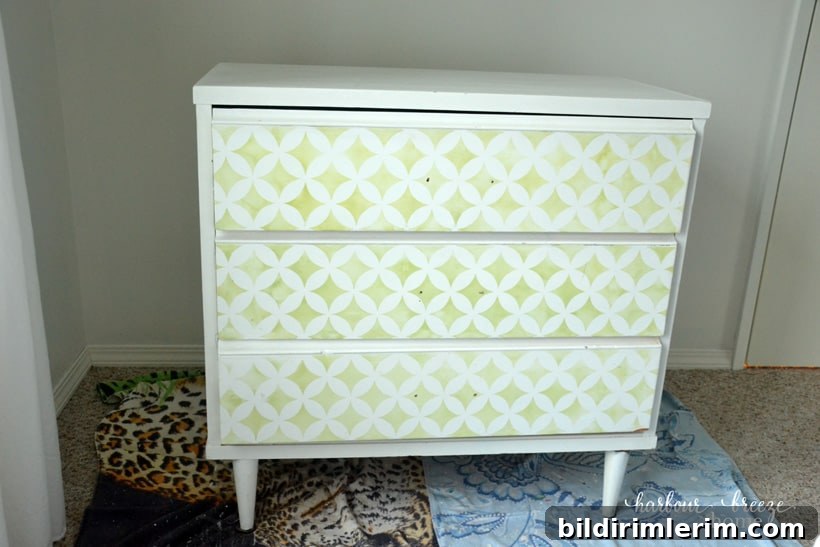
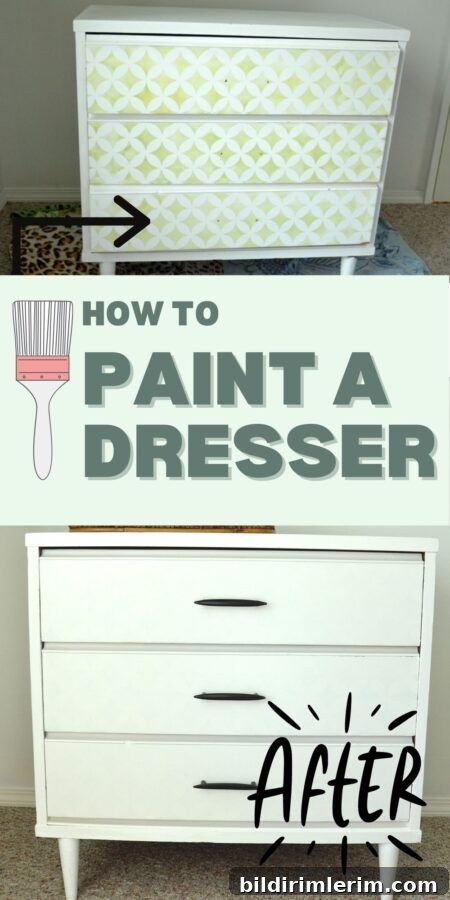
This guide describes a quick dresser refresh I completed recently. The piece was a thrift-store find that had been previously painted and stenciled. It wasn’t a sentimental heirloom—just a hardworking dresser that had picked up bumps and scrapes from several moves—so I wanted a fast, practical solution that would give it a fresh look without a huge time investment.
Supplies you’ll need for painting a dresser
Essential tools and materials make the job faster and give you a better result.
- Sanding block set (assorted grits)
- Paint suitable for furniture—look for a durable finish and, when you want fewer steps, a paint with primer built in
- Paintbrush for detail work and cutting in (a high-quality angled brush is helpful)
- Small foam roller set (optional) for smoother coverage on larger flat areas
- Tack cloth or a damp cloth to remove dust after sanding
- Drop cloths or old towels to protect floors and clothing inside drawers
- Clear topcoat or sealer if you expect heavy use on the top surface
How to paint a dresser quickly: cheater tricks that work
1. Paint the dresser where it sits
Avoid the hassle of carrying furniture in and out of the house. Lay down towels or a drop cloth and paint the dresser in the room where it will remain. This saves time and reduces the chance of dings during transport.
2. Sand quickly but effectively
You don’t need to fully strip an old finish for a simple refresh. Use sanding blocks to roughen the surface just enough for the new paint to adhere. Start with a coarser grit and move to finer grits to smooth out any rough spots. The key is to remove loose finish and create tooth for the paint—then wipe the piece clean with a tack cloth or damp rag so there’s no dust left behind.
3. Choose paint with primer built in
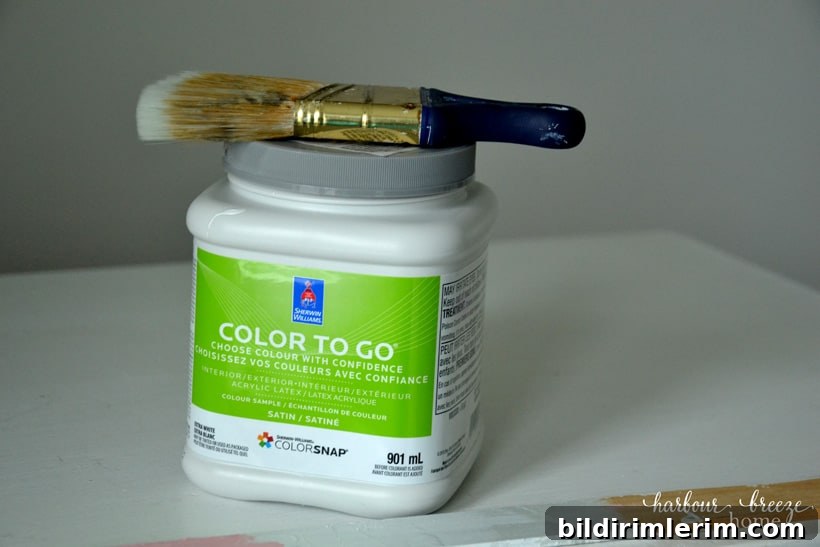
If speed is your priority, select a paint that includes primer and doesn’t require a separate sealer. This reduces steps and drying time. For this project I used a satin finish in a warm white, bought in a small sample container to save money. Note: even with a good paint, the top of a dresser can stain over time—if you expect high wear, seal the top with a clear protective coat for long-term durability.
4. Remove drawers and hardware, then skip painting the top initially
Take out the drawers and remove handles or knobs. Paint the frame, sides, and drawer interiors first. Leaving the top for last reduces the chance of drips and gives you a tidy workspace for the rest of the piece.
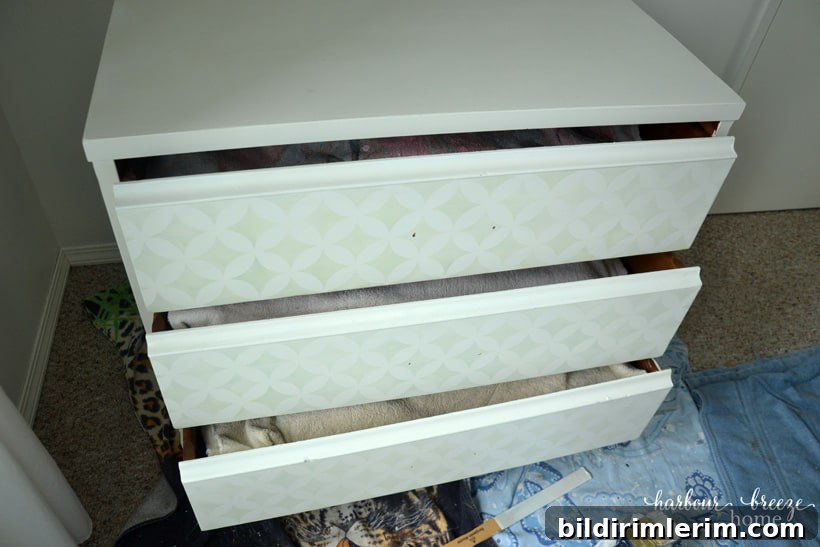
5. Protect clothing inside drawers and paint drawer fronts in place
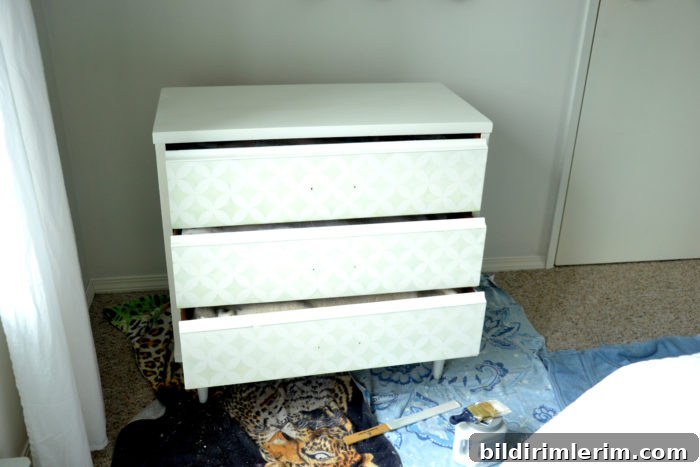
If you’re keeping clothing inside the dresser, place a towel over the clothing for protection. Insert the drawers and stagger them (partially open) so you can paint the fronts without removing everything. This saves time and keeps drawers aligned. Watch for drips, and make each brush stroke while the paint is wet so you get a smooth finish.
6. Apply as many coats as needed, allowing proper drying
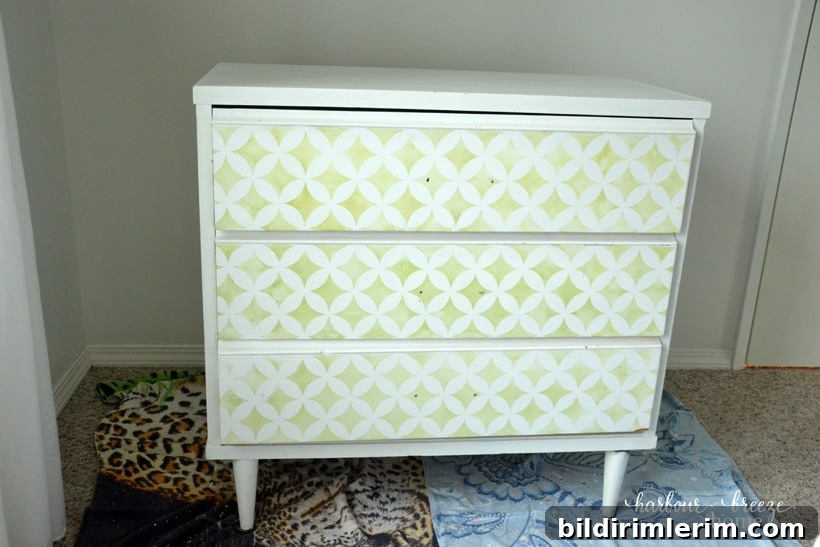
Several thin coats typically look better than one thick coat. Let each coat dry according to the paint manufacturer’s directions before applying the next. In my case, because the dresser had a dark stencil underneath, the drawer fronts required three coats to achieve even coverage.
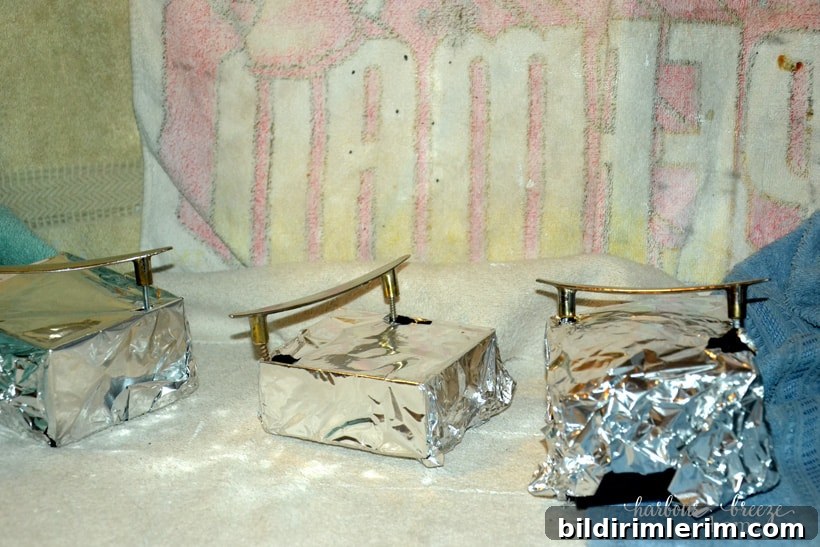
While the paint cured, I refreshed the original hardware with a spray finish in a dark bronze tone to complement the new color.
After a few hours and a couple of coats, the dresser transformed from worn and scuffed to clean and updated. Small projects like this are a fast way to refresh a room on a budget.
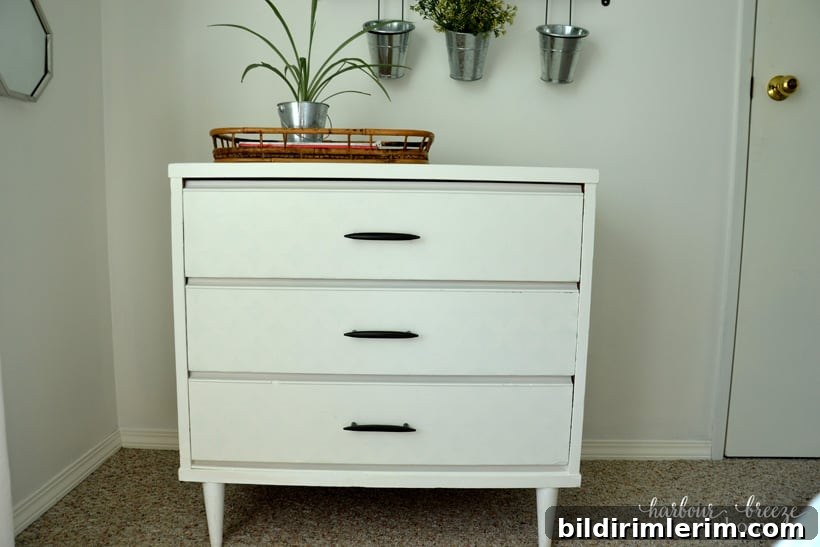
A fresh coat of paint can make an inexpensive piece feel custom and new again. With the right supplies, a little sanding, and smart sequencing, you can complete a dresser makeover in just a few focused hours.
If you enjoy watching projects in real time, check for live painting sessions on social pages where makers often share step-by-step demonstrations and tool recommendations.