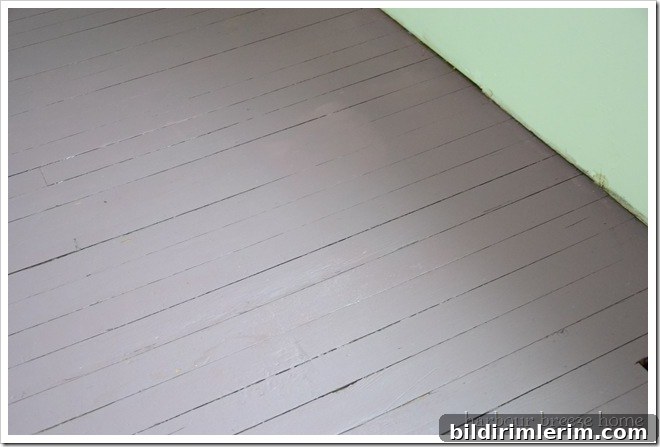
Follow the straightforward steps used in this attic makeover to learn how to transform an old wood floor with paint.
These painted floors had an unexpected beginning — they were even painted purple at one point. That surprising first step cleared up years of wear and made the attic floor feel refreshed.
How to Paint Old Wood Floors (when you have only a small amount of paint)
1. Prime stained or previously finished boards with a stain-blocking base coat
When working with old floors, the most important early step is to seal any existing stain or tannin bleed so the new color remains true. Choose a high-quality primer specified for floors and for sealing stains — your local paint professional can recommend a product suited to your surface and the type of paint you’ll use. Apply a full, even coat and allow it to dry completely before moving on. This creates a reliable base so the topcoat adheres well and the previous finish doesn’t show through.
2. Brush on topcoats in the shade you want using a diluted “wash” technique
If you’re working with a small sample can of paint, a color-washing technique can stretch that paint and yield an attractive, worn or layered appearance. In this project the goal was a deep, dark “panther” tone, but there wasn’t much paint available — so a wash was used to cover the boards efficiently while creating a unified look.
3. How to wash on paint to achieve the finish you want
Here’s a simple, practical way to apply a color wash to wood floors:
- Start by cleaning and lightly sanding the floor so the surface is free of dust, grime and loose finish. Wipe thoroughly with a tack cloth or damp rag and let dry.
- Pour a small amount of water into a disposable container. For water-based (latex) paints, you can dilute the paint a little with water to create a wash; for other paint types, use the appropriate thinner or a glazing medium and test first. Always test the dilution on a scrap piece of wood or in an inconspicuous corner to check coverage and appearance.
- Dip your brush lightly into the water, then into the paint, and work quickly along the boards. The diluted paint goes on thin and dries fast, so blend as you go to avoid hard edges. This method lets a small volume of paint cover a larger area while keeping some of the wood’s character visible.
The photo above demonstrates the wash technique in progress: the board on the left has the wash applied while the others do not yet. It’s surprising how little paint is needed to change the overall tone when you apply it in thin, well-blended layers.
After brushing on the first washed coat, there is often still plenty of paint left in a small can — and the thin application helps you stretch the color without making the floor look heavy or opaque.
In this attic, a small section of the original floor under a built-in shelf was left untouched to preserve a bit of the room’s history and contrast with the new finish. The photo below shows the finished painted color alongside the untouched original boards (imagine the dust removed), giving a clear sense of how the wash softened and unified the space.
4. Apply a second washed coat once the first is dry
Allow the first coat to dry completely before adding another thin wash. Building the color in layers helps you control saturation and ensures even coverage. This approach worked well for a budget-friendly attic makeover and delivered a consistent final tone without using large volumes of paint.
For floors that will get heavy foot traffic, consider finishing with a clear floor sealer for durability. Select a sealant compatible with your paint system — a water-based polycrylic or a suitable polyurethane are common choices — and follow the manufacturer’s instructions for application and curing times.
As shown in the attic reveal, much of the painted floor was later covered by a large rug, but the refreshed surface transformed the room’s appearance. Whether you’re refreshing a seldom-used space or updating a main living area, this wash technique can be an economical and creative way to repaint old wood floors while preserving some of the wood’s character.
Quick tips: test your diluted paint on scrap wood first, use a good stain-blocking primer, work in manageable sections to blend edges, and protect high-traffic areas with an appropriate clear finish. Checking product labels and consulting a paint professional will help you choose the right supplies for long-lasting results.