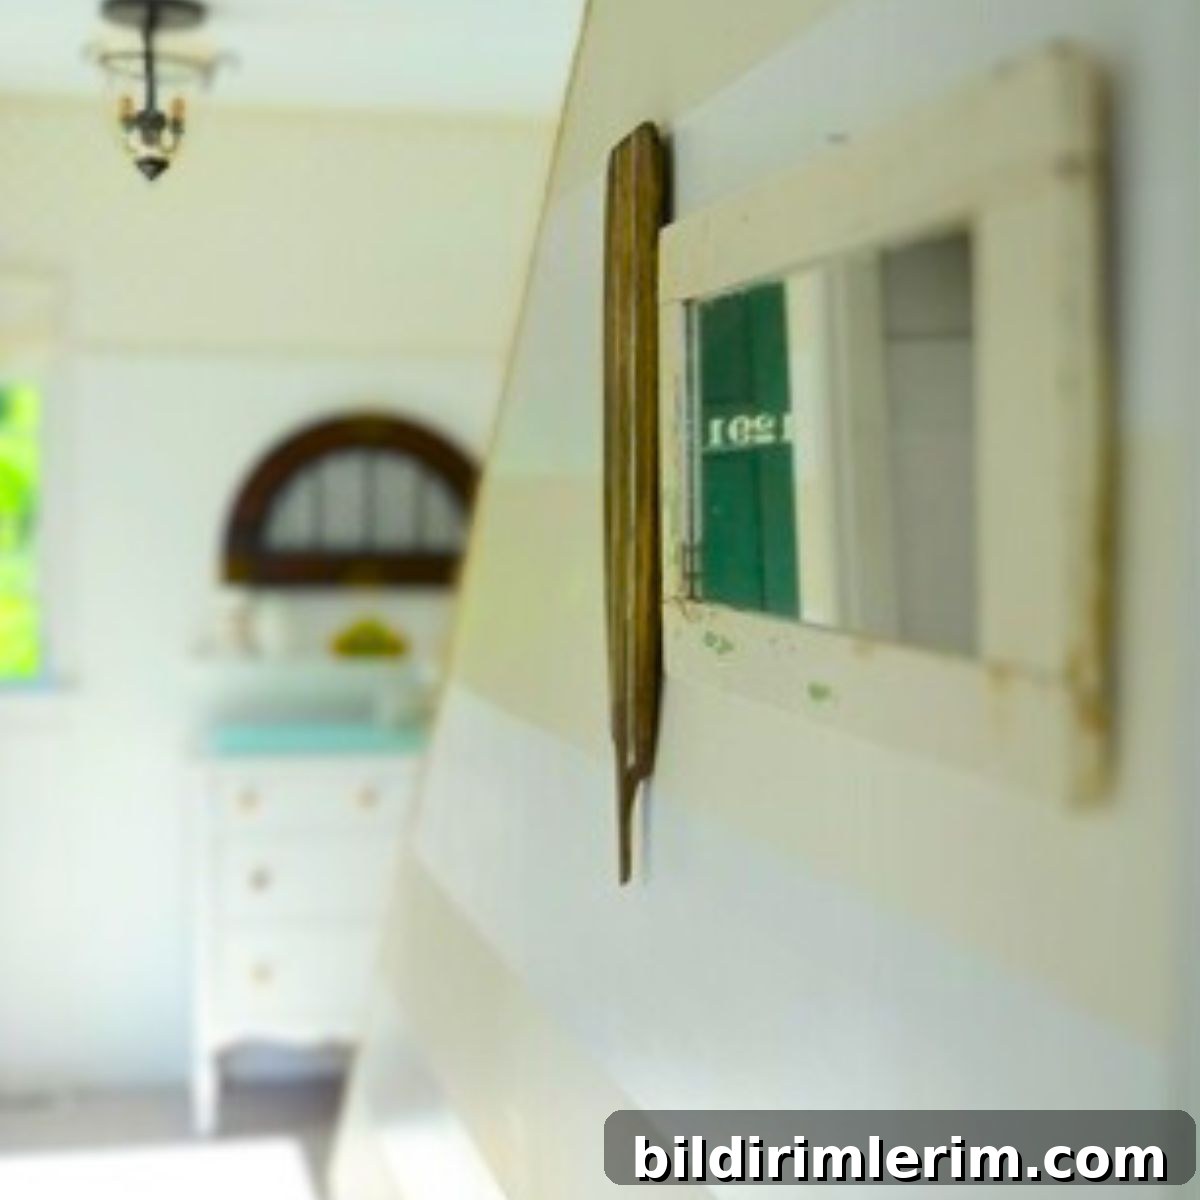
Learn a simple technique for painting clean, straight lines with painter’s tape to add visual interest to a plain hallway.
One of the things I love about blogging is that it gives me the push to finish projects. Sometimes I start so many things at once that I end up with half-finished projects scattered everywhere. Writing about them forces me to complete them—and share the results.
This is a throwback look at the entryway hall in our former house. The space was narrow, and I wanted to brighten and enliven it without spending a lot. Painting stripes felt like a high-impact, budget-friendly option, so I set out to learn how to paint striped walls using painter’s tape.
It was a fun, satisfying project. Here’s what the hallway looked like before:
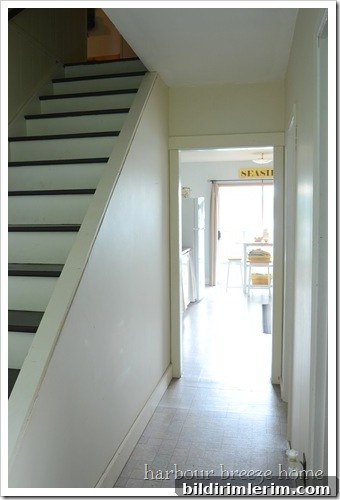
Because the corridor was narrow, I wanted a finish that would add personality and depth without overwhelming the space. Stripes are a great way to do that—especially when you keep the palette simple and the execution crisp.
Inspirations for How to Paint Striped Walls
Before starting, I researched several how-to tutorials and real-life examples from other bloggers. I read detailed step-by-step guides that covered layout, measuring, taping techniques, and lessons learned from mistakes—those cautionary tales are especially helpful when trying a new method for the first time.
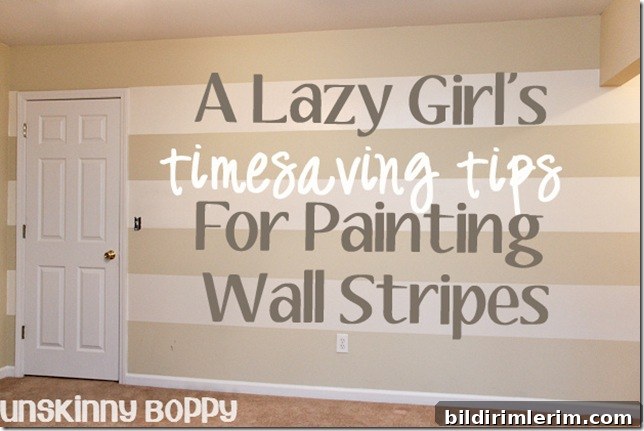
Seeing other projects gave me confidence and helped me plan: choose two complementary paint shades, map the stripe widths on paper first, and prepare the walls so the tape sticks well. These preparation steps make the difference between crisp lines and paint bleed.
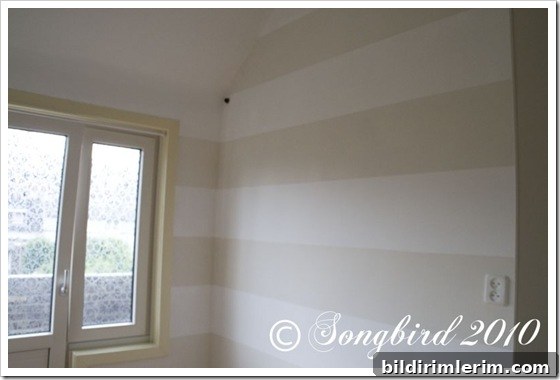
I also paid attention to stories where things went wrong—improper taping, waiting too long to remove tape, or rolling on too much paint at once. Those pitfalls helped me avoid common mistakes.
Steps for how to paint stripes on walls
- Measure and plan. Decide how wide you want each stripe and mark the layout on the wall with a pencil. On a narrow hallway, balanced proportions are key. Sketching the pattern on paper first helps you visualize.
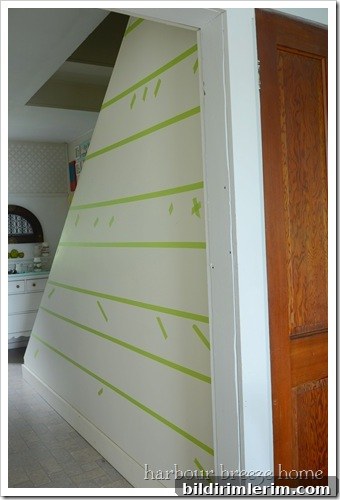
A laser level can speed things up and ensure perfectly straight lines, but if you don’t have one, small pencil marks and careful measurement work fine. Place painter’s tape along the pencil marks to define the stripes. Press the tape down firmly along the edges so it adheres well.
Tip: Seal the tape edge by running a thin coat of the base wall color along the tape edge first. Once that dries, paint the contrast color over it—this helps prevent bleed-through.
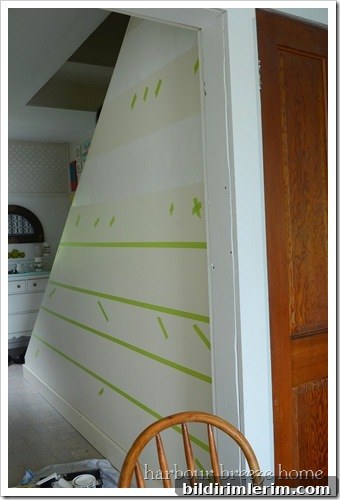
- Paint the stripes and remove the painter’s tape before the paint fully dries.
I used the darker shade as the base wall color and painted the narrower stripes in a crisp white with a small foam roller for a smooth finish. Apply paint in thin, even coats to avoid drips. When the paint is still slightly tacky but not wet, carefully remove the tape at a 45-degree angle to reveal clean lines.
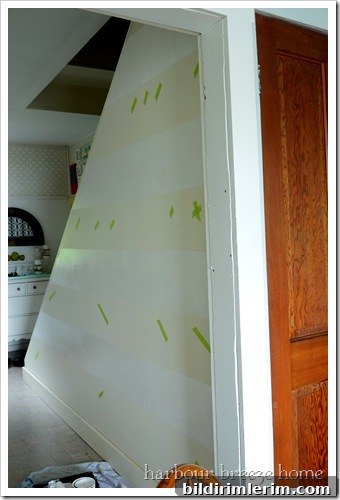
The result completely transformed the hallway—those simple stripes added depth and energy to what had been a plain, narrow space.
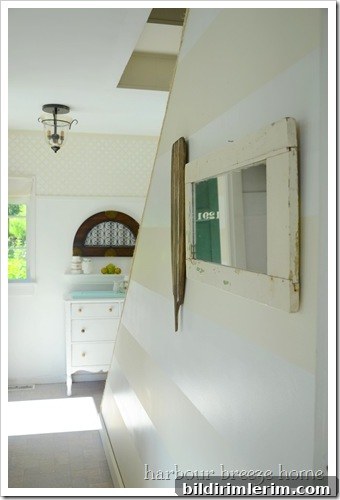
Small DIY updates like this are low-cost but high-impact. They’re a great way to refresh a room—especially transitional spaces like hallways and entryways where you can take creative risks.
Practical Tips and Troubleshooting
- Use high-quality painter’s tape and press it down firmly to prevent paint seepage.
- Work in thin layers and avoid overloading the roller near taped edges.
- Remove tape while paint is tacky to avoid peeling away paint with the tape.
- Keep a small brush handy to touch up any tiny imperfections after removing the tape.
- If stripes look uneven, step back frequently during the process to check alignment and balance.
For More Tips on Painting, Check out these Topics:
- How to choose a paint color you’ll love
- Understanding the right paint sheen for different rooms
- Step-by-step advice on how to paint a room
- Essential interior painting supplies you’ll need
- Decorating ideas and lessons from professional projects
- Resources and strategies for selecting harmonious paint palettes
Pin this to Remember Later!