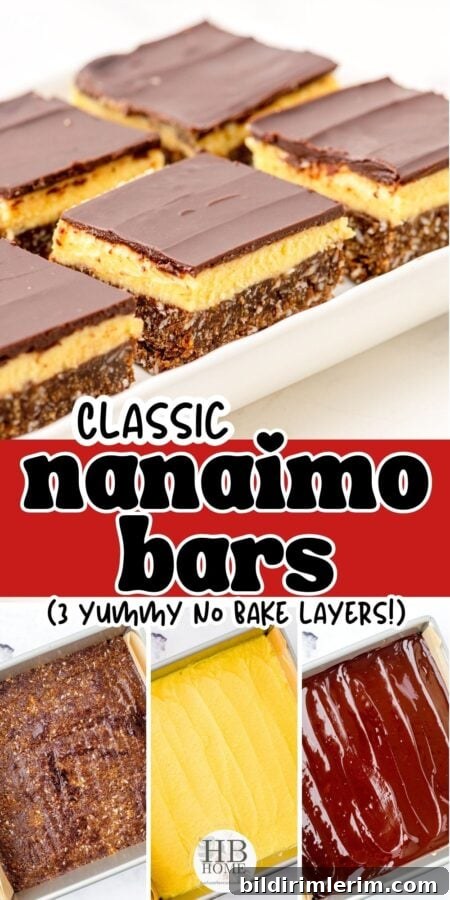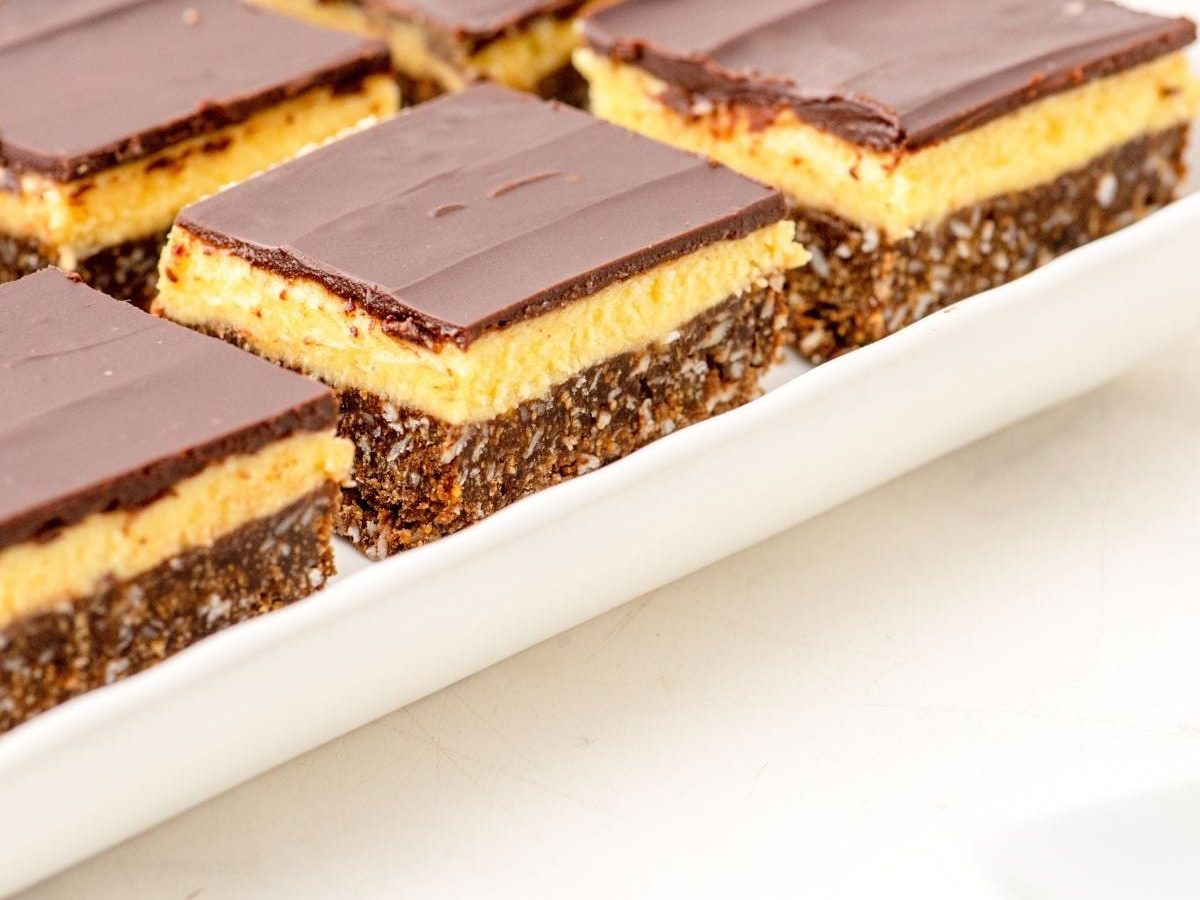
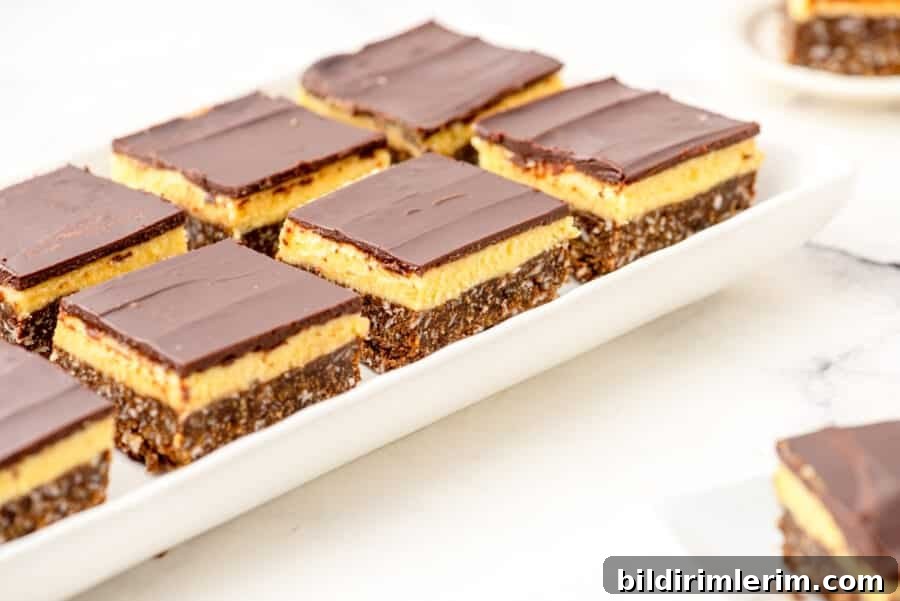
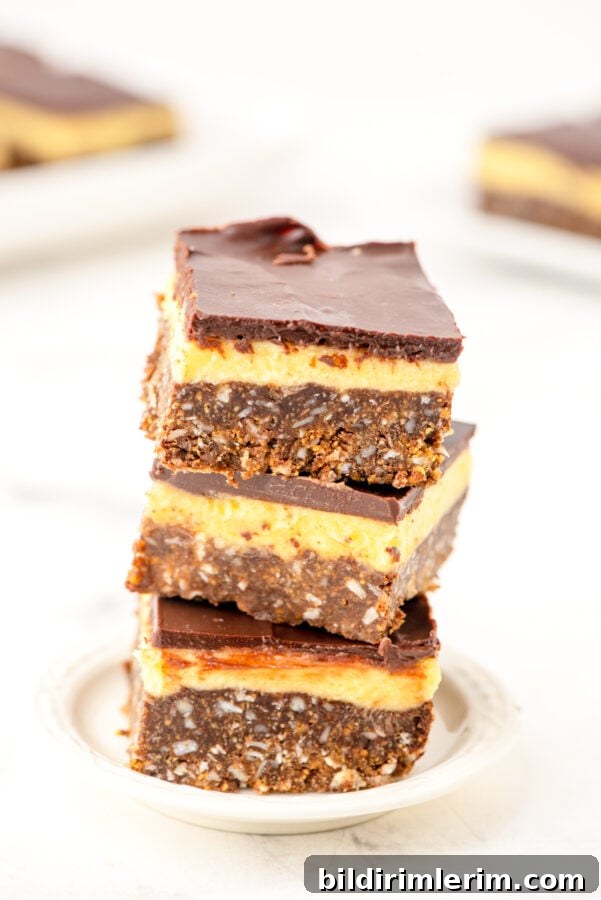
These classic no-bake Nanaimo Bars are an iconic Canadian dessert bar made of three irresistible layers: a chocolate-coconut crust, a smooth custard-like filling, and a glossy chocolate topping. They’re easy to make ahead, fridge-set (no oven required), and perfect for potlucks, holidays, or serving as an elegant after-dinner treat.
A Cozy Story Behind This Nanaimo Bars Recipe
This recipe takes me straight back to college. I grew up in a small Montana town and didn’t know Nanaimo bars until a Canadian friend introduced me to them. I brought the idea home and my mom immediately made them — “baking” in name only, since these are no-bake bars. The three layered treat — chocolate coconut crust, a light creamy filling, and a chocolate cap — quickly became a family favorite.
Traditional recipes call for vanilla custard powder, a pantry staple in Canada that can be hard to find elsewhere. Don’t worry if you can’t source it: a simple substitution (cornstarch, vanilla extract, and a pinch of yellow coloring) recreates the familiar flavor and appearance. I include that substitution below so you can make these no matter where you live.
Why You’ll Love This Recipe
- Three balanced layers—chocolate-coconut crust, creamy custard filling, and smooth chocolate topping.
- No-bake method keeps your oven off and the kitchen cool.
- Makes a great make-ahead dessert for parties, holidays, or cookie trays.
- A classic Canadian treat that appeals to a wide range of tastes.
- Rich, fudgy, and comforting without being overly complicated.
Ingredients
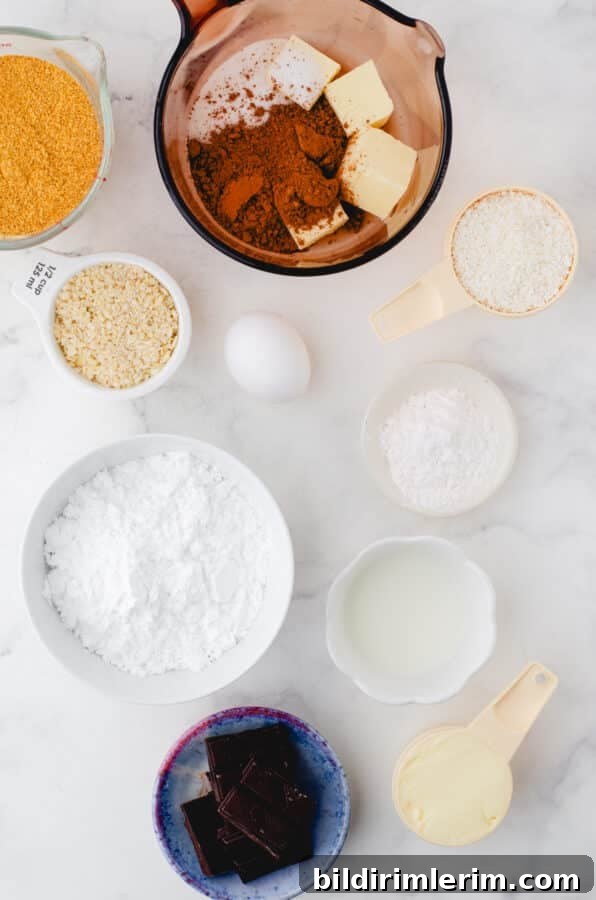
Below are the ingredients for an 8×8-inch pan (yields about 16 squares). For exact measurements and a printable card, use the recipe card or follow the ingredients listed here.
Bottom layer (Chocolate Coconut Crust)
- 1/2 cup (115 g) butter
- 1/4 cup granulated sugar
- 5 tablespoons cocoa powder
- 1 egg, beaten
- 1 3/4 cups graham cracker crumbs
- 3/4 cup shredded coconut (fine or medium)
- 1/2 cup almonds, finely chopped
Middle layer (Custard filling)
- 1/2 cup (115 g) butter
- 3 tablespoons milk
- 2 tablespoons vanilla custard powder (see substitution below)
- 2 cups icing (confectioners’) sugar, sifted
Top layer (Chocolate topping)
- 4 oz (about 2/3 cup) semi-sweet chocolate (squares or chips)
- 2 tablespoons butter
Yield & Time
Yield: about 16 squares. Prep time: 20 minutes. Total time: about 20 minutes active, plus chilling time to set.
Step-by-Step Instructions
Before you start, line an 8×8-inch pan (a 9×9-inch pan works, producing thinner bars) with parchment paper, leaving an overhang on two sides so you can lift the slab out for easy slicing.
For the Bottom Layer
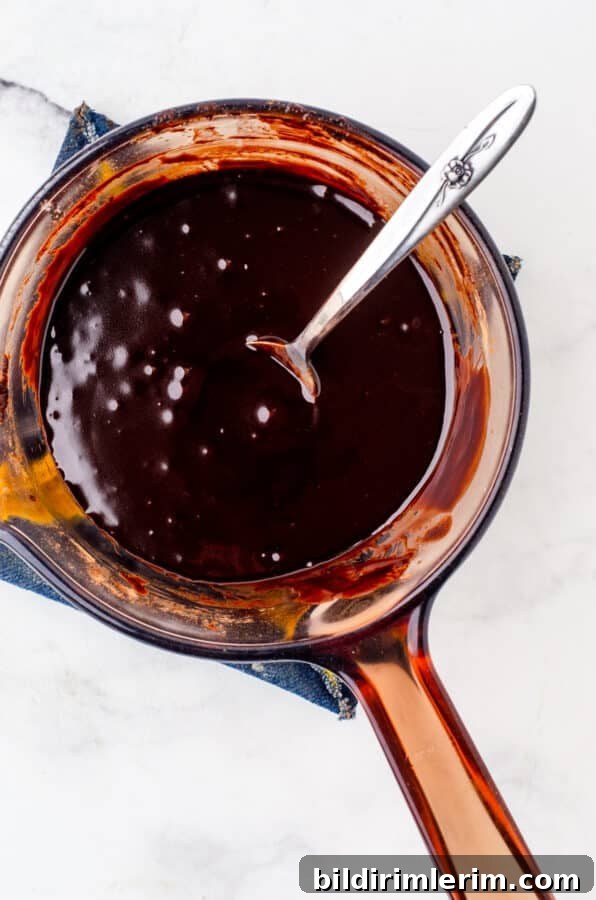
- In the top of a double boiler (or a heatproof bowl placed over a pan of simmering water), combine the butter, granulated sugar, and cocoa powder. Stir until melted and smooth.
- Remove from heat briefly, then slowly whisk in the beaten egg, stirring constantly. Return to the heat and cook gently, stirring, until the mixture thickens and becomes glossy. This cooks the egg and gives the base its fudgy texture.
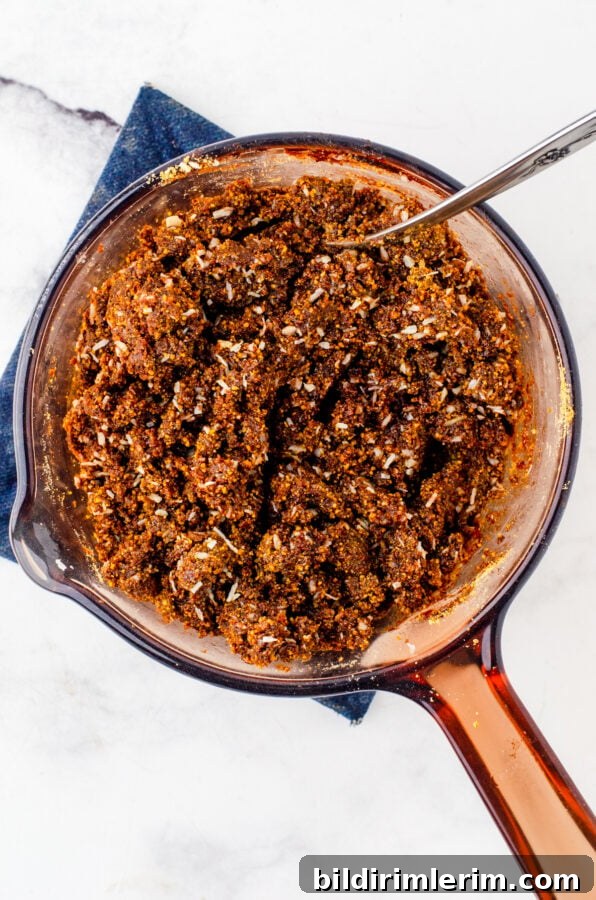
- Off the heat, stir in the graham cracker crumbs, shredded coconut, and chopped almonds until evenly combined.
- Press the mixture firmly into the prepared pan to form an even bottom layer. Use the back of a measuring cup to compact it well. Chill while you prepare the middle layer.
For the Middle Layer
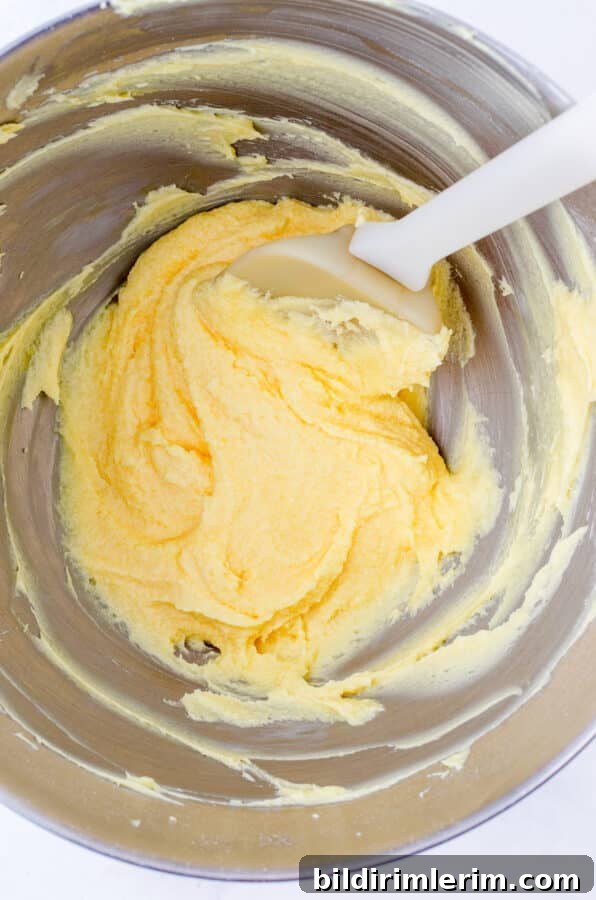
- In a mixing bowl, lightly whip the butter until smooth. Add half the milk, the custard powder, and half the sifted icing sugar. Mix until combined, then add the remaining milk and icing sugar. Whip until the filling is light, creamy, and spreadable.
- Spread the custard filling evenly over the chilled base. Return the pan to the refrigerator and chill until the filling is firm to the touch.
For the Top Layer
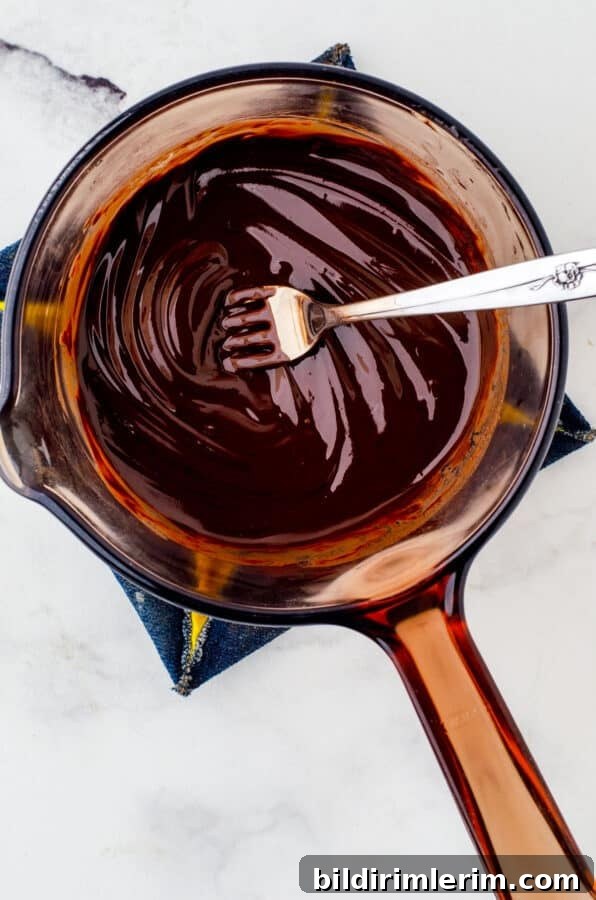
- Melt the semi-sweet chocolate and butter together in the top of a double boiler, stirring until smooth. Allow the chocolate to cool slightly so it’s still pourable but not hot.
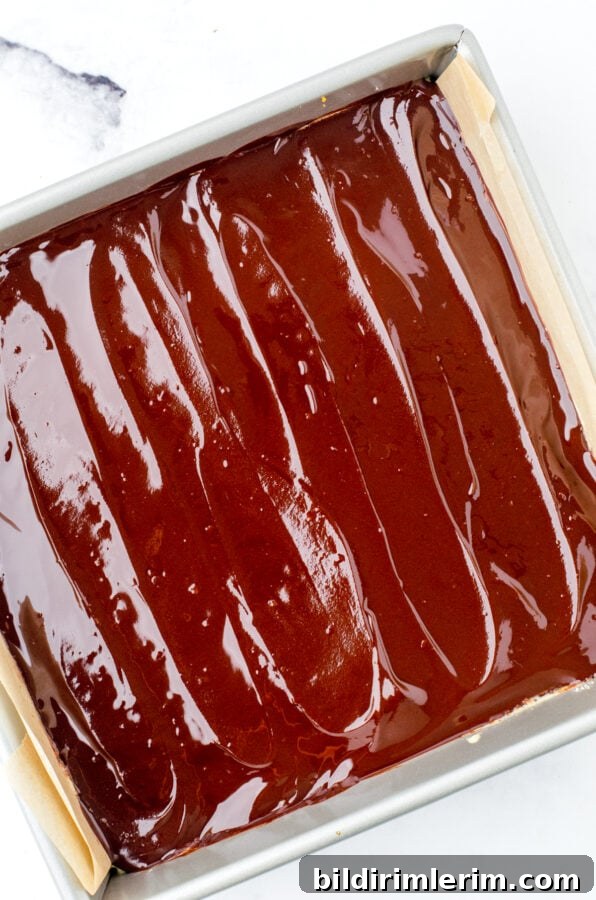
- Pour the chocolate over the chilled custard layer and spread it evenly. Chill the pan until the chocolate is completely set.
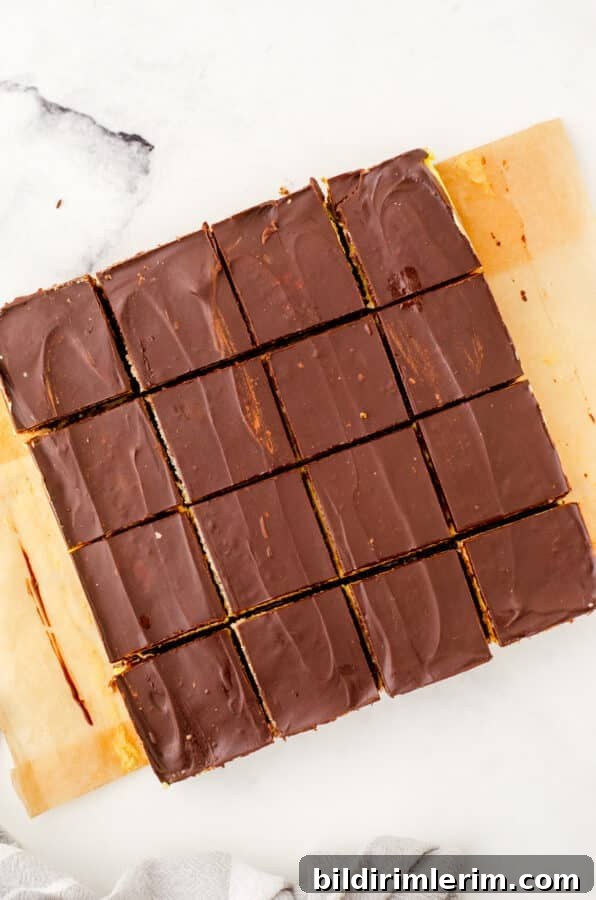
- To serve, run a knife around the edges, lift the block from the pan using the parchment overhang, and place on a cutting board. For clean slices, dip the knife in hot water, wipe dry, and make straight cuts, wiping and reheating the knife between slices if needed. Cut into 16 squares (or 32 smaller pieces).
Helpful Tips
- Custard powder substitution: If you can’t find vanilla custard powder, substitute 2 tablespoons cornstarch + 1 teaspoon vanilla extract + a very small pinch of yellow food coloring to mimic the traditional flavor and color.
- Sift the icing sugar before measuring so the filling whips up smooth and lump-free.
- Always line the pan with parchment paper and leave an overhang for easy removal and clean cutting.
- For the cleanest slices, warm a long chef’s knife (dip in hot water, dry, then slice), wiping and reheating between cuts.
- Chill thoroughly between layers to prevent the chocolate topping from melting into the filling.
Notes & Variations
- Pan size: A 9×9-inch pan will work; the bars will be slightly thinner.
- Make them smaller: Cut into 32 pieces for bite-sized portions — these bars are rich, so smaller pieces are often preferred.
- Nut options: If you don’t have almonds, substitute chopped walnuts or pecans, or omit for a nut-free version.
- Storage: Store in an airtight container in the refrigerator for up to 5 days. They also freeze well — separate layers with parchment and thaw in the fridge.
Step-by-Step Visuals
The images above show each stage: melting and cooking the base, adding dry ingredients, pressing into the pan, whipping the filling, topping with chocolate, and slicing the finished bars.
Final Thoughts
Nanaimo bars are a timeless, no-bake dessert that balance texture and flavor — a crunchy, coconut-studded crust, a creamy, sweet middle, and a shiny chocolate top. They’re simple to prepare, travel well, and always impress a crowd. Make a batch for your next gathering or keep a slab in the freezer for a ready-to-serve treat.
If you tried this recipe (or adapted it), I’d love to hear how it turned out—comments and photos make it easy to share tips and variations with other home bakers.