When our now- almost- 22- year- old was just an itty bit of a thing, my husband built a step-stool for him. He drug it all over our apartment and perched himself on it to “help” me bake, brush his teeth, and whatever else he needed to do that was just out of reach.
He called it his “step up” and it was used and loved and toted around by all three of our boys.
It’s been sitting in our storage room un-used for years now, but I just couldn’t bear to throw it away. Not only is it sturdy and practical, it holds all kinds of sentimental value.
So, the other day when I got it into my head to finally finish all the projects in the bathroom at breakneck speed (that’s tomorrow’s story), I discovered this little gem in my frantic search for some creative toilet paper storage.
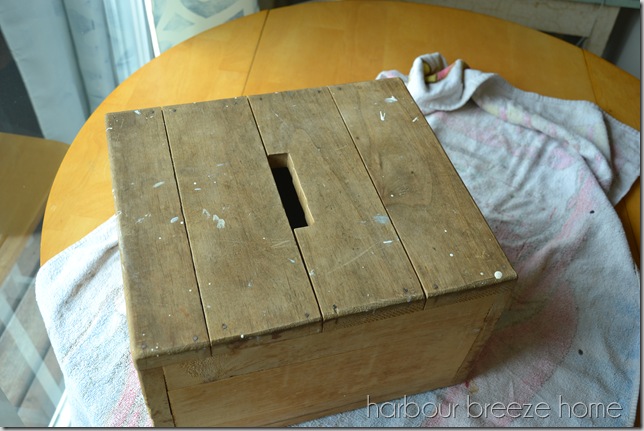
It was well worn and obviously has had a part in a few of my painting projects…
I whipped out my new chalk paint again to give it another spin.
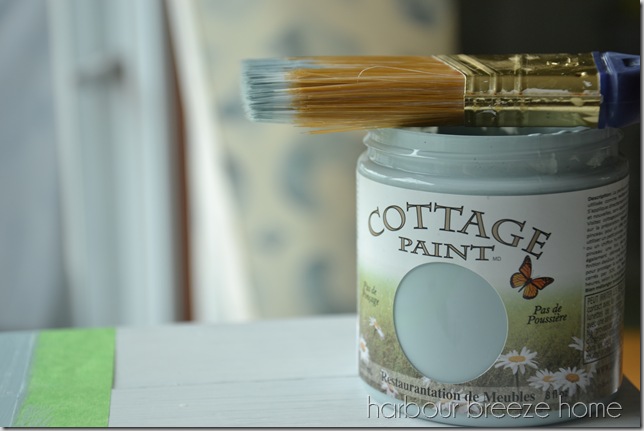
This time, I fell in love with the stuff. I was trying to do this project FAST, and it was!
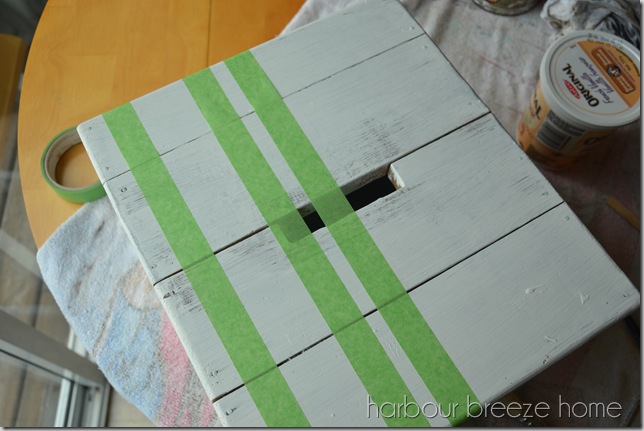
I painted the whole thing Cloudy Sky, leaving a few bits of wood peeking through, and then taped off some “ticking lines”
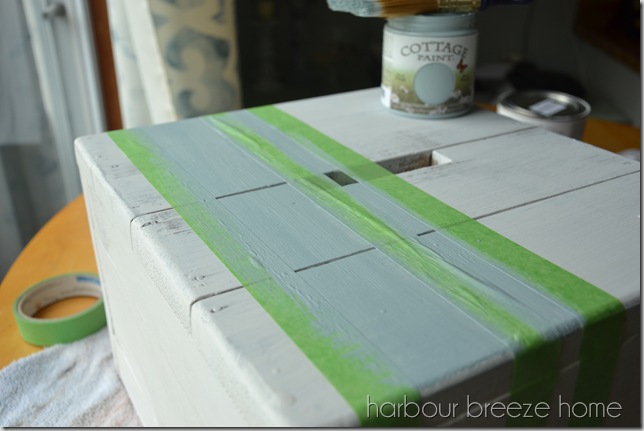
and painted them Narvik Blue. Because this paint is clay based, it can be distressed with just a damp cloth. I rubbed the cloth around the edges and at the seam lines, and it distressed so easily! ~ no sandpaper needed!
It seemed to need a little more personality, though, so I printed out some numbers to add to it, and transferred them on with graphite paper.
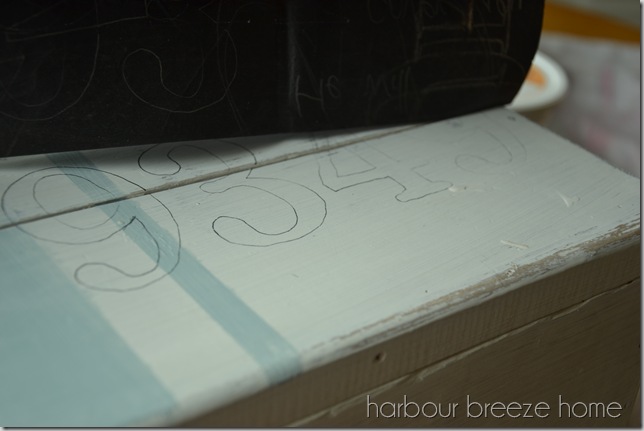
Then, I hand-painted them with a dark gray-black acrylic paint. (If you want to see the detail of how I do that, I made some step by step videos of the process here.)
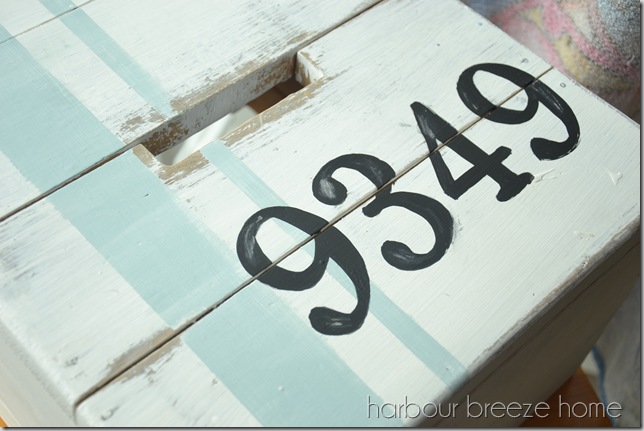
As it was drying, I rubbed off a bit of the paint to “antique” it a bit, and then ran some sandpaper over it when it was completely dry. I found an actual wax brush to apply the wax this time, and it seemed to go much better. {But, again, I’m still a bit unsure of how the whole waxing step should look…}
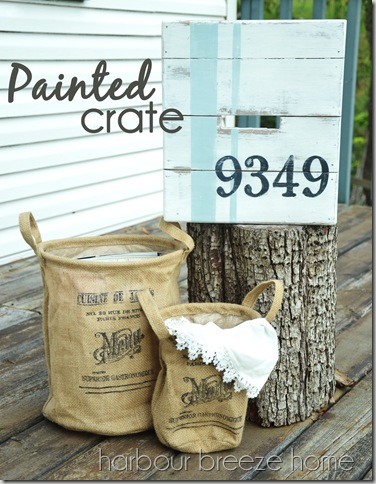
It seems to be sealed well, though, and I love that our little “step up” has a new purpose and perch.
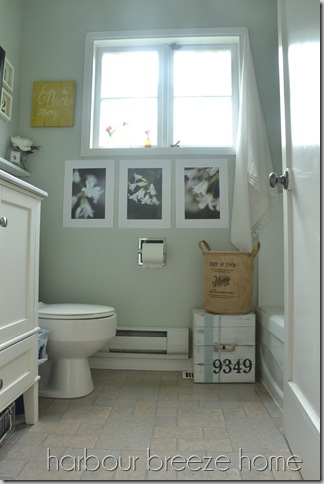
And the numbers? They represent the years our boys were born ~ 93, 94, & 99.
Linking Up: Weekend re-Treat Party, Remodelaholic