
In this article: A clear, step-by-step guide showing how to choose wall art from Minted by using Photoshop to preview prints in your room.
Are you an online shopper who worries about how new decor will actually look once it arrives? You’re not alone. Shopping for art online is exciting because of the variety, but it’s also stressful when you wonder how a print will fit your wall, match your colors, or scale to the space.
I ran into all of these questions when I set out to pick a print from Minted. The site offers hundreds of beautiful art prints—abstract works, black-and-white photographs, moody scenes, playful illustrations—and it was easy to fall in love with many pieces at once. Rather than guessing, I used Photoshop to visualize several options before buying. The process is simple and reliable, and it helped me choose a print I truly loved.
How to Choose Art from Minted Using Photoshop
Disclosure: This post was sponsored and contains affiliate information. All opinions are my own.
1. Open a photo of your room in Photoshop
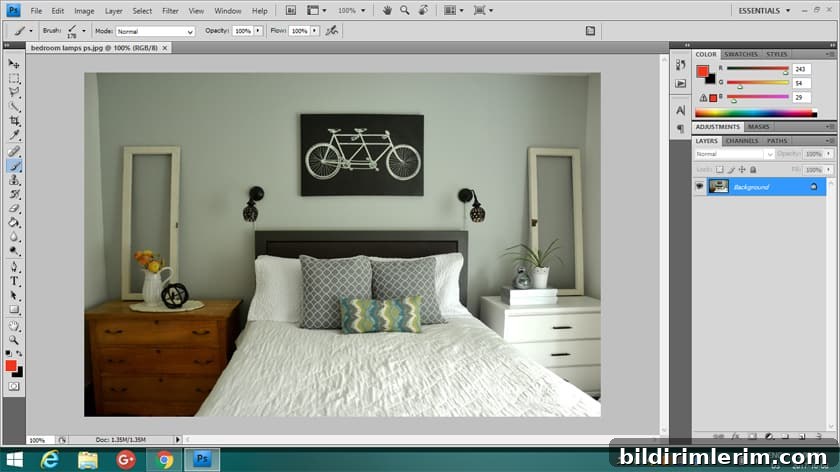
Start by photographing the wall where you want the art. Open that image in Photoshop (File → Open). A clear, well-lit photo taken straight on will give the best preview.
2. Browse art on Minted and save candidates
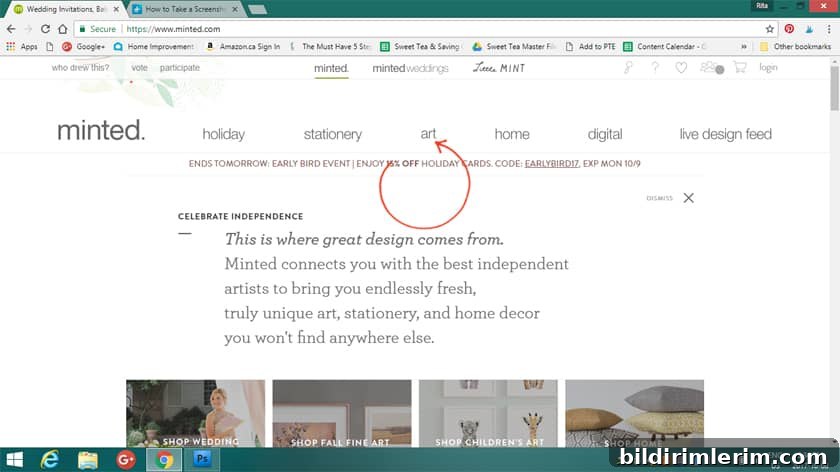
On Minted, go to the Art section and browse Fine Art or Wall Art Prints. Narrow your search with filters—style, color, subject, size—until you find pieces you like. When you find a promising print, open its product image and save the JPEG to a folder on your computer. Repeat for several favorites so you can compare them in your room photo.
3. Prepare the images in Photoshop
Back in Photoshop, open each saved art JPEG (File → Open). Float the art windows so you can drag between documents: click and drag the tab down until the image becomes its own floating window.
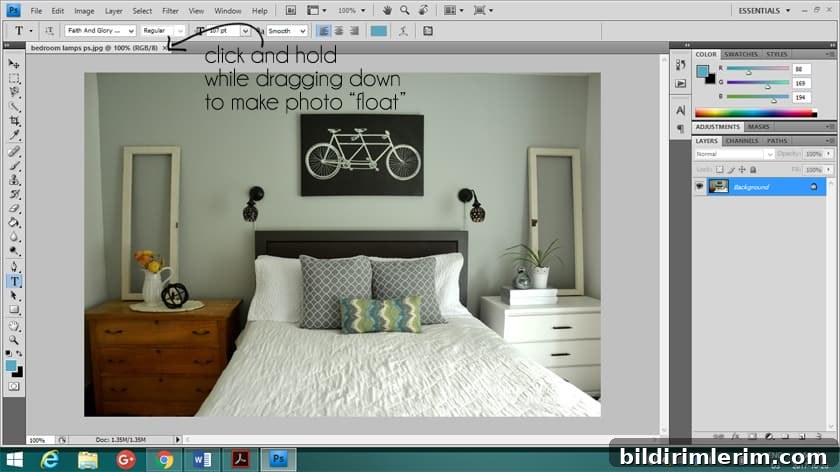
4. Select and move the art into the room photo
With the art file active, choose the Rectangular Marquee Tool (the second icon on the toolbar) and drag a selection around the entire art image. Then switch to the Move Tool and drag the selected art into the room document. The art will likely appear very large at first—that’s expected.
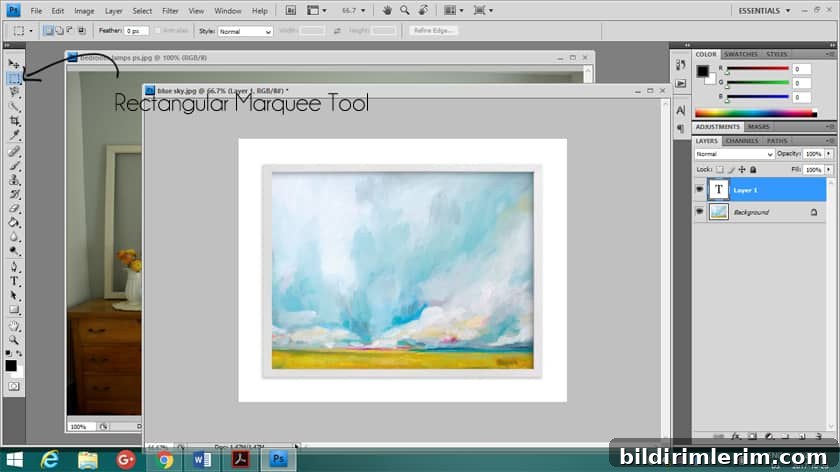
5. Resize and position the art accurately
Use Edit → Free Transform (Ctrl/Cmd+T) to scale the art. Hold Shift while dragging a corner to maintain the aspect ratio (in recent Photoshop versions, Shift may not be required; verify behavior for your version). Resize the print until it matches the intended wall area, then move it into position. Click the check mark to commit the transformation.
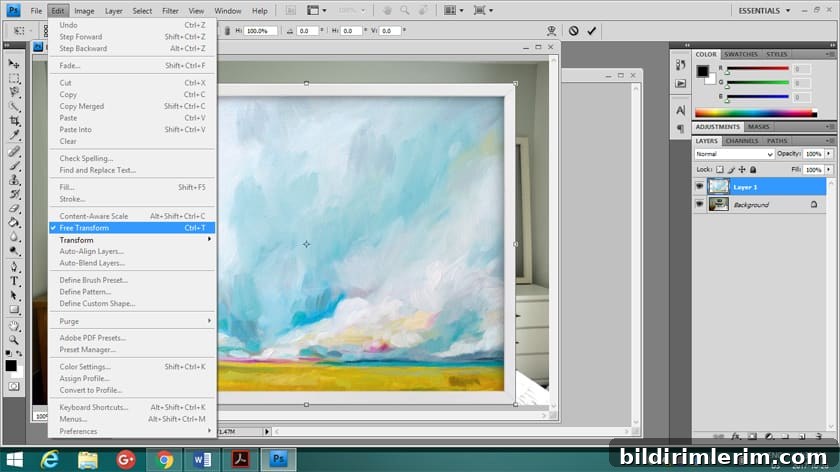
6. Repeat with other prints and compare
Try the same steps with each saved print. Previewing multiple options in the same room photo helps you compare scale, color, and mood side by side. Remember that screen colors may differ from printed colors—the preview is a guide to composition and scale, not an exact color match.
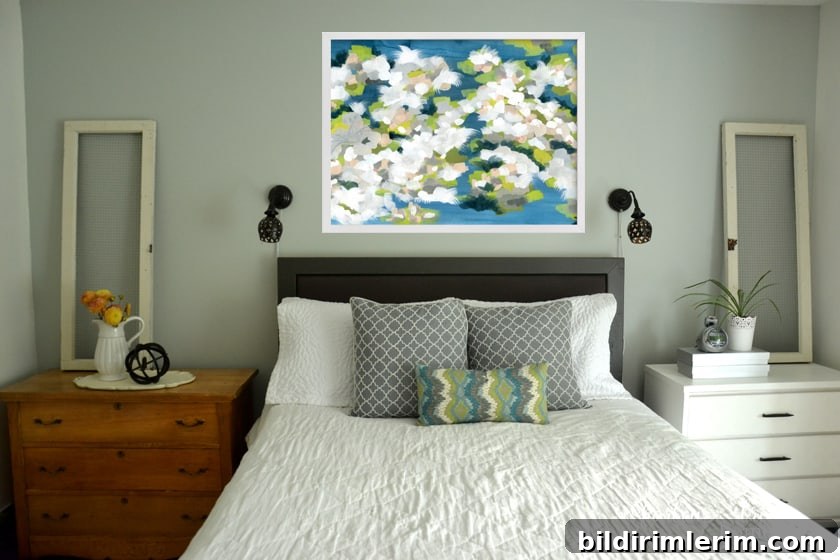
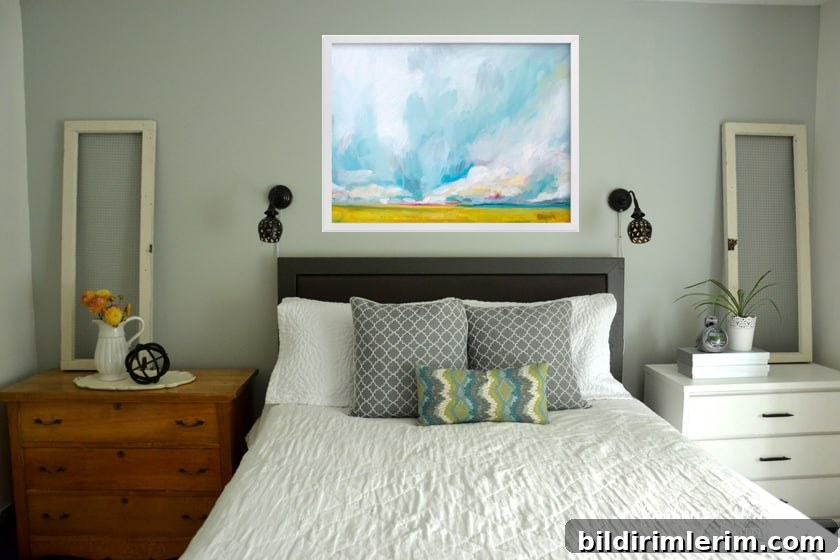
I experimented with three prints: Days of Blue, Verdant, and Savannah Lands. Below are the previews I created to see how each would read on the wall.
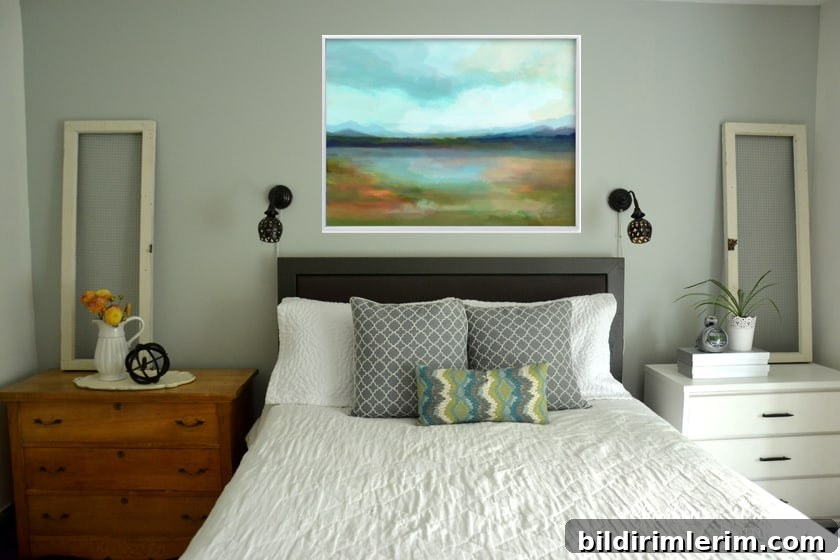
My final choice
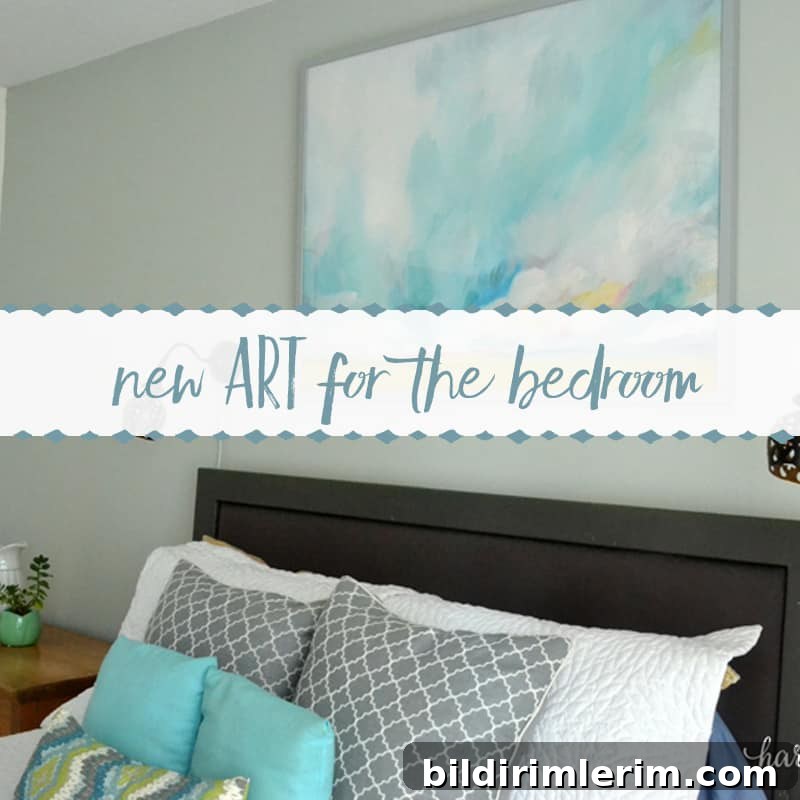
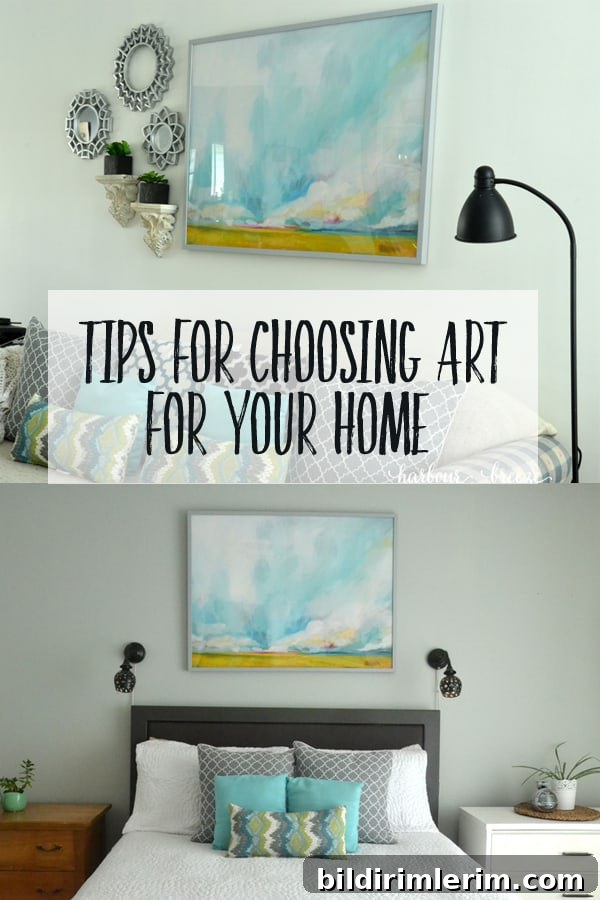
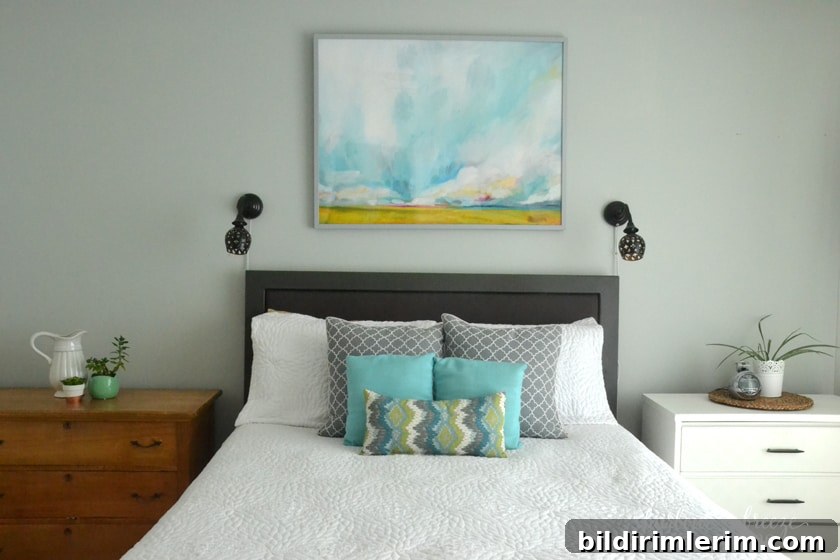
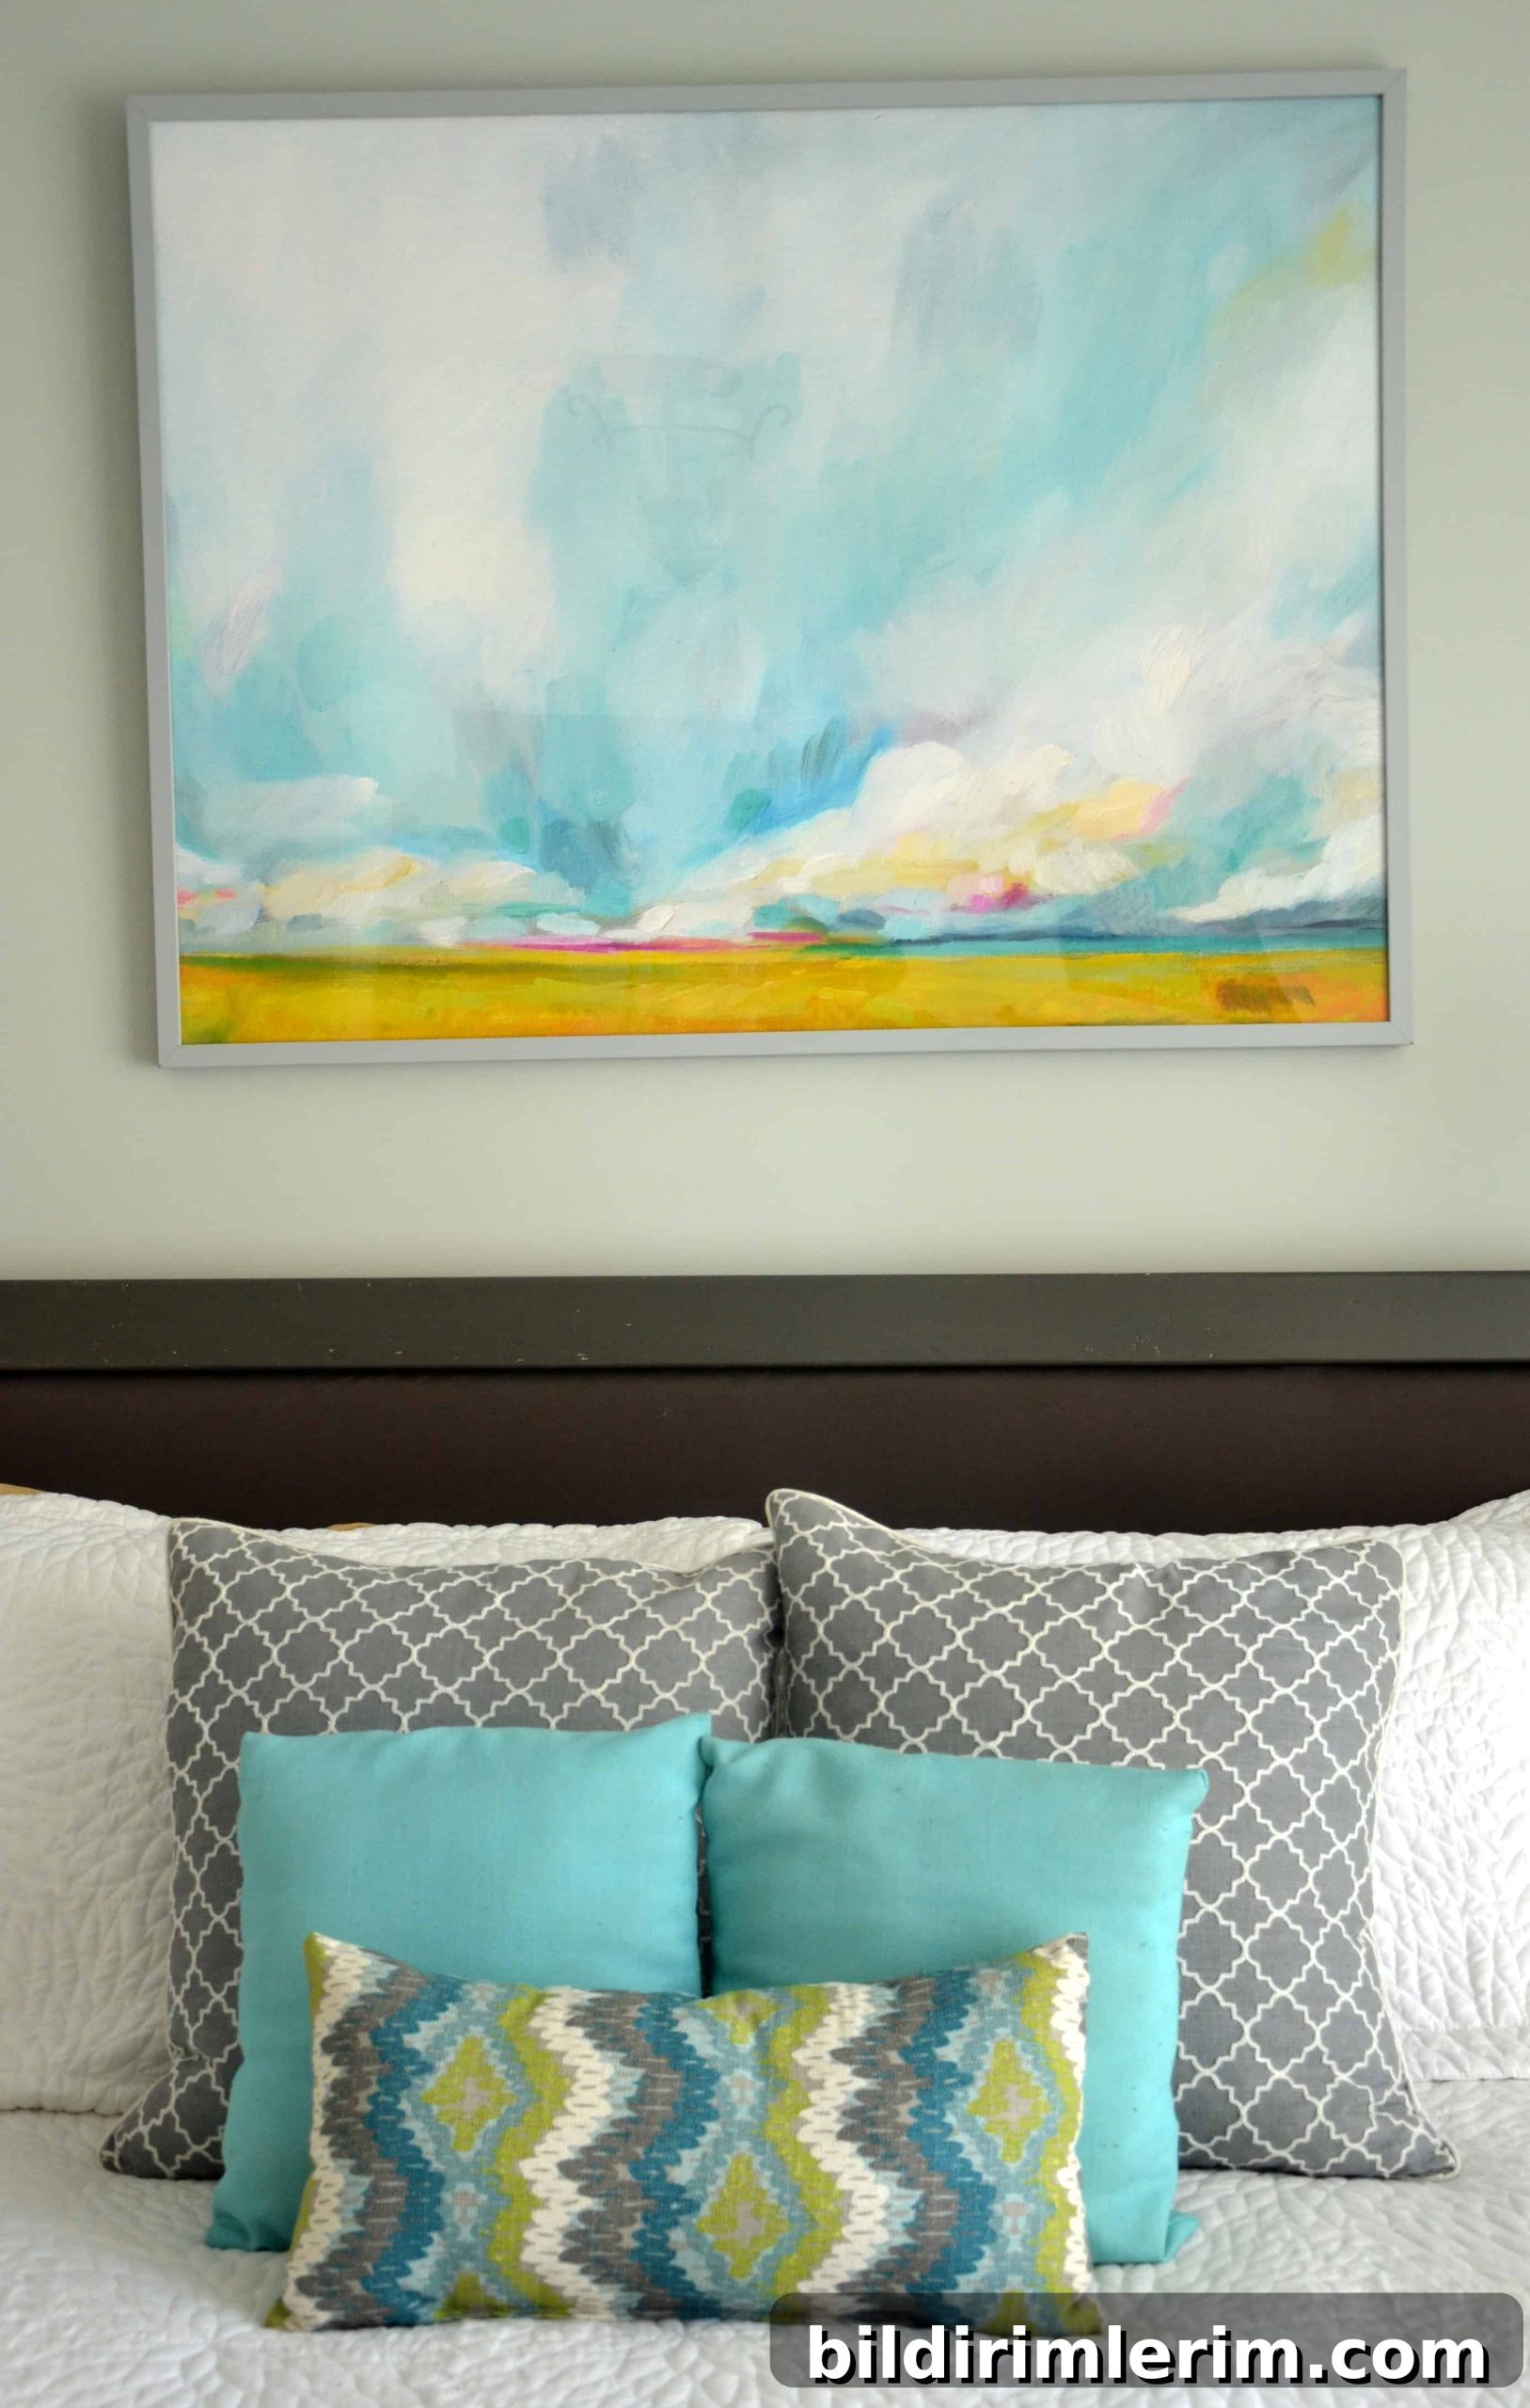
After comparing the options in Photoshop, I chose Savannah Lands. We wanted something with bright, fresh colors that would bring energy to the room, and the preview showed it worked well with our existing palette. I selected a light gray frame, but Minted offers multiple frame and mat options you can consider when ordering.
Tips and final notes
- Take a straight-on photo of the wall to avoid perspective distortion.
- Include furniture and architectural details in the photo to judge scale accurately.
- Use several previews to be sure the color and mood fit your room—move the same print around different rooms if you’re unsure.
- Remember that monitors vary; the preview gives a good sense of size and placement but not a perfect color match.
Using Photoshop to preview Minted prints made choosing art easier and more confident. If you’re shopping for wall art online, this method helps you visualize options, compare looks, and pick a print you’ll be happy with in your space.