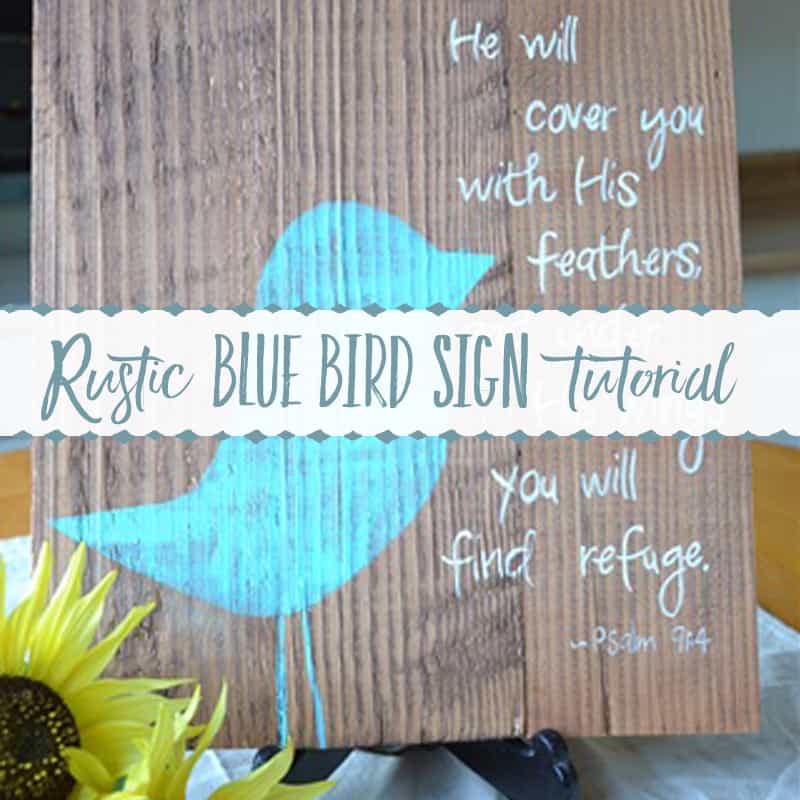
As I was working with my {rescued!} planks, I realized I wanted to make some signs that were larger than just one plank width. After experimenting around with a few different methods, we finally came up with this one…
My husband cut some of the planks to be equal lengths. I squeezed a line of wood glue onto the edge of one board and stuck another board tightly up against it, and repeated until I had as many boards glued together that I wanted. I then clamped it with a wood clamp and let it sit overnight.
Although this is sort of a lamination process, it wasn’t sturdy enough that way. {I found this out when I dropped one and it broke!}
So, I laid 2 thin wood strips across the back and marked where I wanted to nail them, and predrilled with the drill press. {It prevents the wood from splitting during the nailing process.}
After the holes were drilled, I squeezed a thin layer of carpenter’s glue on each strip,
turned it over, and then nailed carpet tacks through the holes I had pre-drilled.
You can use any type of nails that you prefer, but I love the look of the big, black nail-heads.
I attached my “Bildirimlerim Creations” tag on one of the nails (we’ll talk more about that later…).
Now that we’ve done all the prep work, let’s move on to today’s project…
I really love it when I see signs with special verses on them. I guess the “special verses” part is sort of a personal preference. By it, I mean that it has special significance to me, and usually if it moves my heart, chances are, it will move someone else’s too!
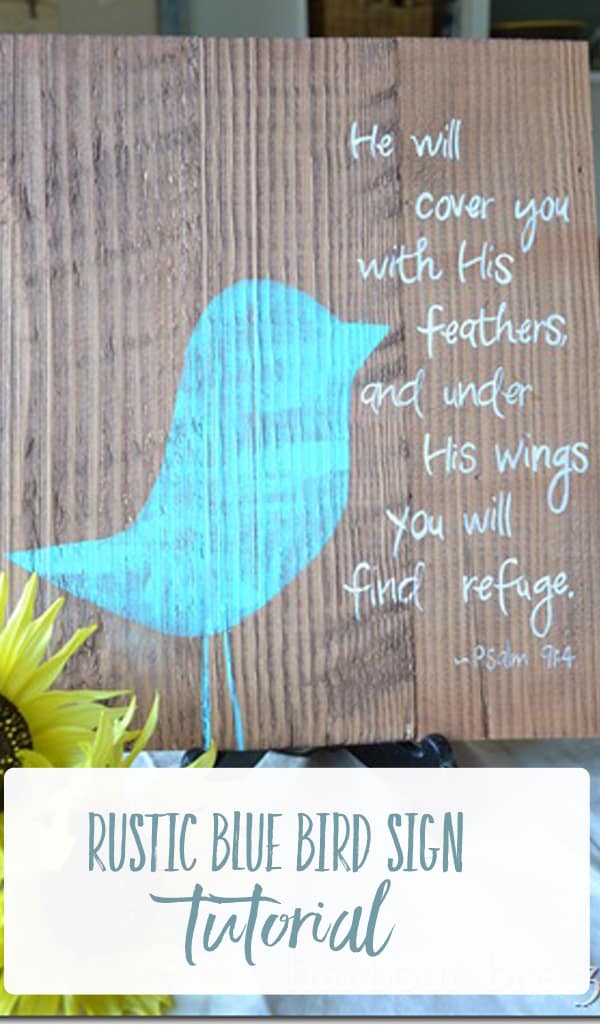
Today’s project idea was born when I saw a sign with a bird on it. I’m not much for “birds” necessarily, but when I saw it, I thought of one of my favourite verses out of the book of Psalms. (You can read why here.)
This time, I decided to go for a bit more “rustic” look and left the wood just stained.
I first traced the words out using white tracing paper. (I bought it years ago, but I’m sure it can be found in an art supply store.)
I cut out a bird shape and put masking tape around where the edges would be.
With a pen, I traced around the bird.
Using an xacto knife, I cut along the line and peeled out the inside.
Using a turquoise color, I filled in the shape in a “dry-brush” method so that a bit of the wood grain would show through.
Peeling off the tape is so fun… (It works best to take the tape off while the paint is still wet.)
I painted the words on using Light Buttermilk paint. The font was “Pea Bea”.
Tomorrow I’ll show you the “sister” painting to this one…
**Update: If you are interested in purchasing this sign,you can so so at my {new!} Etsy shop here: www.etsy.com/shop/Bildirimlerim
Linking to: Thrifty Decorating