
One choice in this dining room makeover sparked a lot of discussion in our house—and I can already hear the strong opinions out there about it. Before anyone gets out their pitchforks, I understand why many homeowners prefer to preserve original wood trim.
What I love most about this room is its history. The dark wood trim dates back to 1927 and gives the space character. For a long time my husband didn’t want to change it, and I spent hours researching design ideas that worked with dark wood trim. Ultimately, nothing felt quite right. The trim felt like an otherwise lovely outfit with an awkward, out-of-place belt.
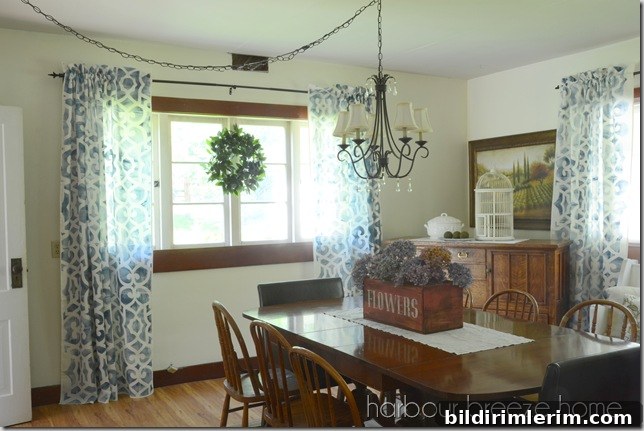
Another key reason we painted the trim came early after we moved in. During a house tour with a friend, we stood in the dining room talking about the original woodwork. She looked me right in the eye and said, “It looks terrible.” We both laughed, because she was right. The finish wasn’t aged gracefully—it was cracked, chipped, stained, and very dirty. Restoring that stained finish would have required extensive stripping, sanding, and refinishing. I don’t enjoy refinishing; it’s a lot of work and mess. That pushed us toward the other option: paint it and get a clean, refreshed look.
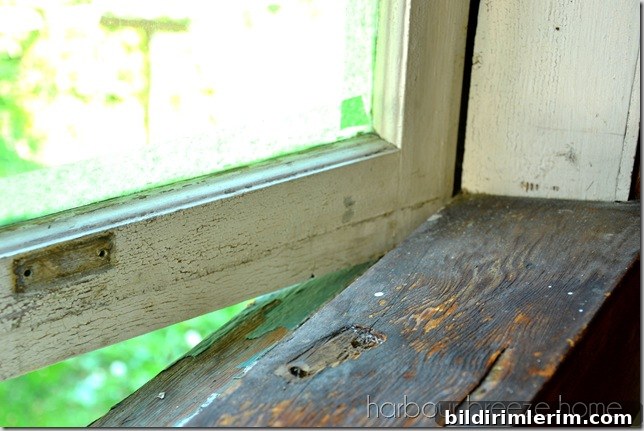
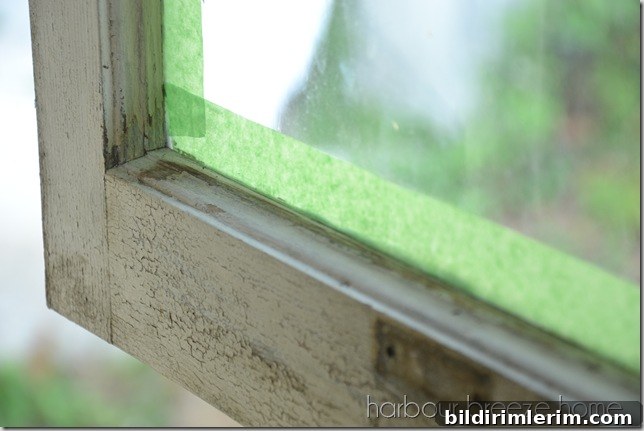
We ultimately chose to paint the trim white to brighten the dining room and preserve the architectural lines without the visual weight of the dark stain. The process was straightforward but requires the right preparations. First, tape off the glass panes carefully and remove any hardware you can access—do the latches and handles separately so you can open and paint the doors or windows properly. I removed the hardware from the pieces that opened and painted them while they were open; the weather cooperated so I could let everything dry in fresh air.
Priming is the critical step. We used a Kilz oil-based primer on the panes and the dark outer trim before applying any topcoat. This is very important: oil-based primers create a reliable barrier that prevents the dark wood stain from bleeding through water-based (latex) paint. If you skip the oil-based primer and use a water-based primer instead, you risk color bleed-through no matter how many topcoats you apply. That’s a lesson I learned the hard way years ago.
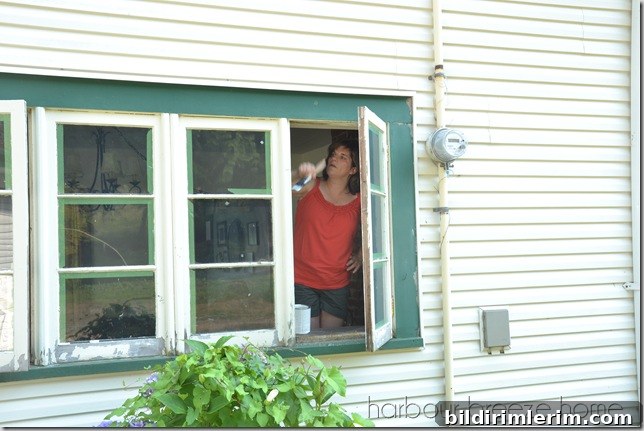
After priming the inner panes, we primed the dark outer trim thoroughly. Once the oil primer had cured, we applied a couple of coats of high-quality latex paint in a soft white to open the room and make the architectural details pop. The result is fresher, lighter, and still respectful of the home’s vintage character—just in a cleaner, updated way.
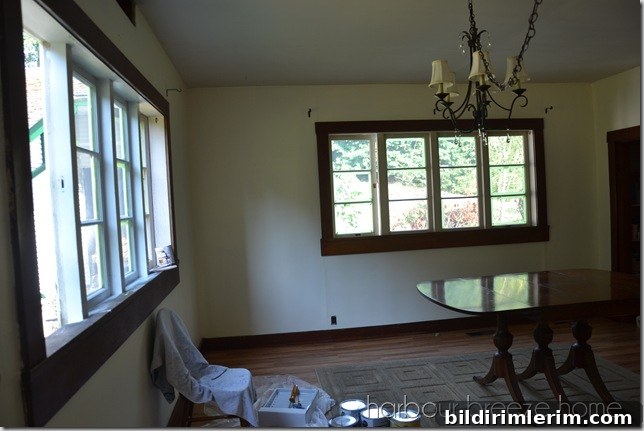
Before priming.
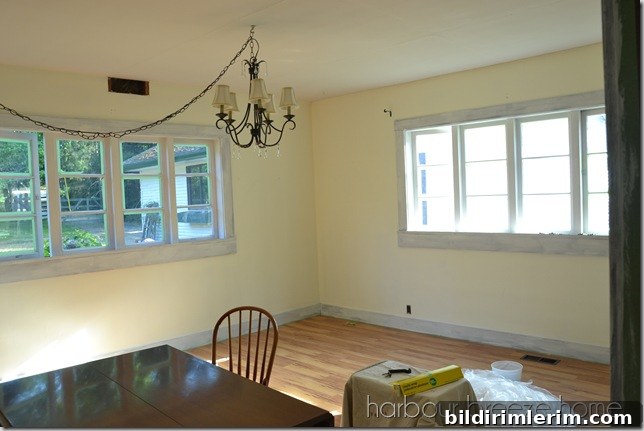
After priming.
A couple of practical tips if you tackle a similar trim-painting project:
- Use an oil-based primer for stained or dark wood trim to block tannin bleed-through before applying latex topcoats.
- Mask glass and adjacent surfaces carefully to avoid cleanup headaches.
- Remove or tape over hardware and work on movable pieces separately when possible so paint edges stay clean.
- For oil-based products, consider inexpensive disposable brushes. They save time and odor-related hassle compared with cleaning high-end brushes with solvent.
In the end, painting the original 1927 trim felt like the right choice for this dining room. It preserved the room’s period details while giving the space a clean, updated backdrop for furniture, artwork, and lighting. If you’re weighing preserving versus painting historical trim, consider both the condition of the finish and the amount of labor you’re willing to invest—sometimes a painted solution honors the history while making your home feel renewed.