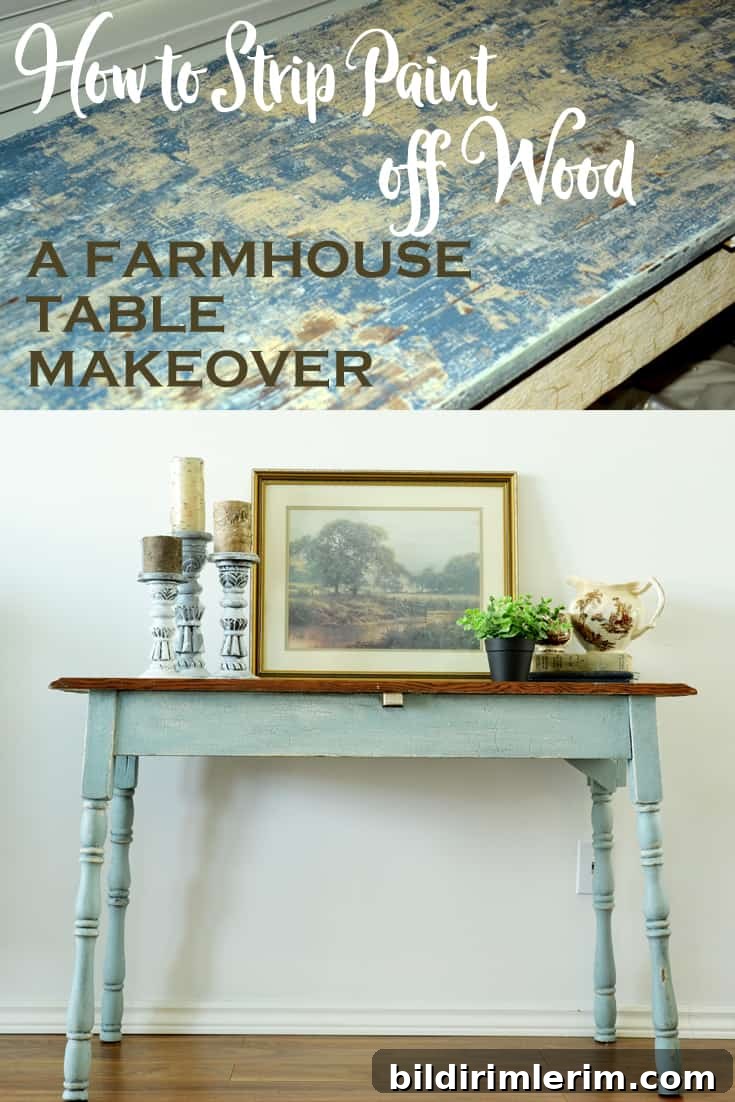
I love furniture that carries a history. This small farmhouse table is a perfect example.
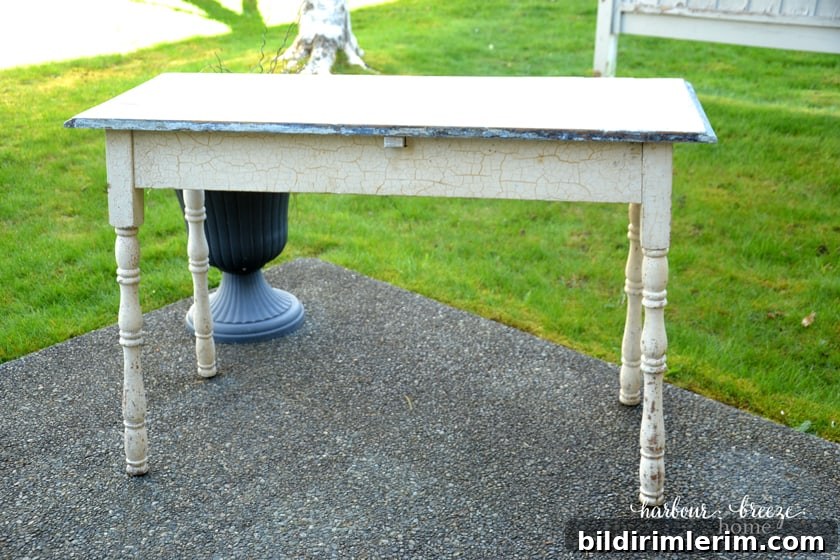
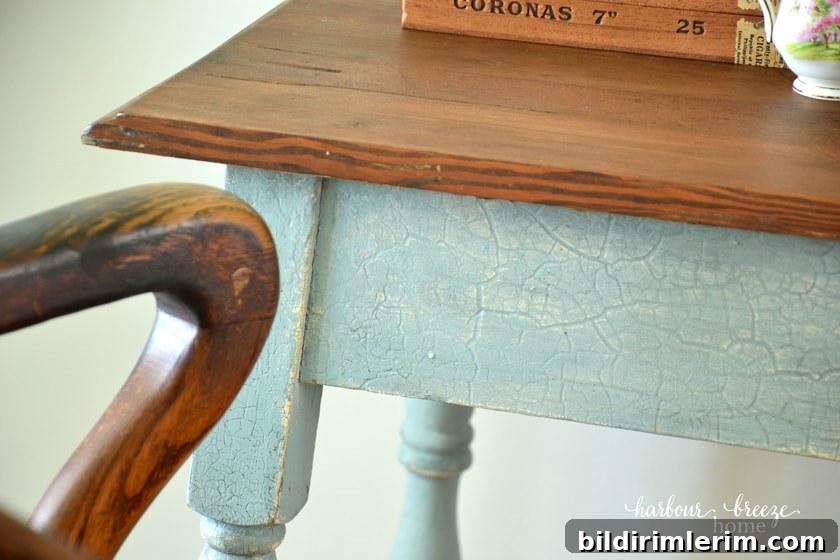
I found it abandoned on a deck; the owners told me I could have it. It felt like fate. The table once belonged to someone’s grandmother, and its worn crackle finish, evidence of long-gone drop leaves, and delicate legs made it irresistible.
Over the years this little table has solved many space problems in our homes: it’s served as an entryway table, a telephone desk, and even hosted a custom tablecloth. Most recently it sat beneath the living room windows where I use it daily as my workspace for this blog.
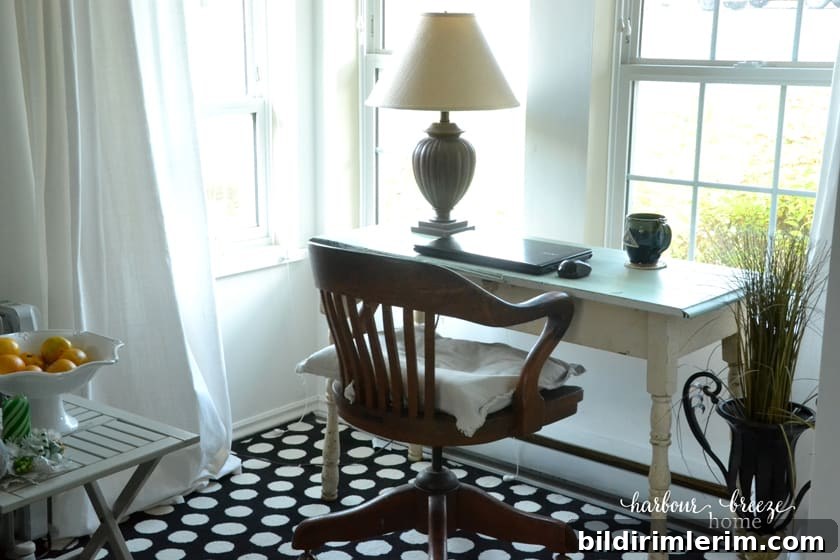
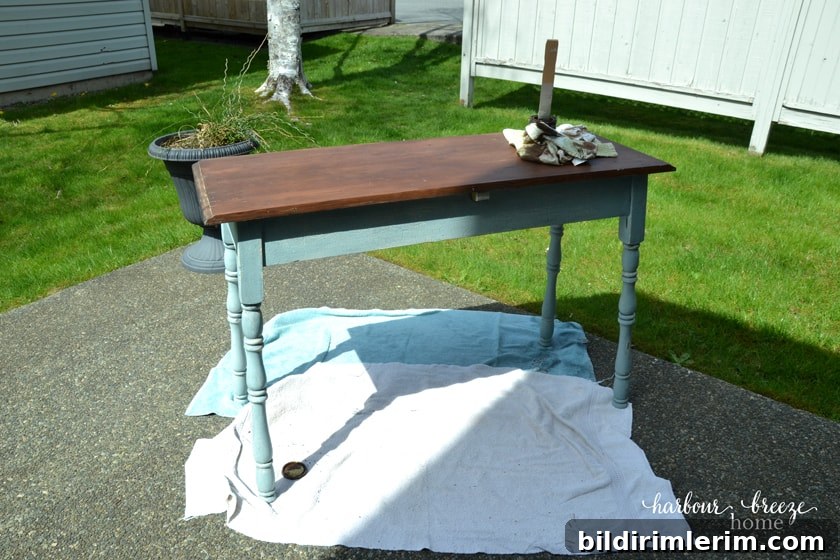
After years of use it was time for a makeover. The transformation included two distinct processes: the tabletop needed stripping, staining, and sealing, while the apron and legs required painting, distressing, glazing, and waxing. In this article I’ll focus on the tabletop: how to strip paint from wood, sand, stain, and seal it to bring out its natural beauty.
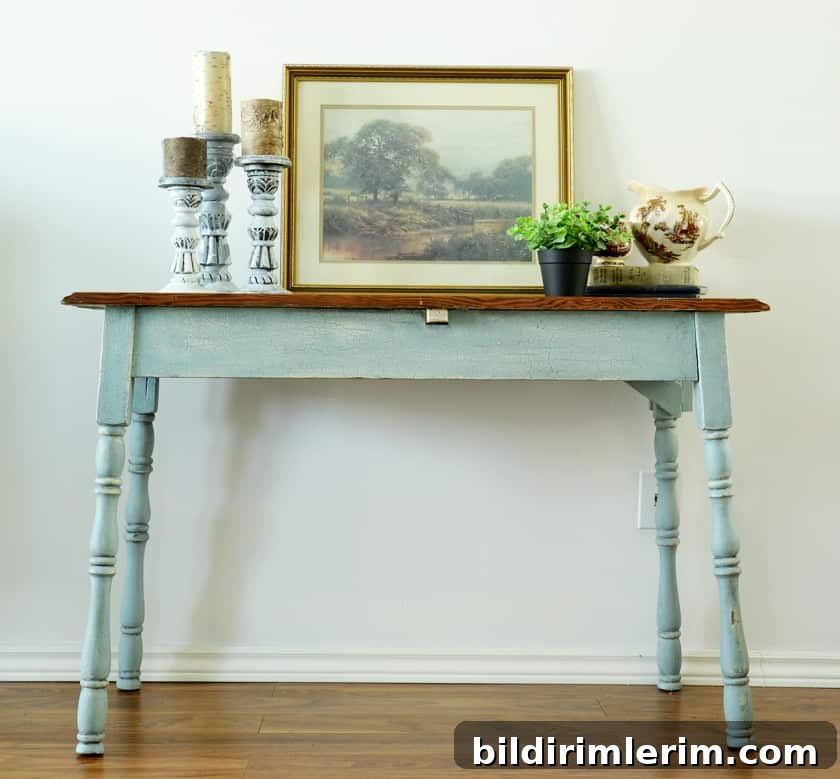
How to Strip Paint off a Wood Tabletop
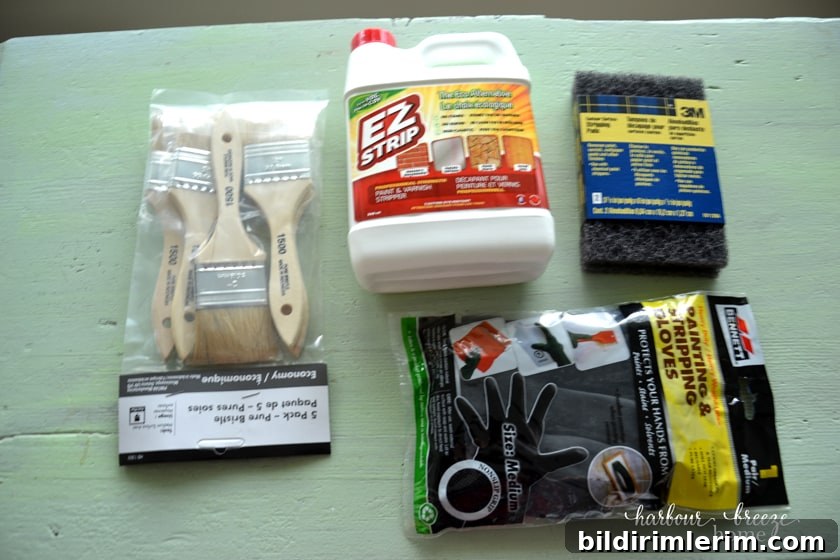
Supplies needed for stripping wood
- Rubber gloves
- Paint stripper (I used an eco-friendly, water-cleanup formula)
- Cheap chip brush (disposable)
- Metal scrubbing pads
- Paint scraper tool
- Drop cloths
- Clean rags
- Old container to collect paint scrapings
Step-by-step: How to strip paint from wood with a chemical stripper
- Prepare and apply the stripper. Wear rubber gloves and work in a well-ventilated area—ideally outside or in a garage with doors open. Apply a thick, even coat of stripper with a disposable brush, following the product instructions.
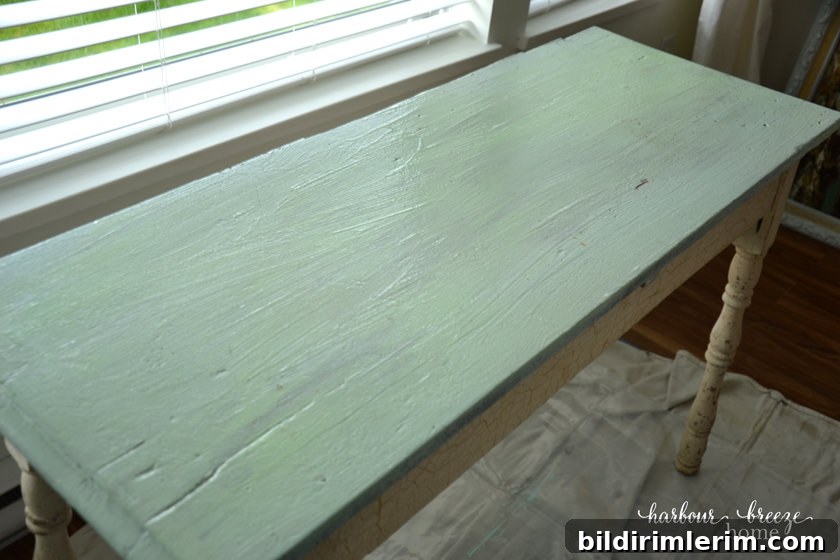
I chose a water-cleanup stripper marketed as safer and low-odor, which allowed me to work near open doors instead of fully outdoors. Some strippers bubble or lift the finish dramatically; this one didn’t show obvious bubbling, so I left it on for about an hour before scraping.
- Scrape with the grain. Use a paint scraper and work with the wood grain to lift softened paint. Collect scrapings in your container and dispose of them according to local guidelines.
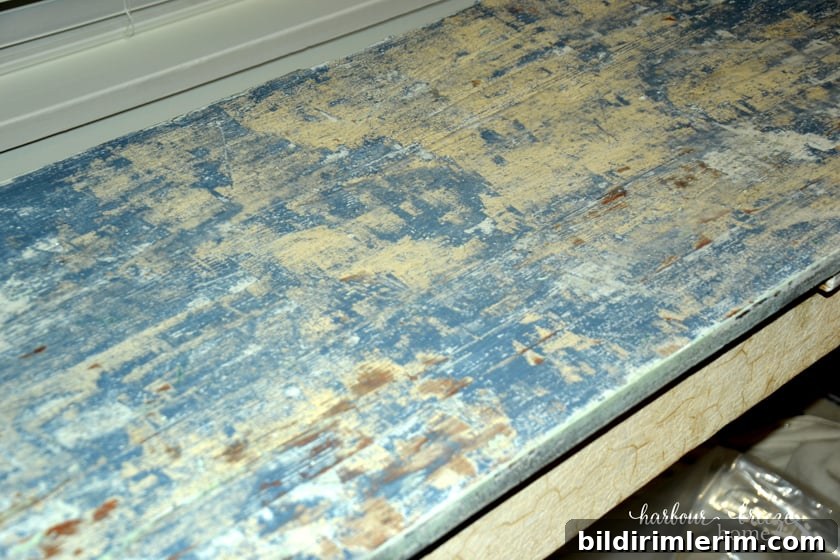
After the first pass a lot of paint came away; underlayers and the original lead-based paint began to show. I used a specific angle with the scraper that worked best for me and relied on some elbow grease to remove stubborn areas.
- Repeat as needed. Apply stripper and scrape again until you’ve removed as much paint as possible. Older pieces often have multiple layers and may require two or three cycles.
- Clean the surface. Wipe the tabletop with a damp rag if the stripper is water-cleanup; if it’s solvent-based, follow the manufacturer’s recommendation (often mineral spirits). Dry it thoroughly with clean rags.
Sanding to finish paint removal
Once most of the paint is gone and the surface is dry, sand the tabletop to remove remaining traces and to smooth the wood. We took the table outside and used a random orbital sander starting with 220-grit paper, sanding the top and edges until the wood felt even.
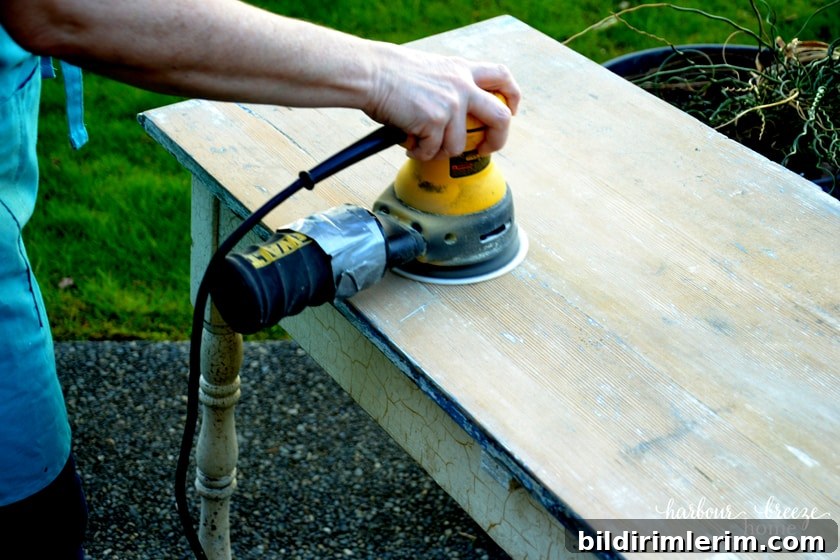
Because of the table’s age and character, some tiny paint flecks and dings remained. I embraced those imperfections—preserving the piece’s history rather than forcing it to look new.
Choosing and applying stain
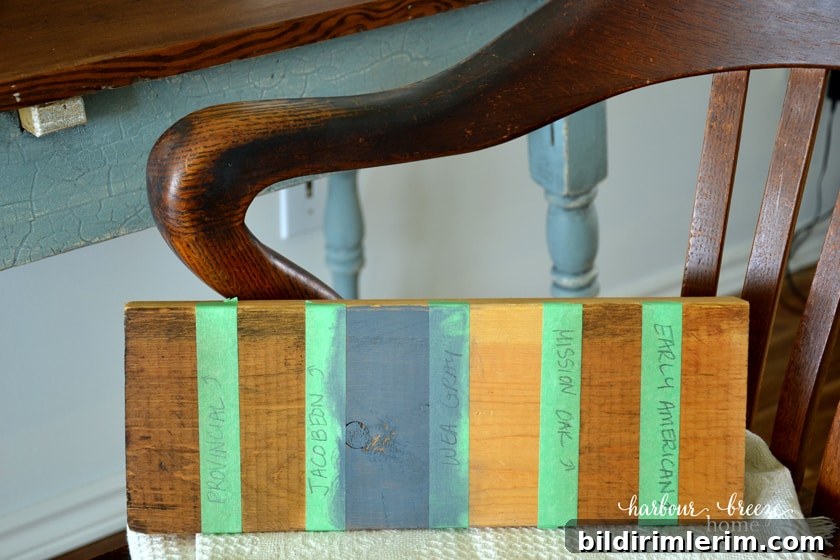
With the surface prepped, choose a stain color that complements the room and existing furnishings. I tested several stains on a scrap piece of the same wood (fir) to see how each tone read on the grain. To match an antique office chair, I selected Mission Oak.
Apply stain
Work on a clean, dry surface. Brush the stain on evenly, then immediately wipe it off with a lint-free rag, rubbing along the grain to reveal the wood texture. If you prefer a darker tone, allow the stain to penetrate longer before wiping.
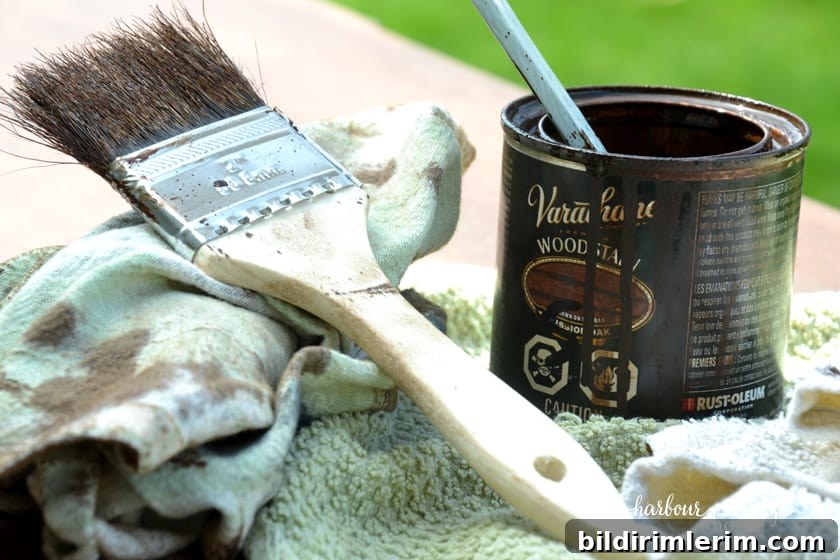
I worked quickly to avoid over-darkening and to preserve the grain. The result brought out warm tones that now harmonize with the room’s vintage chair and decor.
Sealing the tabletop
After staining, protect the surface with a clear topcoat. I chose a matte finish to keep a natural, low-sheen appearance. Matte, satin, semi-gloss, and gloss are all options depending on how shiny you want the finish.
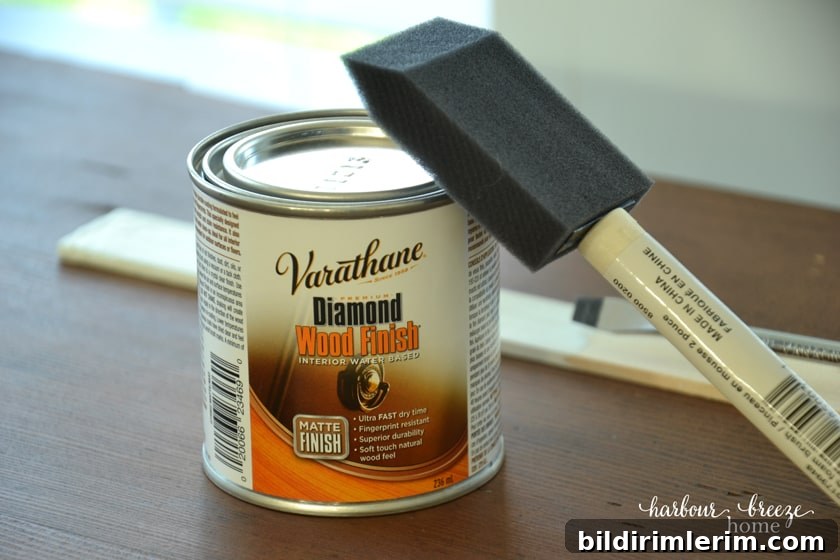
Stir the finish gently to avoid bubbles and apply with a sponge brush. For heavy-use pieces, multiple coats add durability; for my desk, one well-applied coat was sufficient and looks great.
I’ll share the detailed process for painting, distressing, and waxing the apron and legs in a follow-up post, where I preserve the table’s crackle finish while refreshing its color.
More painting and refinishing projects
- Painted electric fireplace project
- Refinished ceramic lamp makeover
- Quick dresser painting tricks
- How to paint metal doors with plastic trim
- Steps to paint a room