Striped and Layered Photo Frame — Simple DIY Wall Art
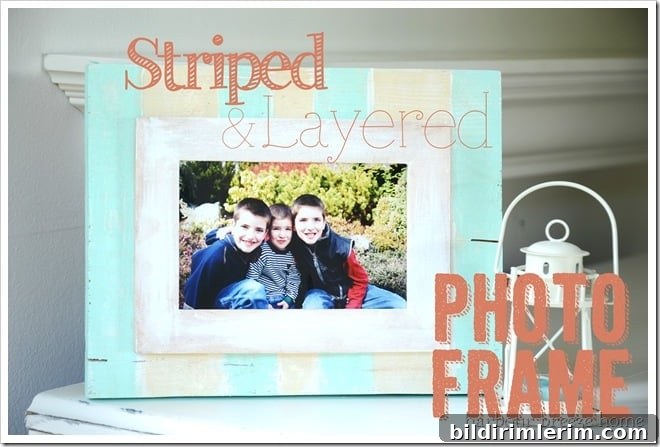
This week my projects keep revolving around wall art, and today I’m sharing a simple, stylish striped and layered photo frame you can make quickly. This frame uses layered matting and textures to give a professional, finished look while remaining easy to update when you want to change the photo.
This project is ideal if you like frames with multiple layers of matting and texture but want an easy way to secure the top layer while keeping the picture accessible. I explored several options before settling on a simple hanging solution that lets the framed photo be changed quickly without disassembling the entire piece.
Materials and tools:
- Wood backing panel (cut to your desired size)
- Basic wooden frame (I used a simple, inexpensive Ikea frame)
- Painter’s tape for clean striped lines
- Paint and stain for finishing (acrylic paint for color, wood stain for contrast)
- Small finishing nail or picture-hanging nail
- Hammer and level
- Rag for wiping stain
Step-by-step overview:
1. Prepare and paint the wood backing. I used the painting method described in my other posts to achieve a distressed, layered look. For this piece I added crisp stripes across the top layer—painter’s tape made it easy to get even, clean lines.
2. Paint and finish the frame. The basic wooden frame received a quick coat of white paint followed by a “wipe on, wipe off” application of stain to add depth and a lightly aged appearance. This keeps the frame simple and lets the striped backing be the focal point.
3. Mark the center point. Once all painted surfaces are dry, measure and mark where the photo will sit so the composition is centered on the wood backing.
4. Add a tiny nail to act as the hanging anchor. I drove a small finishing nail into the wood at the marked spot. The nail catches the hanger on the back of the picture frame and secures the top layer in place while still allowing easy removal when you want to swap photos.
5. Hang and adjust. Hang the frame on the small nail and make sure it sits level. Because the nail only secures the frame at a single point, the front mat and frame layer sit snugly against the decorated backing, creating the layered look without permanent attachment.
This approach keeps the frame easy to update and keeps the backing as a design element rather than a hidden support. It’s a quick, inexpensive way to add custom wall art to a gallery wall or to create a focal point above a console or shelf.
Tips and variations:
- Use different colors, widths, or orientations of stripes to match your decor—vertical, horizontal, or diagonal stripes all work well.
- Try additional texture on the backing—stencils, light distressing, or layered paints create more visual interest.
- For larger or heavier frames, use two small nails or a single sturdier picture hook to ensure the frame stays securely in place.
- If you prefer not to use a visible nail, consider a picture wire and a recessed hook on the back of the backing board to keep the front clean and uninterrupted.
- Seal painted surfaces with a clear, non-yellowing topcoat if the piece will be handled frequently or placed in direct sunlight.
Final thoughts: This striped and layered frame is another quick, enjoyable DIY that gives professional-looking results without complex construction. It’s easy to personalize by changing paint colors, patterns, or frames, and the hanging technique makes swapping artwork or photos effortless.
If you missed my other projects, here are the related posts mentioned in the original series:
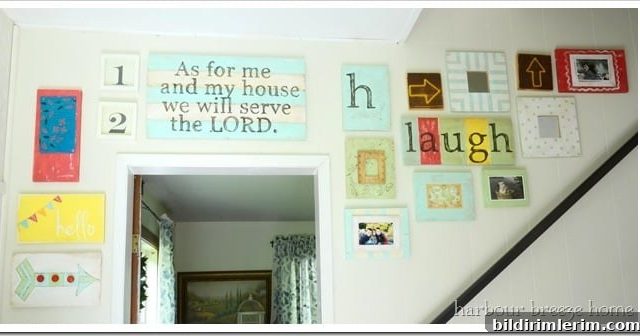
The Gallery Wall Reveal
The Light Reflector Arrow Sign (and the basic painting method used on these pieces)
The Beach Cottage {Faux} Picture Frame
Linking to: live laugh rowe, Shabby Creek Cottage, Crafty Scrappy Happy, My Repurposed Life, Funky Junk, DIY Showoff