We’ve been tackling our garage project one phase at a time, and I’m thrilled to share the latest upgrade to our workspace.
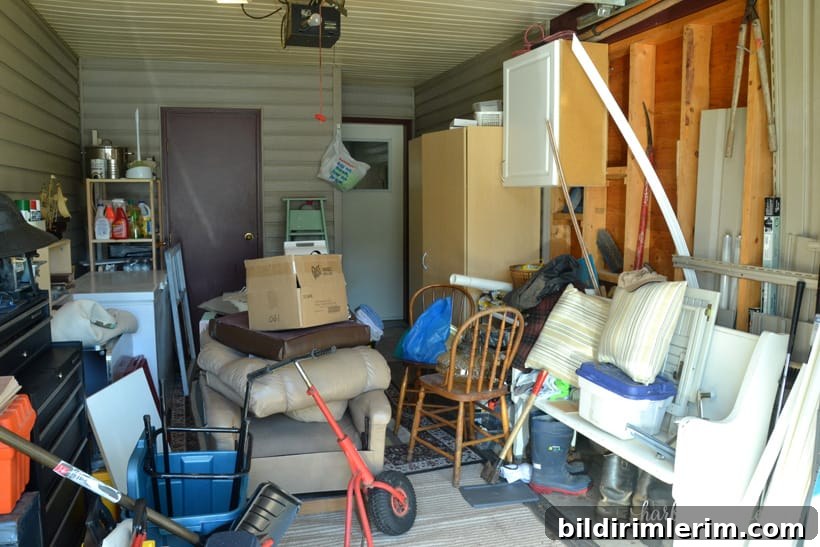
To bring you up to speed, this space began in a pretty cluttered state:
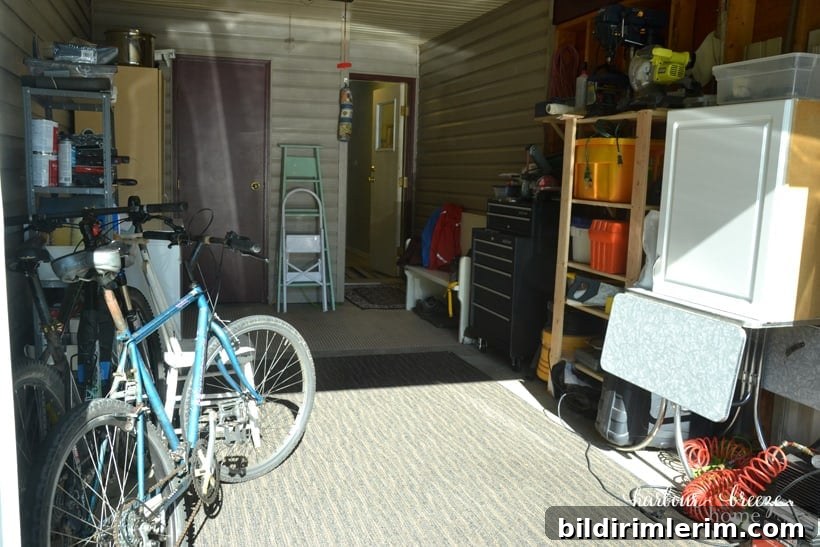
After a thorough purge and some organizing efforts, we made real progress toward a neater, more functional area:
That first round of organizing set a foundation. I even wrote a guest post describing how I organized seasonal décor in a cupboard, which helped solidify the approach we used here.
Downsizing forces you to clarify priorities—what to keep, what to let go of, and how to allocate limited space. For us, tools and a reliable workbench became an obvious priority.
While I was away on a summer holiday, my husband took charge of improving this corner. When I returned, I walked in and saw a transformed workspace:
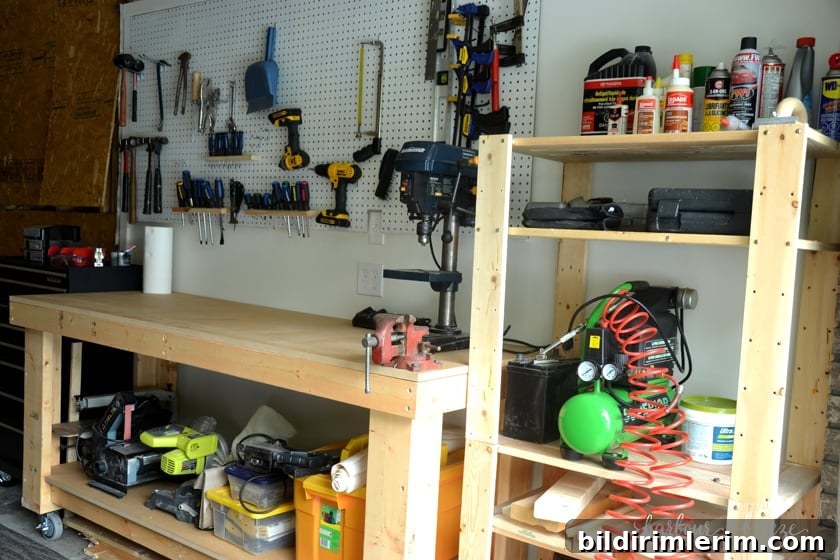
The change was such a joyful surprise—this new workshop setup makes the whole garage feel more useful and welcoming.
Steps to creating this organized garage workshop
Crafted a Plan

Before a single board was cut, we mapped out the layout. That included measuring large tools to ensure they would fit where we planned to store them and determining how much open floor space we needed to keep the garage functional for other uses. Taking the time to measure and visualize options prevented wasted effort and helped us maximize storage within the limits of a small garage.
Hired an Electrician
With the wall open, we had an electrician install a counter-height outlet and an overhead work light. It was an added cost, but these upgrades are essential for a practical workshop. Proper lighting and accessible power make projects safer and more efficient, so this investment has already paid off in convenience.
Insulated, Drywalled, and Painted the Wall
Last winter the garage was uncomfortably cold, so we addressed insulation as we worked section by section. After insulating, we drywalled the area and painted it a bright neutral (Simply White), which reflects light and makes the workspace feel larger and cleaner. Tackling insulation and finishes as part of the build keeps the workspace comfortable and usable year-round.
Built a Workbench
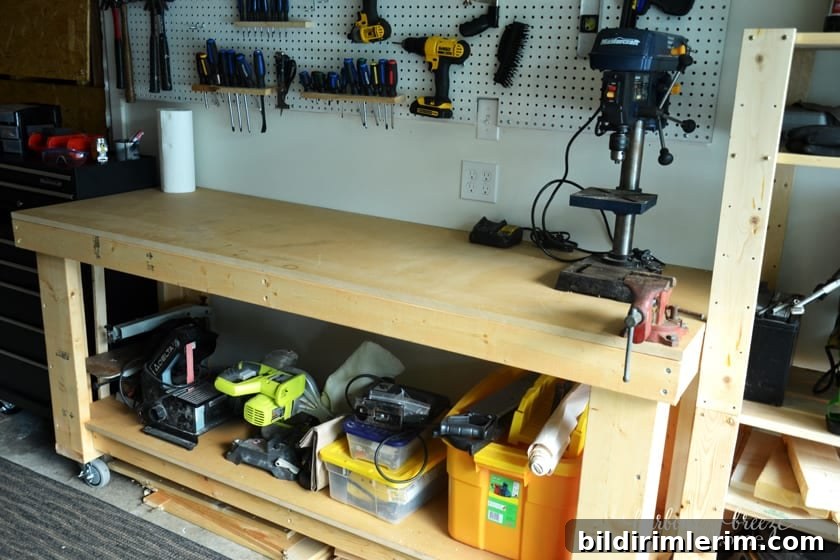
My husband researched workbench plans and adapted a design to suit our needs and available space. He adjusted dimensions so the bench fits the garage footprint while still offering a solid, functional surface for projects. A sturdy DIY workbench provides a central work area and lower shelf storage for larger items.
Hung Pegboard for Tool Storage
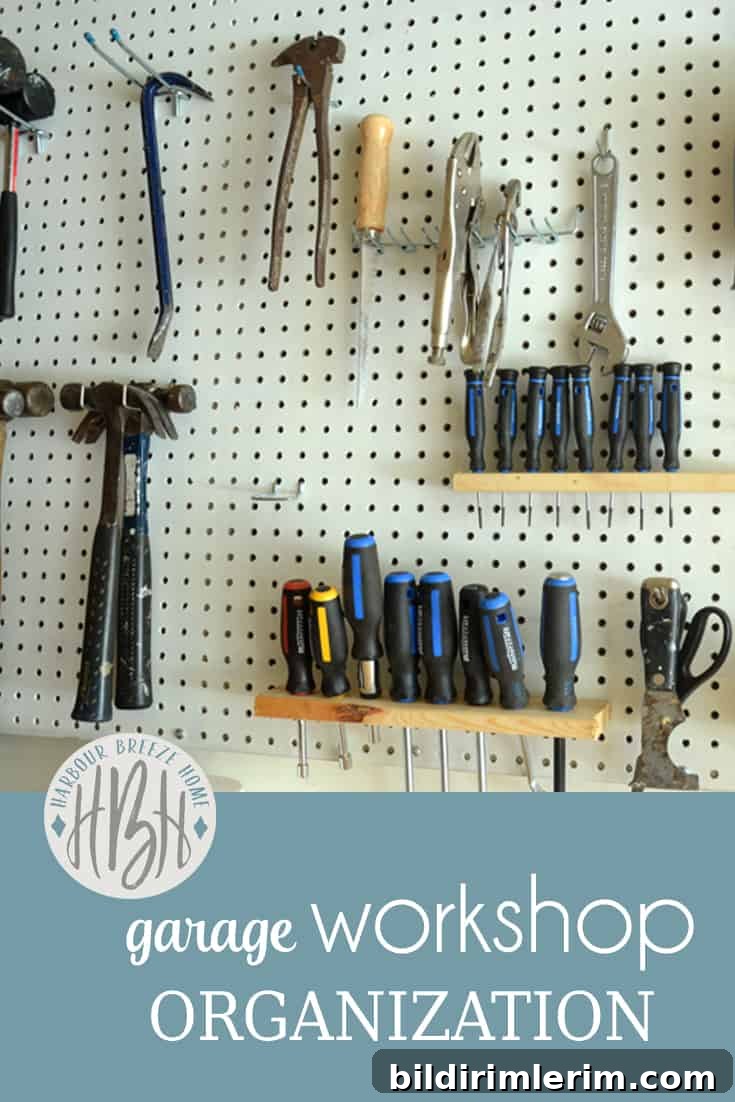
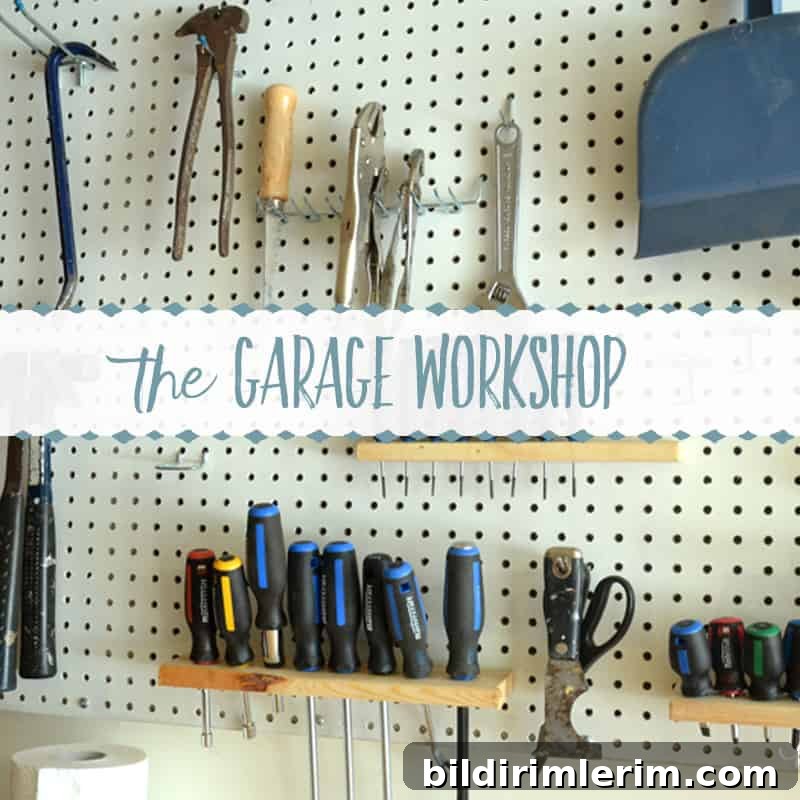
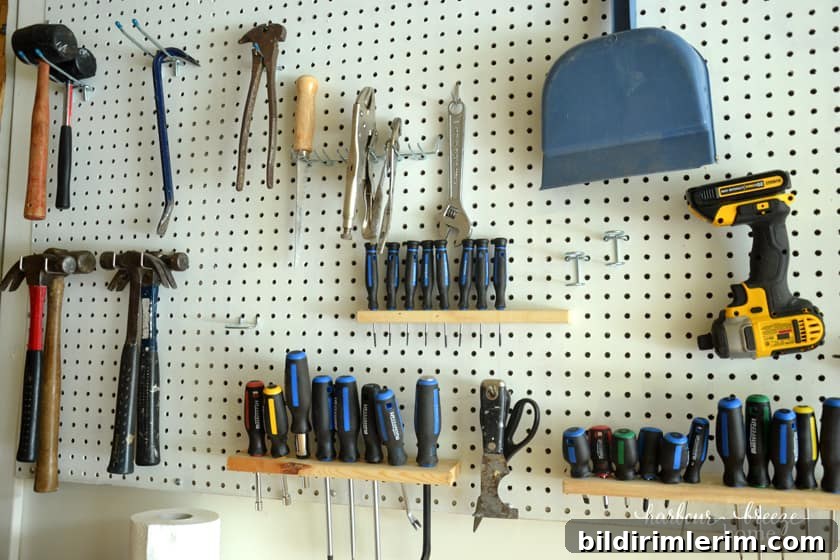
When square footage is limited, use vertical space. We installed pegboard above the workbench so commonly used tools are visible, organized, and easy to return to their place. Pegboard increases efficiency and keeps the work surface clear—simple hooks and holders make it flexible for changing needs.
Stored Large Tools and Supplies
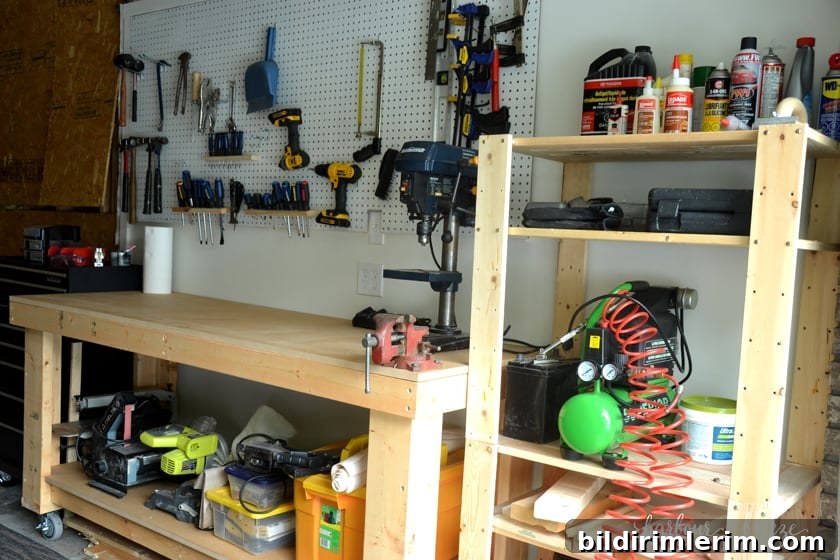
Many of our larger tools live on the lower shelf of the workbench, while the rest are placed on a nearby shelving unit along with extra cans and bottles of supplies. Grouping similar items together and keeping heavy items low makes the area safer and helps with inventory—so we know what we have and what needs replacing.
We’re already using the new workshop for projects and have more ideas lined up. Small, deliberate upgrades—planning, proper power and lighting, insulation, a robust workbench, and smart vertical storage—can turn a cramped garage into a practical organized garage workshop.
Work continues in other areas of the garage, but little by little this space is becoming a comfortable, efficient place to create and fix things at home.