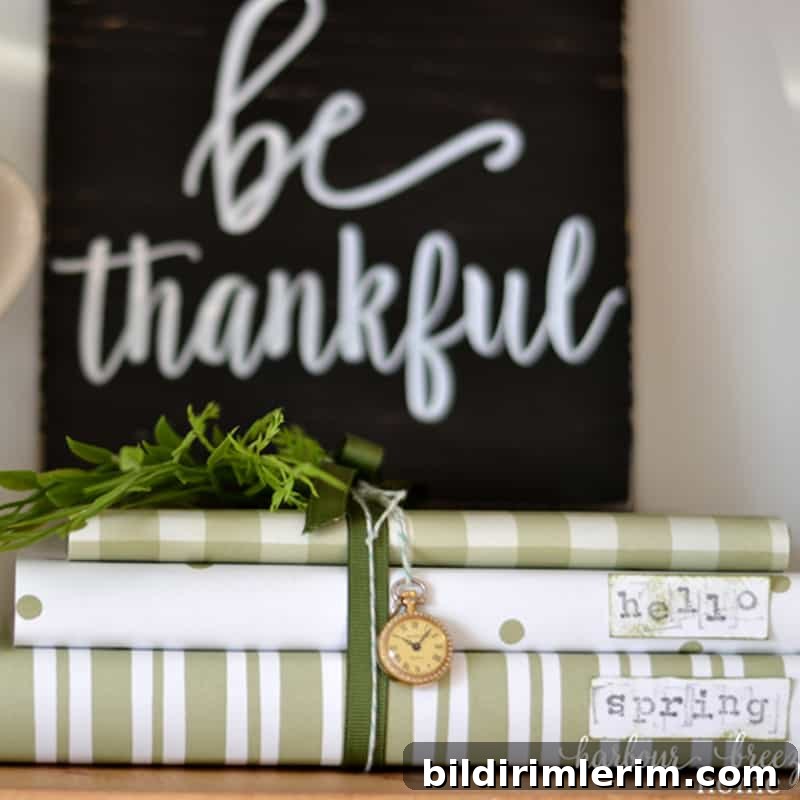
Wondering what to do with all those scrapbooking supplies you collected years ago? Try this simple spring décor DIY: paper covered books. This quick project takes under 10 minutes and is an easy way to refresh shelves, tabletops, or a mantel with minimal effort. Below you’ll find a straightforward method for how to cover books with paper and ideas for personalizing them.
When I recently organized my Craft Room & Office, I rediscovered a stash of scrapbook papers and inks I had kept for years. After downsizing our home, I adopted a strict “use it or lose it” mindset. Rather than part with these pretty supplies, I looked for fresh ways to use them. The result was this fast and attractive project that’s perfect for spring styling.
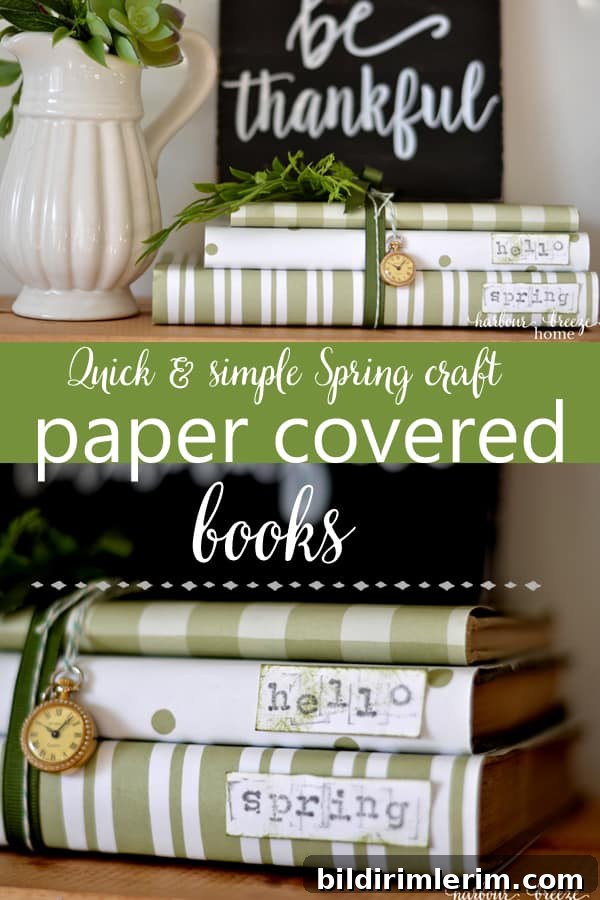
Paper Covered Books — A Simple Spring Decor DIY
Supplies for paper covered books
- Paper – lightweight scrapbook paper, wrapping paper, or brown craft paper all work well.
- Books – any hardback or paperback books you want to refresh.
- Optional: rubber stamps and ink pads for spines, adhesive or double-sided tape, ribbon, and small embellishments.
The papers I used were leftover lightweight scrapbooking sheets from past projects. If you don’t already have a supply, similar patterned or solid papers are widely available at craft stores and even discount stores. Choose papers that coordinate with your spring color palette or the room where you’ll display the books.
How to cover books with paper — simple step-by-step
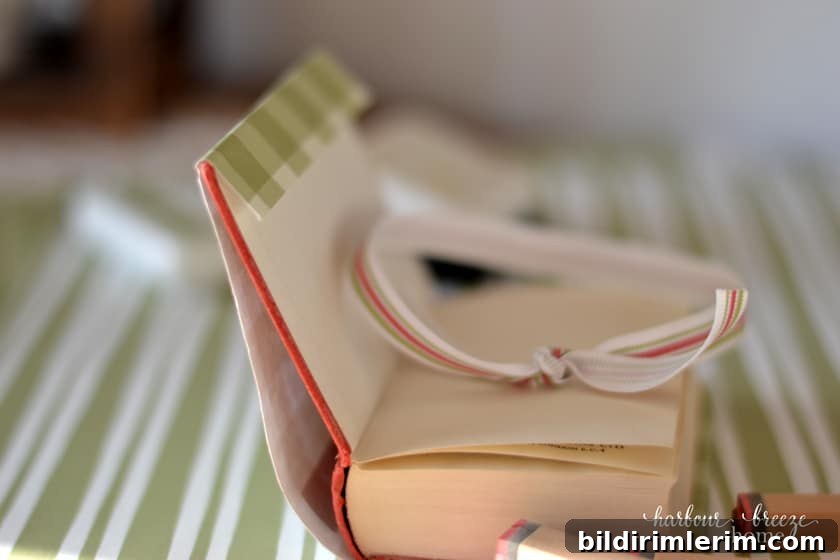
Measure and cut the paper. Lay the book on the paper and trim it so the paper covers the front, back, and spine, with about 1 inch extra on the top and bottom edges to fold over the covers. For a neater look, make sure the paper grain and pattern are oriented the way you want them to sit on the shelf.
Wrap and secure. Place the book face down on the center of the paper, fold the long edges around the front and back covers, and fold the extra inch over the top and bottom. Use a small amount of double-sided tape or a discreet dot of craft glue inside the paper fold to hold it in place. If you prefer a removable cover, tuck the paper edges into the book covers instead of gluing.
Add a custom saying to the spine (optional)
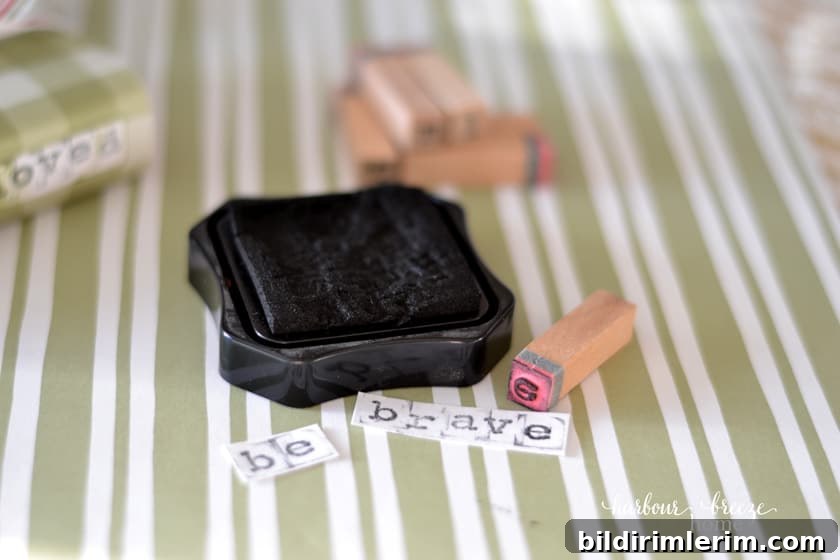
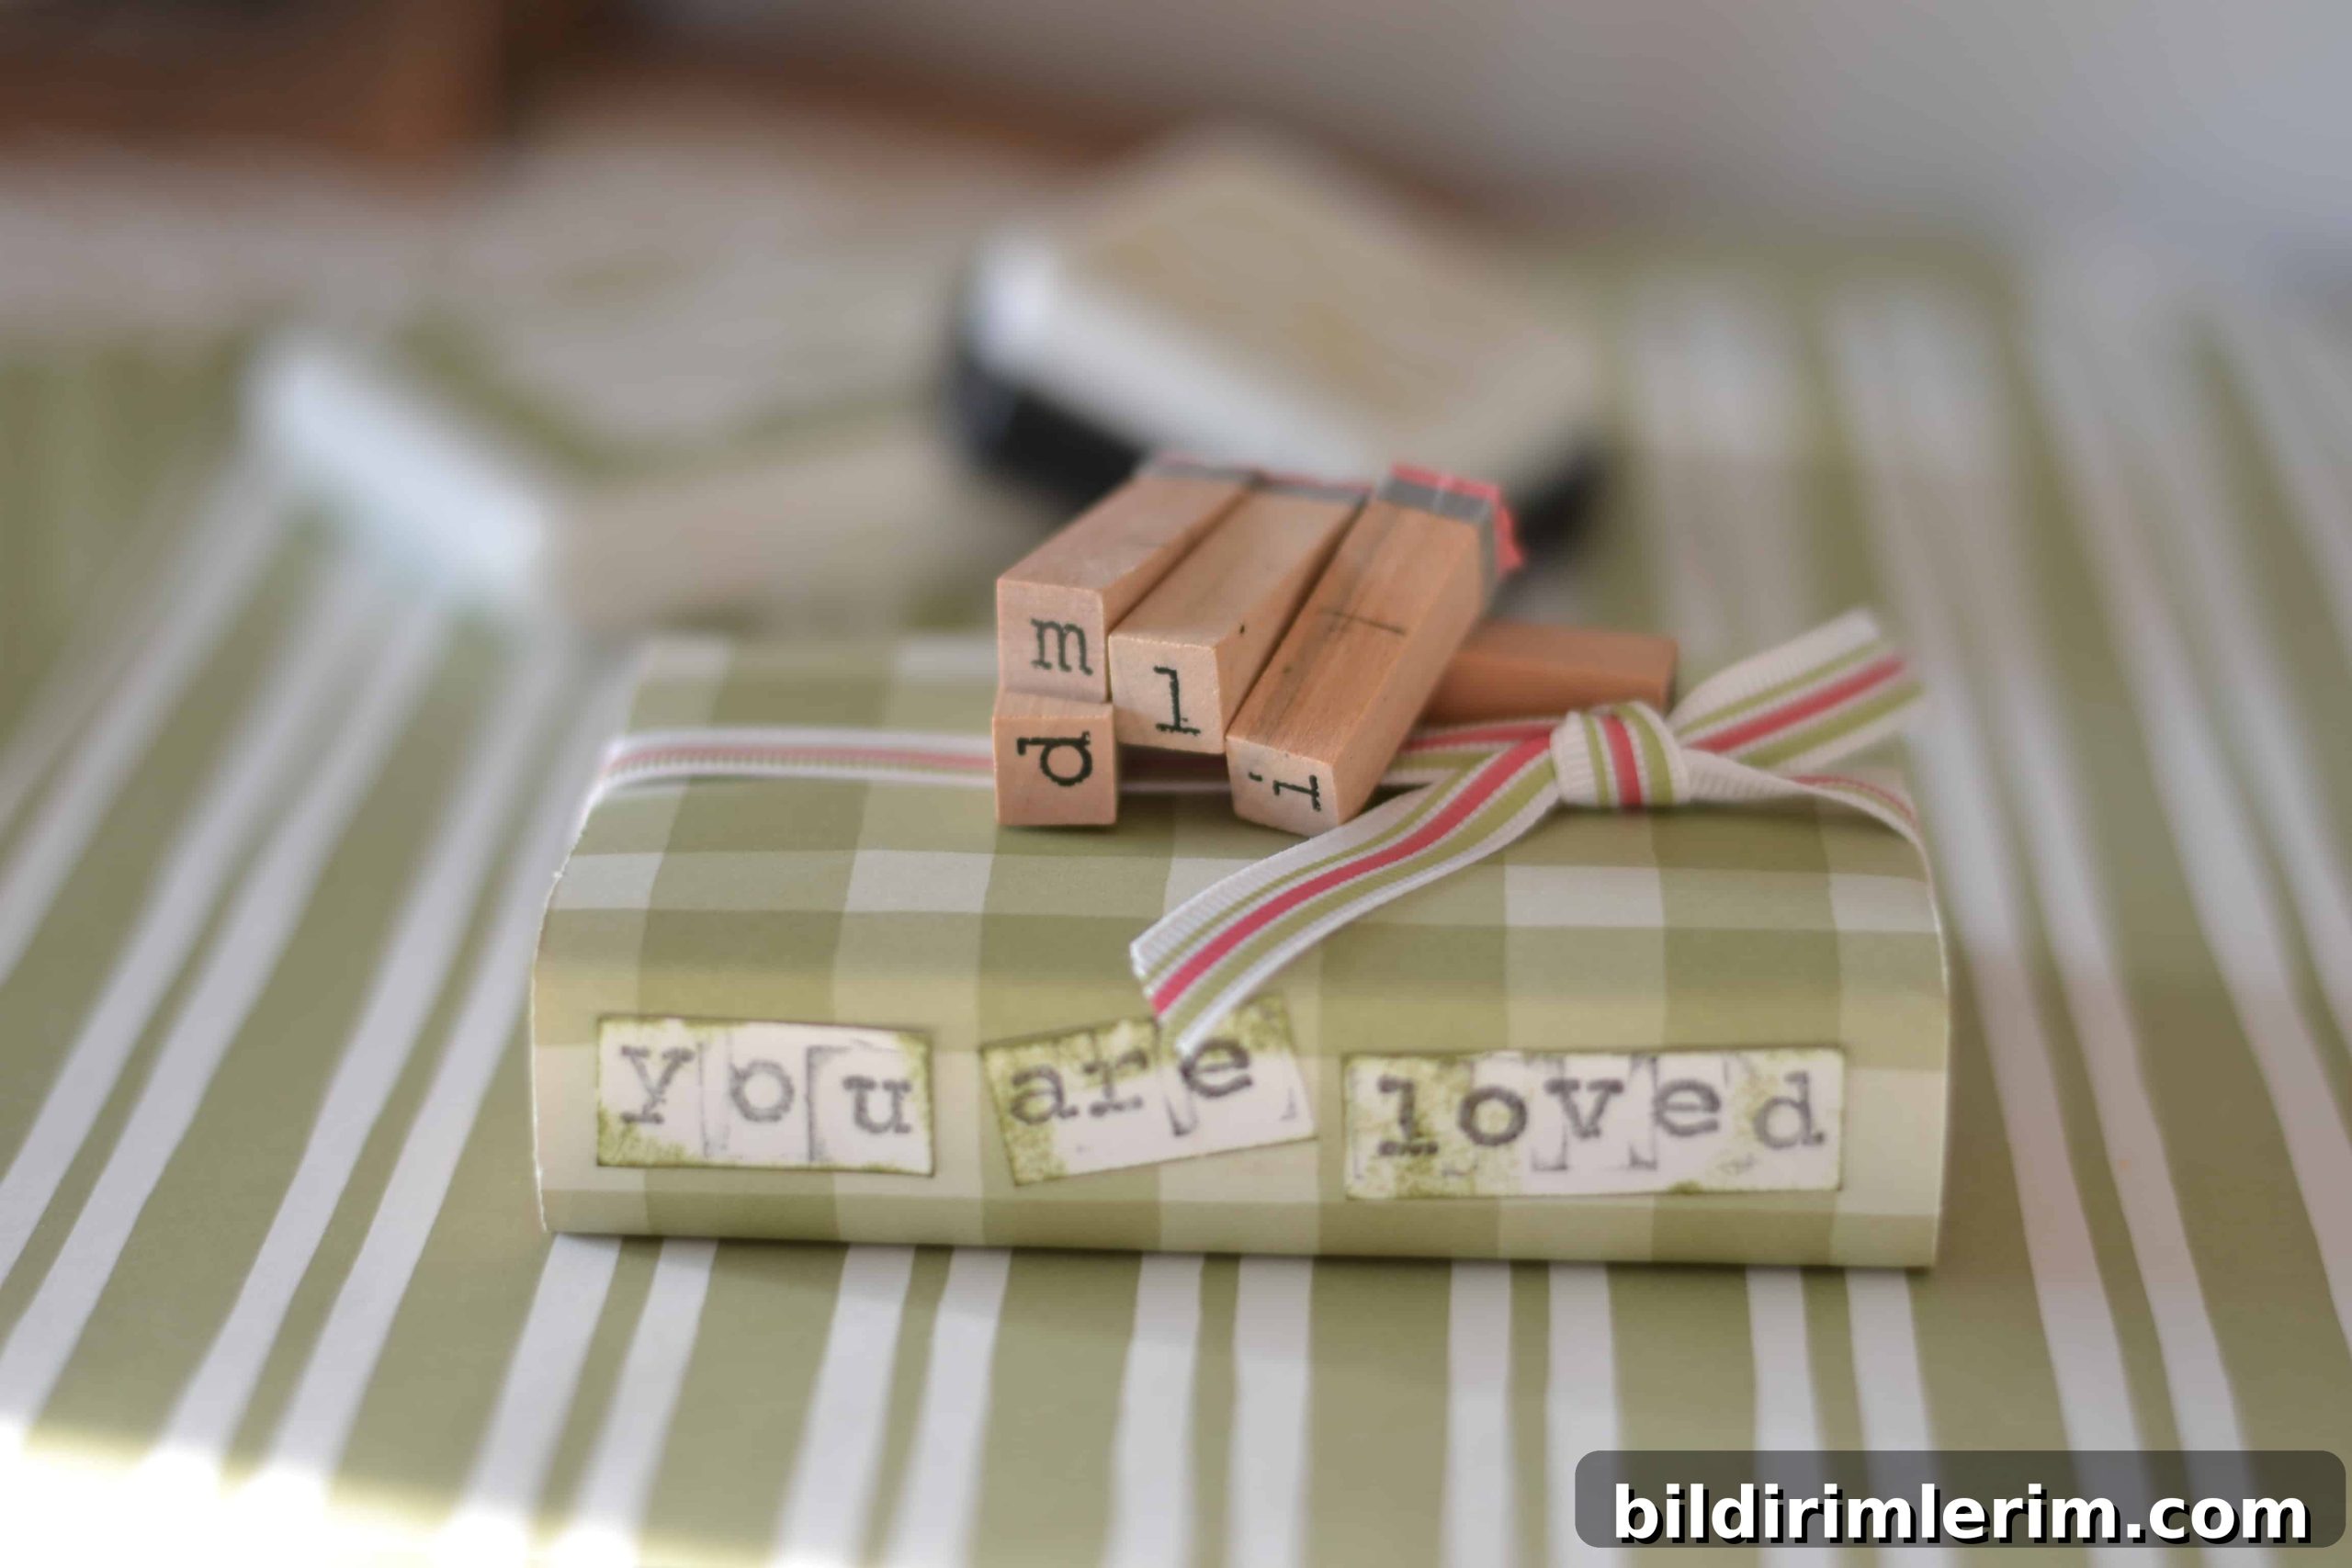
This step is optional but adds a personalized touch. Use rubber alphabet stamps and ink to stamp a short phrase, title, or word onto a strip of cardstock, then attach that strip to the spine of the covered book. Keep the text brief — single words like “Home,” “Spring,” or “Joy” work well — and choose ink colors that complement the paper.
Add ribbon and embellishments
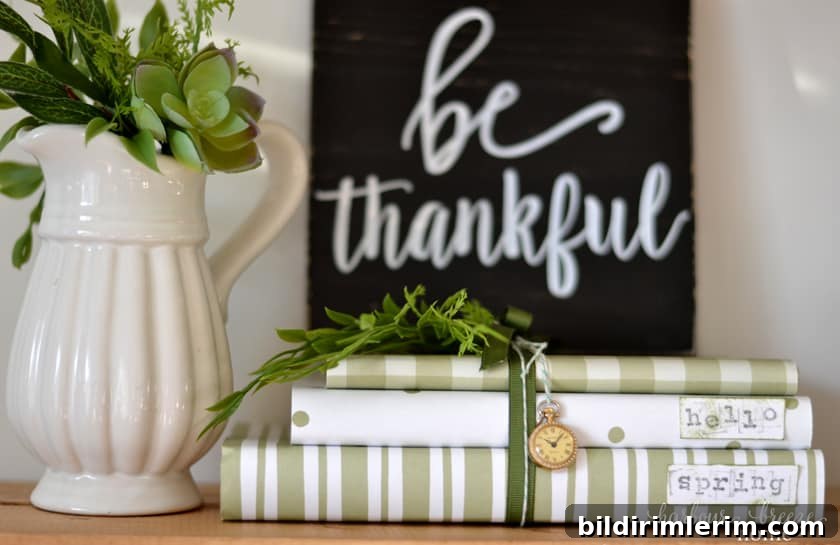
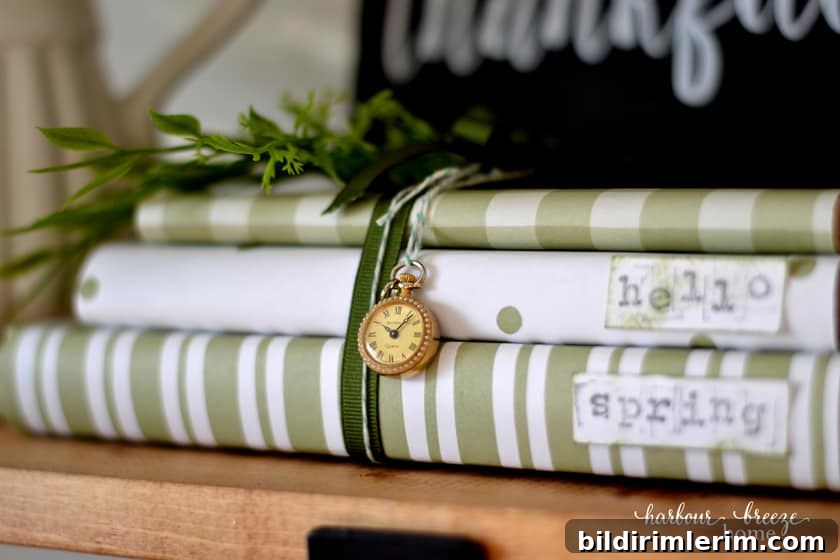
Finish the look by tying a ribbon around a stacked set of books or adding a small charm, watch, or other accent to the ribbon. Embellishments help tie the books into your seasonal decor — an antique-style watch or a simple wooden bead can give a vintage or rustic vibe, while silk ribbon or metallic accents add a more polished, modern touch.
Styling tips and additional ideas
These paper covered books are versatile. Stack several sizes for height variation on a tray, shelf, or mantel. Use one covered book as a standalone gift and include a personalized message inside. Mixing patterns and colors can create an eye-catching vignette; alternatively, use neutral brown craft paper for a rustic farmhouse look or bold solids to add a pop of color to an otherwise neutral room.
If you want a coordinated grouping, choose papers that share a color family and alternate patterns for visual interest. For a cohesive display, add small florals or greenery, a candle, or a framed print to complete the arrangement.
More spring home decorating ideas
- 10 Minute Spring Throw Pillows Using Iron On Transfer Paper
- Fresh and Cheery Early Spring Decorating Ideas
- 5 Simple & Affordable Ways to Refresh Your Home for Spring
Paper covered books are an easy, budget-friendly way to update your home for the season. They’re quick to make, customizable, and a smart way to use craft supplies you already own. Try a few combinations to see what best suits your style — you’ll have attractive spring décor in minutes.