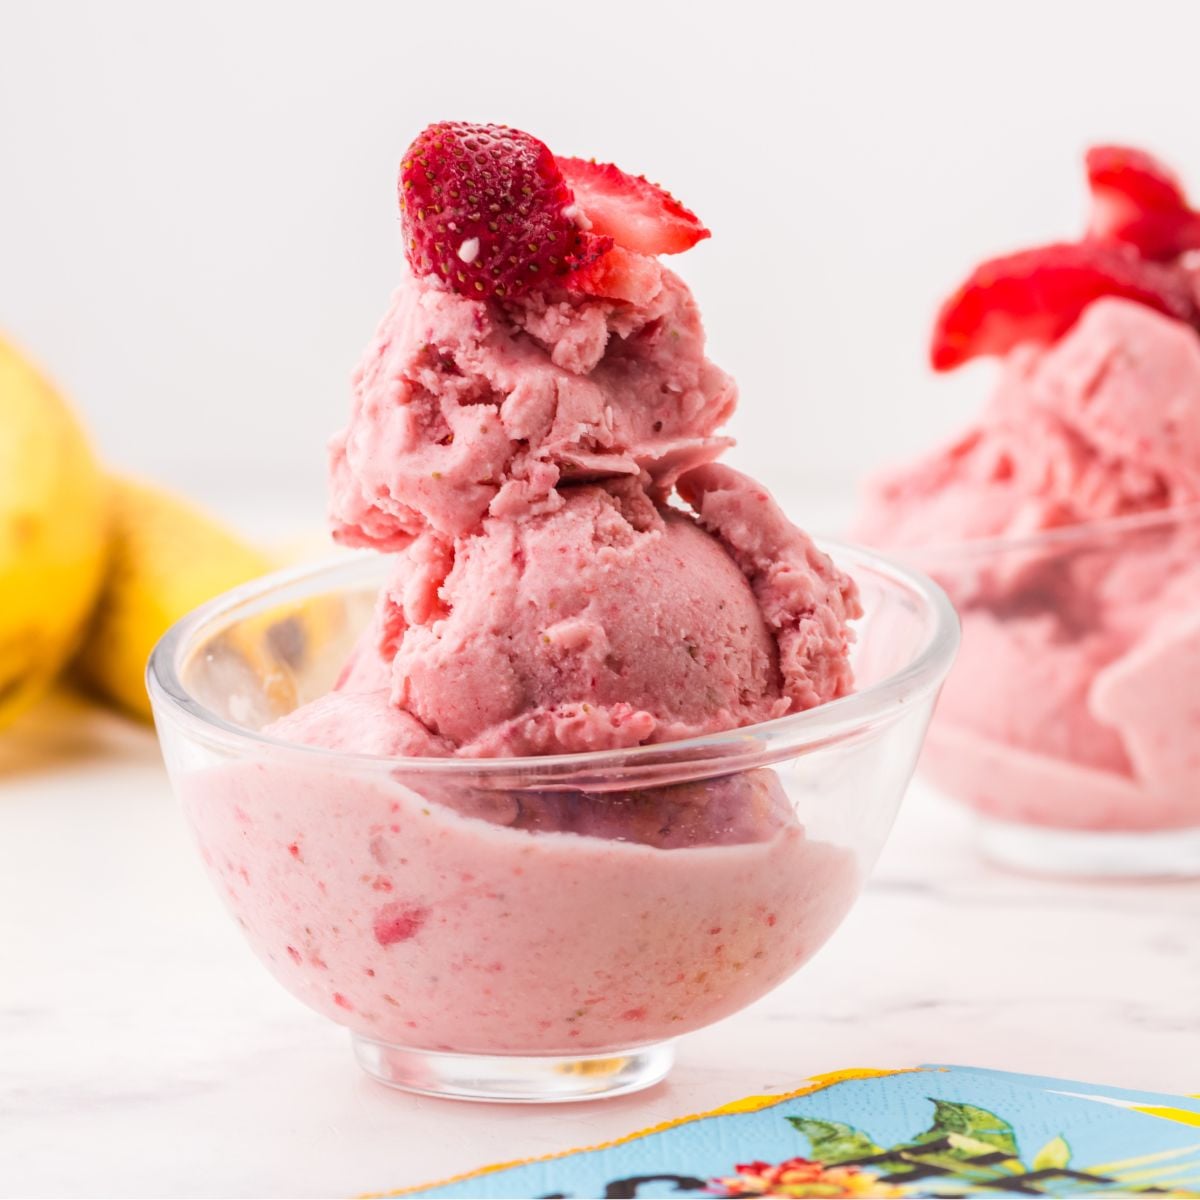
This creamy, 4-ingredient Strawberry Banana Frozen Yogurt is an easy treat recipe—no ice cream maker required!
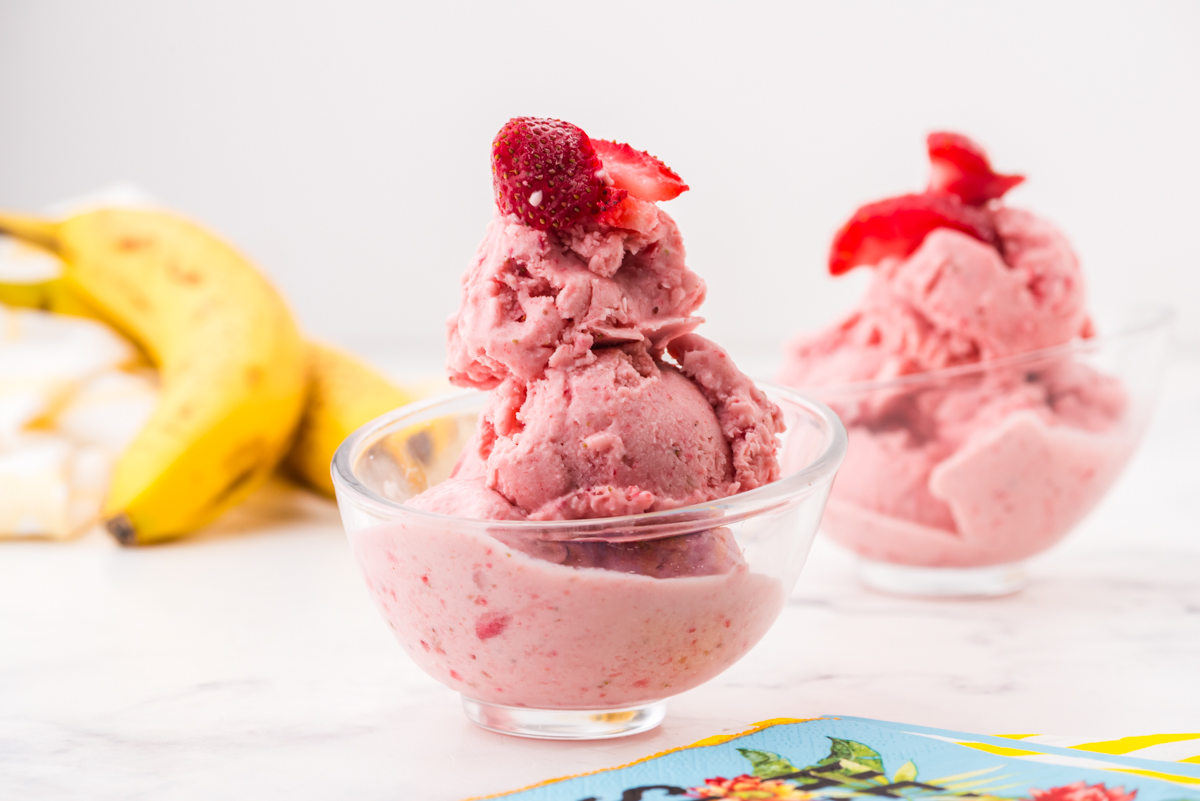
Although my husband and I love to enjoy a little bowl of frozen yogurt each night, it honestly never occurred to me that I could make it at home—right in my KitchenAid food processor! After hearing about how amazing it is from a friend, I decided to give it a try. I’m so glad I did. Not only is this recipe quick and simple, it’s made with just four wholesome ingredients, and the only prep you need is freezing the fruit ahead of time. It might just be our new go-to treat every evening…
Why You’ll Love This Frozen Yogurt Recipe
- A no-fuss, no-churn frozen treat.
- Made with only 4 ingredients you probably already have!
- Naturally sweetened with maple syrup (no refined sugar!).
- Creamy, refreshing, and full of fruit flavor.
- A healthier dessert option that still feels indulgent.
- Ready in minutes—perfect for last-minute cravings.
- Easily customizable with your favorite fruit combinations.
Ingredients for Homemade Frozen Yogurt
For exact measurements and step-by-step instructions, be sure to scroll down to the printable recipe card below.
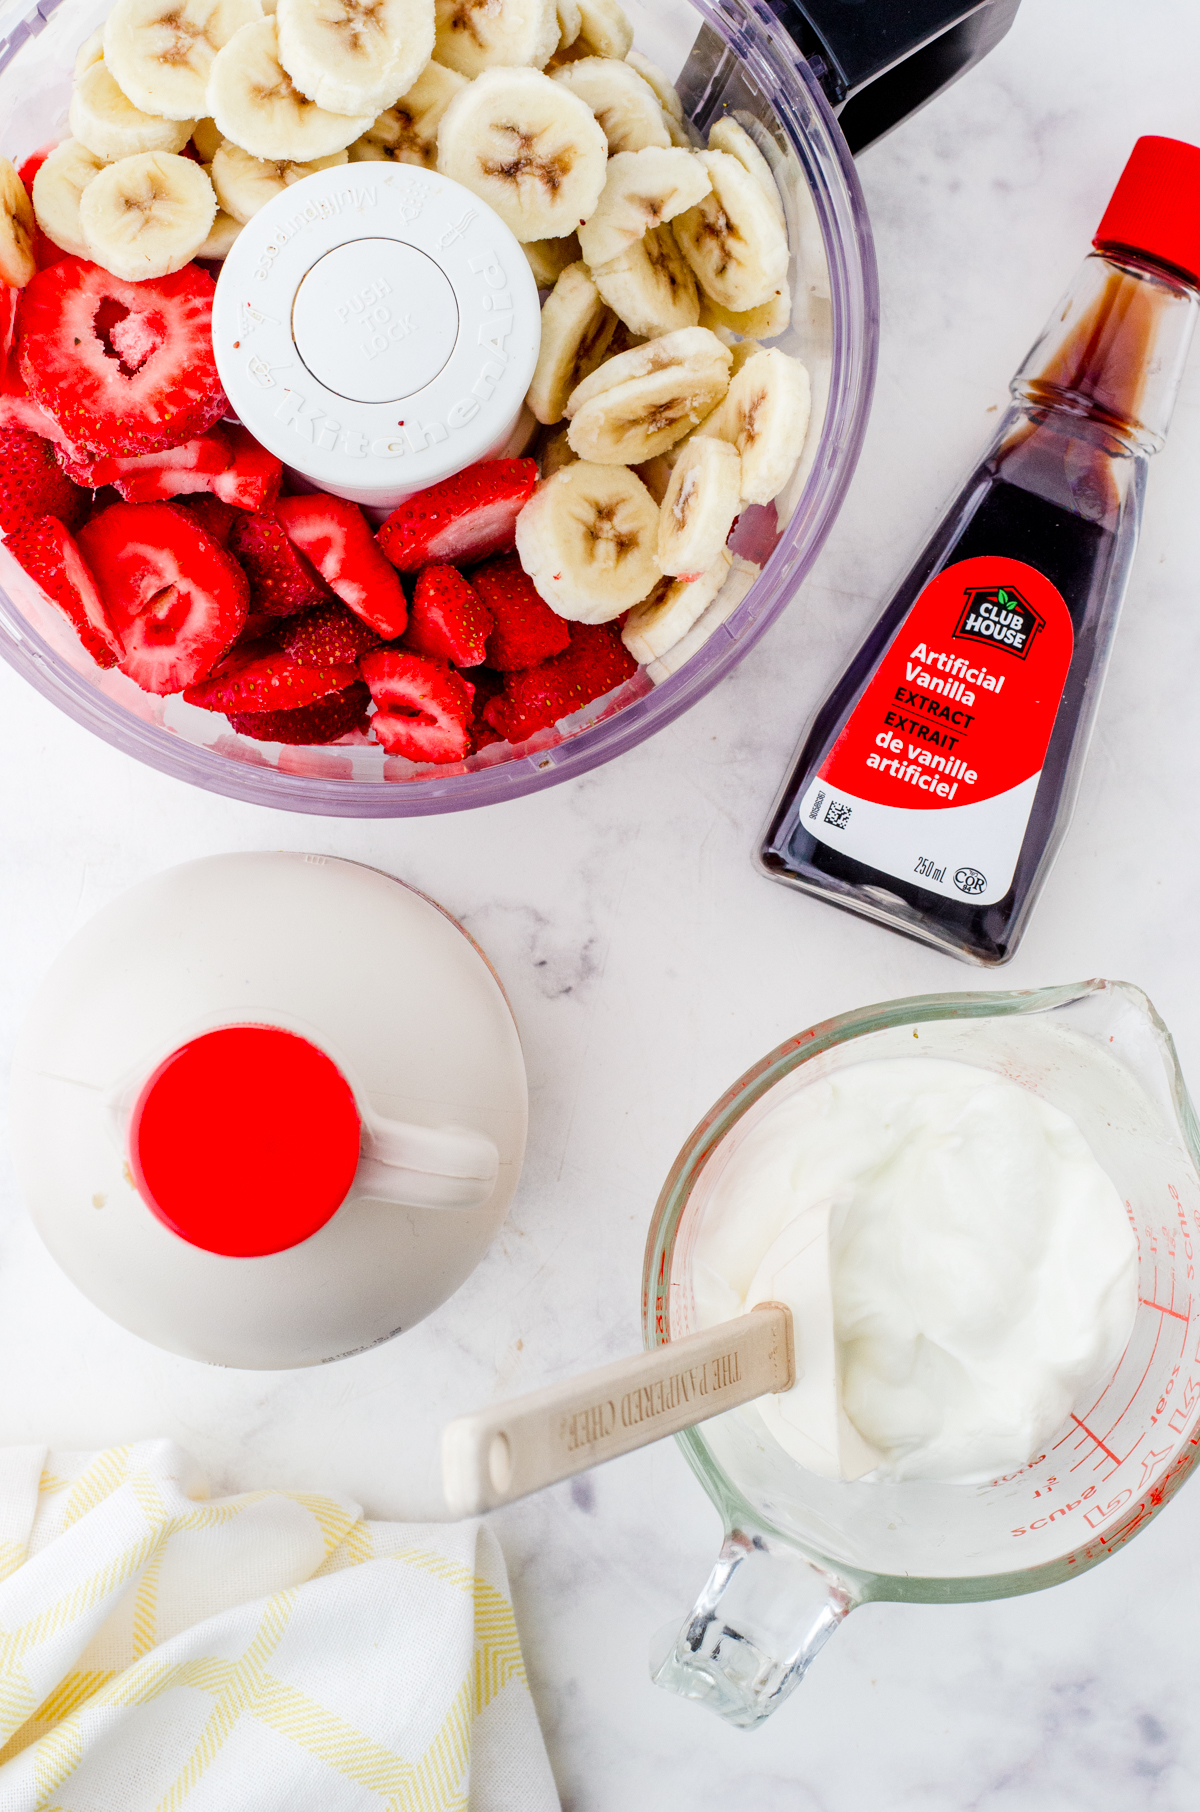
You’ll only need four ingredients to make this simple frozen yogurt:
- Frozen strawberries and bananas (or any mix of frozen fruit)
- Full fat Greek yogurt
- Pure vanilla extract
- Pure maple syrup
How to Portion and Freeze This Recipe to Fit Your Lifestyle
This frozen yogurt is perfect for making ahead and customizing to your needs!
Making it easy for serving: Scoop into individual portions (I like to pre-scoop into round balls!) and freeze in a container so you can grab just the right amount you need quickly.
Freezing the whole batch: After blending, transfer to a shallow container and freeze until desired consistency. Keep frozen for up to 1 month.
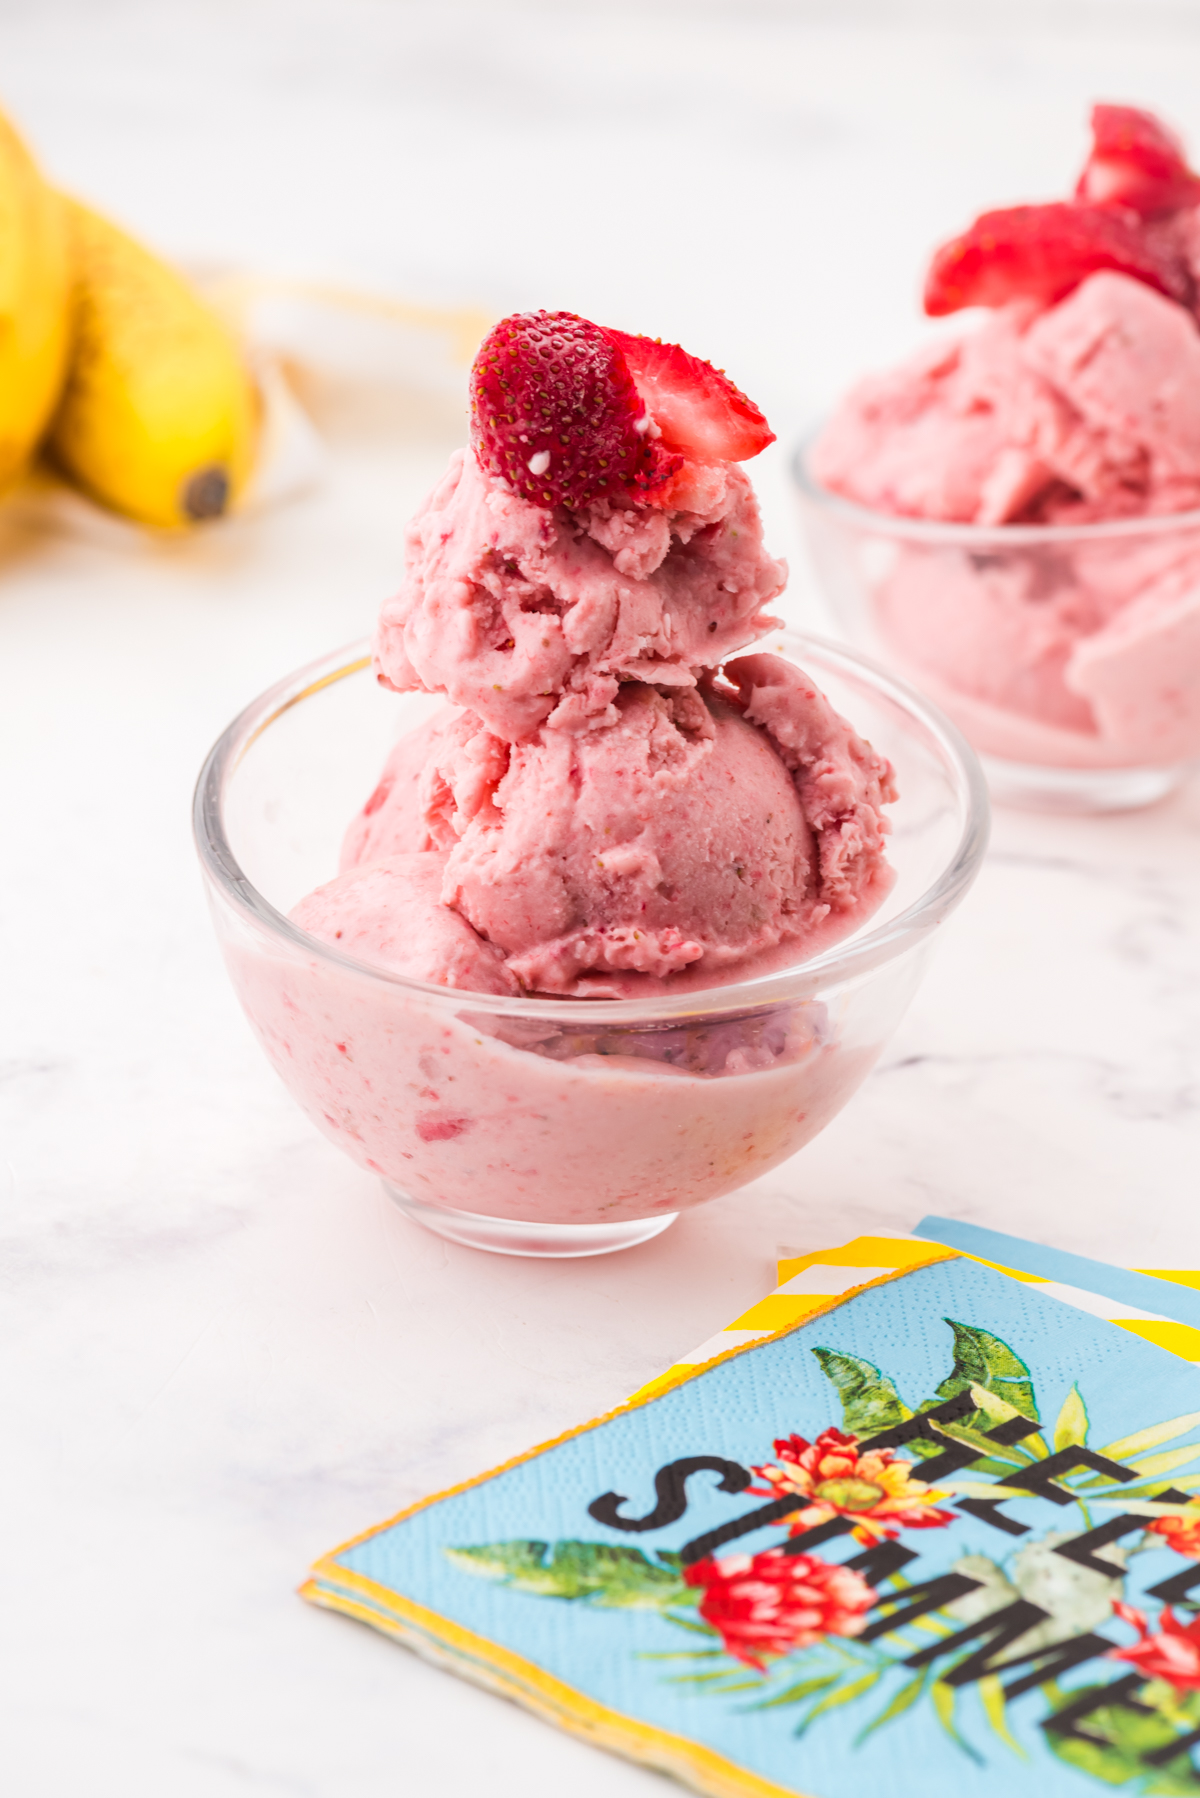
Serving tip: For soft-serve texture, freeze about 30 minutes. For scoopable consistency, freeze for 1–2 hours. Longer freezing will result in a very hard texture, but you can thaw slightly before serving—or pre-scoop like I do!
Simple Instructions for Making Frozen Yogurt in a Food Processor
(For all the detailed instructions, refer to the printable recipe card at the bottom of this post.)
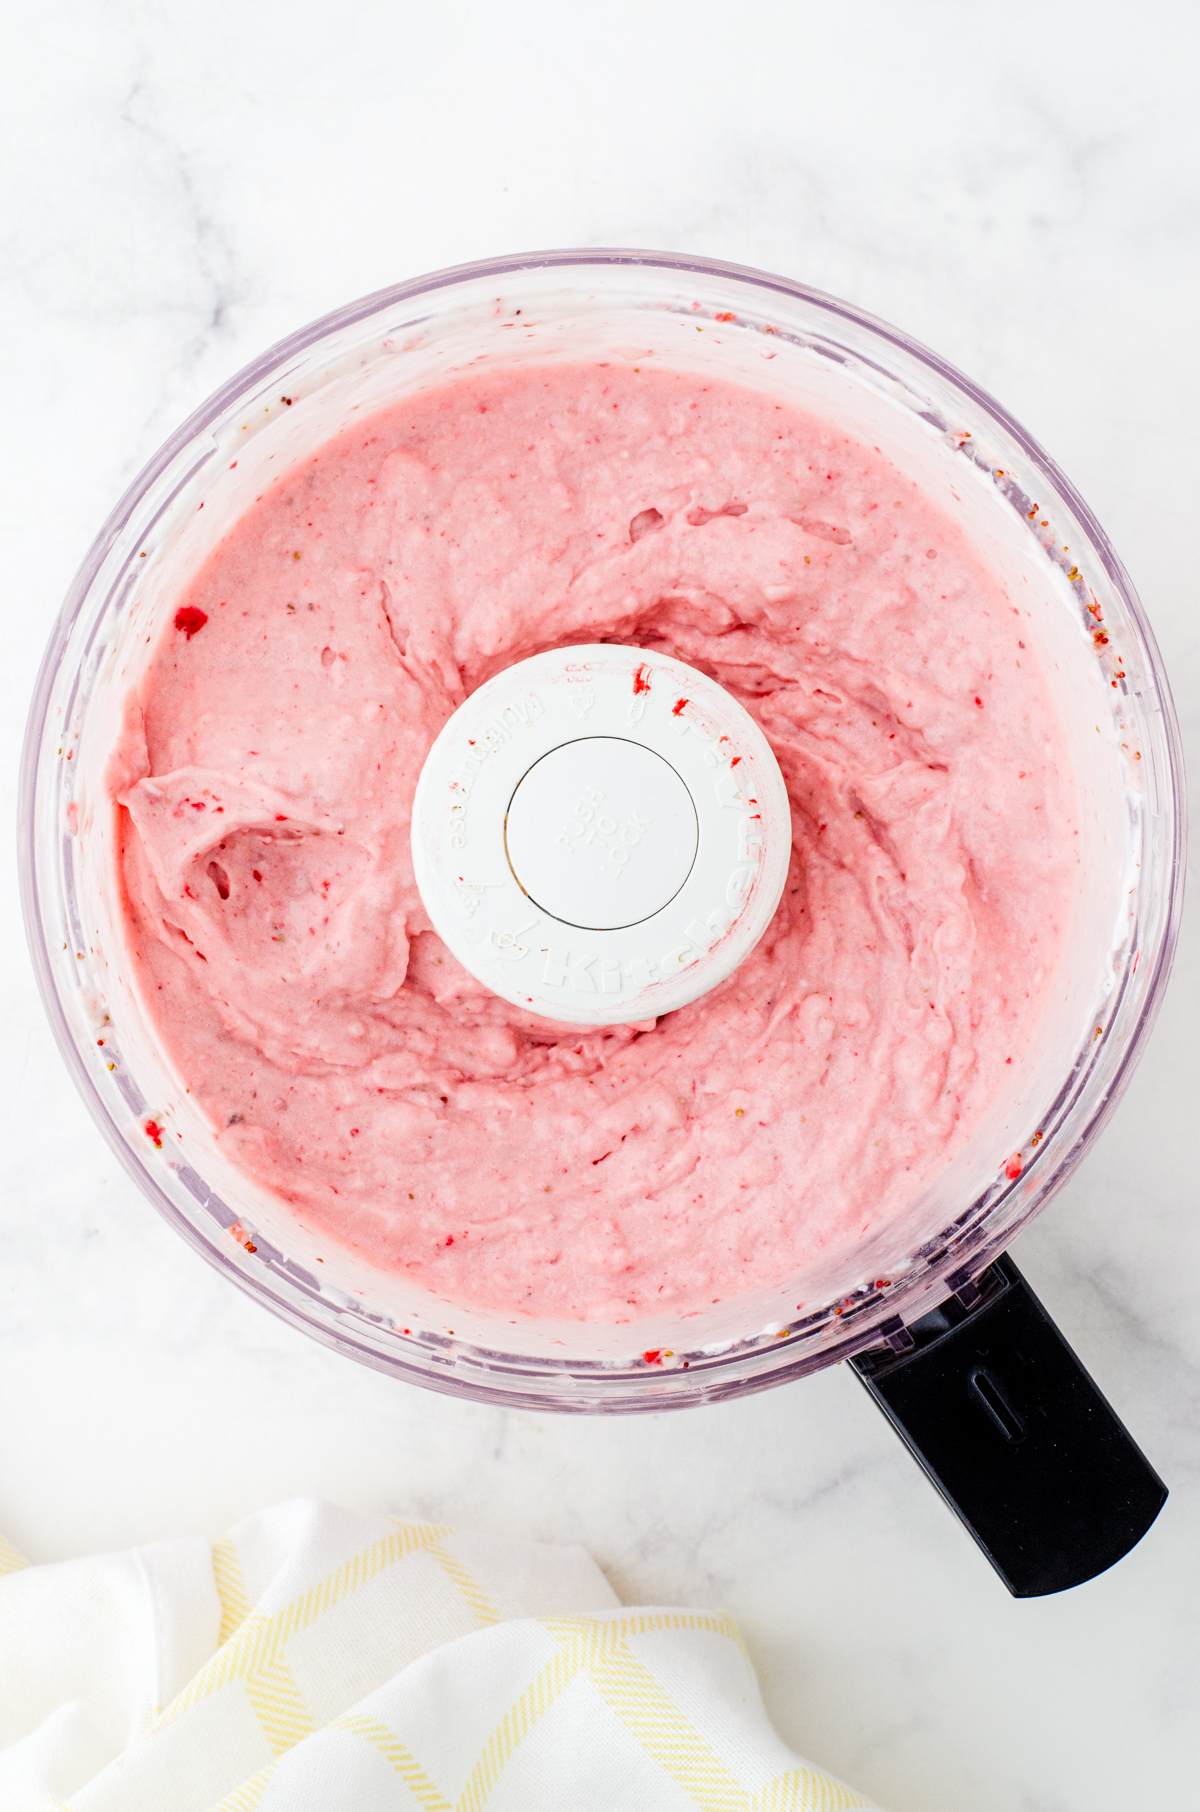
1. Blend all ingredients in a food processor until smooth. 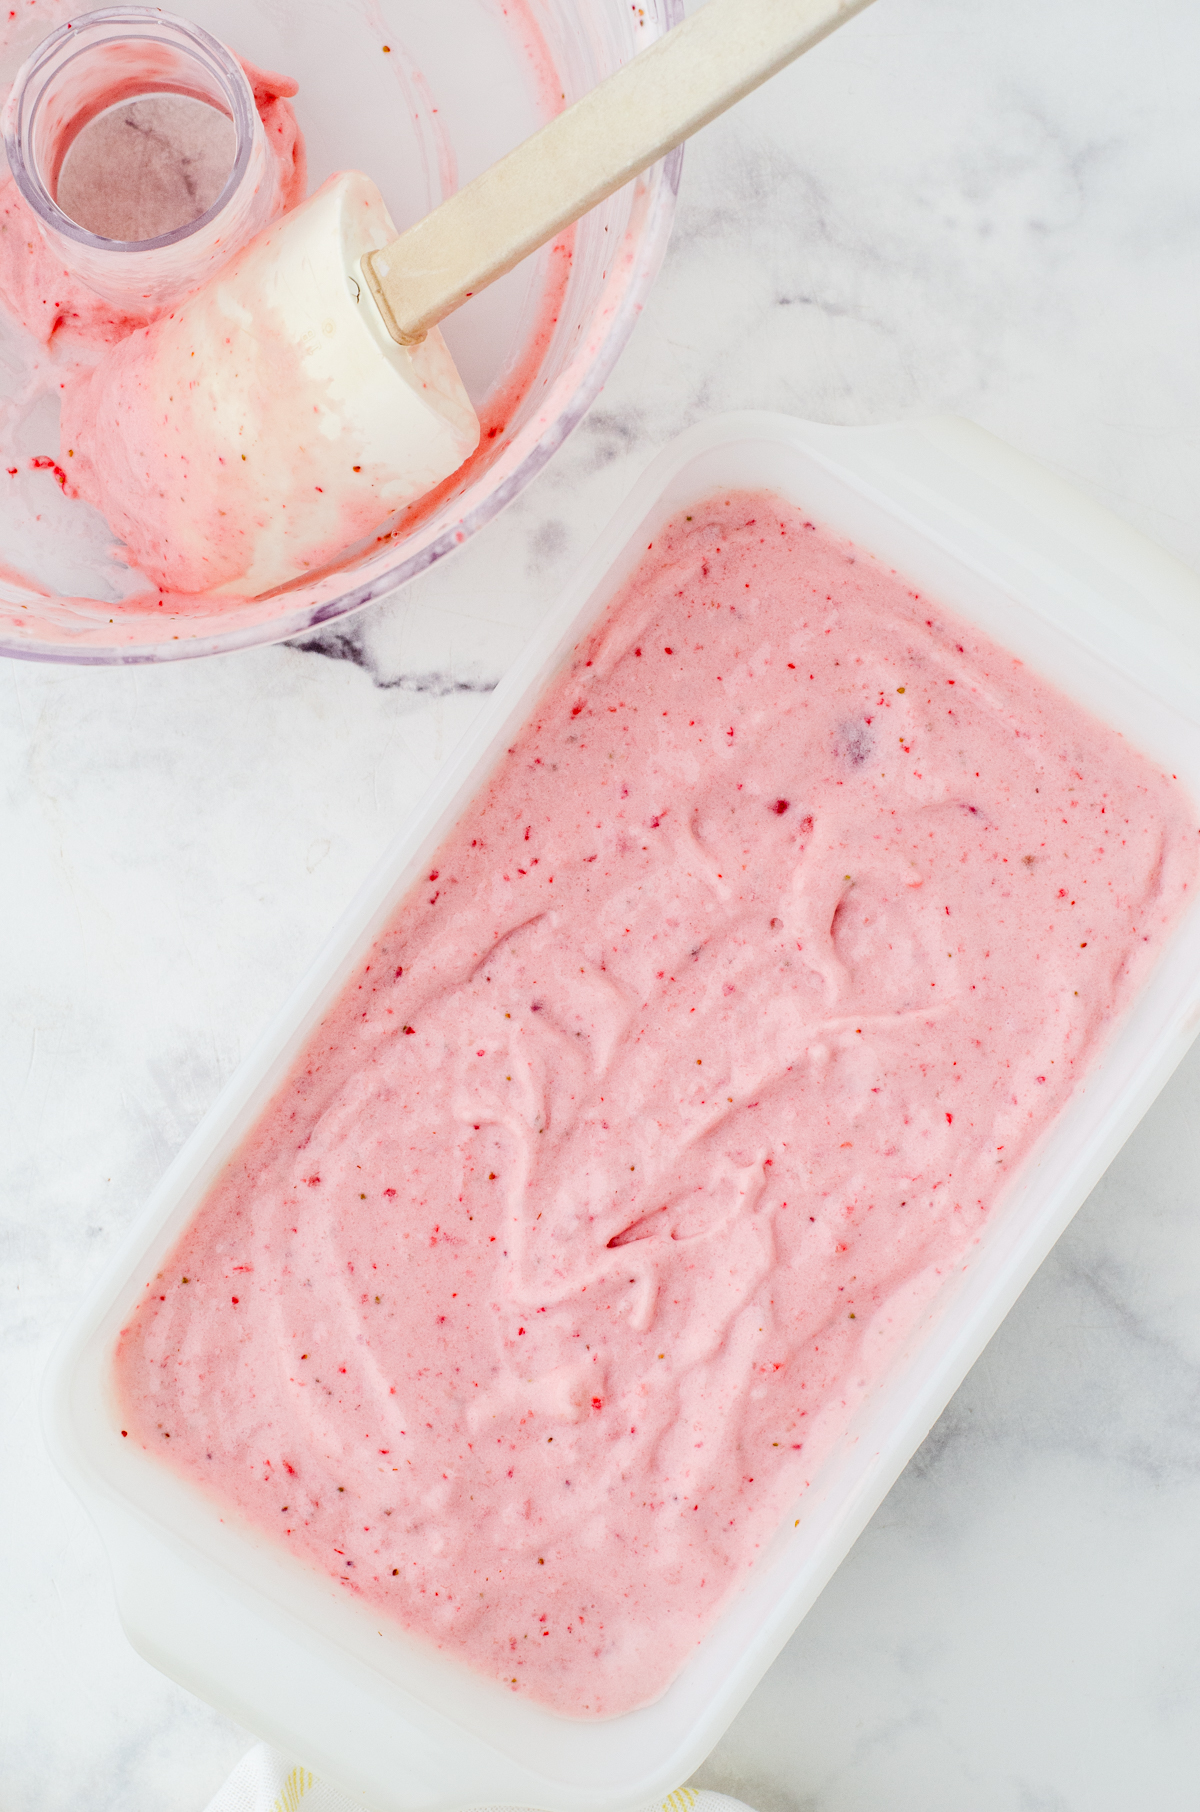
2.Spread mixture into a low pan – like a loaf pan. 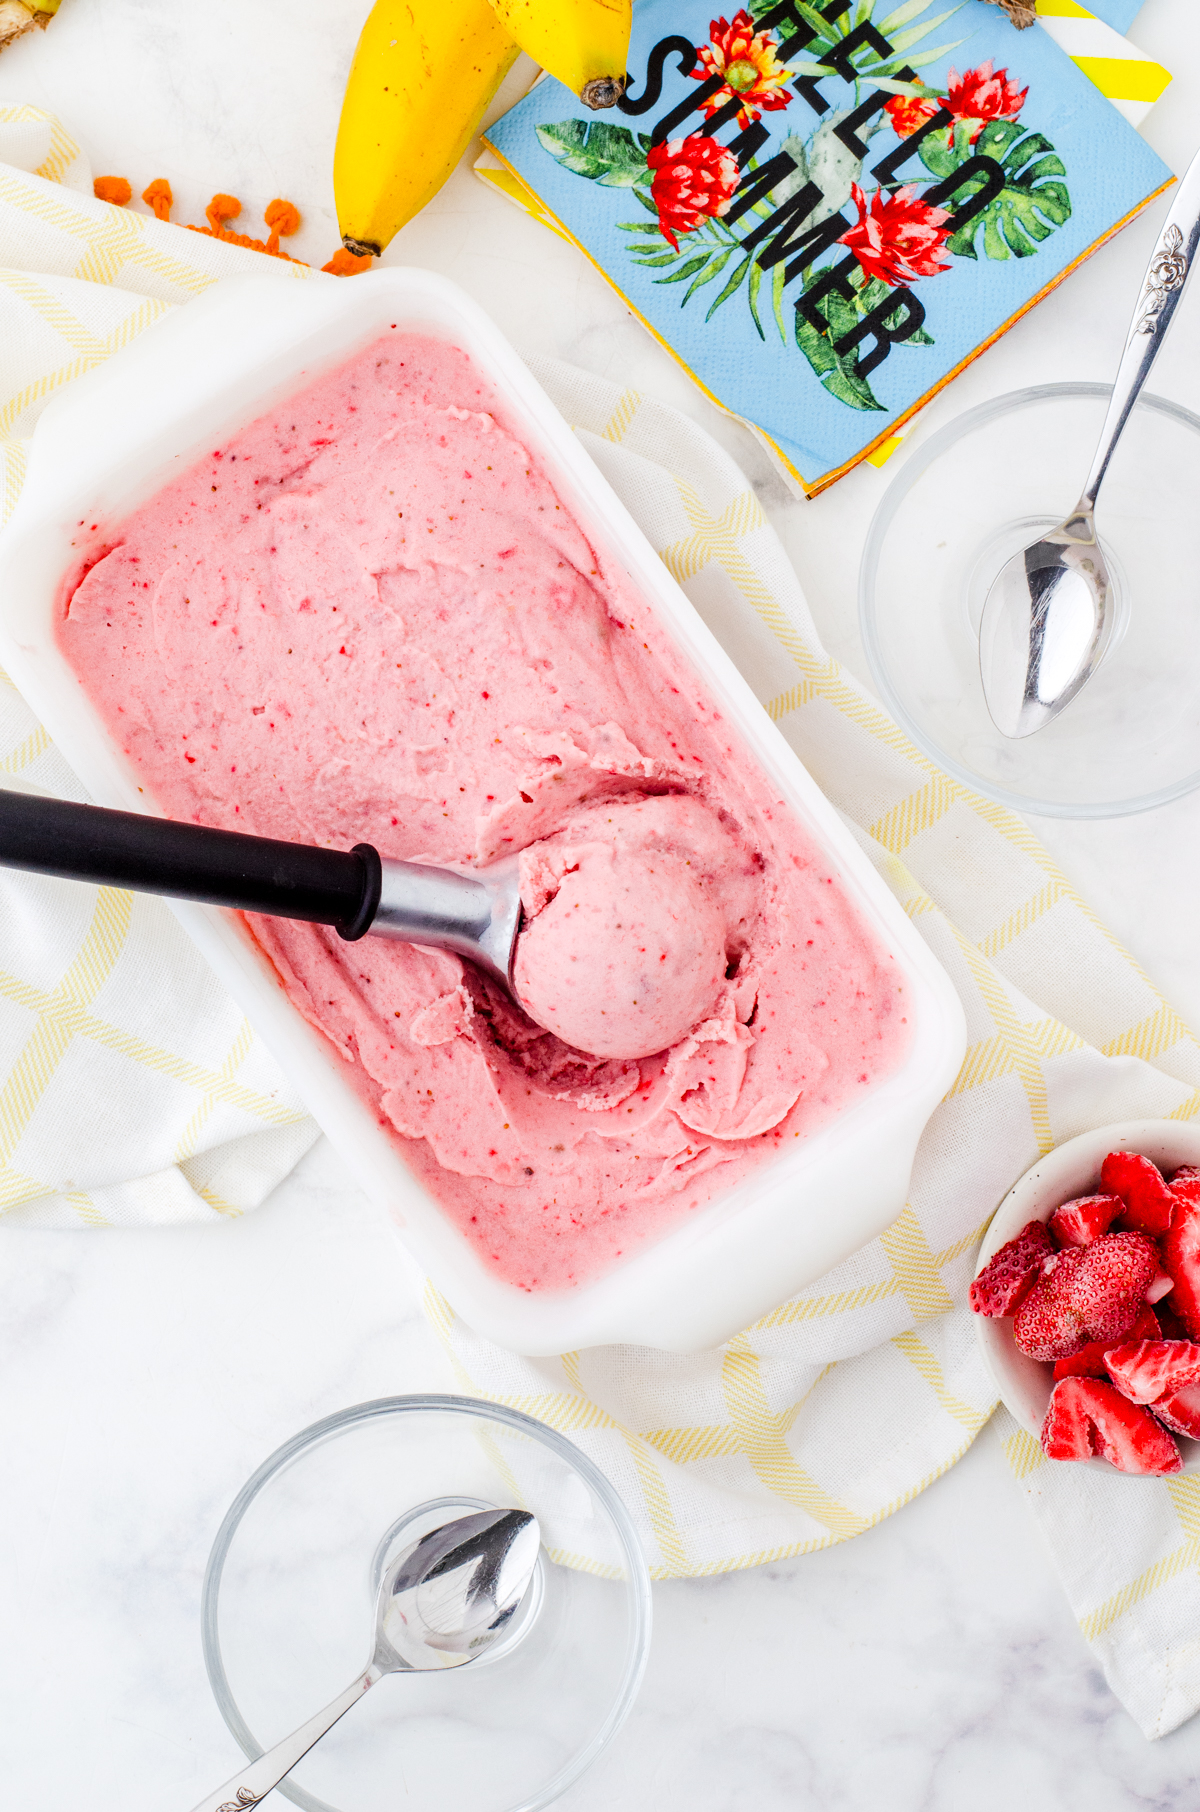
3.Let freeze until desired consistency for scooping. Enjoy!
- Slice bananas and strawberries, and freeze on a parchment-lined baking sheet.
- Add frozen fruit to a food processor and pulse to break it up.
- Add Greek yogurt, vanilla, and maple syrup.
- Blend until smooth and creamy.
- Scrape down sides and blend again.
- Transfer to a container and freeze.
- Scoop and serve—or pre-scoop for easy portions!
Helpful Tips When Making This Recipe
- Be sure your fruit is fully frozen before starting for the best consistency.
- Use full-fat Greek yogurt for the creamiest texture.
- Taste before freezing and adjust sweetness if needed.
- Freeze in a shallow container for faster firming.
Substitutions and Variations for this Chicken Rice Pilaf Recipe
- Fruit: Swap strawberries and bananas for mango, pineapple, blueberries, or cherries.
- Sweetener: Use honey or agave instead of maple syrup.
- Dairy-free: Substitute coconut yogurt for a dairy-free option.

Grandma Rita’s Kitchen Tips
The longer this frozen yogurt freezes, the harder it is to scoop out! Some people say they remove it from the freezer an hour before serving so it softens up to scoop it. I decided to scoop mine and freeze it and store in the freezer in scoop sized servings in a Tupperware container. Then we can just grab one out easily whenever we want some!
Ways to use this frozen yogurt recipe
While this frozen yogurt is perfect on its own, here are some ideas for pairing:
- A small slice of angel food cake
- Fresh berries on top
- A sprinkle of granola for crunch
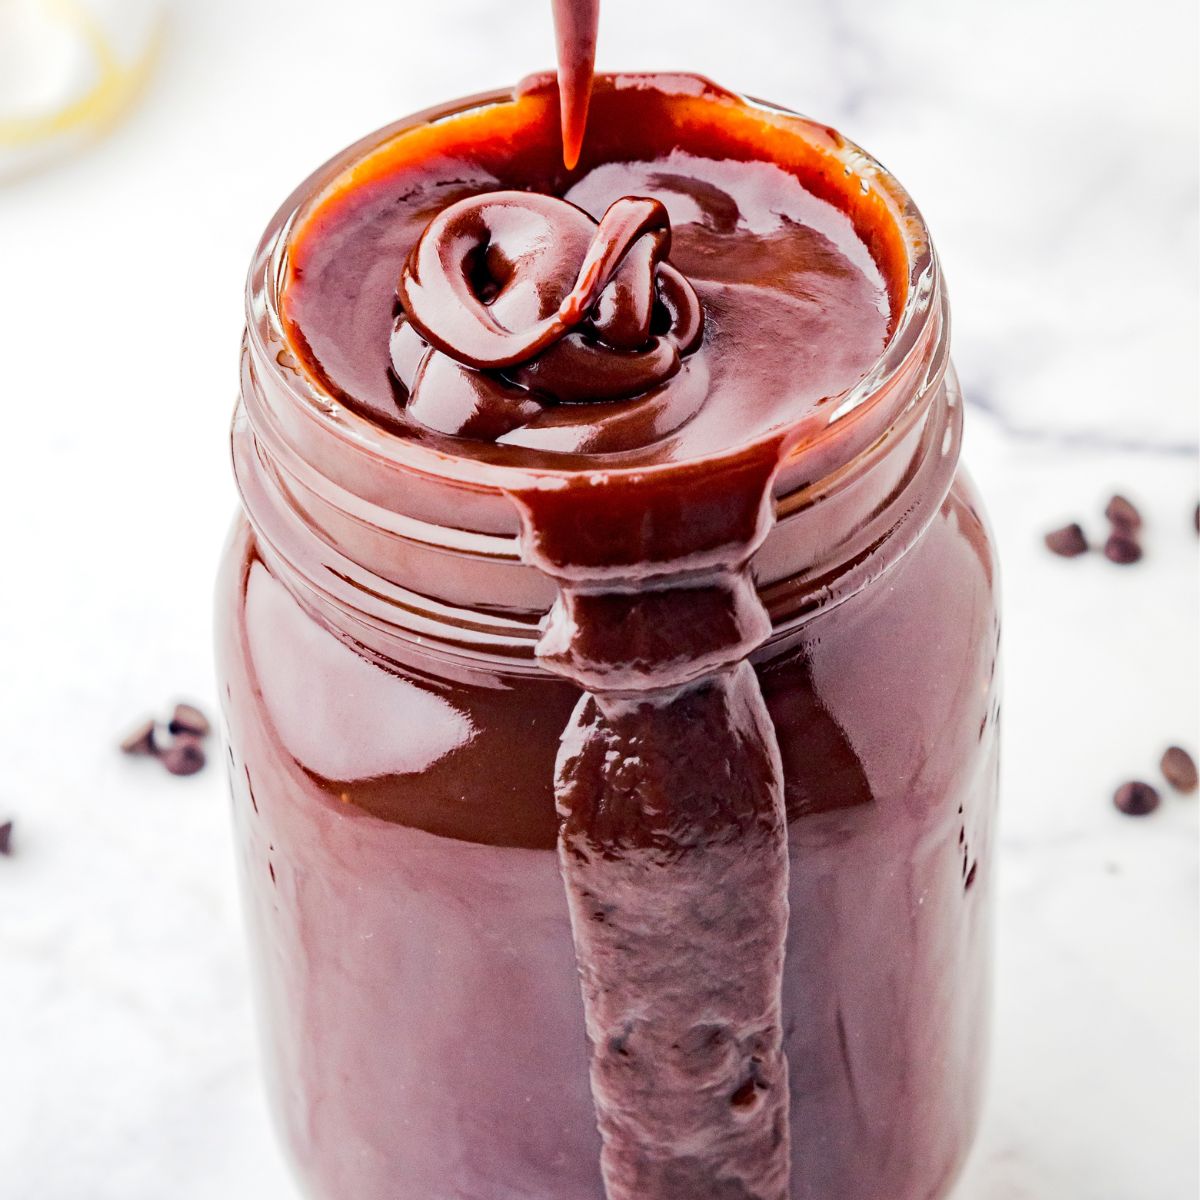
- A drizzle of dark chocolate sauce
Other Sweet Treats you Might want to Try:
- Avacado chocolate pudding is another guilt free snack that tastes AMAZING!
- Almond butter chocolate cups are a keto friendly snack that tastes decadent.
Snag the planner I use to simplify grocery trips and dinners!
Save this recipe to your Frozen Treats or Healthy Desserts board on Pinterest so you can make it whenever the craving strikes!
Don’t forget to Follow me on Pinterest for even more meal ideas and inspiration for your home.
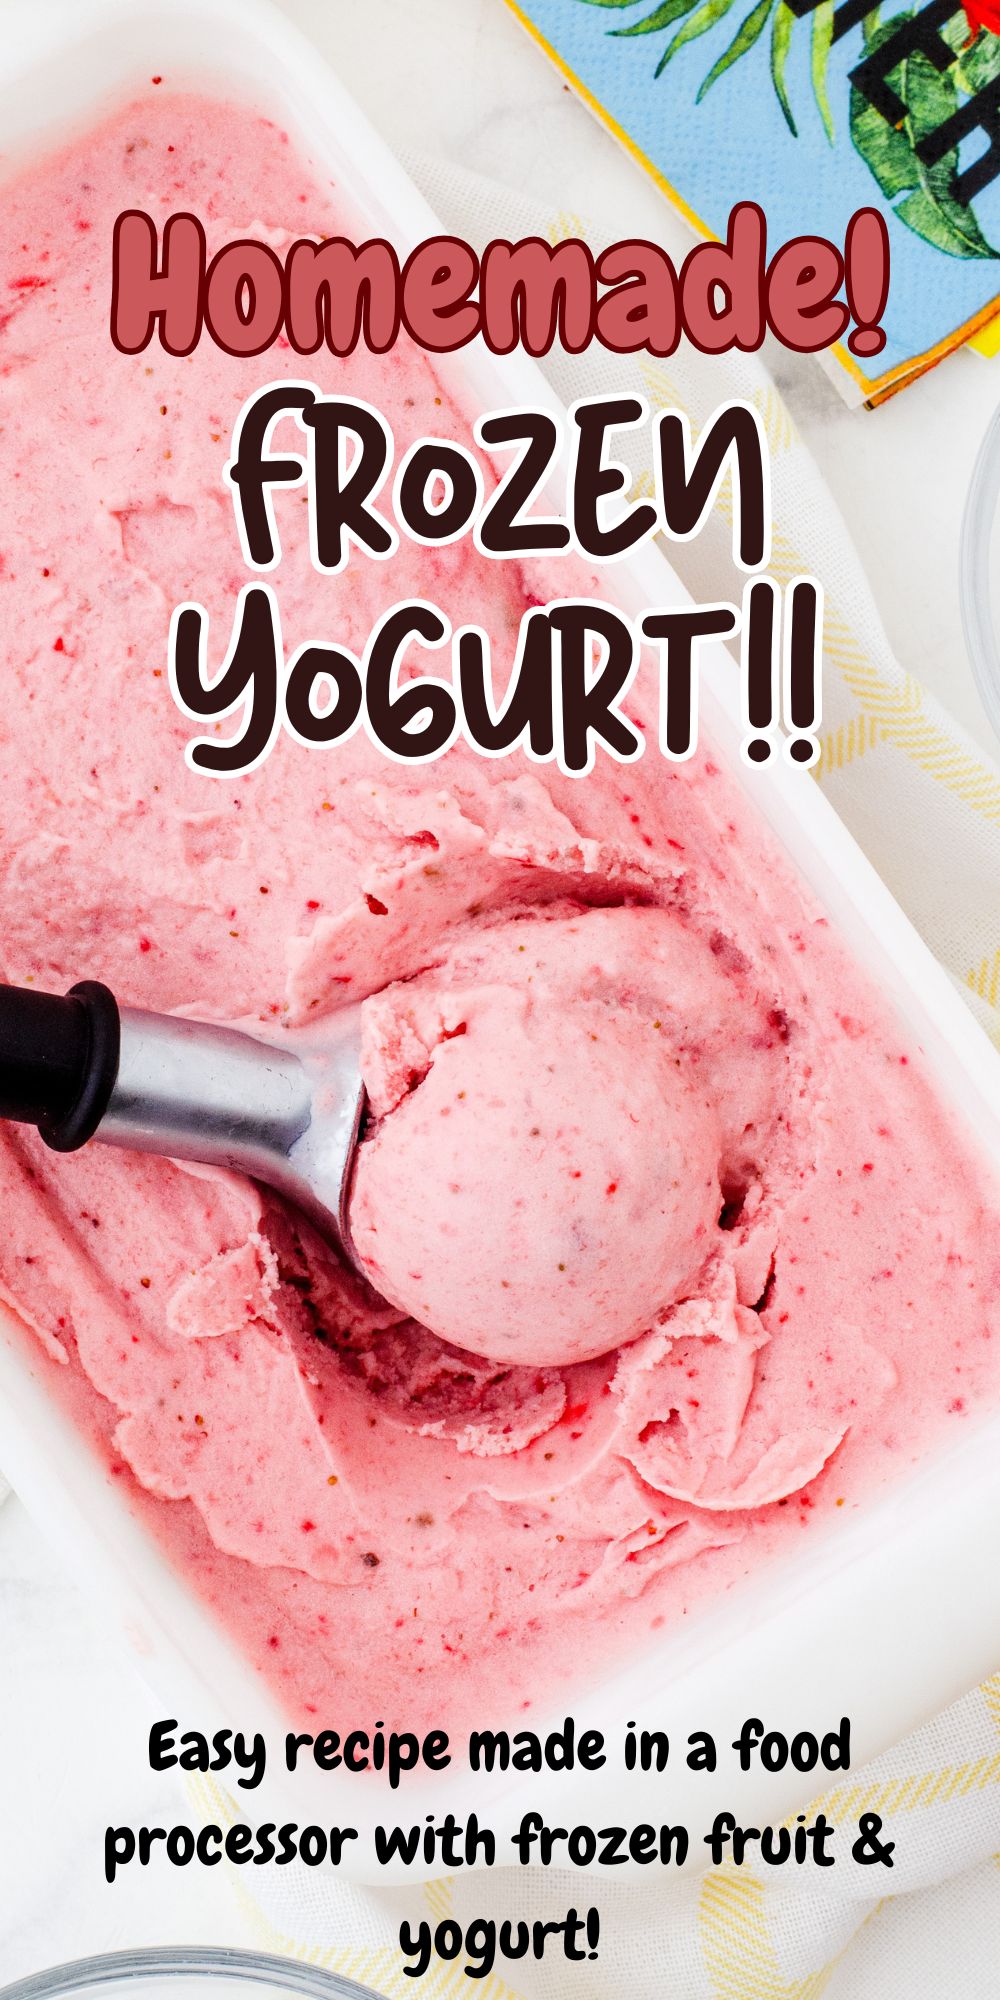
Homemade Frozen Yogurt (in Kitchenaide Food Processor)
Whip up a batch of wholesome frozen yogurt in your food processor in just minutes, using frozen fruit, Greek yogurt, vanilla, and maple syrup. It’s a perfect treat for a hot day or any time you want something sweet.
Ingredients
Method
- Freeze sliced fruit (I used a mix of bananas and strawberries) on a parchment-lined cookie sheet. Whirl the frozen fruit in the food processor for a few minutes to break it up. Add all the other ingredients and mix until smooth.
- Spread the mixture into a loaf pan and freeze until it reaches a scoopable consistency. (I found 2 hours was perfect!)
Notes
When the yogurt reaches the ideal scooping stage, I scoop out individual rounds and place them in a large lidded container. I keep that container in the freezer until we need servings. It makes grabbing a portion quick and easy!
When it’s at the perfect scooping texture, I form individual scoops and store them in a big lidded container in the freezer until we’re ready for one. That makes it simple to pull out servings whenever we want!