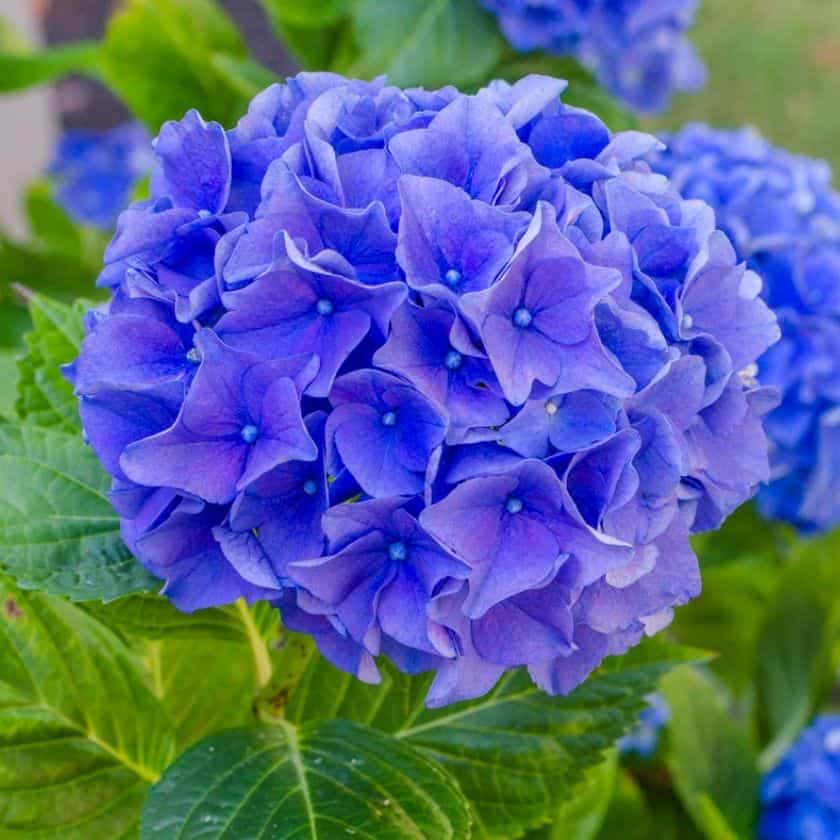
In this article: enjoy the colorful beauty of flowers in a small space with these simple tips for hydrangea care in pots.
I’ll admit I’m no flower gardening expert, but oh, do I ever love flowers!
I’ve spent time poring over magazine articles and asking local experts about growing flowers in our growing zone (8) here in the Pacific Northwest.
When we downsized dramatically a few years ago, our townhouse came with a little cement patio.
There isn’t much room for a flower garden, so I decided to experiment with growing hydrangeas in pots.
They’re happier than clams this year, so I thought I’d share the simple hydrangea care tips I’ve learned.
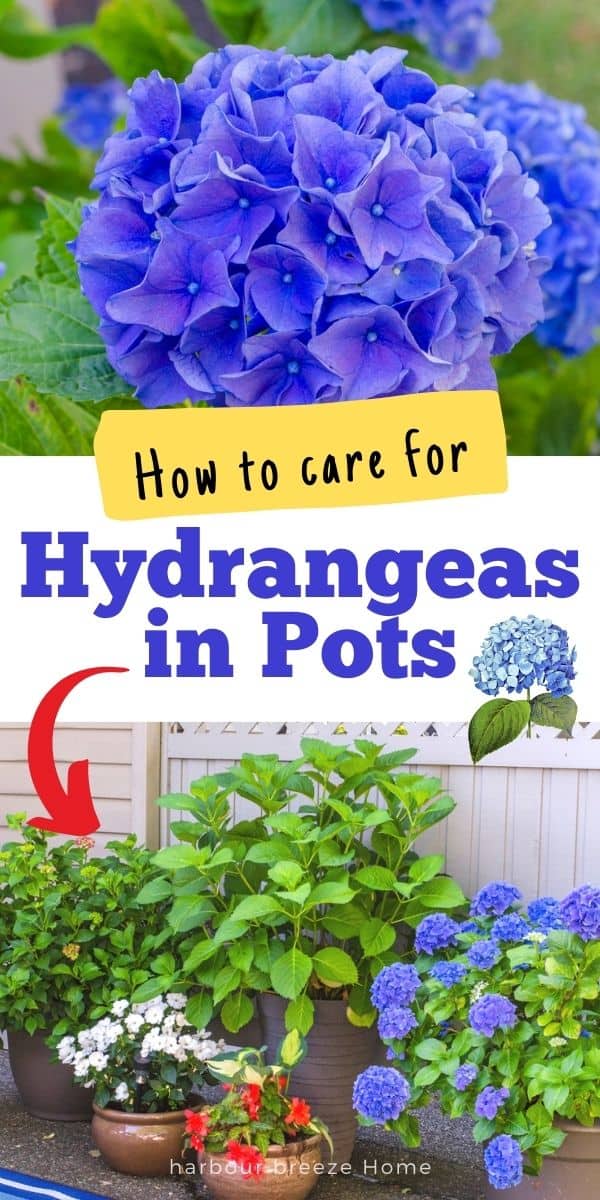
How to Care for Hydrangea Plants in Pots
Disclosure: This post contains affiliate links for your shopping convenience.
1. Buy hydrangea plants at garden centers near the end of summer, when they’re on sale (if budget is a factor).
If you’re ready to go all in on hydrangeas at the height of their season, this may not apply to you. However, if you want to keep your gardening budget small, here’s a tip: buy plants at the end of the season, when they’re deeply discounted.
I collected my 3 hydrangea plants slowly. Each one was bought when it looked very sad and forlorn in the store. I got them for a steal, and look at them now!
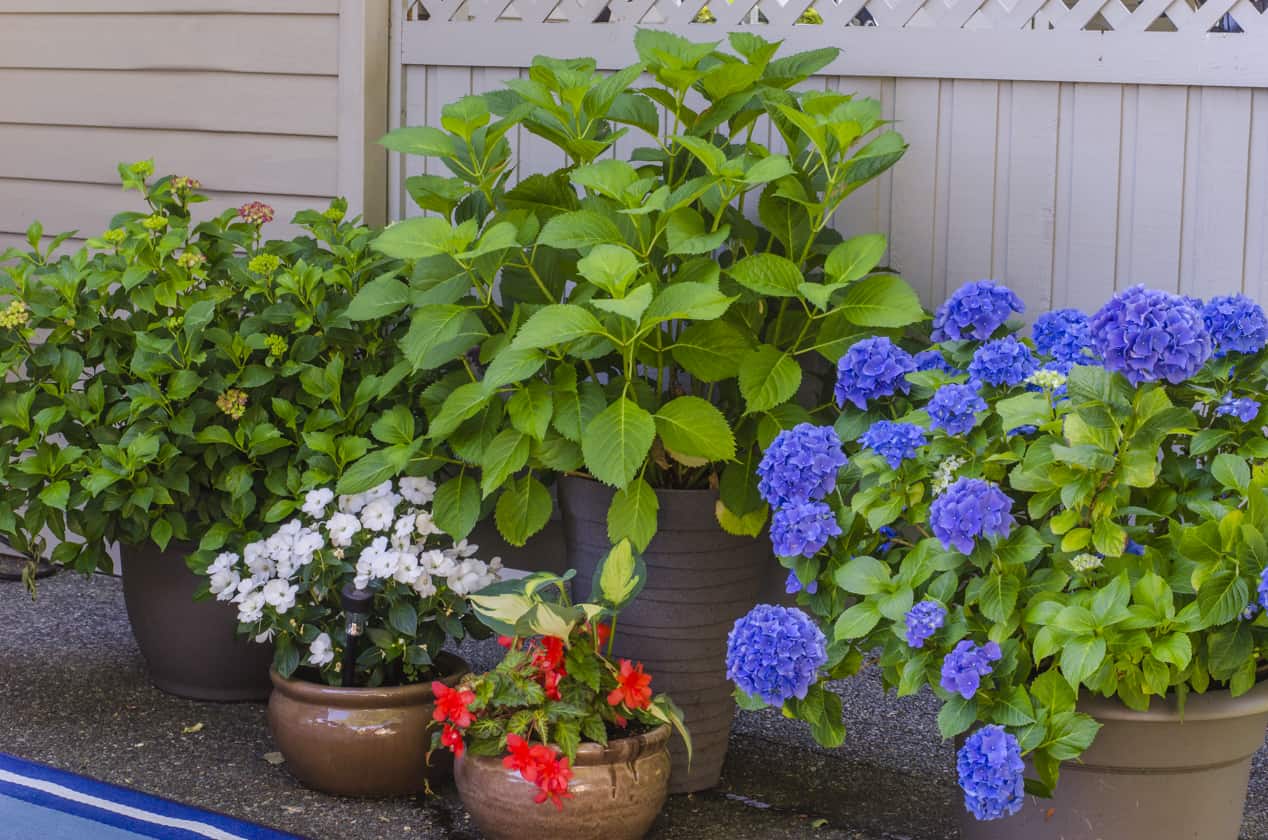
2. Place hydrangeas in a pot large enough to allow for good growth.
As you may notice in the photo above, I have 3 different varieties of hydrangeas. They differ in how big they can grow, the size of their leaves, when they bloom, and their colors.
What they all have in common is that they need large containers to thrive.
Hydrangea roots need room to stretch and grow, so it’s recommended to use pots with a depth and diameter of at least 40 to 60 centimeters.
The pots on the left and right are 20 inches in diameter and 17 inches tall. Here is one you can purchase online that is similar.
The tall one in the center is 15 inches in diameter and 22 inches tall, similar to this one.
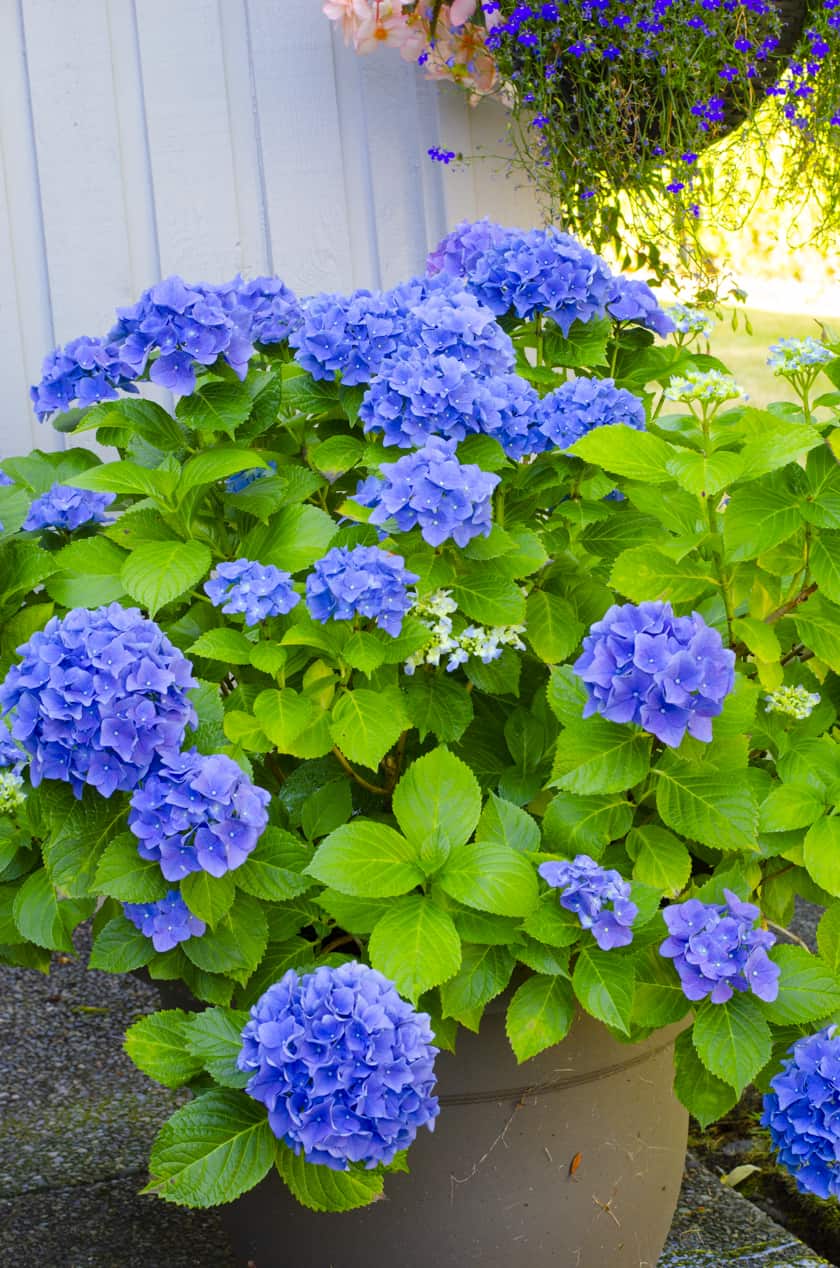
3. Make sure the hydrangea pots drain well
Hydrangeas thrive in well-drained soil, so make sure their pots have a drainage hole in the bottom. If they don’t, use a drill to make a few holes in the bottoms.
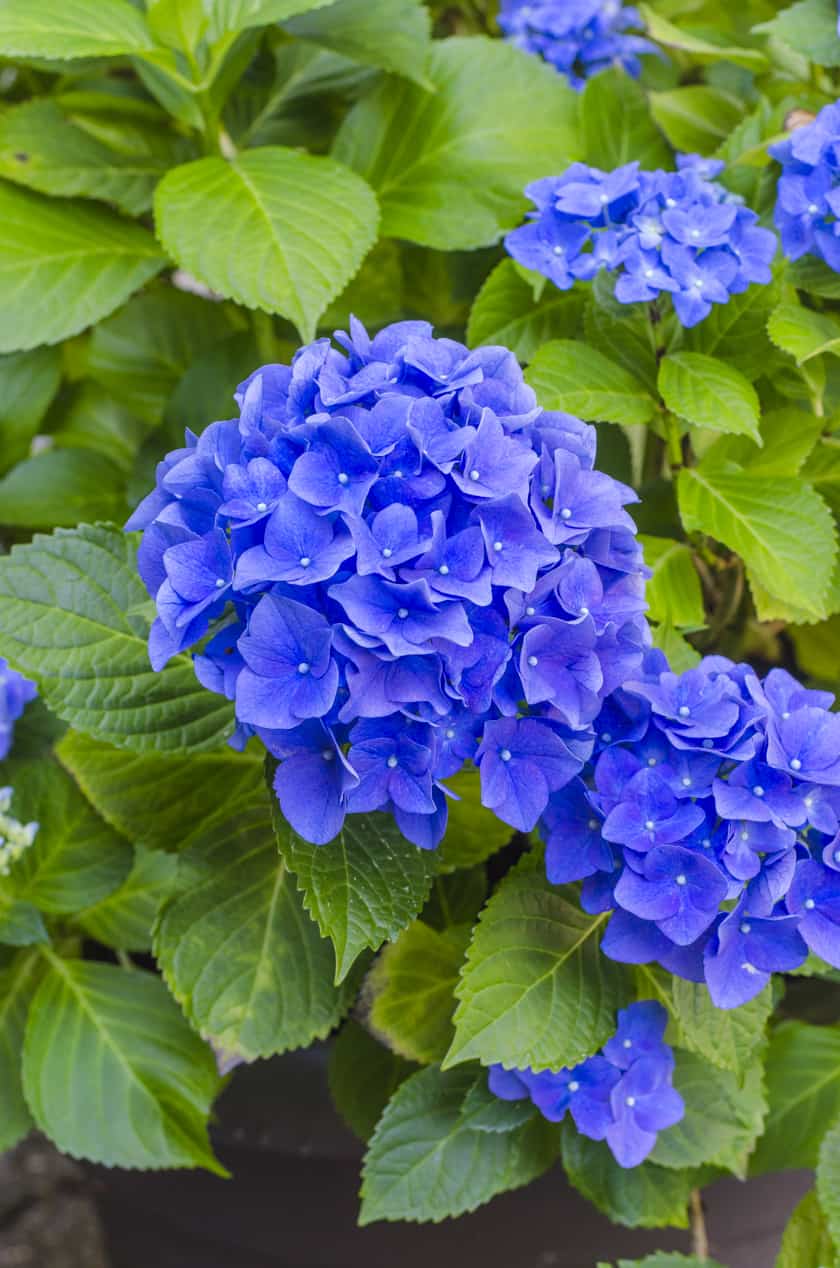
4. Use a potting soil mix that’s formulated for plants in pots
Use good-quality potting soil with slow-release fertilizer (plant food) mixed in, like this Miracle Grow kind, when you move the hydrangeas into their new pots. Then, at the beginning of each Spring, sprinkle in some slow-release plant food, like this Shake n Feed.
Someone once told me that water keeps plants alive, but their nutrients get depleted if they aren’t fed too. It’s just like us! We can survive on water alone, but we can’t thrive without food! ;) I keep that principle in mind as I care for my outdoor and indoor houseplants.
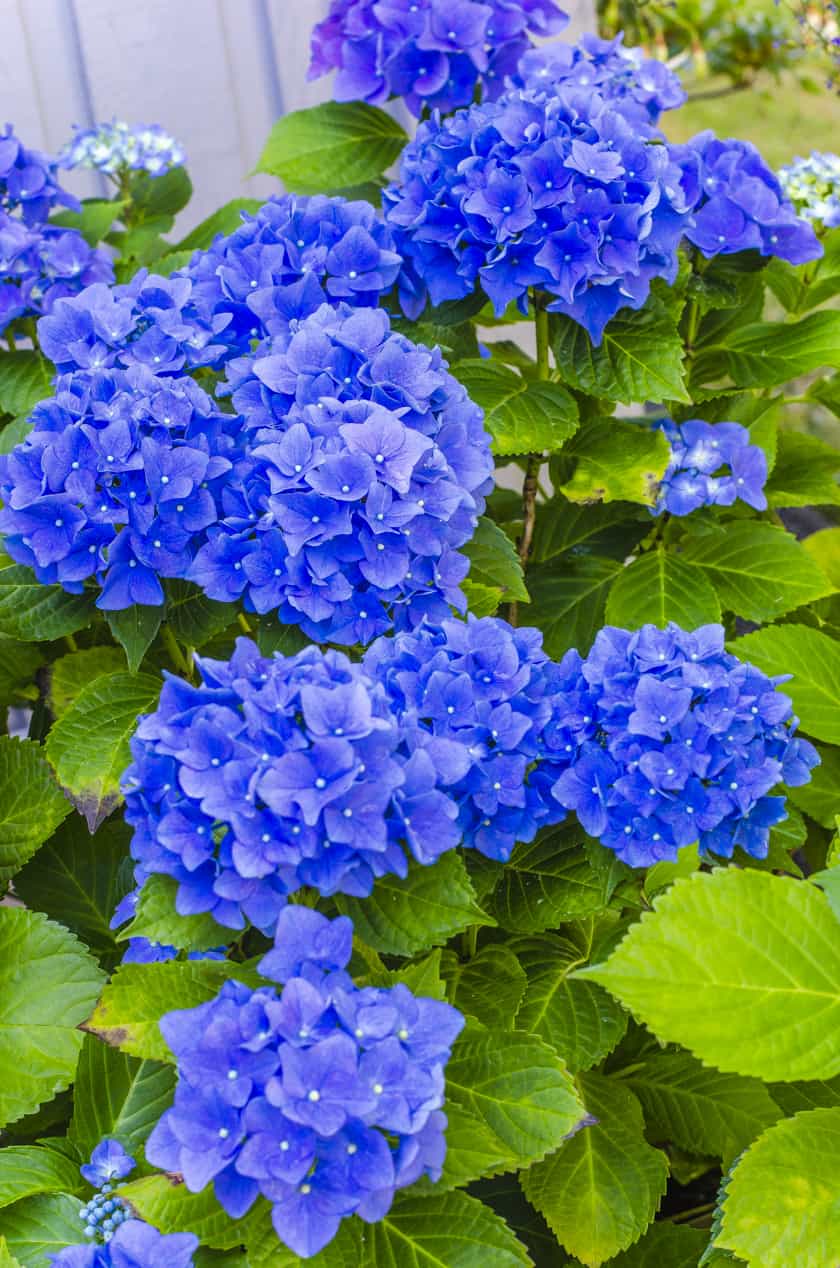
5. Place your hydrangeas in pots in a semi-shady location
Location makes a really big difference with hydrangeas. They don’t like too much sun!!
Our little deck is mostly shaded, with some afternoon sun. They seem super happy in their shady spot.
How much sun hydrangeas need depends on your location. The beauty of growing them in pots is that you can move them around until you find their happy spot!
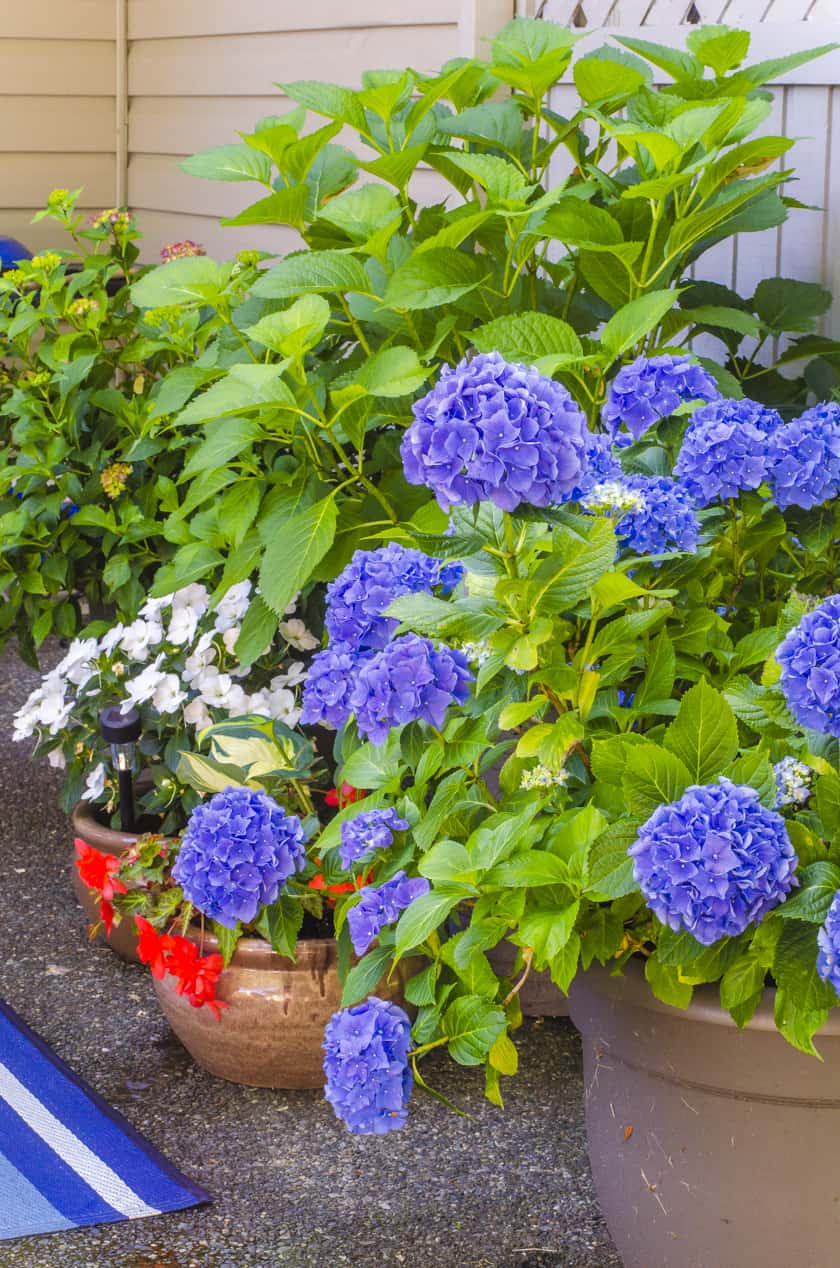
6. Water hydrangeas in pots frequently, so the soil doesn’t dry out during blooming time
While hydrangeas are blooming, they need daily watering. When we had an unusually hot spell this Summer, I even watered them twice a day, once in the morning and once in the evening. That kept them healthy and happy.
I water them with my favorite lightweight, kink-free garden hose and nozzle, aiming for the roots. Avoid watering the leaves, since that can spread disease. Water thoroughly until you see it start running out of the drainage holes in the bottom of the container and onto the patio.
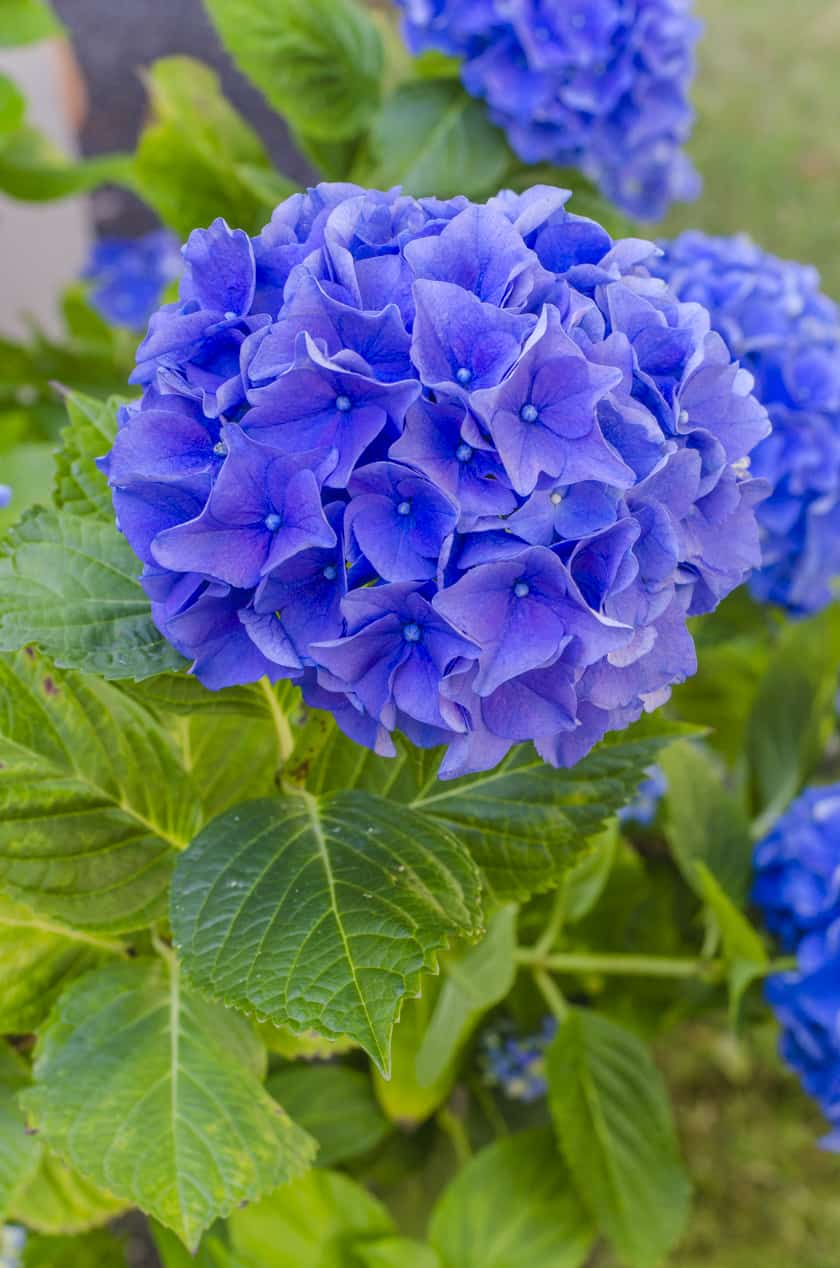
7. Harvest hydrangea blooms to encourage healthy new growth
Like many flowers, hydrangea blooms can be cut and used as beautiful cut flowers. Cutting off the blooms also encourages healthy new growth.
I found a super helpful video that shows exactly how to cut hydrangeas for flower arranging, and even how to revive a wilted hydrangea bloom!
8. Trim hydrangeas in the Fall for nice growth the next Summer
Because I don’t want my hydrangeas to get huge, I cut them way back in the Fall. Then in the Spring and Summer, it’s so much fun to watch them grow and bloom again!
How to prepare hydrangeas for Winter
Hydrangeas need a cold period before their blooms appear. Because our winters here in Zone 8 are mild, I don’t need to do anything special to prepare them. I simply leave them out in their spots on the deck, in their pots, all winter long! Trimming them back in the Fall and setting them in front of the patio divider protects them from windstorms.
Check your local recommendations for Winter hydrangea care for your weather zone.
For other gardening posts, you may want to check out:
Tips for caring for potted mums
My Top 5 {Guilt-free} Gardening Tips
Outdoor Patio Makeover Reveal!
Sweet Peas and other Summer Cut Flowers
Become a VIP and receive more ideas for your home right in your inbox!
Get more ideas for your home. Become a VIP today by clicking the button below.