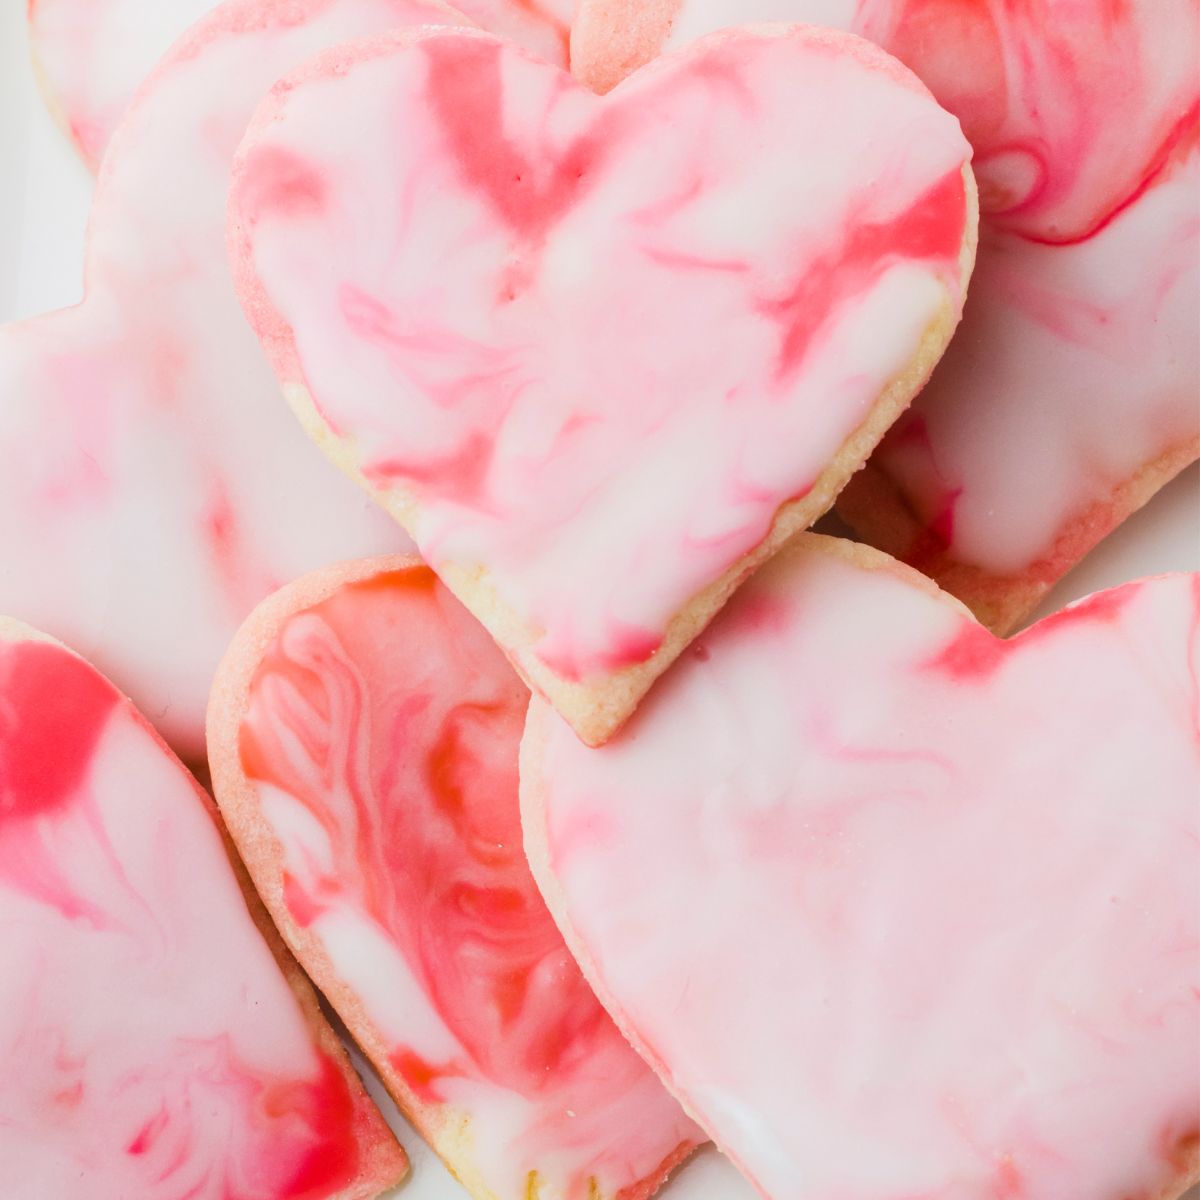
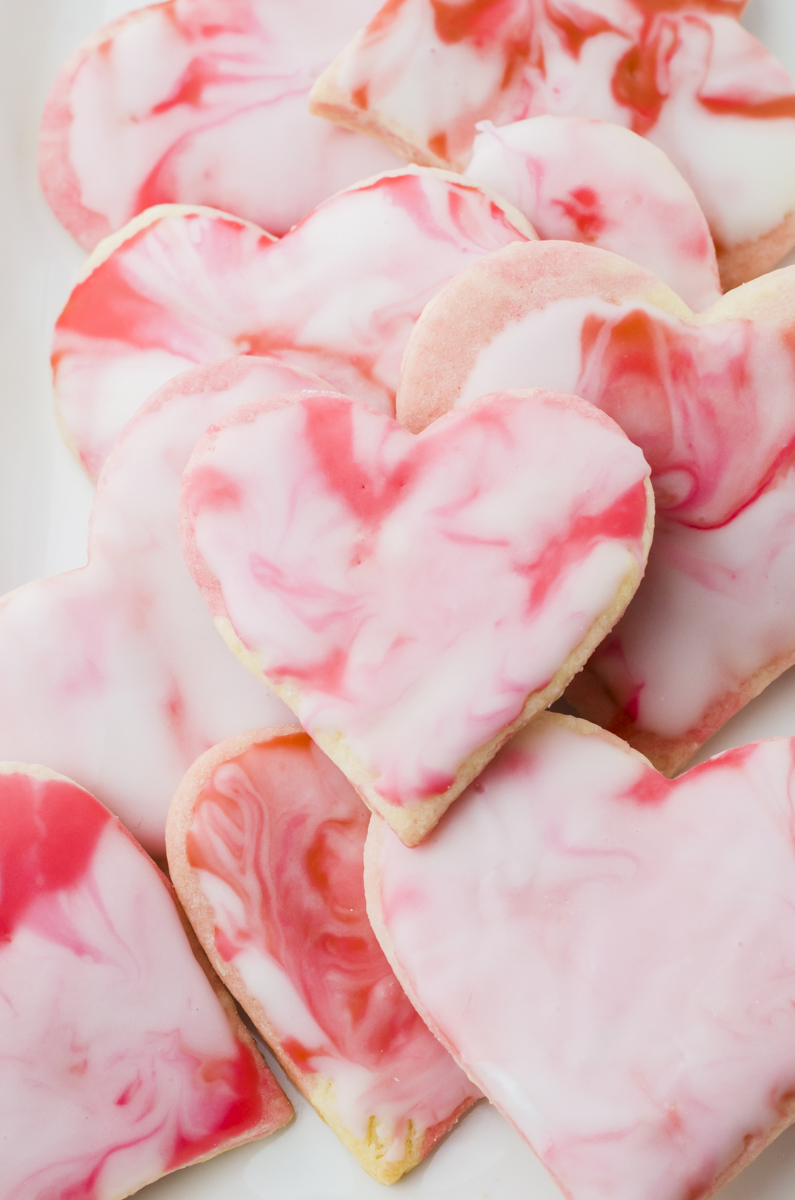
Learn how to decorate marble sugar cookies with an easy three-ingredient marble icing that looks beautiful, sets up nicely, and tastes better than royal icing.
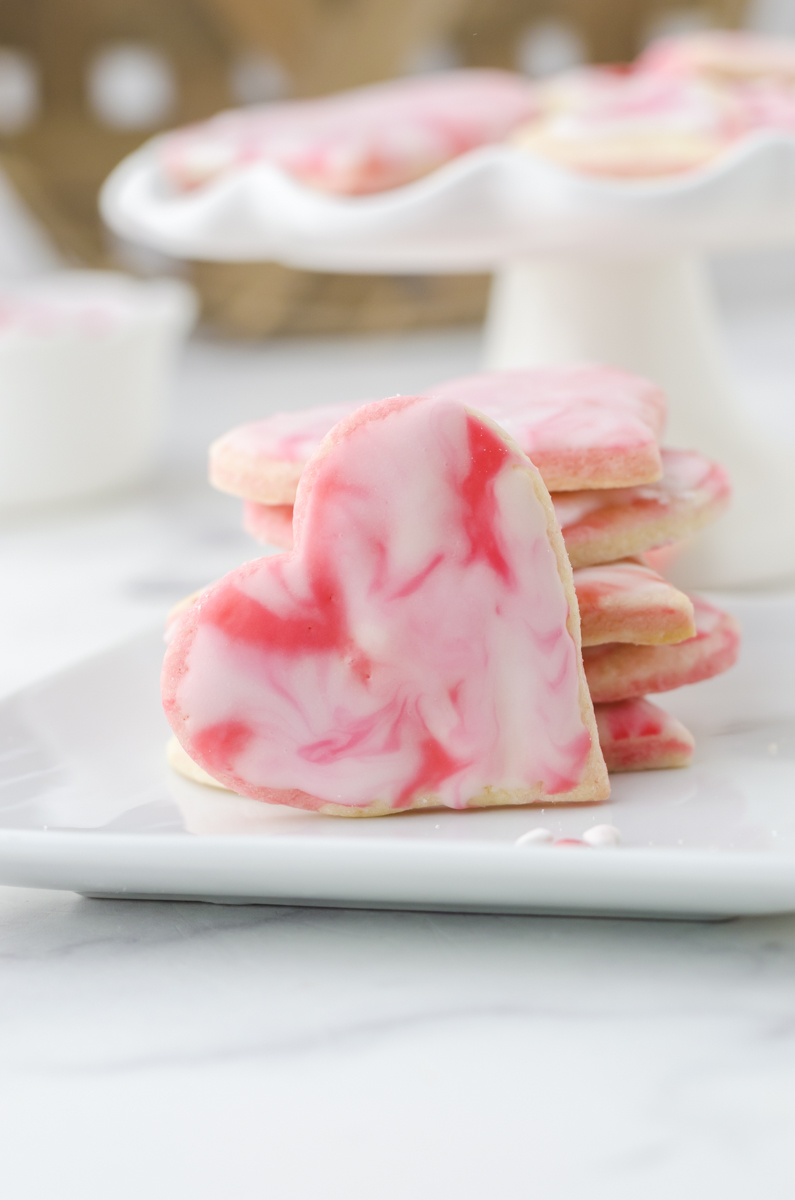
I recently made a batch of marbled heart sugar cookies for Valentine’s Day, and once I saw how pretty they turned out, I decided to take it a step further and try marbled icing to match. I’ll be honest — this buttercream-style marble icing took a little trial and error to get just right, but I’m so glad I stuck with it. The cookies turned out beautiful, and even better, they taste amazing.
This three-ingredient icing acts a lot like royal icing once it sets, but it has a much softer bite and a better flavor, in my opinion. And the best part? You can use this marbled icing technique on any sugar cookies at all — homemade, store-bought, rolled, or marbled dough. (Here is my tried and true rolled sugar cookie recipe if you want it!)
Ingredients for this marble frosting recipe
For exact measurements, see the recipe card above.
- Powdered sugar (icing sugar) – Creates a smooth, sweet icing base that sets nicely.
- Milk – Thins the icing to the right consistency for dipping and marbling.
- Extract – Vanilla, almond, vanilla-almond blend, or lemon all work well. If using vanilla, white vanilla helps keep the icing bright.
- Gel food coloring – Wilton paste food coloring works best for bold color without thinning the icing. Use pink and red, or any colors you like.
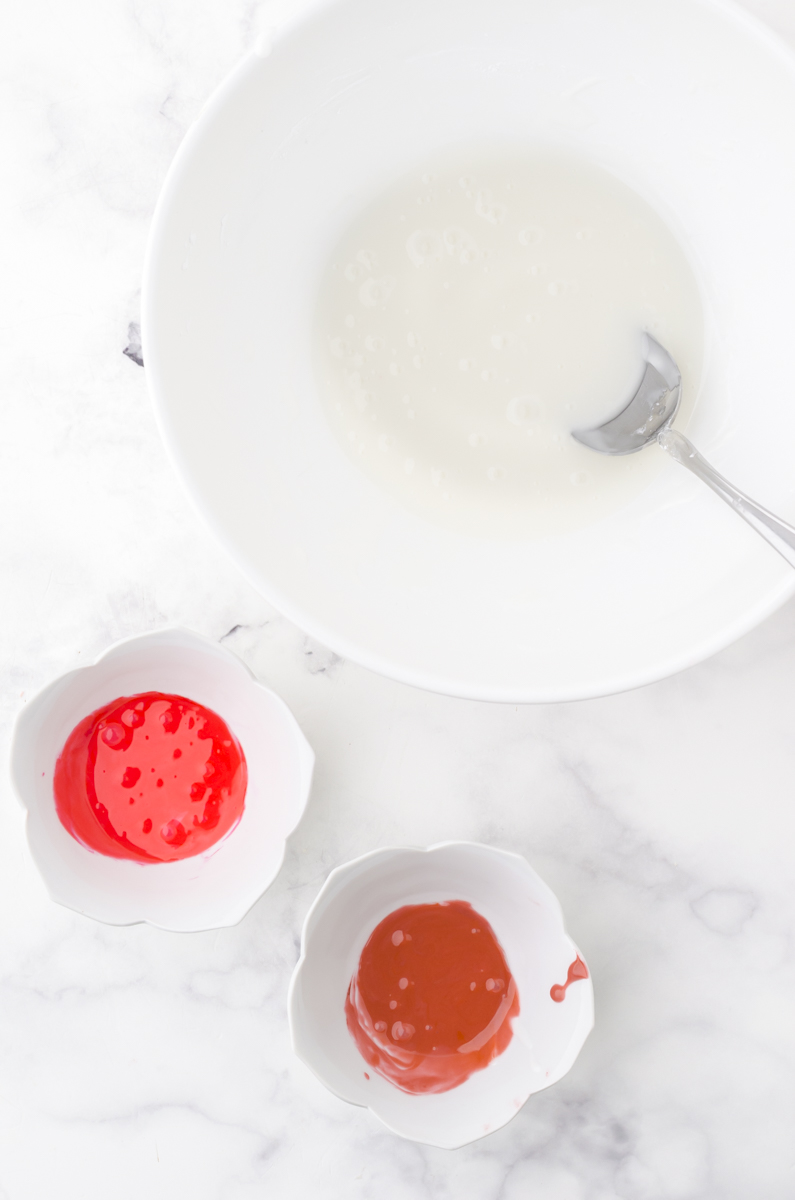
Step by step instructions for 3 ingredient marble icing
Refer to the printable recipe card above for more detailed tips and tricks.
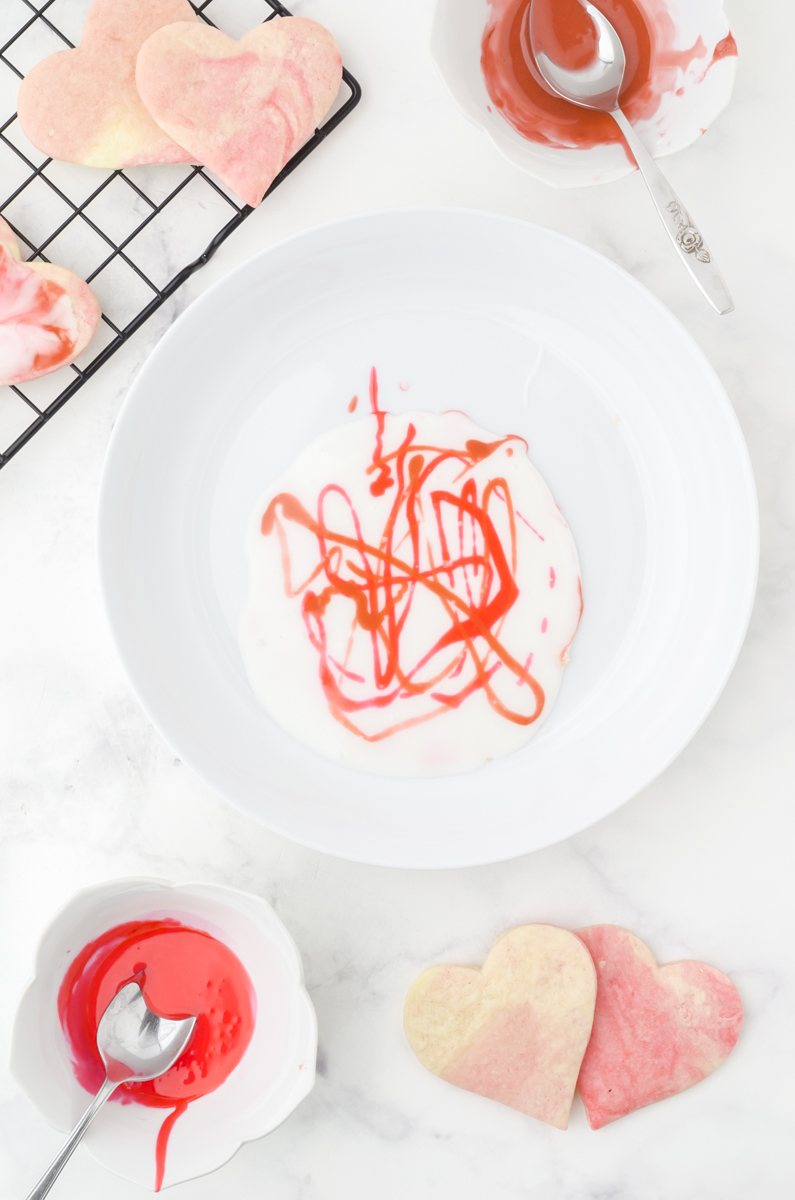
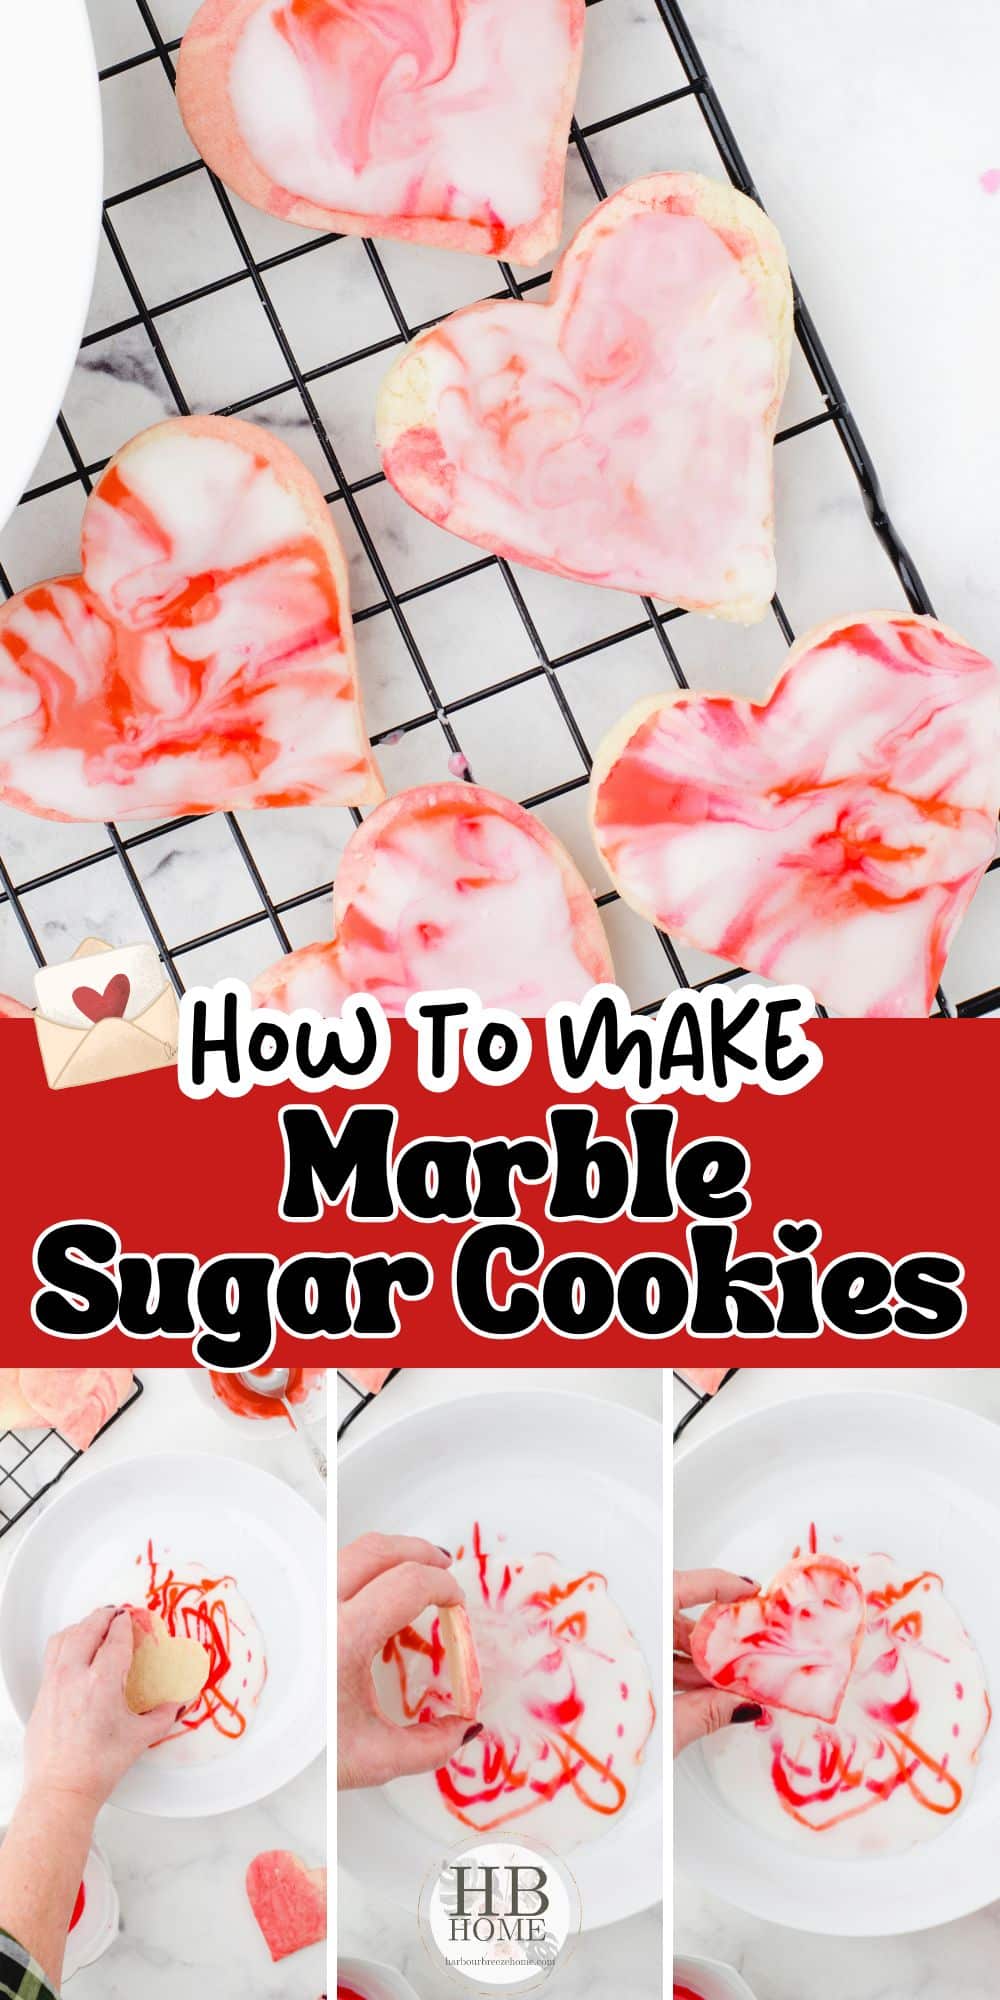
2.drizzle the colored icing over the top in a loose, random pattern. 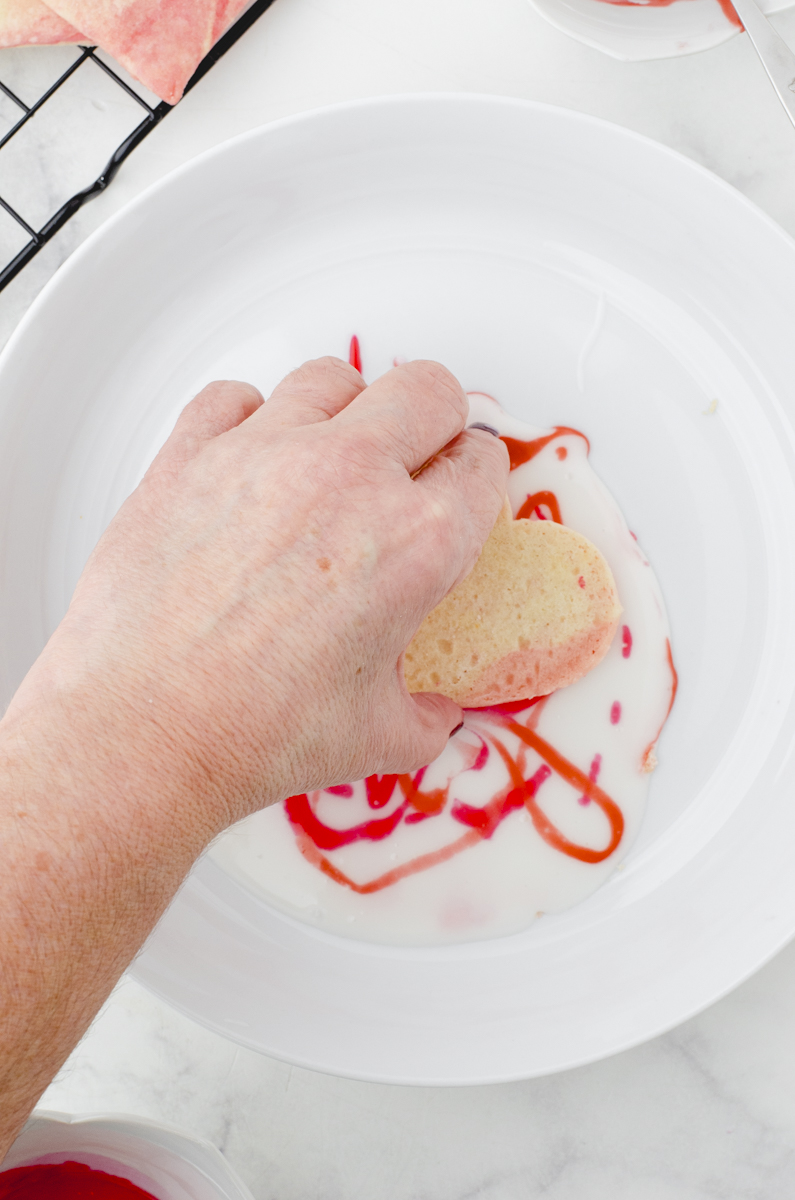
3.Dip a cookie straight down gently into the icing.
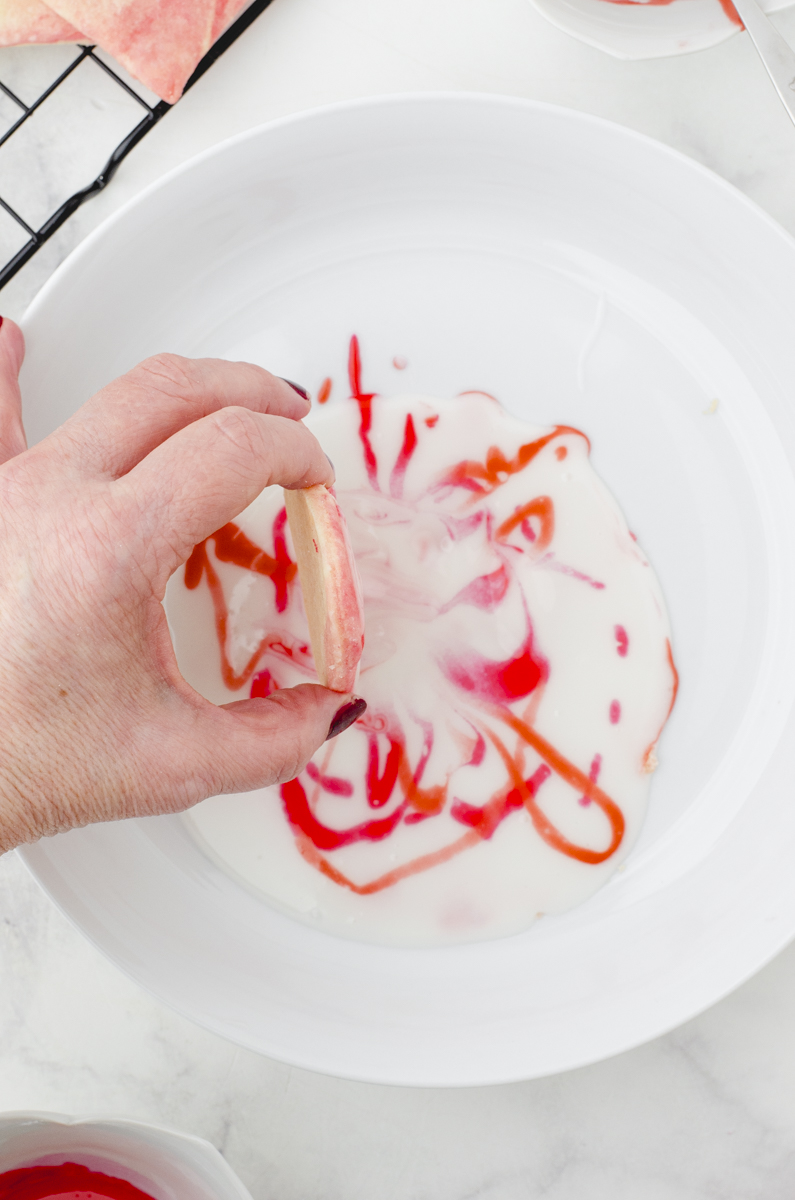
4.Gently rock the cookie back and forth to swirl the icing. 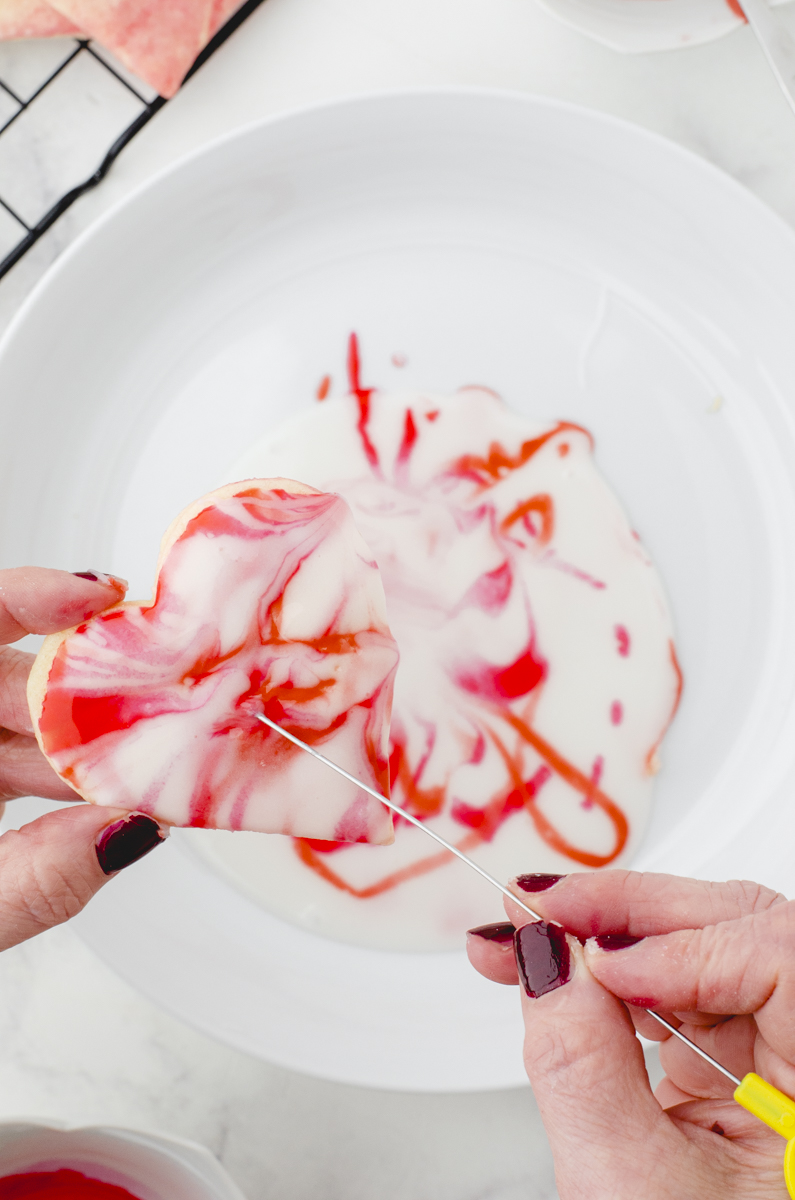
5.Use a toothpick or cake tester to pop the bubles and swilr the colors. 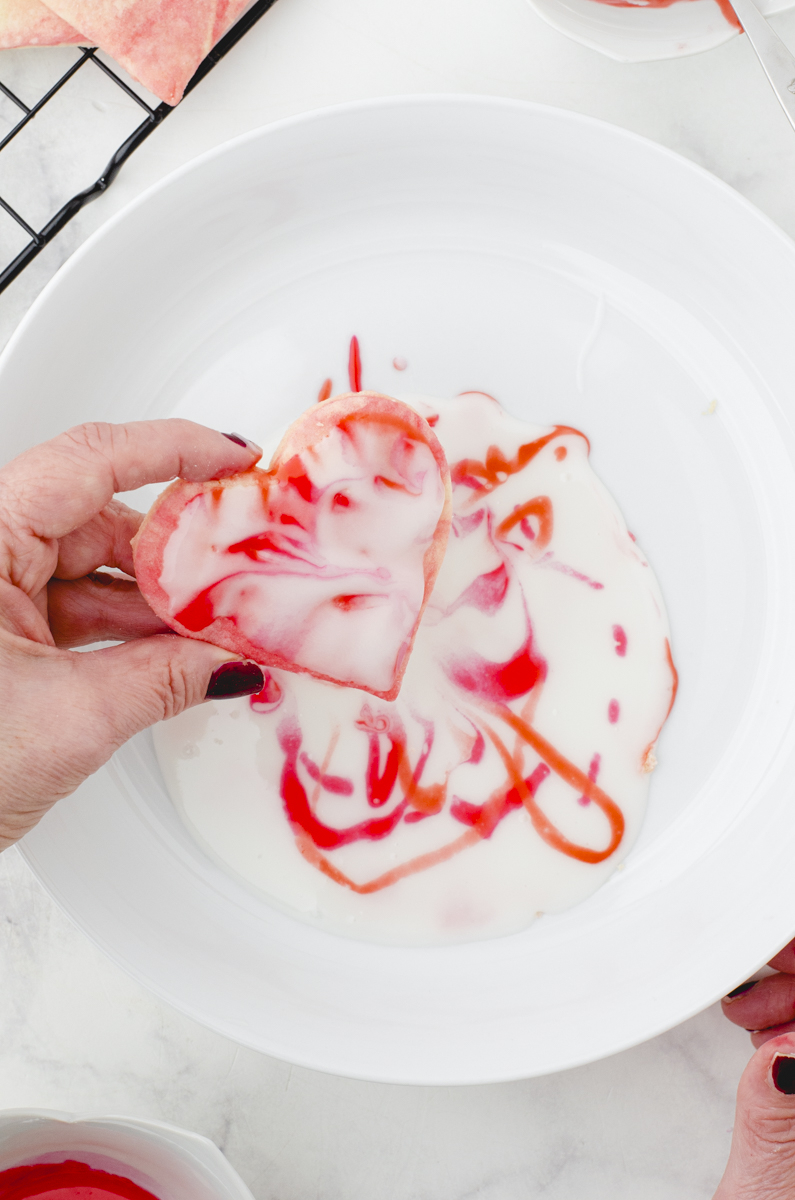
6.Set cookie on a wire rack until the icing is dry.

Helpful Tips for Marbled Icing
- This icing does set, so cover any extra bowls with plastic wrap while you work.
- If the icing thickens as you go, stir in a few drops of milk to loosen it.
- Gel food coloring works best — liquid coloring can thin the icing too much.
- Let cookies dry fully before stacking or packaging.
Other Frosting Recipes and Tips
- How to frost cupcakes the easy way
- Super easy frosting for sugar cookies
- Easy gingerbread cookies recipe (with royal icing)
Marbled Icing for Sugar Cookies
This straightforward marble icing method provides an elegant way to adorn marbled sugar cookies requiring only three components and any favorite sugar cookie variety.
Ingredients
Method
- Begin by carefully measuring powdered sugar into a spacious mixing vessel. Incorporate the almond extract along with three tablespoons of liquid milk. Whisk the combination thoroughly. Gradually introduce more milk while stirring, aiming for a texture that flows smoothly yet maintains a coating consistency when tested against a spoon. Achieving the perfect texture is essential for success. A reliable test involves drawing a knife through the center of the frosting; the ideal result sees the gap refill within six to eight minutes. Should the mixture prove too fluid, simply incorporate additional powdered sugar to reach the desired thickness.
- Distribute modest portions of the glaze into separate miniature containers. Mix in concentrated food coloring paste until the preferred hues are attained.
- Guide the uncolored frosting into a shallow receptacle. Artfully sprinkle the chosen pigments across the surface in an arbitrary design.
- Immerse the biscuits vertically into the pool of icing, then raise them up with a gentle motion, swaying them laterally from side to side. Eliminate any trapped air pockets instantly using a wooden pick or a thin metal tester.
- Position the treats upon a ventilated rack to air dry thoroughly. Ensure they are completely set before attempting to arrange them in stacks.
Notes
Because this particular glaze sets, keep any leftover marble icing mix in sealed bowls covered with plastic wrap to stop it from solidifying. When the icing became overly dense, I adjusted the consistency by incorporating additional milk.
Since this glaze hardens, if you are making only small quantities of the marble icing mix, ensure any remaining frosting is covered with plastic wrap to avoid hardening. I noticed the icing was becoming too thick, so adding extra milk helped maintain the proper thinness.