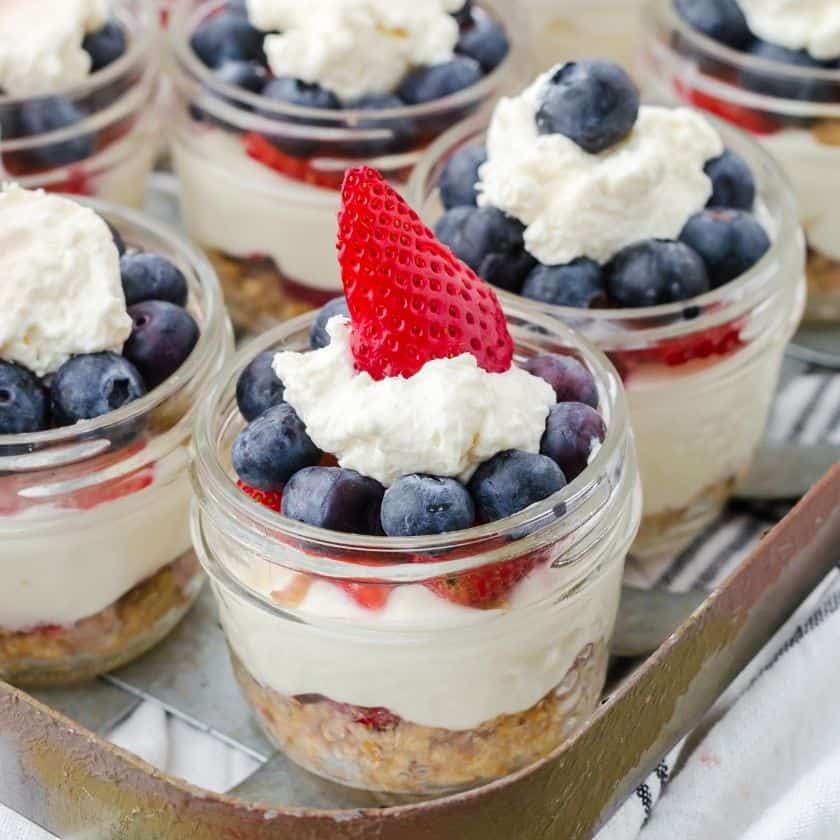
I have a delightful and simple no-bake cheesecake recipe for you, perfect for any celebration or family get-together.
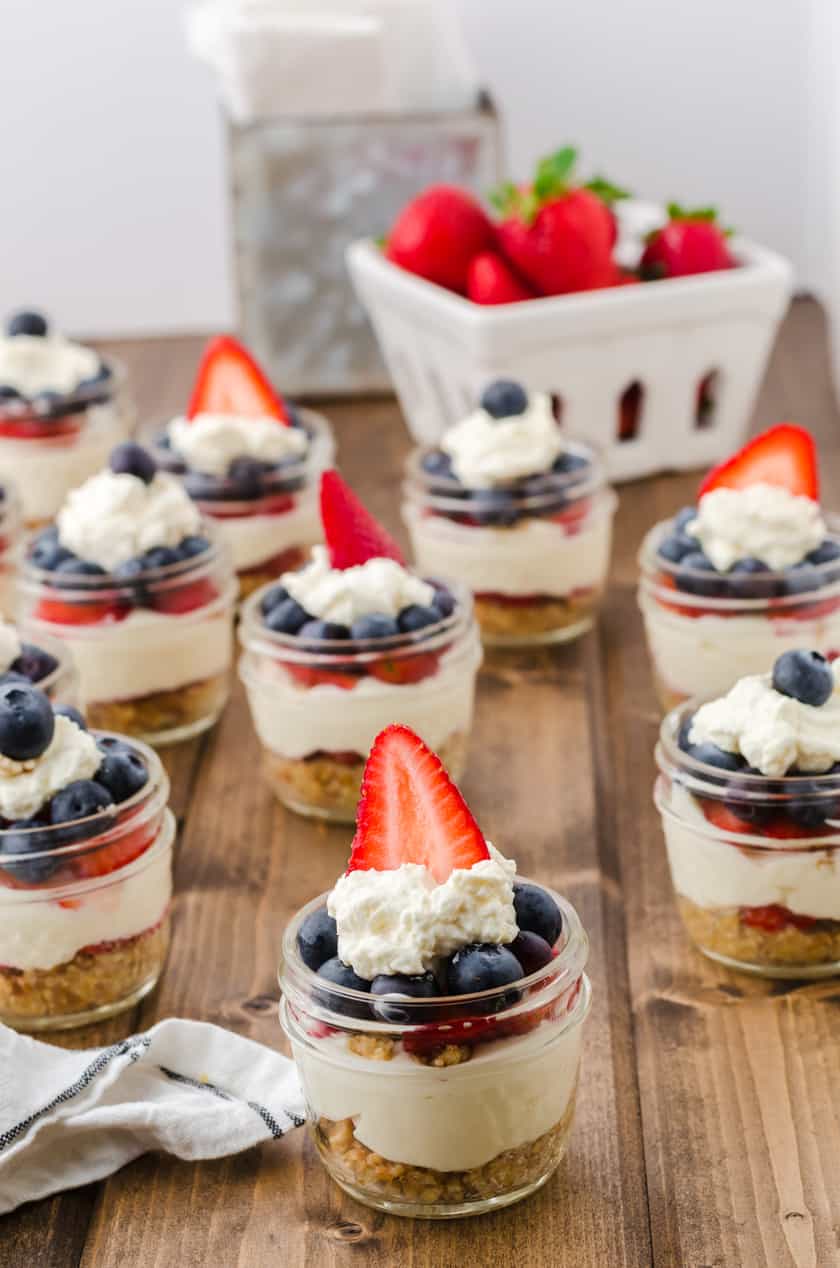
This creamy filling is situated between a pretzel pie crust and fresh fruit, then crowned with whipped cream. These treats are wonderfully easy to prepare; by choosing different fruits, they can even suit holidays like the 4th of July or Memorial Day with red, white, and blue colors. Opt for extra strawberries instead of blueberries for a Canada Day inspired dessert!
Crafting No Bake Cheesecake in Mini Mason Jars
Required Ingredients & Items:
- 1 cup of finely crushed pretzel crumbs
- 3 Tablespoons of sugar
- ¼ cup plus 2 Tablespoons of melted unsalted butter
- 1 package (8 ounce or 250 grams) of cream cheese, brought to room temperature and softened
- ½ cup of plain Greek yogurt
- ½ teaspoon of vanilla extract
- ¼ cup of liquid honey
- ¼ cup of sifted powdered sugar
- 12 medium fresh strawberries
- ½ pint of fresh blueberries
- ½ cup of whipped whipping cream
- 12- 4 ounce (125 ml) mason jars
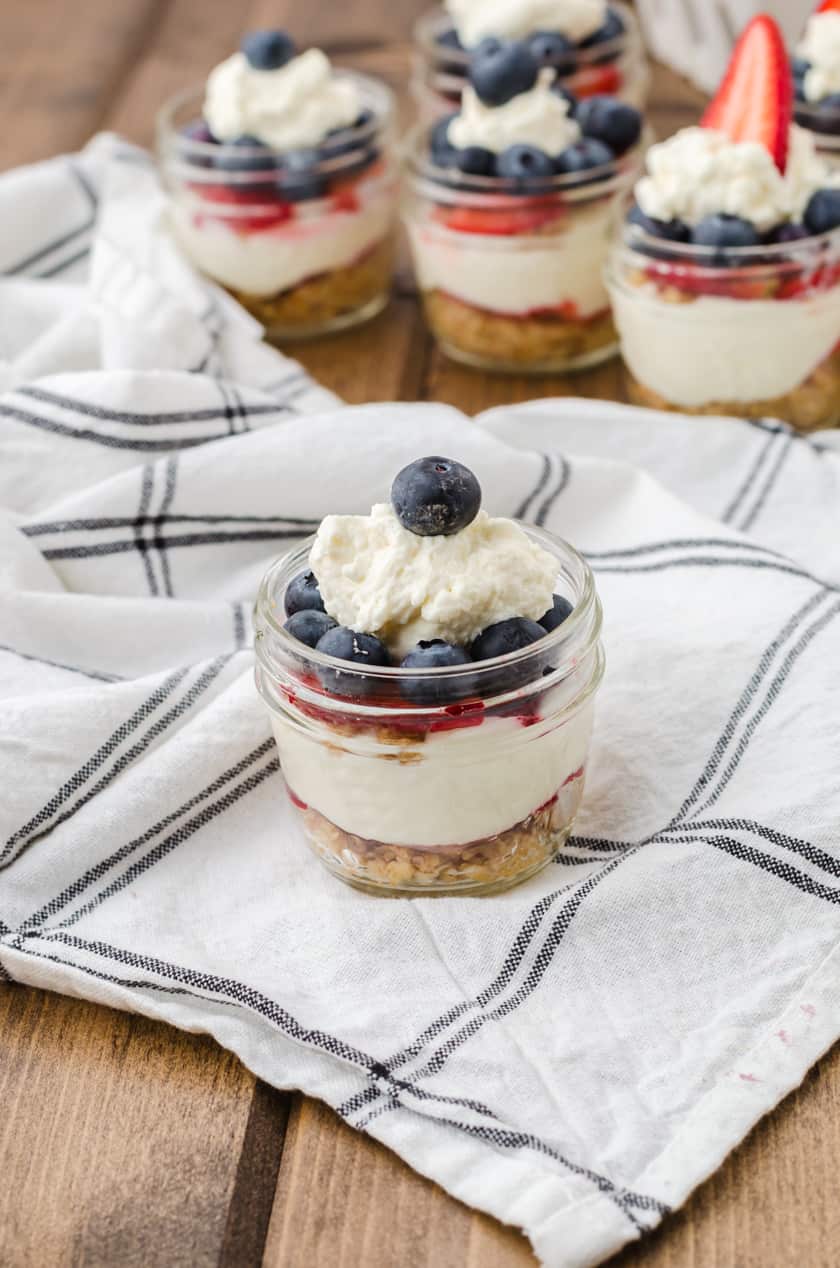
Instructions for these mason jar desserts
Initial Step: Combine the pretzel crust components—pretzel crumbs, sugar, and melted butter—to mix thoroughly.
Place one tablespoon of the pretzel crust mixture into the base of each of the 12 mini mason jars, saving any remaining crumbs for another layer. Arrange the jars on a baking sheet and chill in the freezer for a minimum of 10 minutes until the crust sets.
Next Step: While the crust chills, create the no bake cheesecake filling. Beat the cream cheese until smooth and fluffy using an electric mixer. Incorporate the yogurt and vanilla, mixing until well combined; remember to scrape the sides and bottom of the mixer during mixing for even incorporation. On low speed, drizzle in the honey, then stir in the powdered sugar.
Rinse the fruit in a colander under running water. For the strawberries, remove the tops, place each on a cutting board on the cut side, and slice them thinly. Ensure all stems are removed from the blueberries.
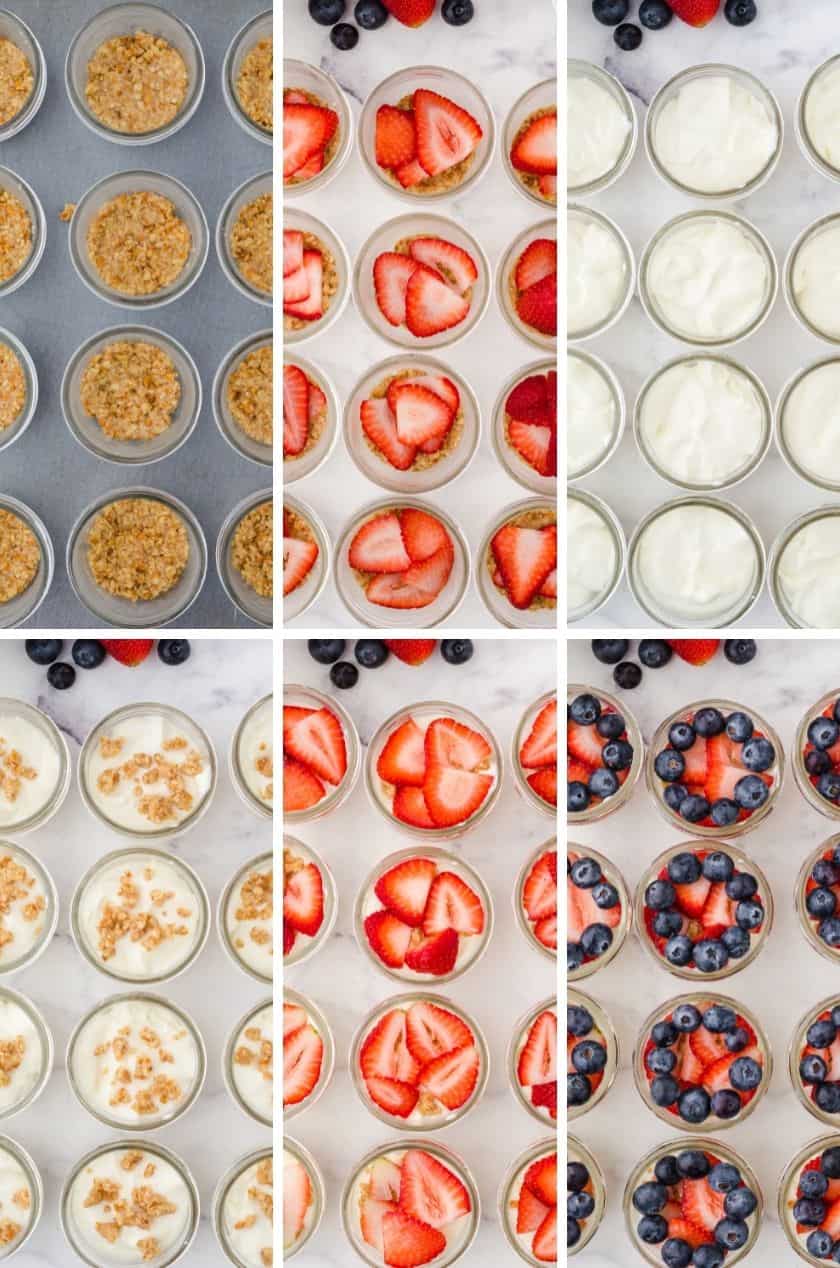
Enjoy assembling these mason jar no bake cheesecake bites; feel free to customize the appearance by mixing and matching! Step 4: Layer the mason jars in this sequence:
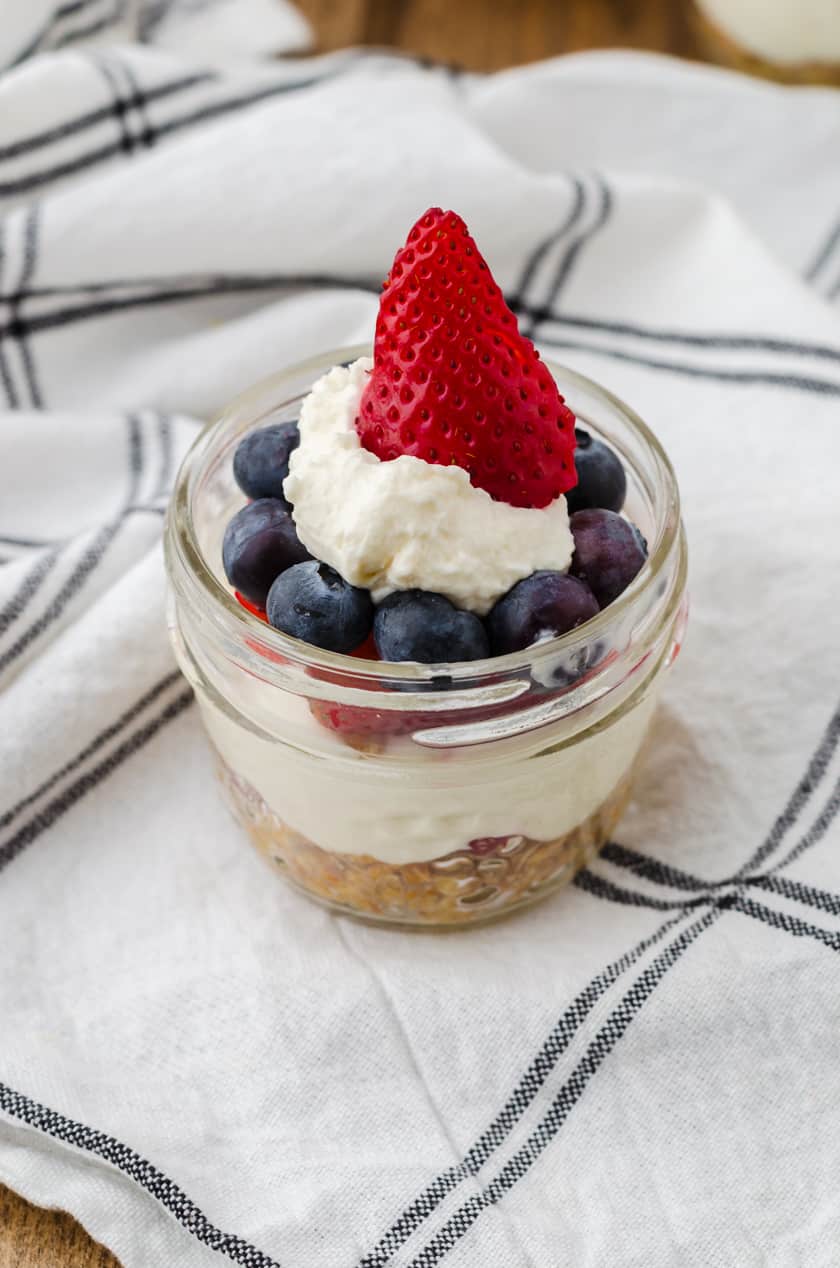
- pretzel crust
- fresh strawberries, diced into small pieces
- Creamy cheesecake filling (Begin by placing a generous spoonful of the mixture into each jar, then continue adding until the layers are evenly spread throughout.
- A light dusting of pretzel crumbs remaining from the base layer
- fresh strawberries, sliced
- a circular arrangement of blueberries
- lightly whipped cream
- a single slice of strawberry or blueberry placed on the very top
Allow these treats to cool in the refrigerator before enjoying. (For best results, wait at least 6 hours or leave them overnight. That said, I tasted mine just one hour after putting it together, and they were still fantastic.)
Step 5: Introduce the whipped cream as a final touch. To achieve the perfect texture, follow these easy instructions:
- Place the bowl and whisk of your electric mixer into the refrigerator or freezer to get them cold.
- Add 1/2 cup of whipping cream to the chilled bowl and beat until the mixture begins to stiffen. Gradually incorporate ½ teaspoon of vanilla extract and 1 Tablespoon of granulated sugar. Sample the cream to determine if the sweetness level suits your preference. If you desire more sweetness, feel free to add a touch more sugar.
Helpful hints for these no bake cheesecake bites with a pretzel base
- To create pretzel crumbs, pulse roughly 2 cups of twisted pretzels in a food processor or small chopper until the texture resembles fine sand. Lacking a processor? Place the pretzels inside a zip-top bag and use a rolling pin to crush them into crumbs by rolling back and forth.
- While both salted and unsalted butter work well for the pretzel base, I opted for unsalted – considering the salty nature of the pretzels themselves.
- Ensure the cream cheese has reached room temperature before beginning the mixing process. This makes the task considerably smoother! Although I have experimented with various labels, Philadelphia remains my top choice for no bake recipes.
- If you possess creamed honey (as we do), simply measure out 1/4 cup and microwave it for roughly 20 seconds, or until it becomes a liquid.
- These 4-ounce mason jar servings are ideal for a dessert spread or charcuterie board. Should you desire a more substantial portion, utilize larger jars or bowls and reduce the yield to six instead of twelve.
- Freezing no bake cheesecake is not advised. Nevertheless, it is optimal if kept chilled for 12 hours prior to serving, making it an excellent make-ahead treat. Lacking that much time? That is perfectly fine. I presented these just one hour after assembly, and they were still delicious!
- No bake cheesecake lacks the firmness of a baked version, even after chilling. The texture is closer to a pudding or airy mousse.
- For a simpler alternative to whipping cream by hand, opt for canned whipped topping.
Alternative takes on this no bake cheesecake jar dessert
- The pretzel base was born from my affection for the classic strawberry pretzel salad! That said, a graham cracker, Oreo, or vanilla wafer crust would work beautifully as a substitute.
- Make this easy no bake cheesecake recipe in a pie shell or 8 x 8 inch baking pan and serve as pie or squares instead.
- If having them at a party, place a long white flag toothpick in each one with the guests name…or use a flag like this .(affiliate links)
For more dessert ideas, you might want to check these out:
- Cherry Cheesecake Bites
- Banana Pudding Pie
- Strawberry Pie with Jello
- Lemon Meringue Pie
- Texas Sheet Cake
For more recipes and ideas for your home:
Be sure to join the VIP newsletter list! As a valued VIP member, you will get exclusive access to the entire library of free printables – including wall art, cards, organization lists, menu planning set, and more.

And if you want to see more real life behind the scenes action, be sure to come join me on my @Bildirimlerim Instagram Channel!
Mini Mason Jar No Bake Cheesecake Recipe
These charming, bite-sized mason jar desserts feature a creamy no bake cheesecake filling sandwiched by a pretzel pie crust, fresh fruit, and finished with whipped cream.
Ingredients
Method
- Begin by blending pretzel crumbs, sugar, and melted butter to create the base for your crust.
- Distribute one tablespoon of the pretzel mixture across the base of twelve mini mason jars. Note that some crumbs will remain; set these aside for a future layer. Position the jars on a baking tray and freeze for a minimum of ten minutes to ensure the base sets firmly.
- During the chilling period, prepare the no-bake cheesecake mixture. Using an electric mixer, whip the cream cheese until it reaches a light and airy consistency. Incorporate the yogurt and vanilla extract thoroughly. Remember to periodically scrape the mixer's sides and base to guarantee a smooth blend. While the mixer runs on low, gradually pour in the honey, followed by the powdered sugar.
- Cleanse the fruit by rinsing it under water in a strainer. To prepare the strawberries, remove the green caps and position each berry on its flat end on a chopping board. Cut into fine slices, and carefully remove all stems from the blueberries.
- pretzel crust
- strawberries
- Cheesecake filling (Begin with a generous spoonful for each container and adjust the amount as needed to ensure an even distribution.)
- a light dusting of leftover pretzel crumbs from the base layer
- strawberries
- a circular arrangement of blueberries
- whipping cream
- a strawberry or blueberry slice for the final garnish
- Allow these treats to set before serving. (For best results, refrigerate for a minimum of six hours or overnight. That said, I enjoyed mine just one hour after assembly, and they were still delightful.)
- Place the bowl and whisk of your electric mixer in the refrigerator or freezer to chill.
- Introduce half a cup of whipping cream into the chilled bowl and whisk until the texture begins to firm. Gradually incorporate half a teaspoon of vanilla extract and one tablespoon of sugar. Sample the mixture to assess the sweetness; if desired, increase the sugar content slightly.