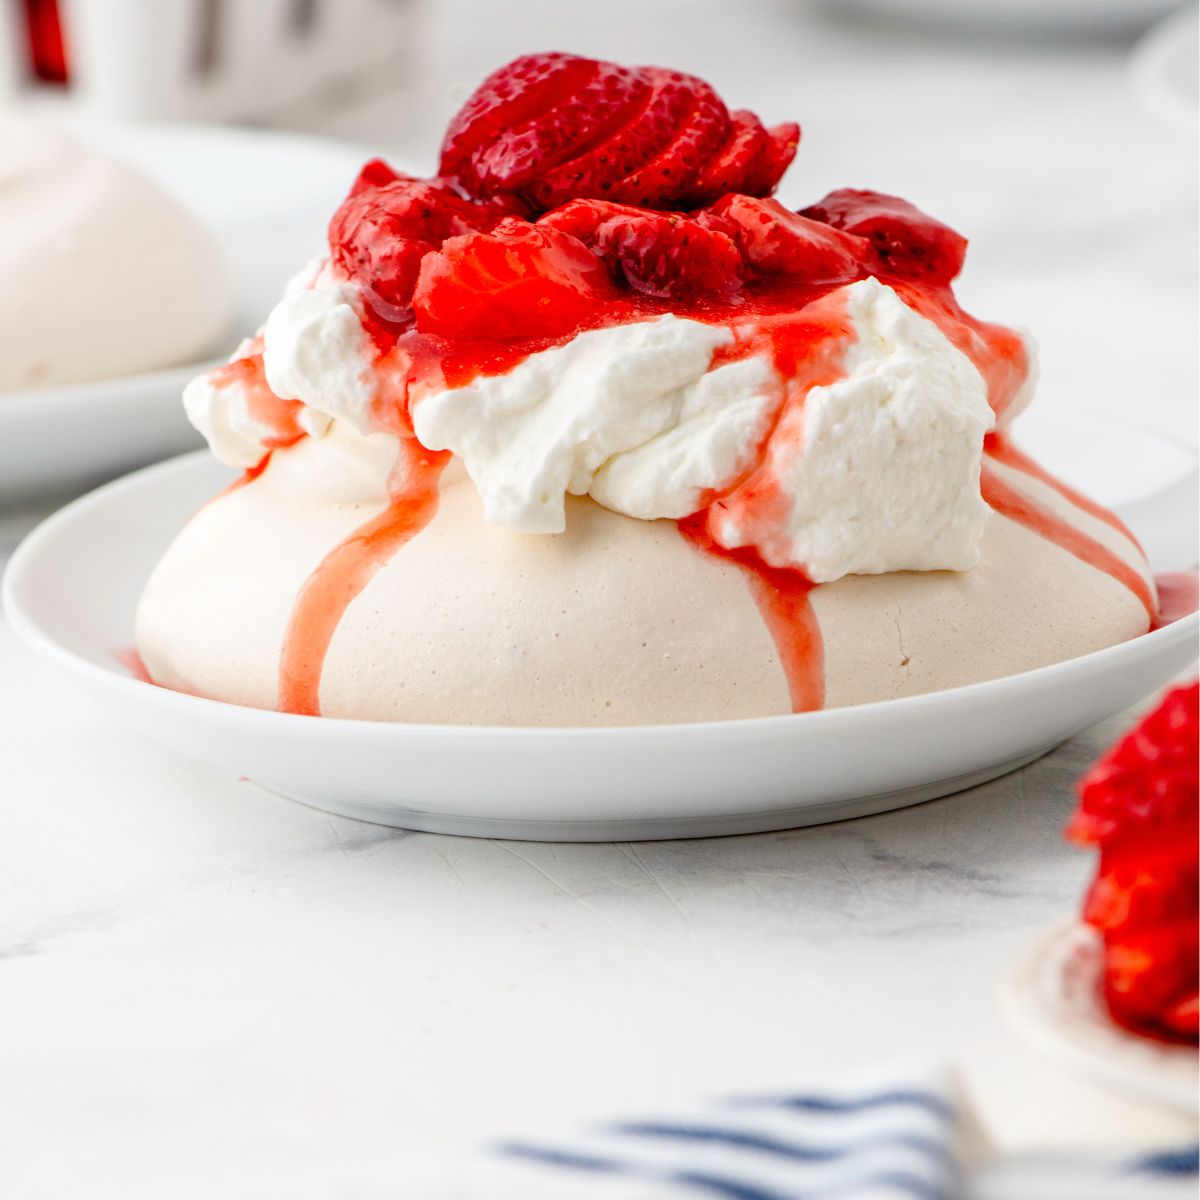
This easy strawberry pavlova recipe has a crispy meringue shell, a soft marshmallowy centre, and a gorgeous fresh strawberry topping — and it only needs 3 ingredients!
If you’re looking to wow your guests with a stunning dessert, I’ve found the perfect recipe for you! This gorgeous Strawberry Pavlova recipe was inspired by a cooking segment on Mary Berg’s “Mary Makes it Easy” tv show. These individual pavlovas are a perfect combination of decadence and simplicity, made with only a few ingredients and minimal hands-on effort. Though they require a long cooling time in the oven, the result is well worth the wait. Paired with fresh whipped cream and a luscious seasonal berry topping, this dessert is a sweet, light, and fresh way to end any meal in style.
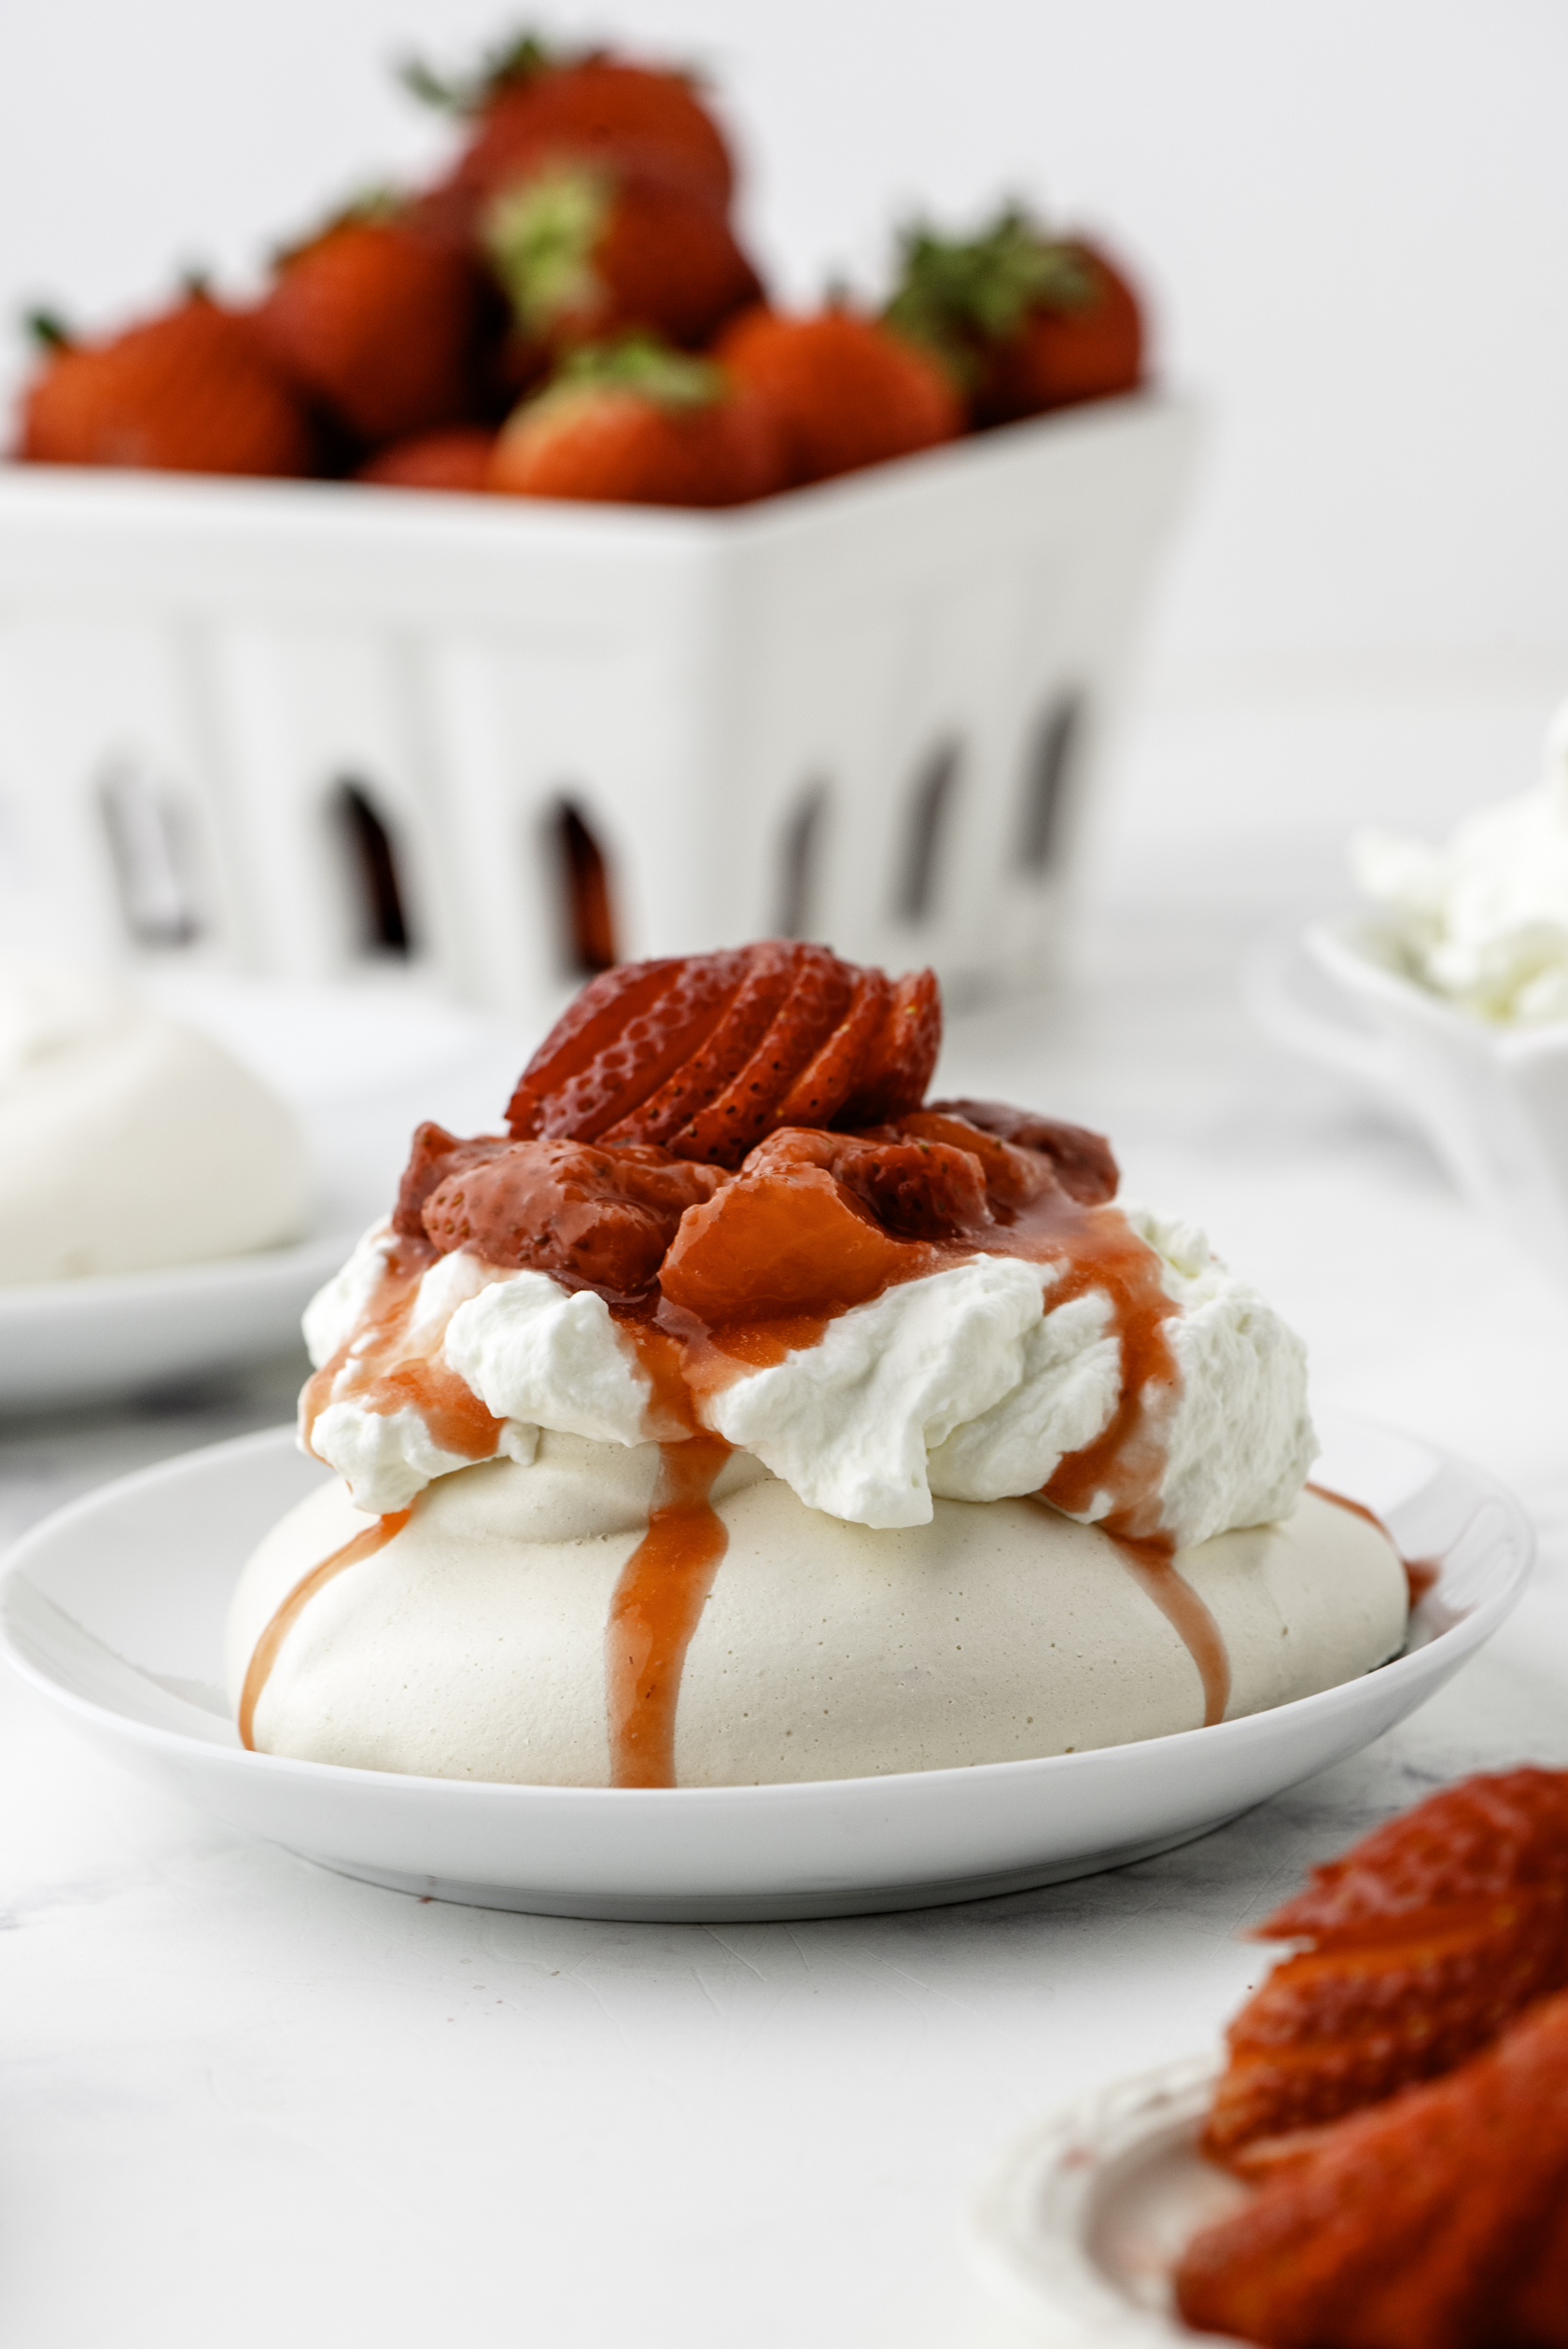
Why you’re going to LOVE this recipe!
It’s quick to whip up! These impressive little pretty desserts only take a few minutes to whip up and get in the oven.
Only 3 ingredients are needed. The pavlovas themselves are made with only 3 ingredients – all of which I’m sure you have in your kitchen – egg whites, white sugar, and cornstarch (and a pinch of salt).
You can vary the toppings to fit the occassion – or use any seasonal fruit. Since it’s strawberry season, I topped this with some whipped cream and yummy strawberry sauce, but you can use any seasonal fruit, or you can switch it up with toppings like ice cream and chocolate fudge sauce!
How I discovered this recipe.
A few days ago, I was thinking about what I was going to cook for some friends who were coming over for dinner. My husband and I are currently trying to eat less sugar in our diet, so I was searching for a dessert option that was special but not loaded with sugar.
I sat down for a little cup of coffee and popped on the tv to watch a little bit of the “Mary Makes it Easy” show. She was featuring an individual pavola recipe, and I realized it was the perfect solution to my dessert dilemma!
What is pavlova?
Pavlova is a recipe named after a ballerina whose last name was Pavlova. It is a very light dessert that is essentially the same thing as meringue baked on a pie – except it is baked alone and allowed to cool very slowly.
The end result is a pavolva with a crispy crust with a soft and chewy center – almost like a marshmallow.
It’s made with mainly egg whites and sugar, so it does taste delightfully sweet – making it the perfect base for toppings like whipped cream and fruit.
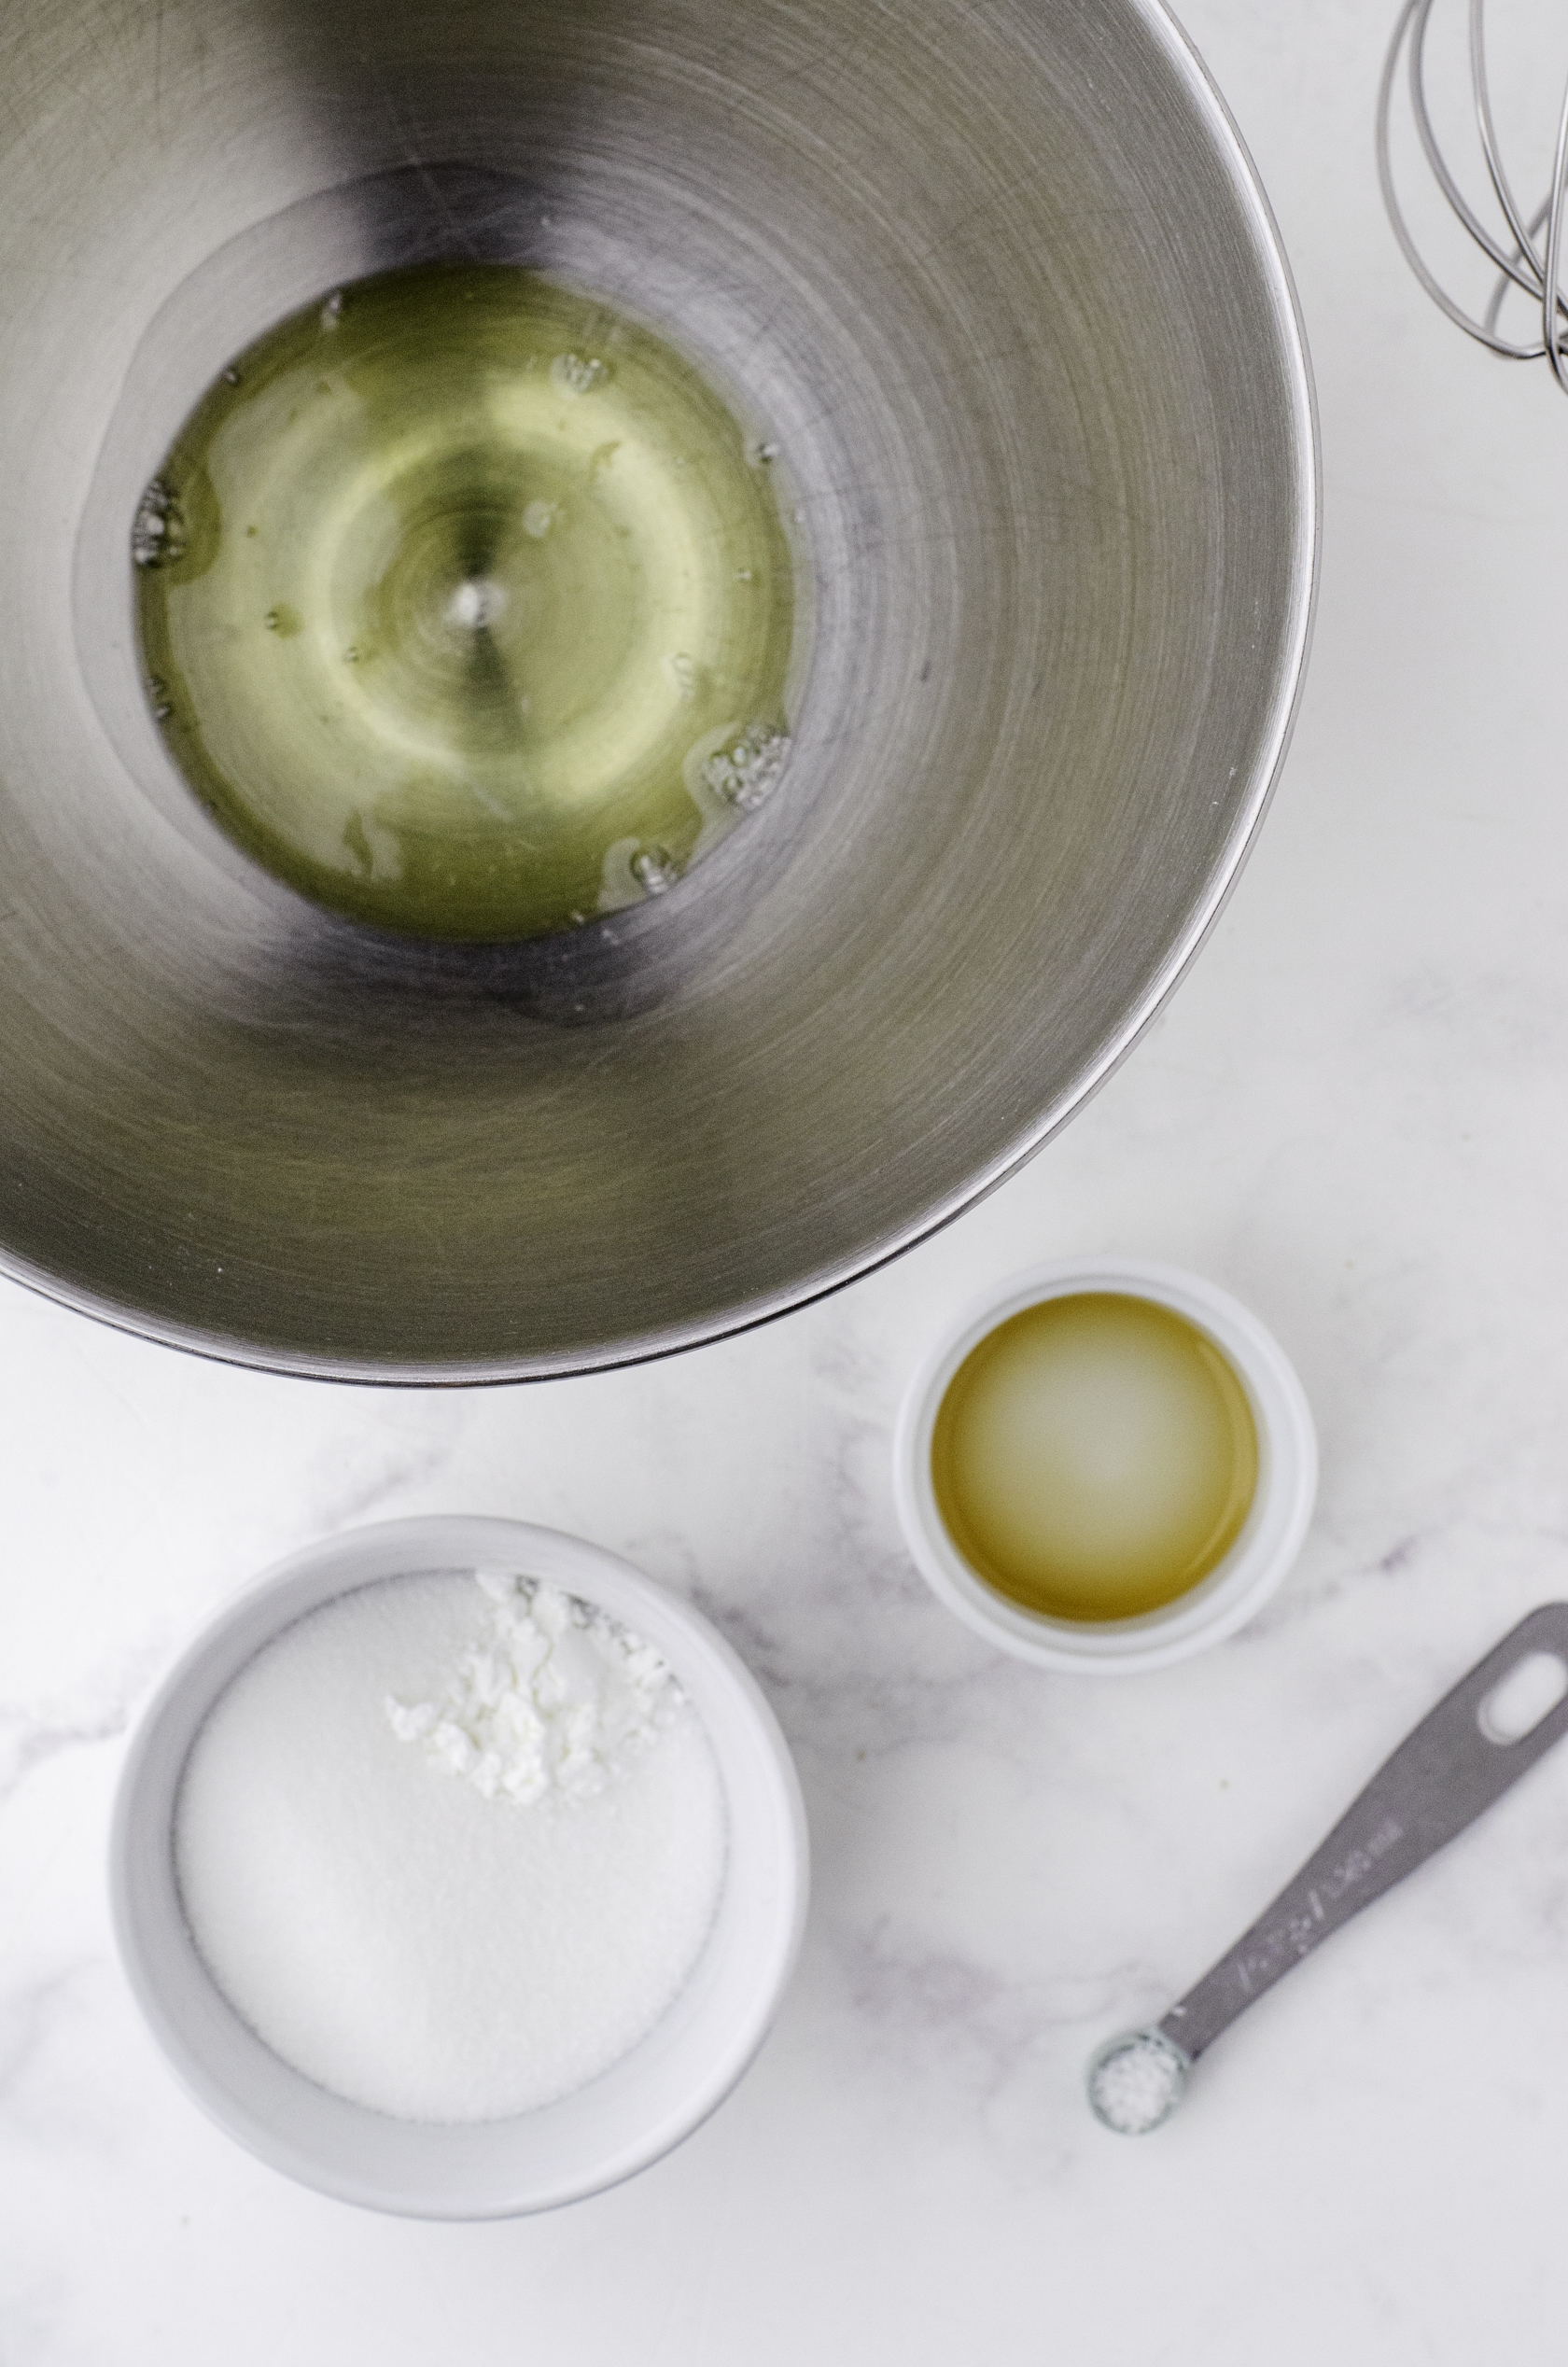
Groceries needed for this pavlova recipe:
- White sugar
- Cornstarch
- Eggs
- Kosher salt
- Vanilla
- Whipping cream
- Fresh strawberries
Step by step instructions with pictures for individual pavlovas:
Pro Tip from Mary Berg
- Before beginning this recipe, make sure your mixer bowl and beaters are extremely clean. You don’t want any tiny specks of things or even residue from your dishsoap to interfere with the beating of the egg whites. To clean your bowl and beaters well, wipe them down with a bit of white vinegar on a paper towel.
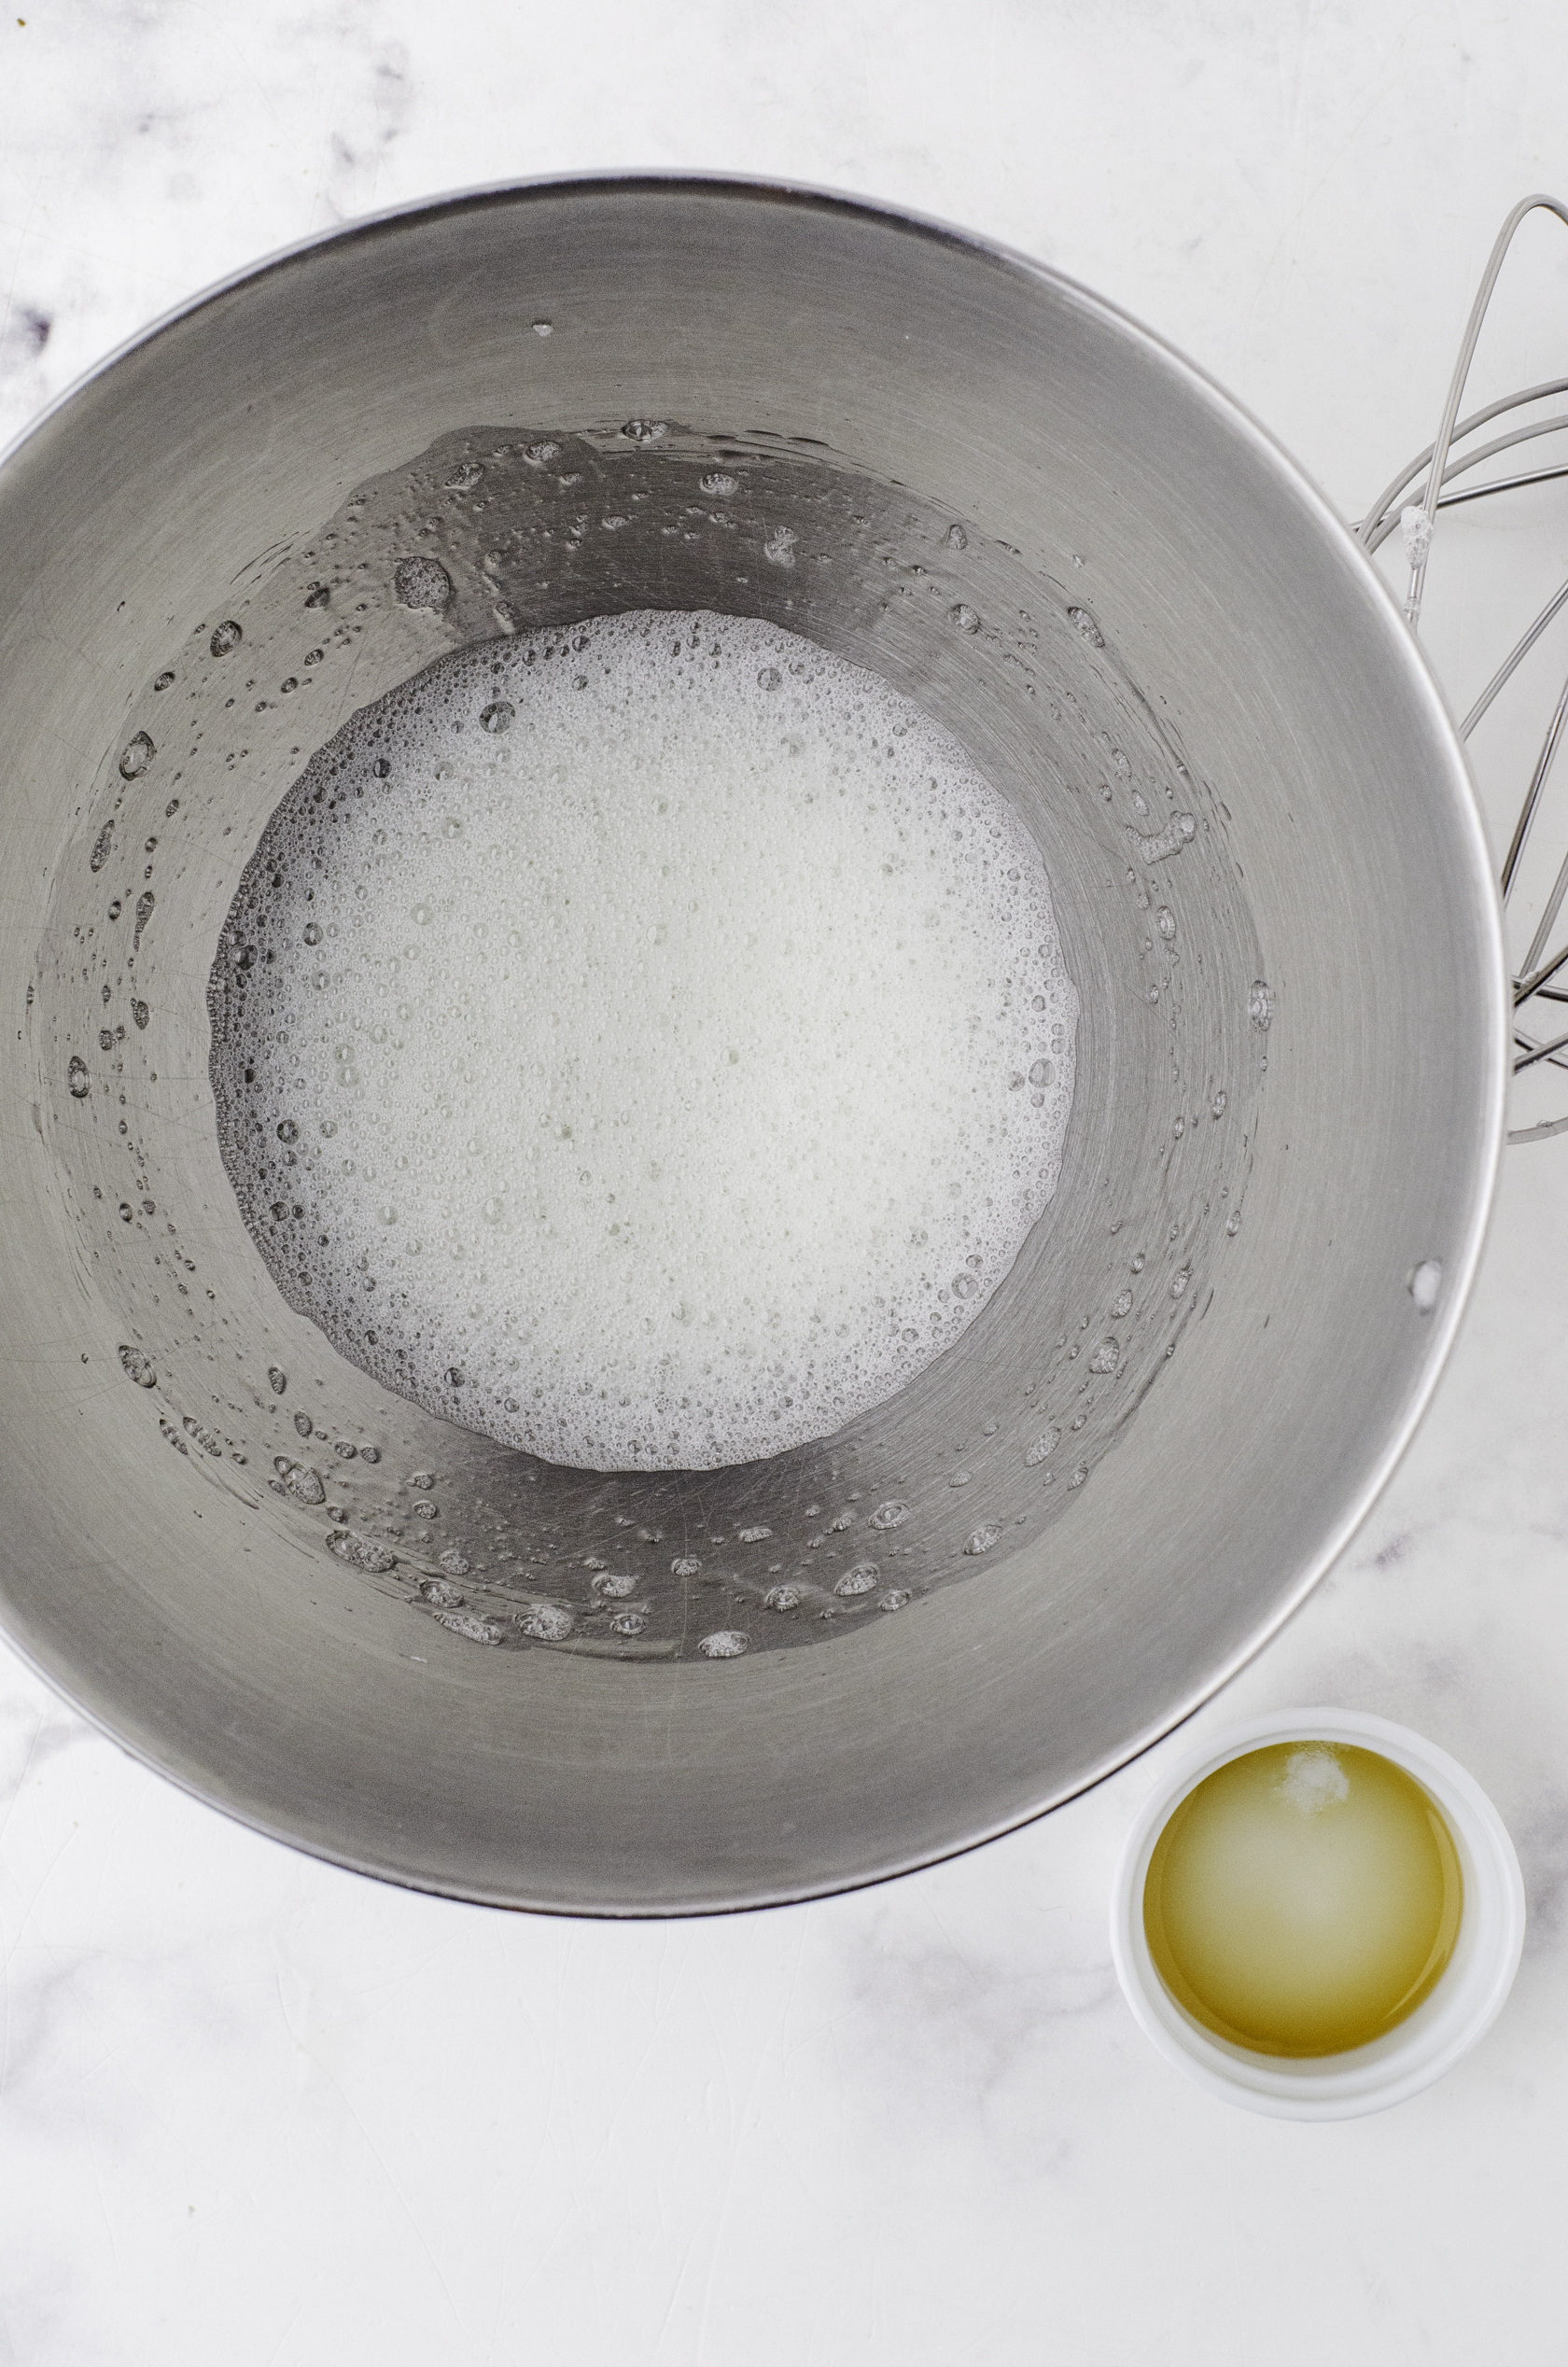
Beat the egg whites until frothy. 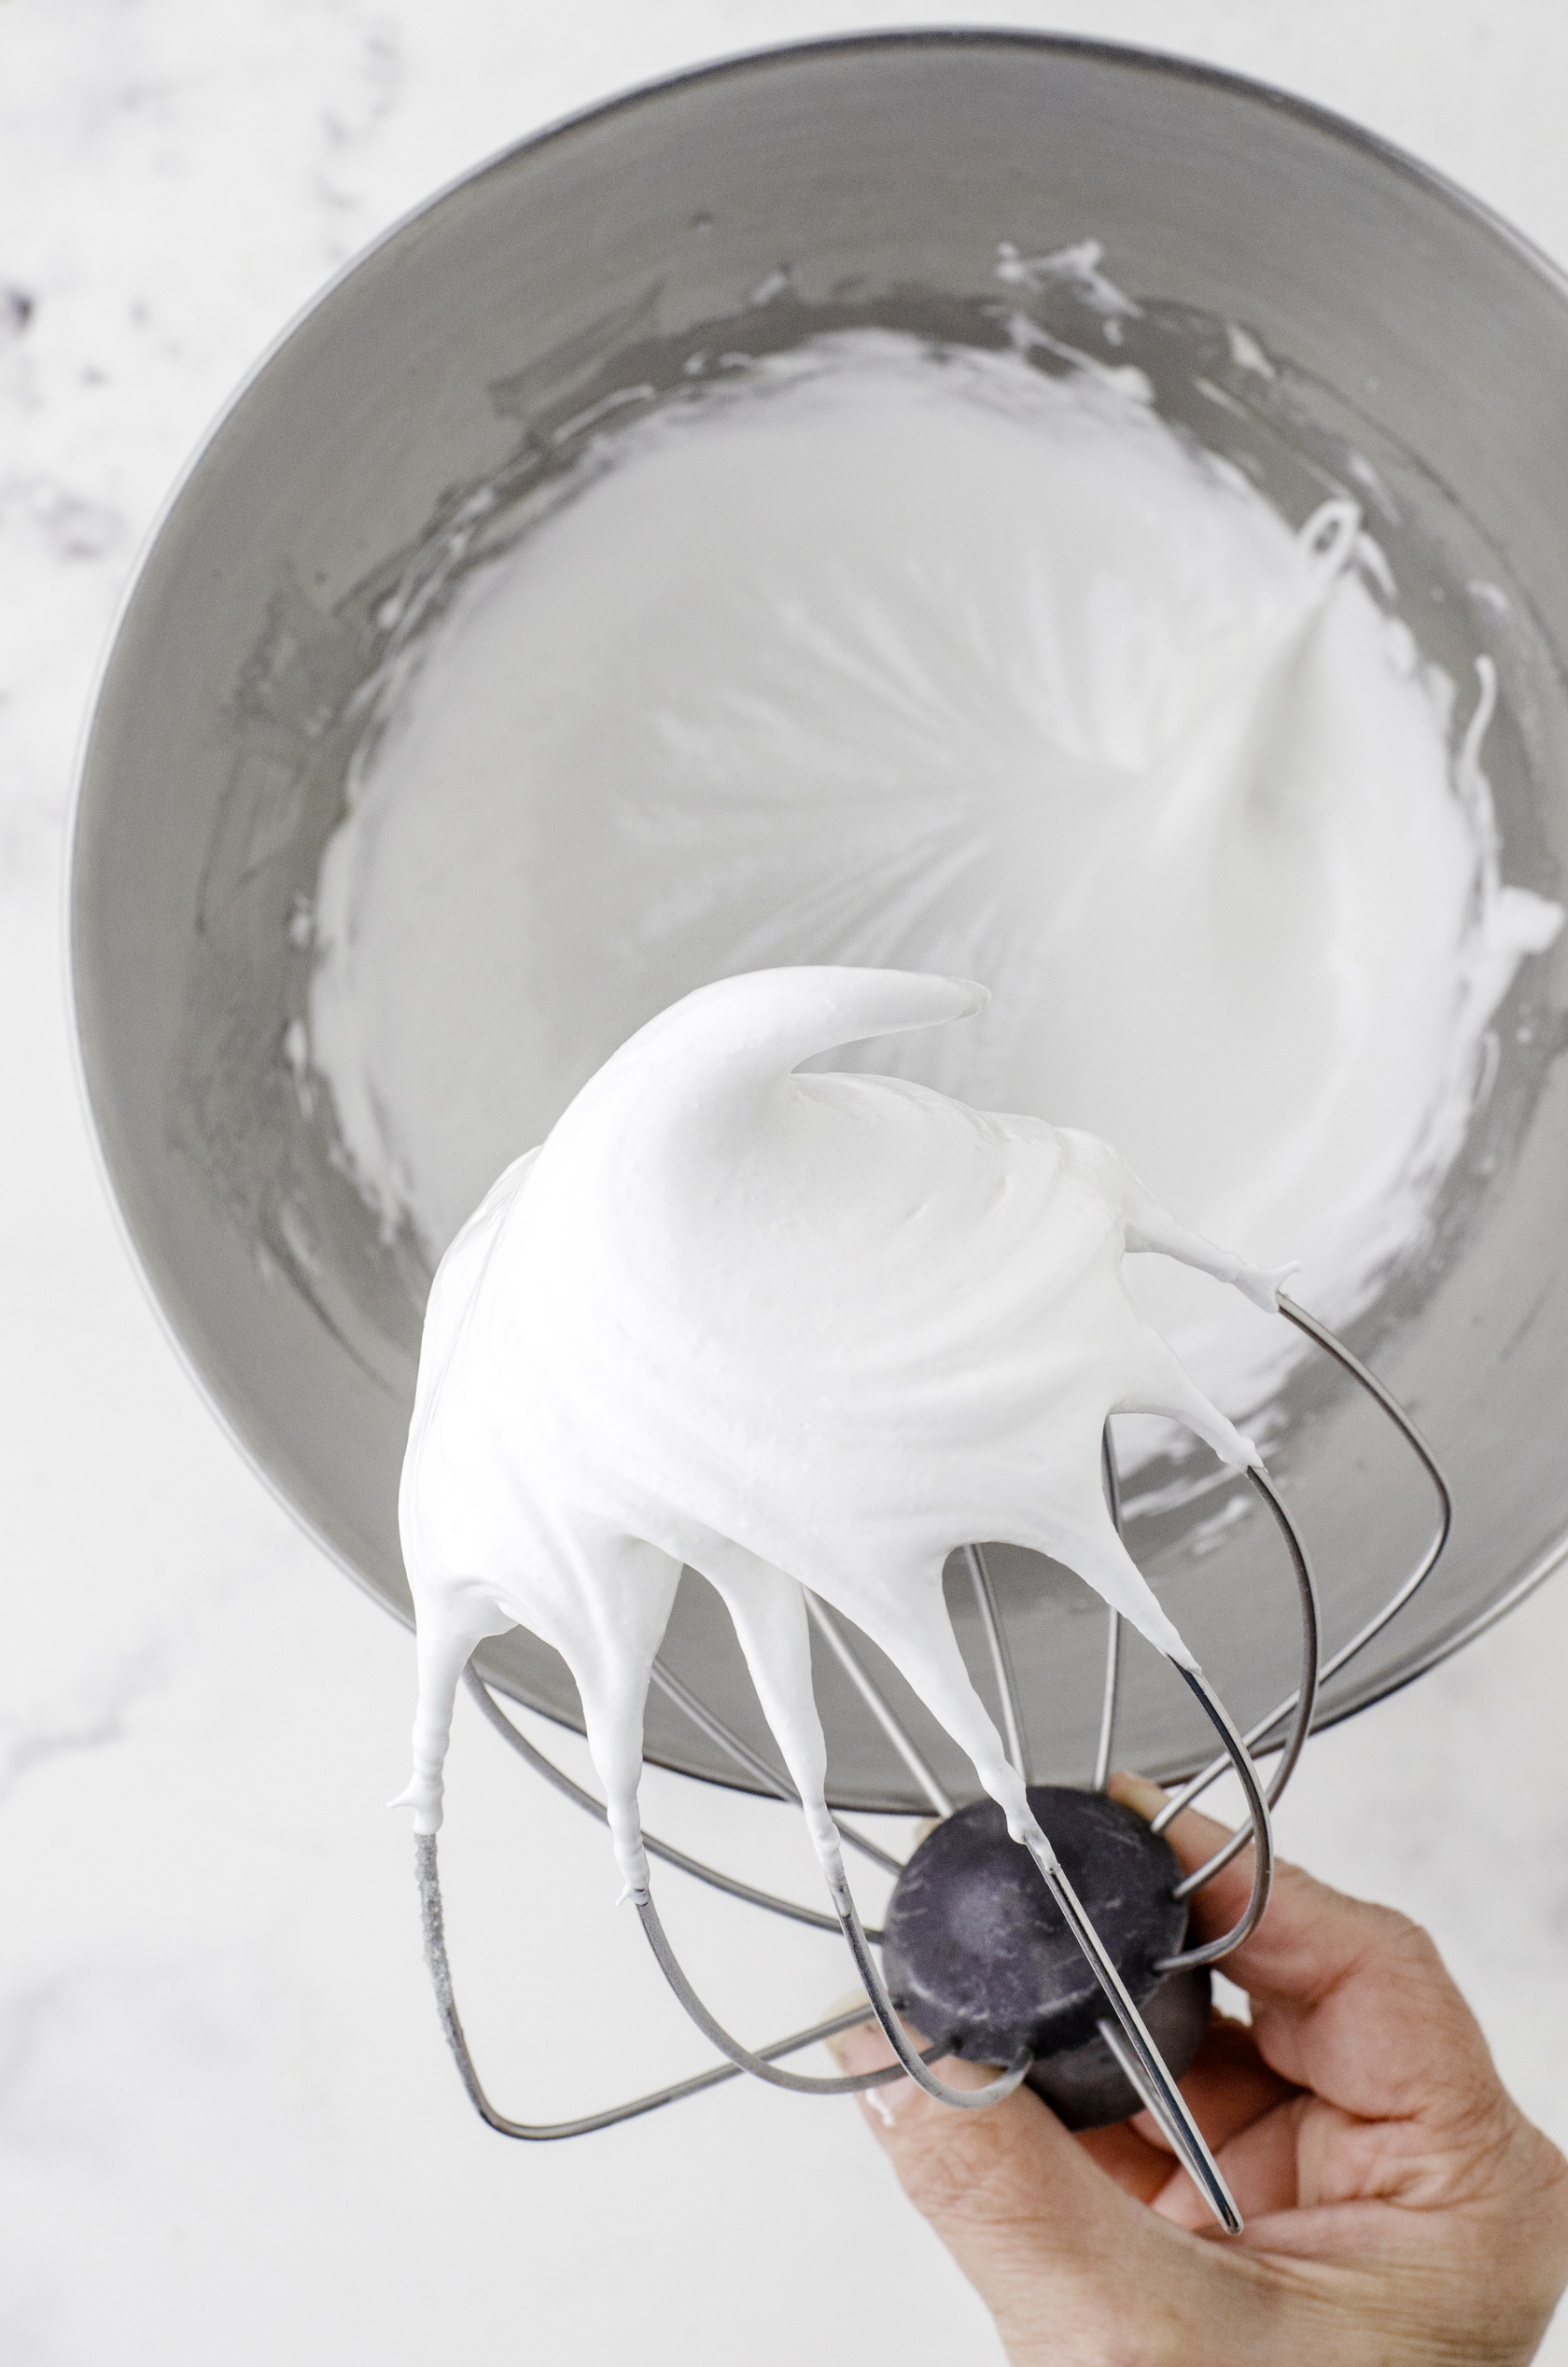
Add the sugar mixture very slowly to the frothy eggs until it turns glossy and forms a peak on the end of the mixer blade.
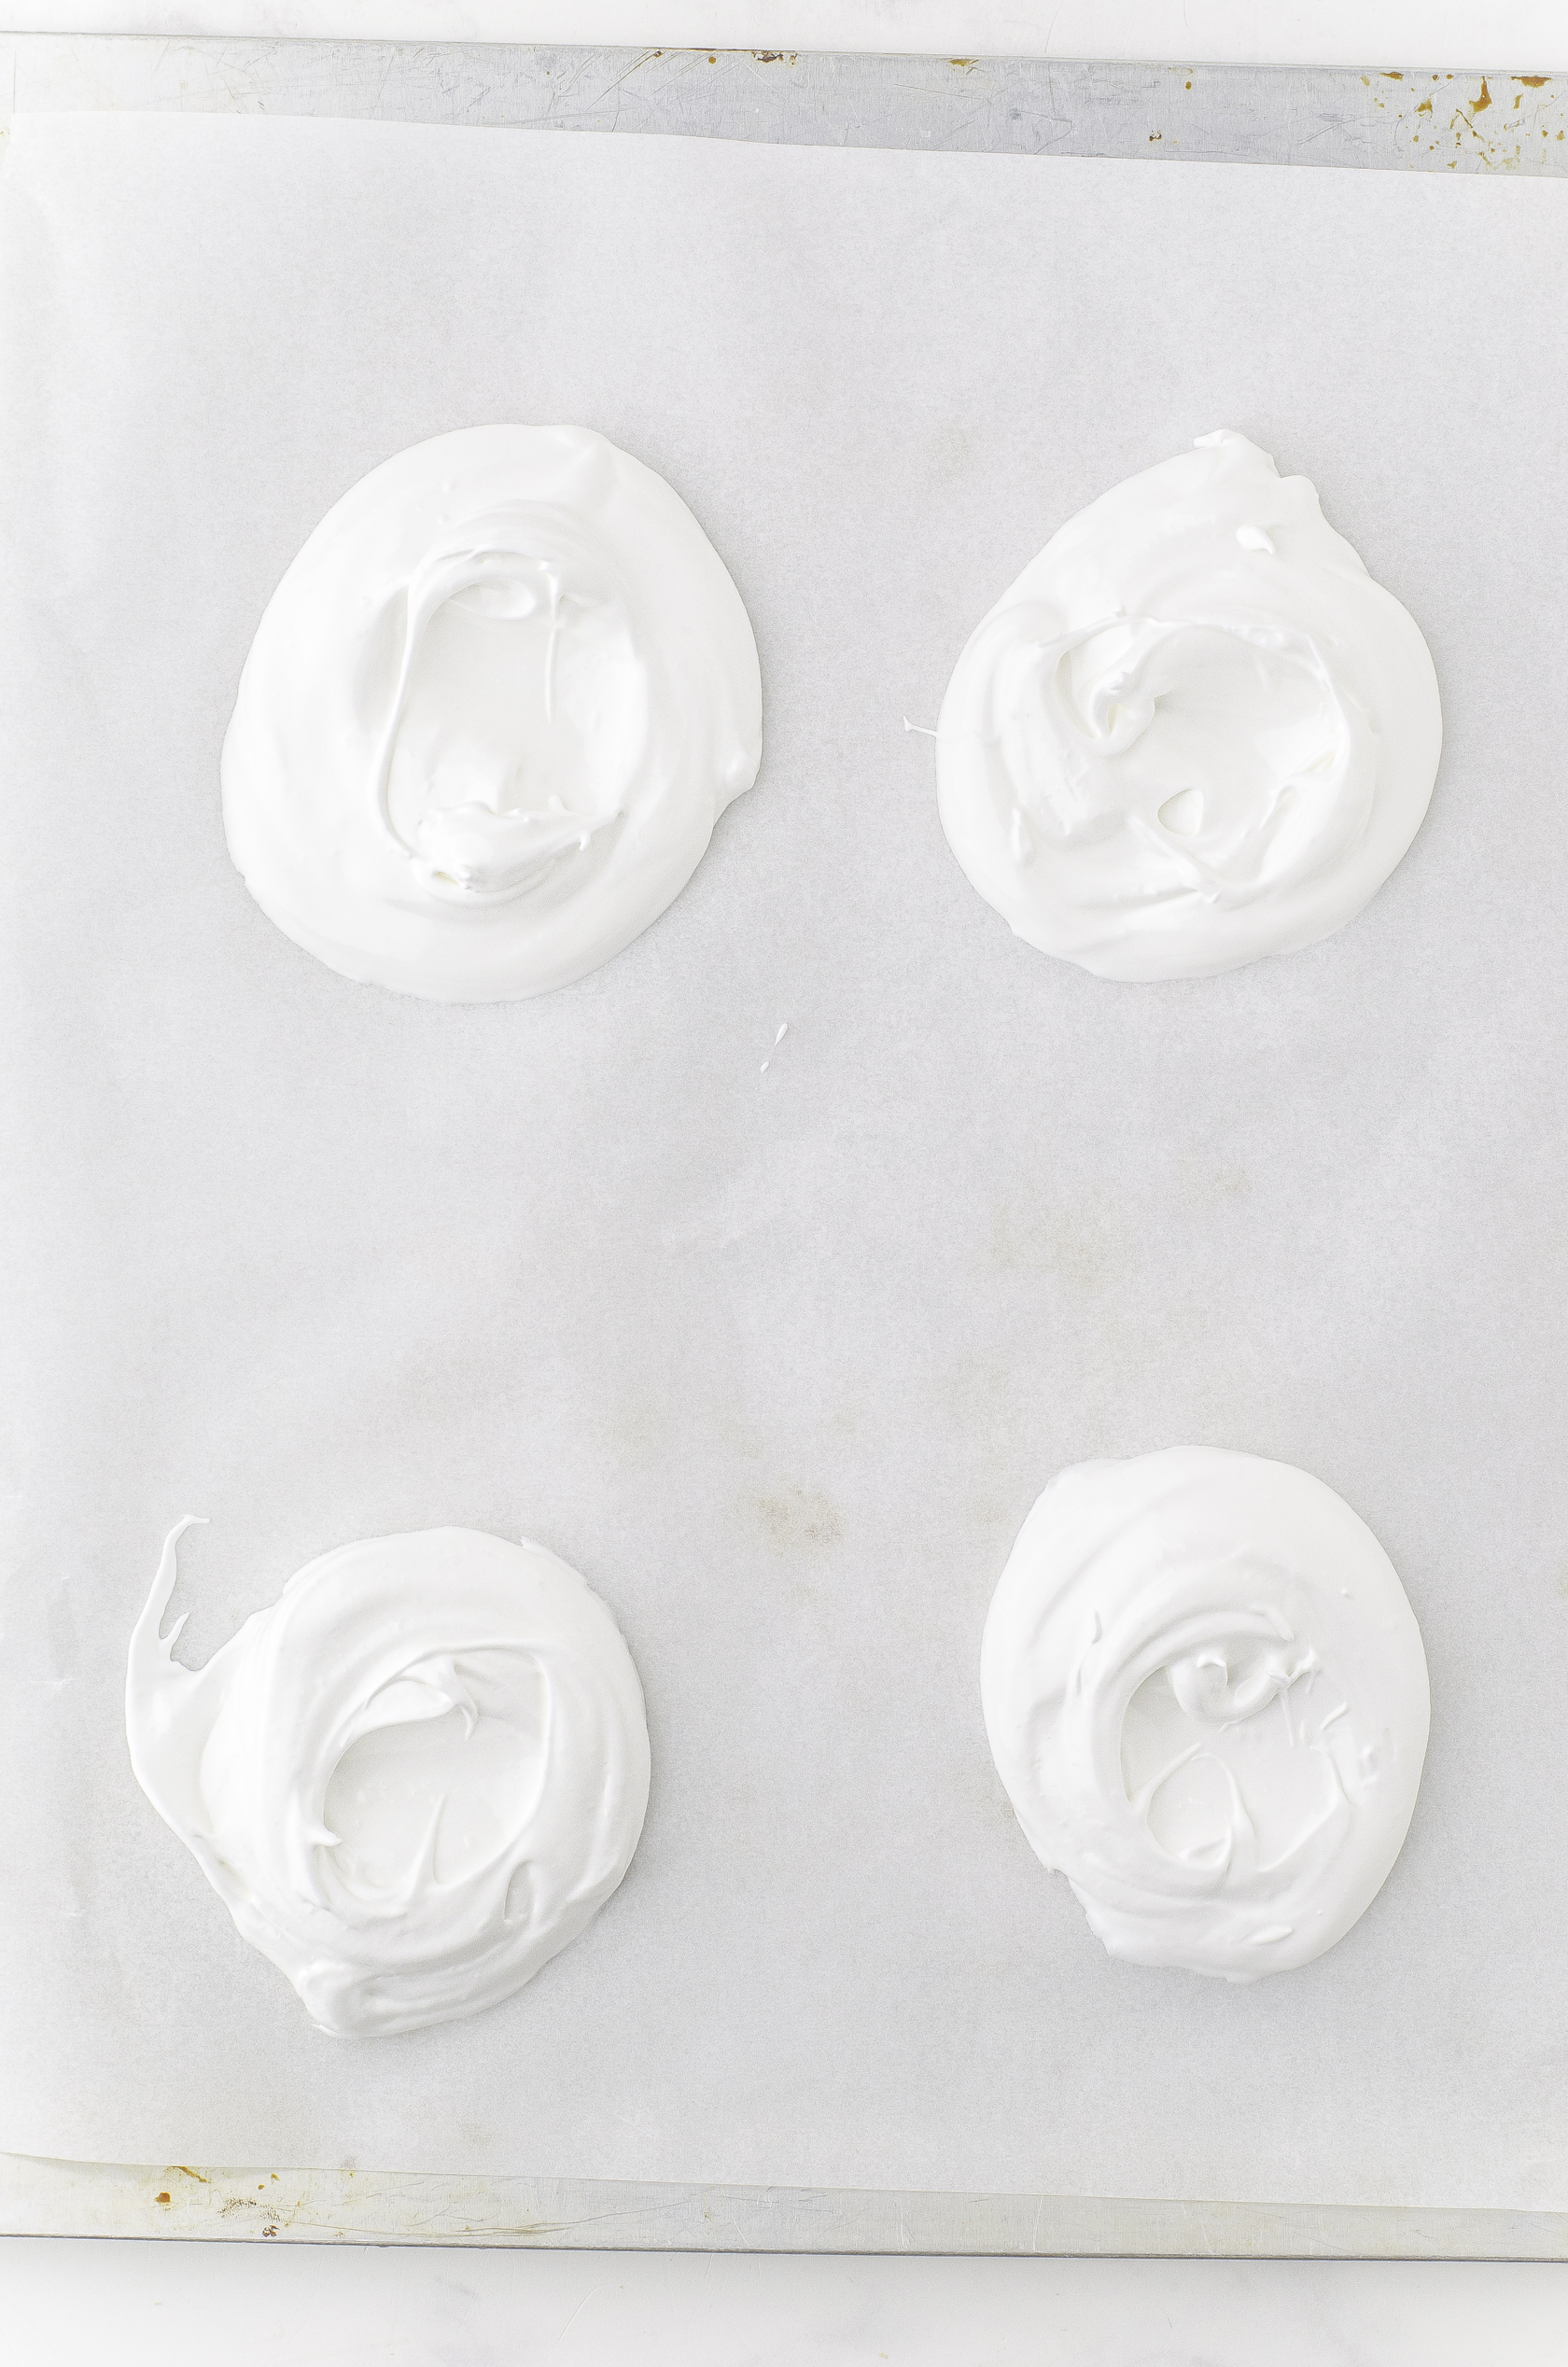
Use a rubber spatula to swirl the pavlova batter in individual “bowls”. 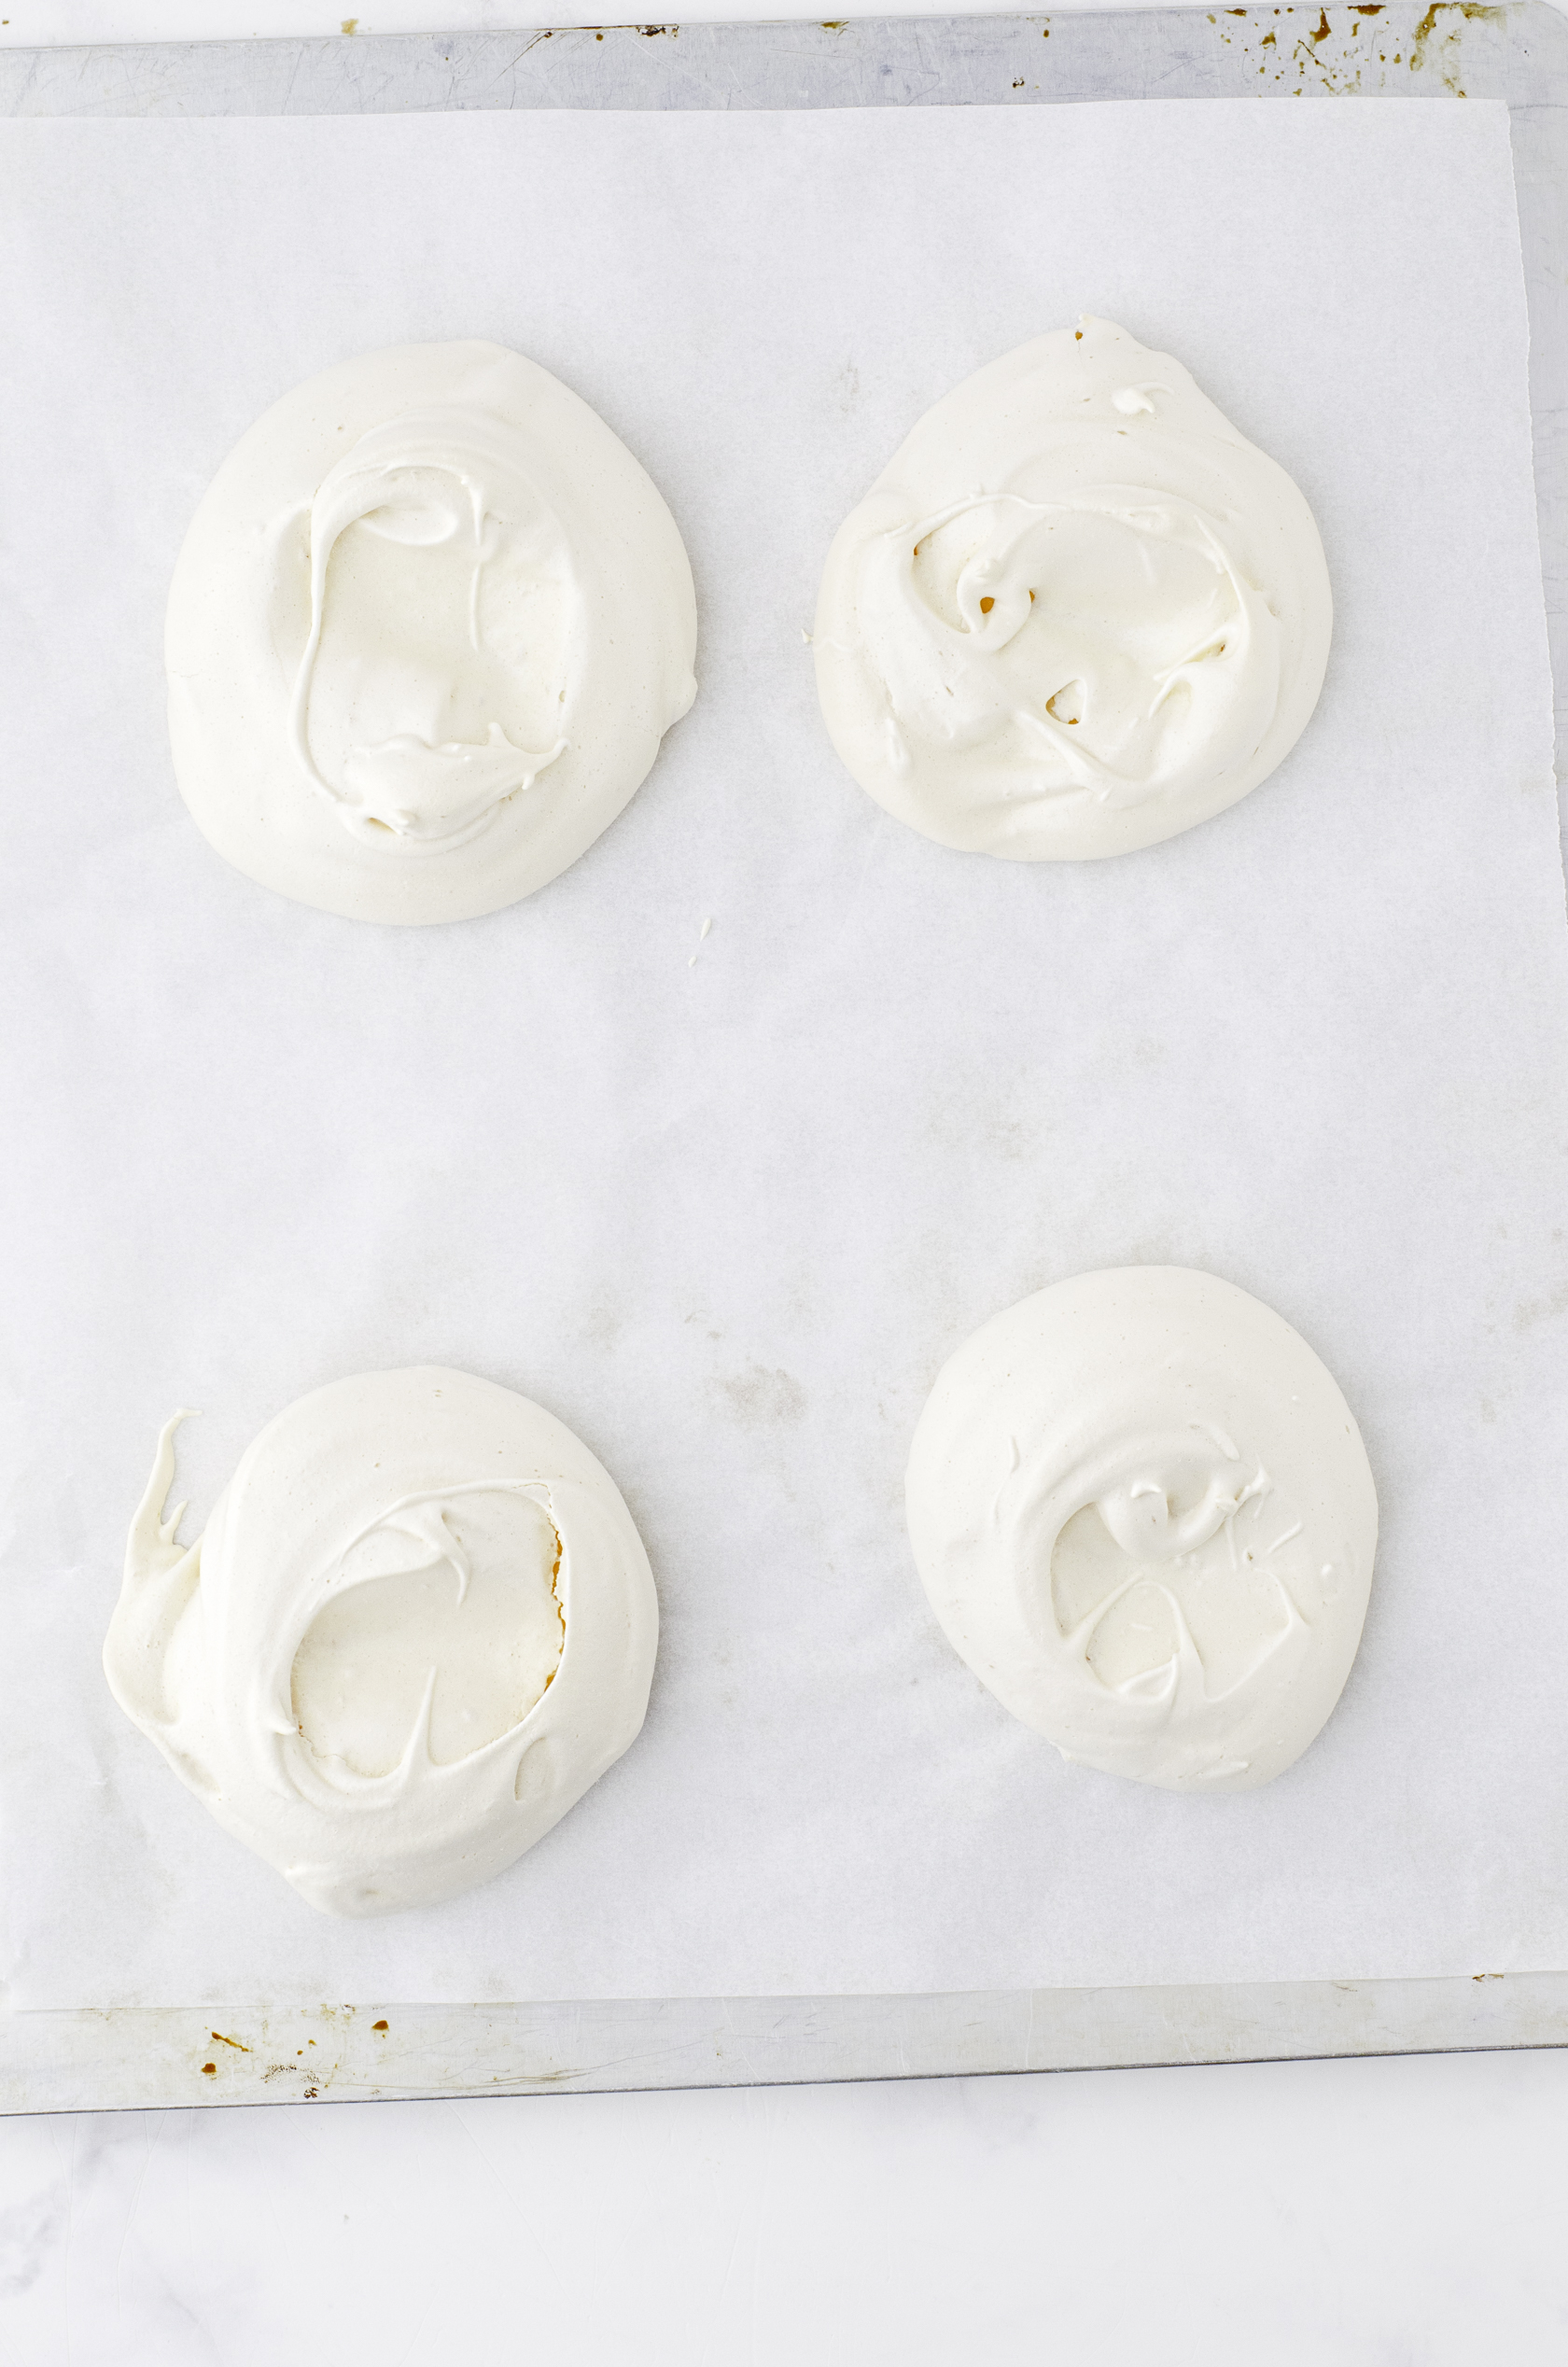
Once pavlovas are baked, they are a very soft golden color.
How to assemble Strawberry Pavlovas
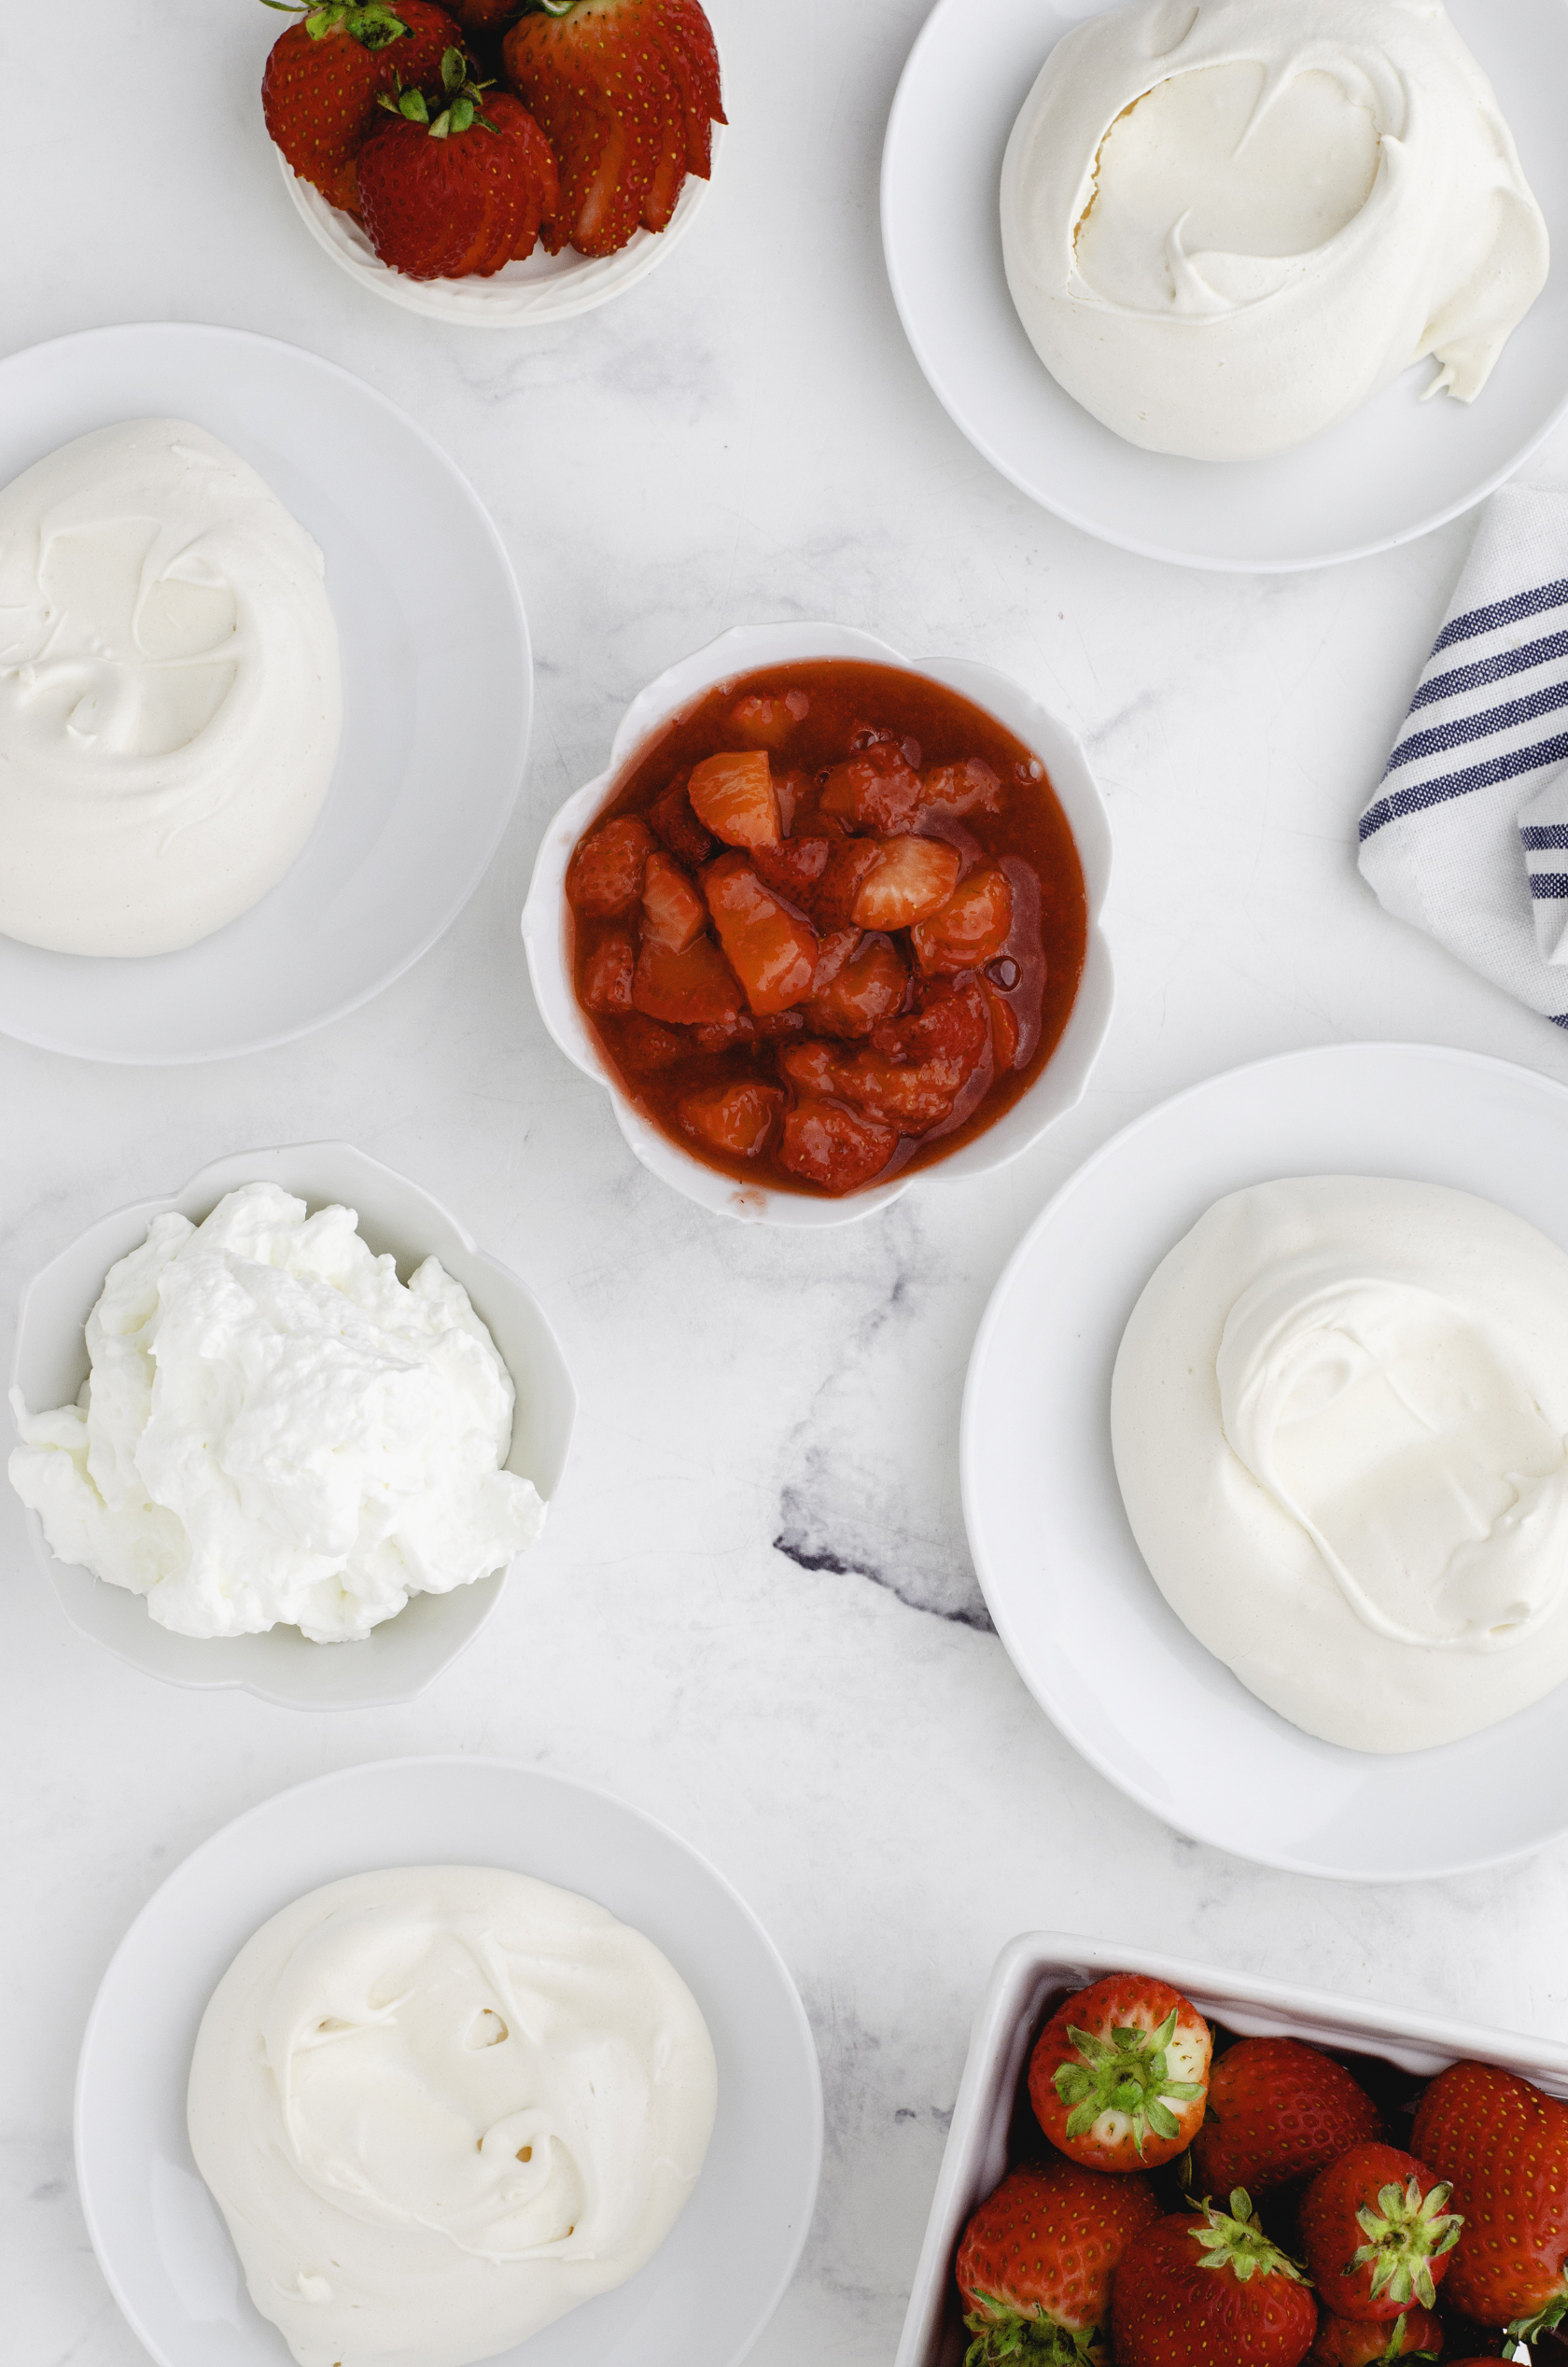
These strawberry pavlovas have 3 parts:
- The individual pavlovas
- Whipped Cream
- Strawberry Sauce – You can make a cooked strawberry sauce that I did, or you can slice strawberries and sprinkle them with sugar to make a cold strawberry sauce.
To prepare this pavlova dessert for guests, I baked and cooled them the day before and put them in a lidded container and set them on the countertop. I also prepared the whipping cream and strawberry sauce and put it in the fridge.
You can certainly use canned whipping cream for convenience if you’d like, but I whipped up the whipping cream with just a little vanilla and no additional sugar – and it was wonderful on top of this sweet pavlova.
Here’s a tip for whipping cream fast: Put your mixing bowl and whisk in the freezer and get it really cold before whipping cream. It will make it whip up so much faster!
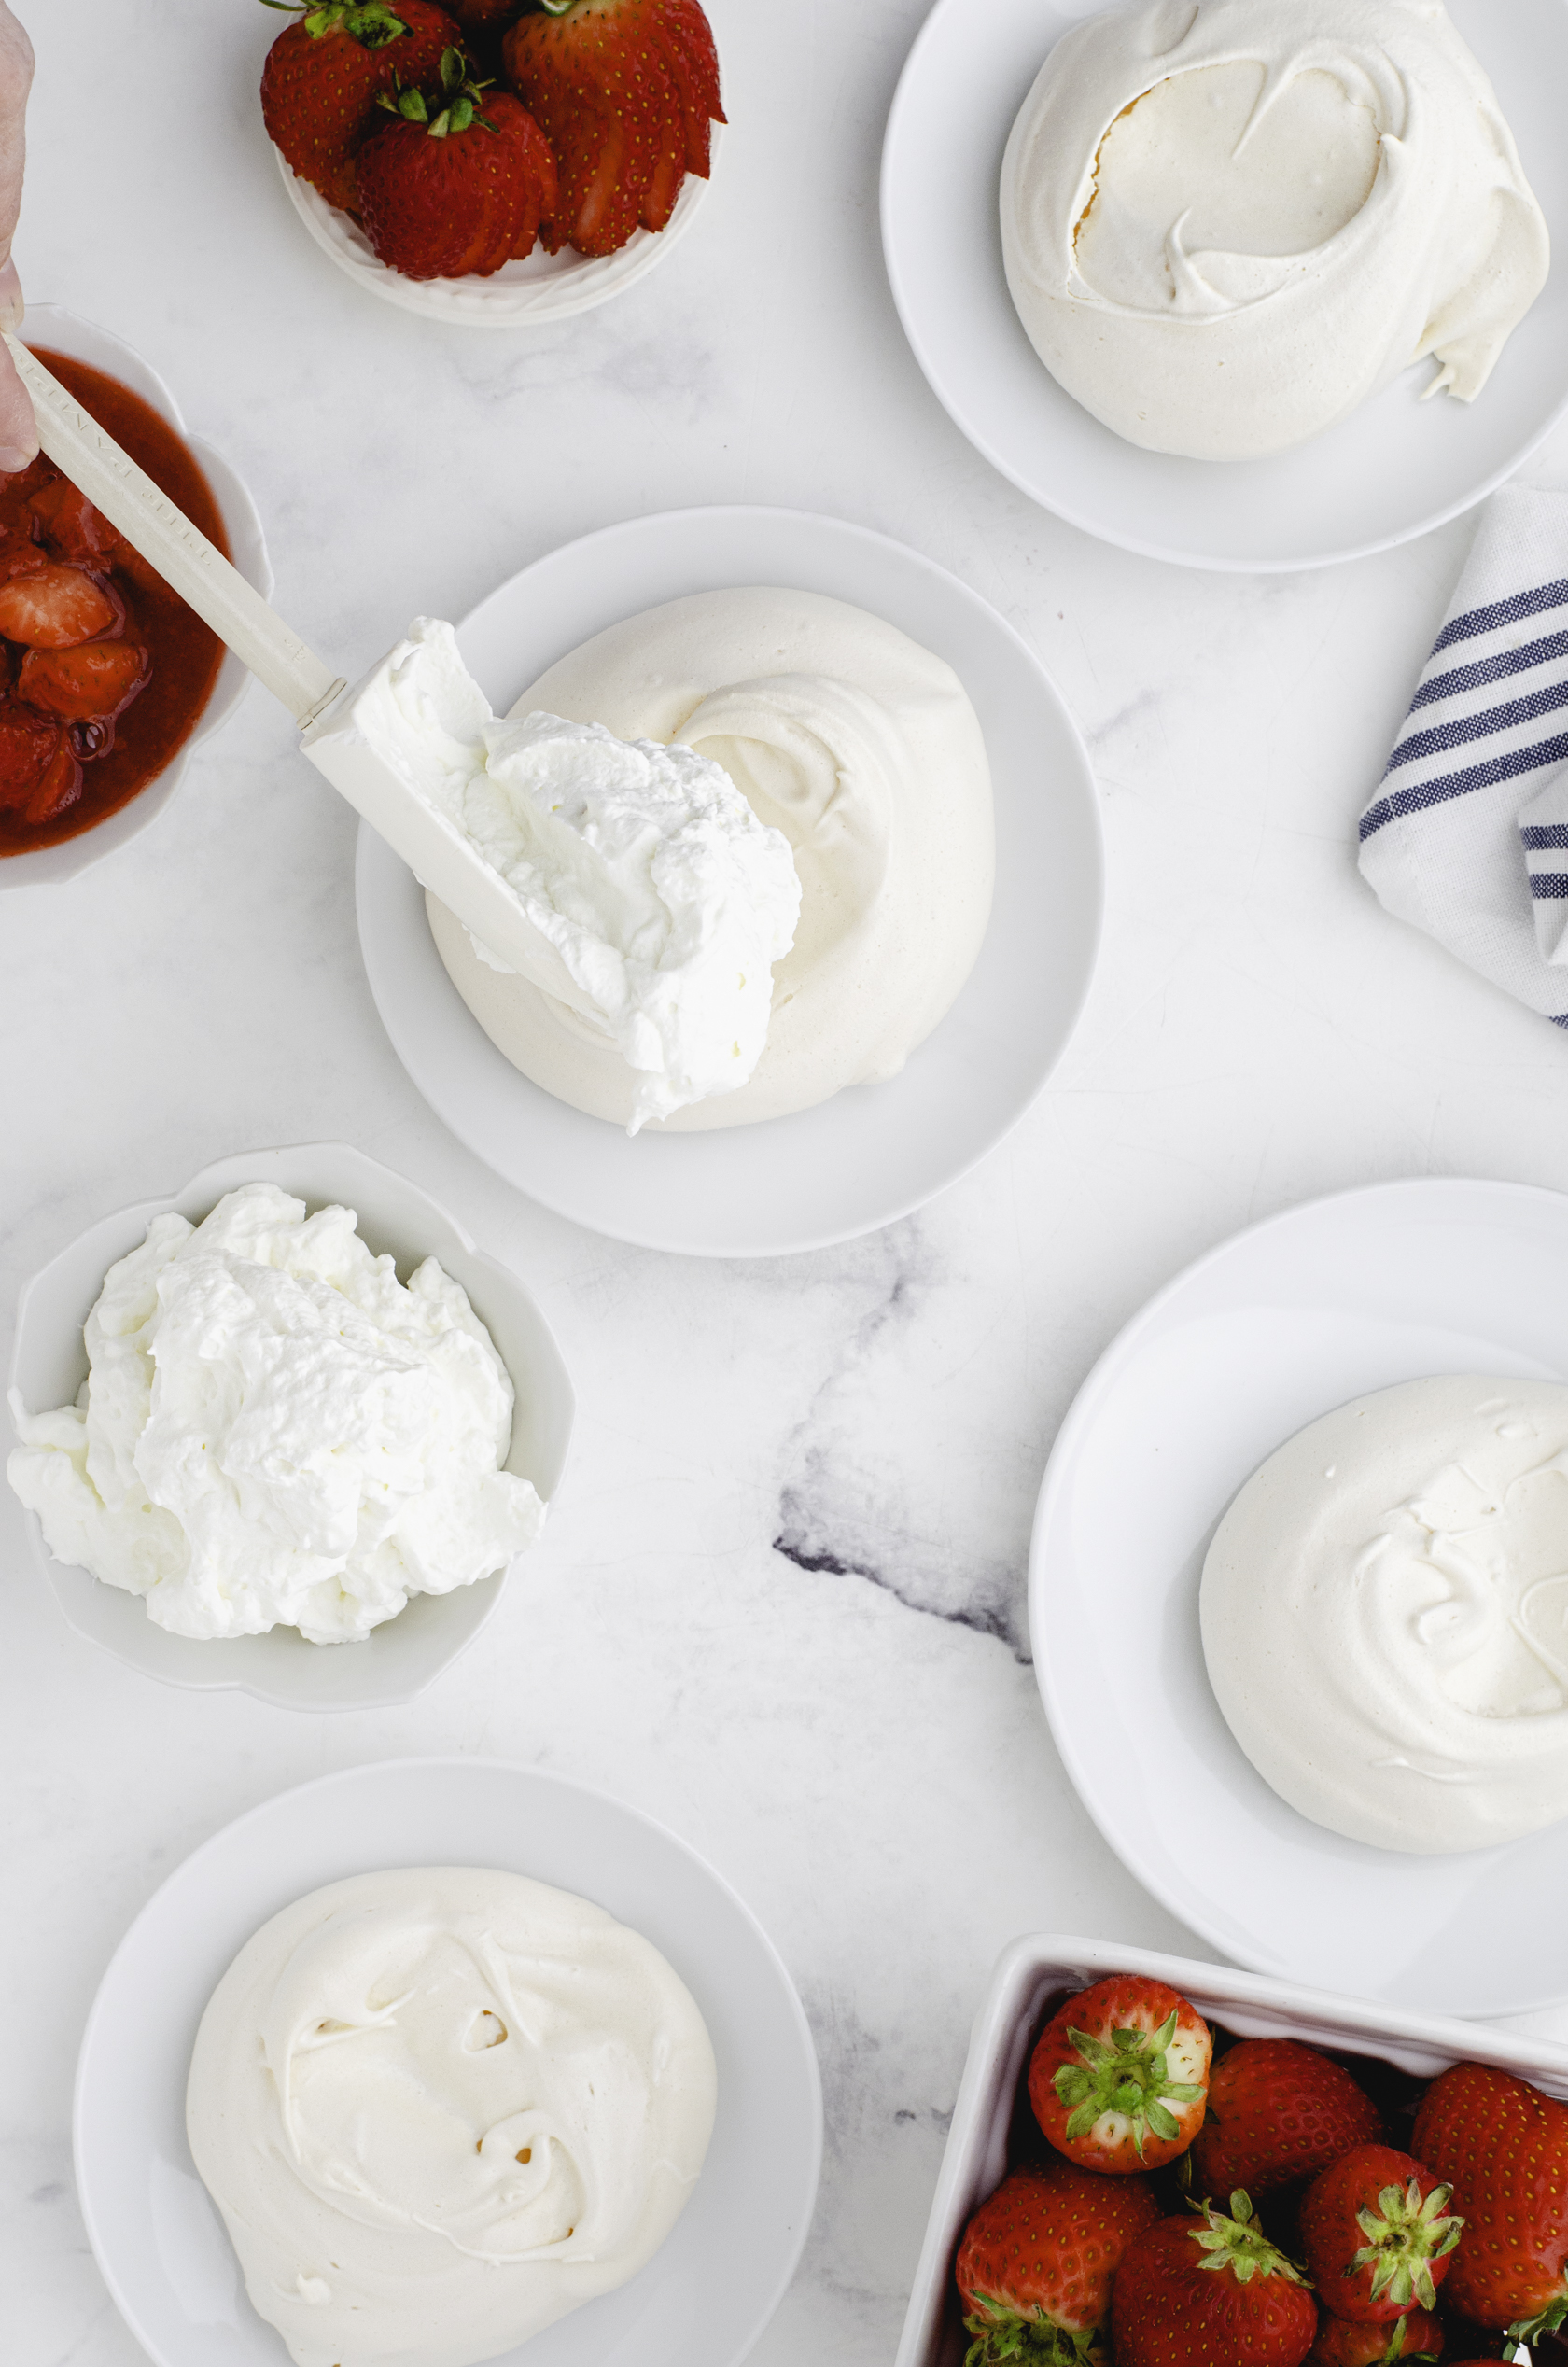
Start assembling strawberry pavlova dessert by topping it with whipped crem. 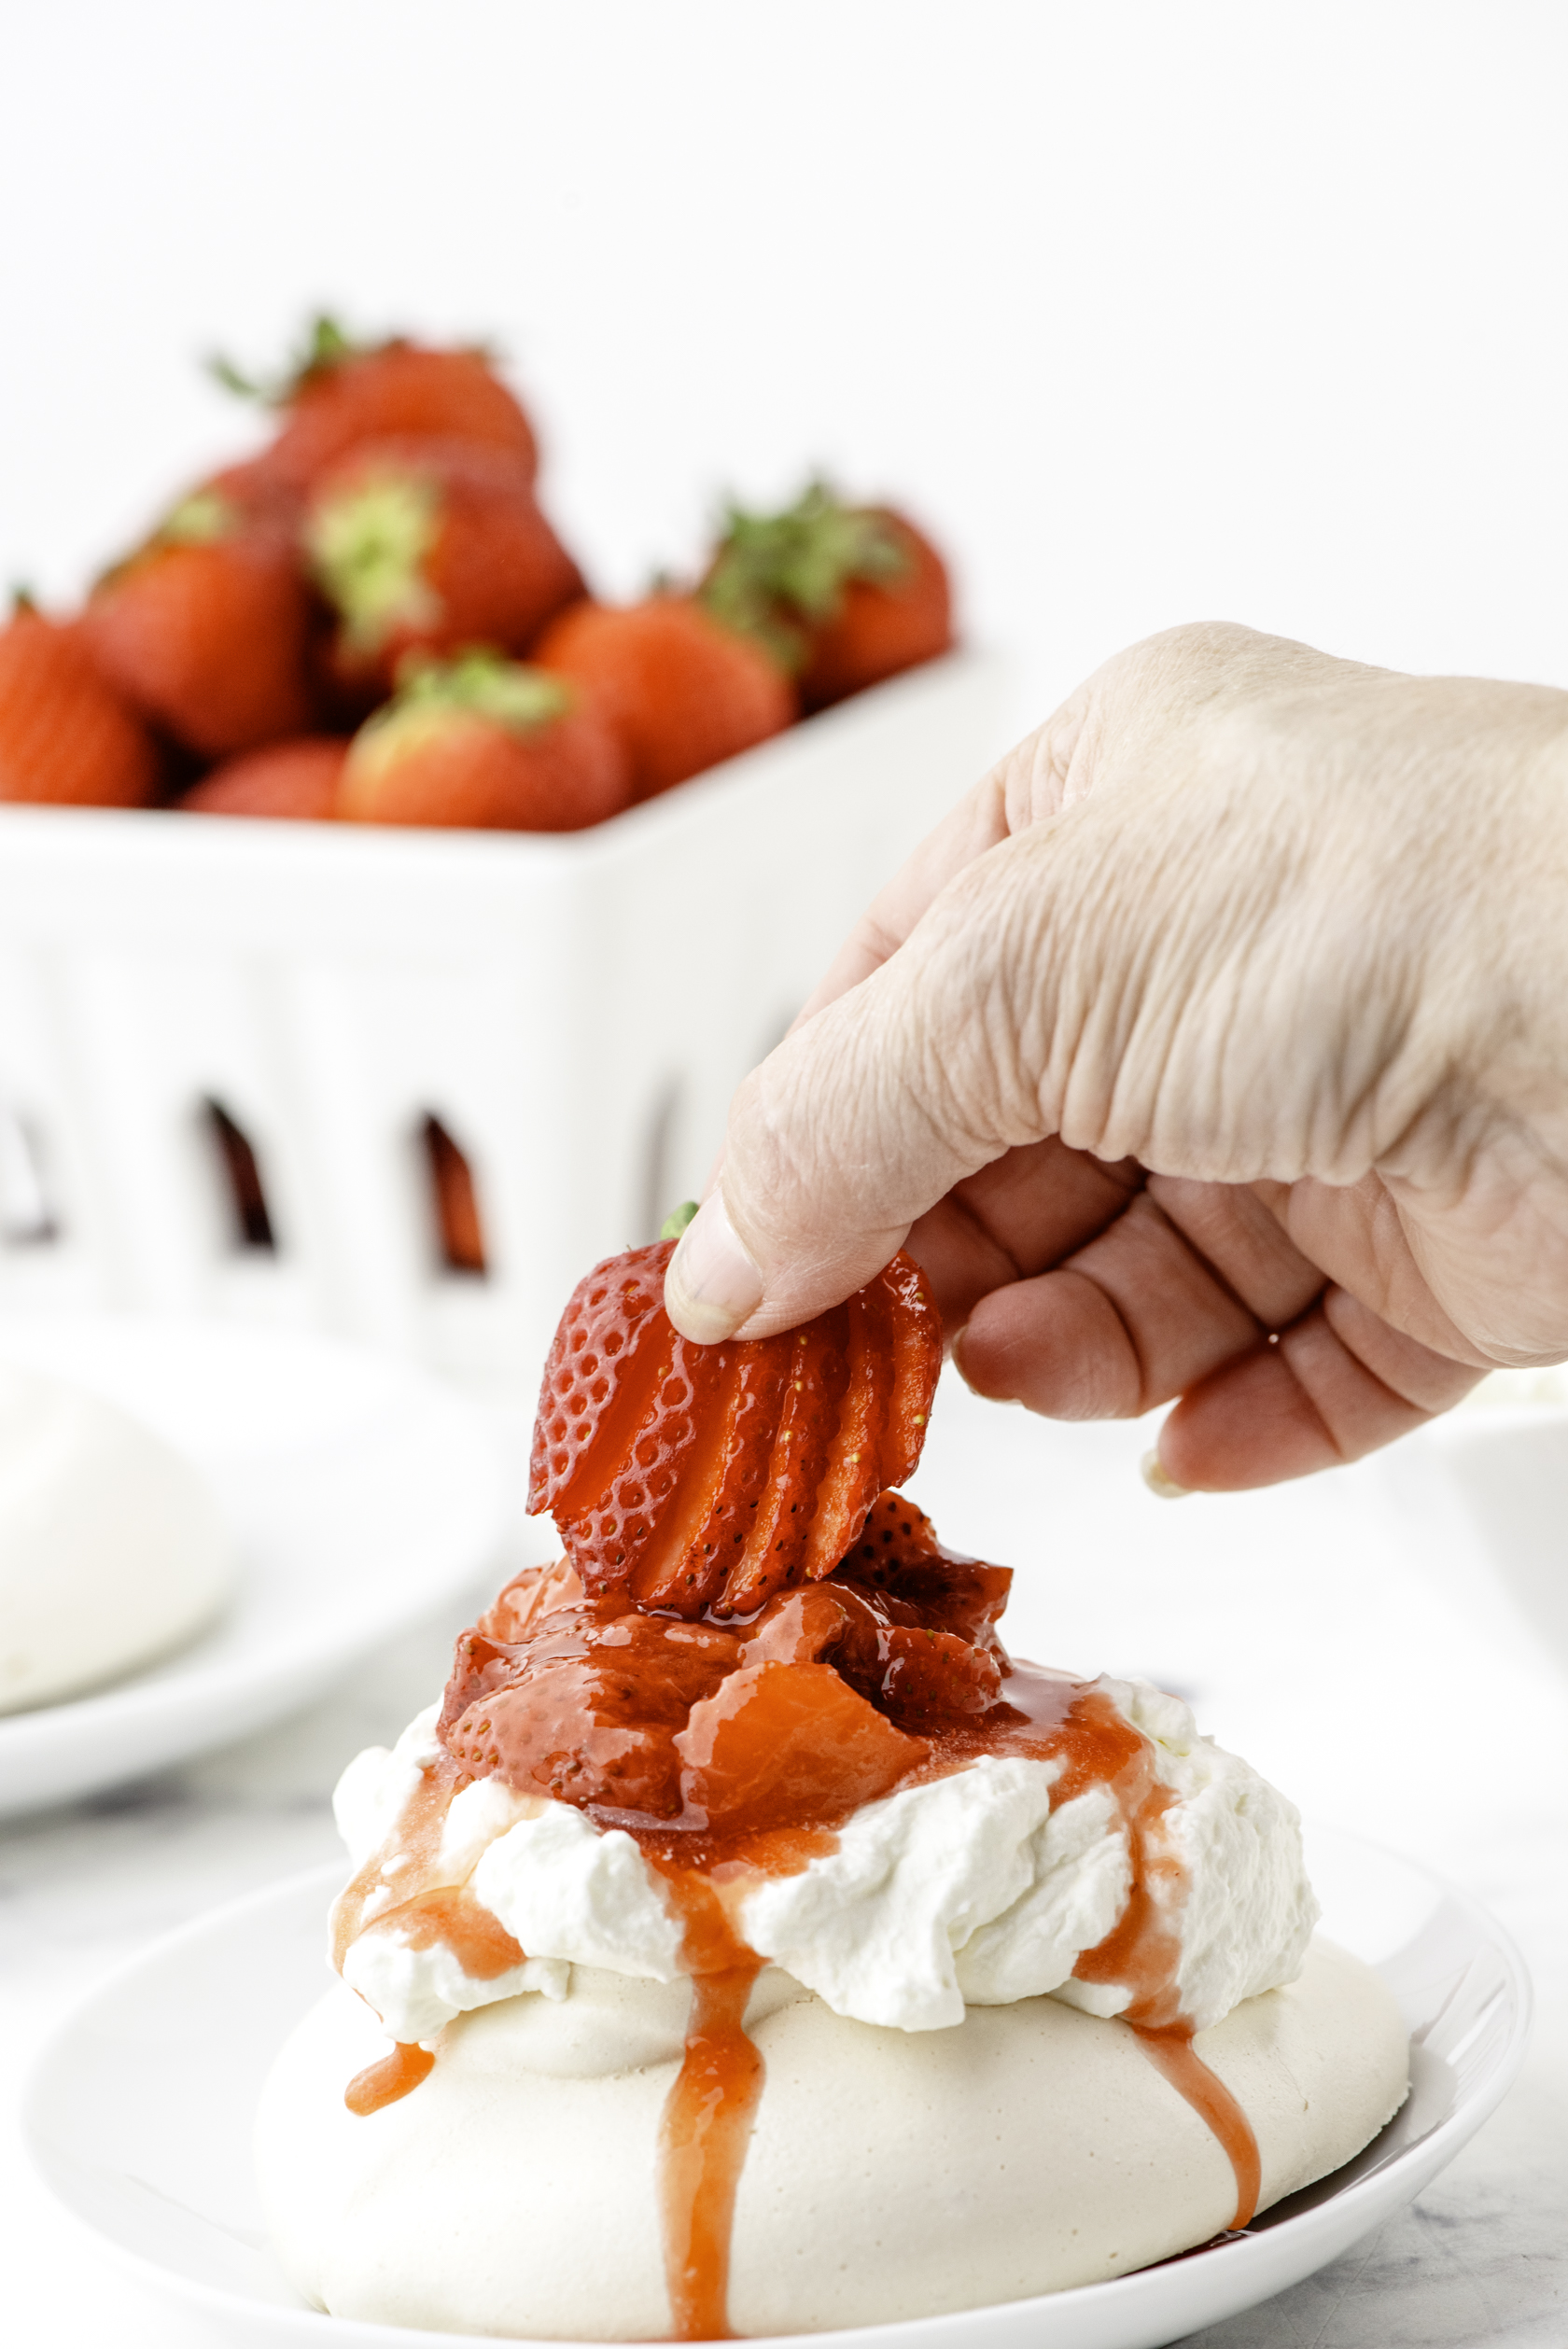
Add a fresh strawberry garnish to the top of strawberry pavlova.
When it is time to assemble the pavlovas right before dessert time,
- Place the individual pavlova on a dessert plate.
- Top it with whipping cream.
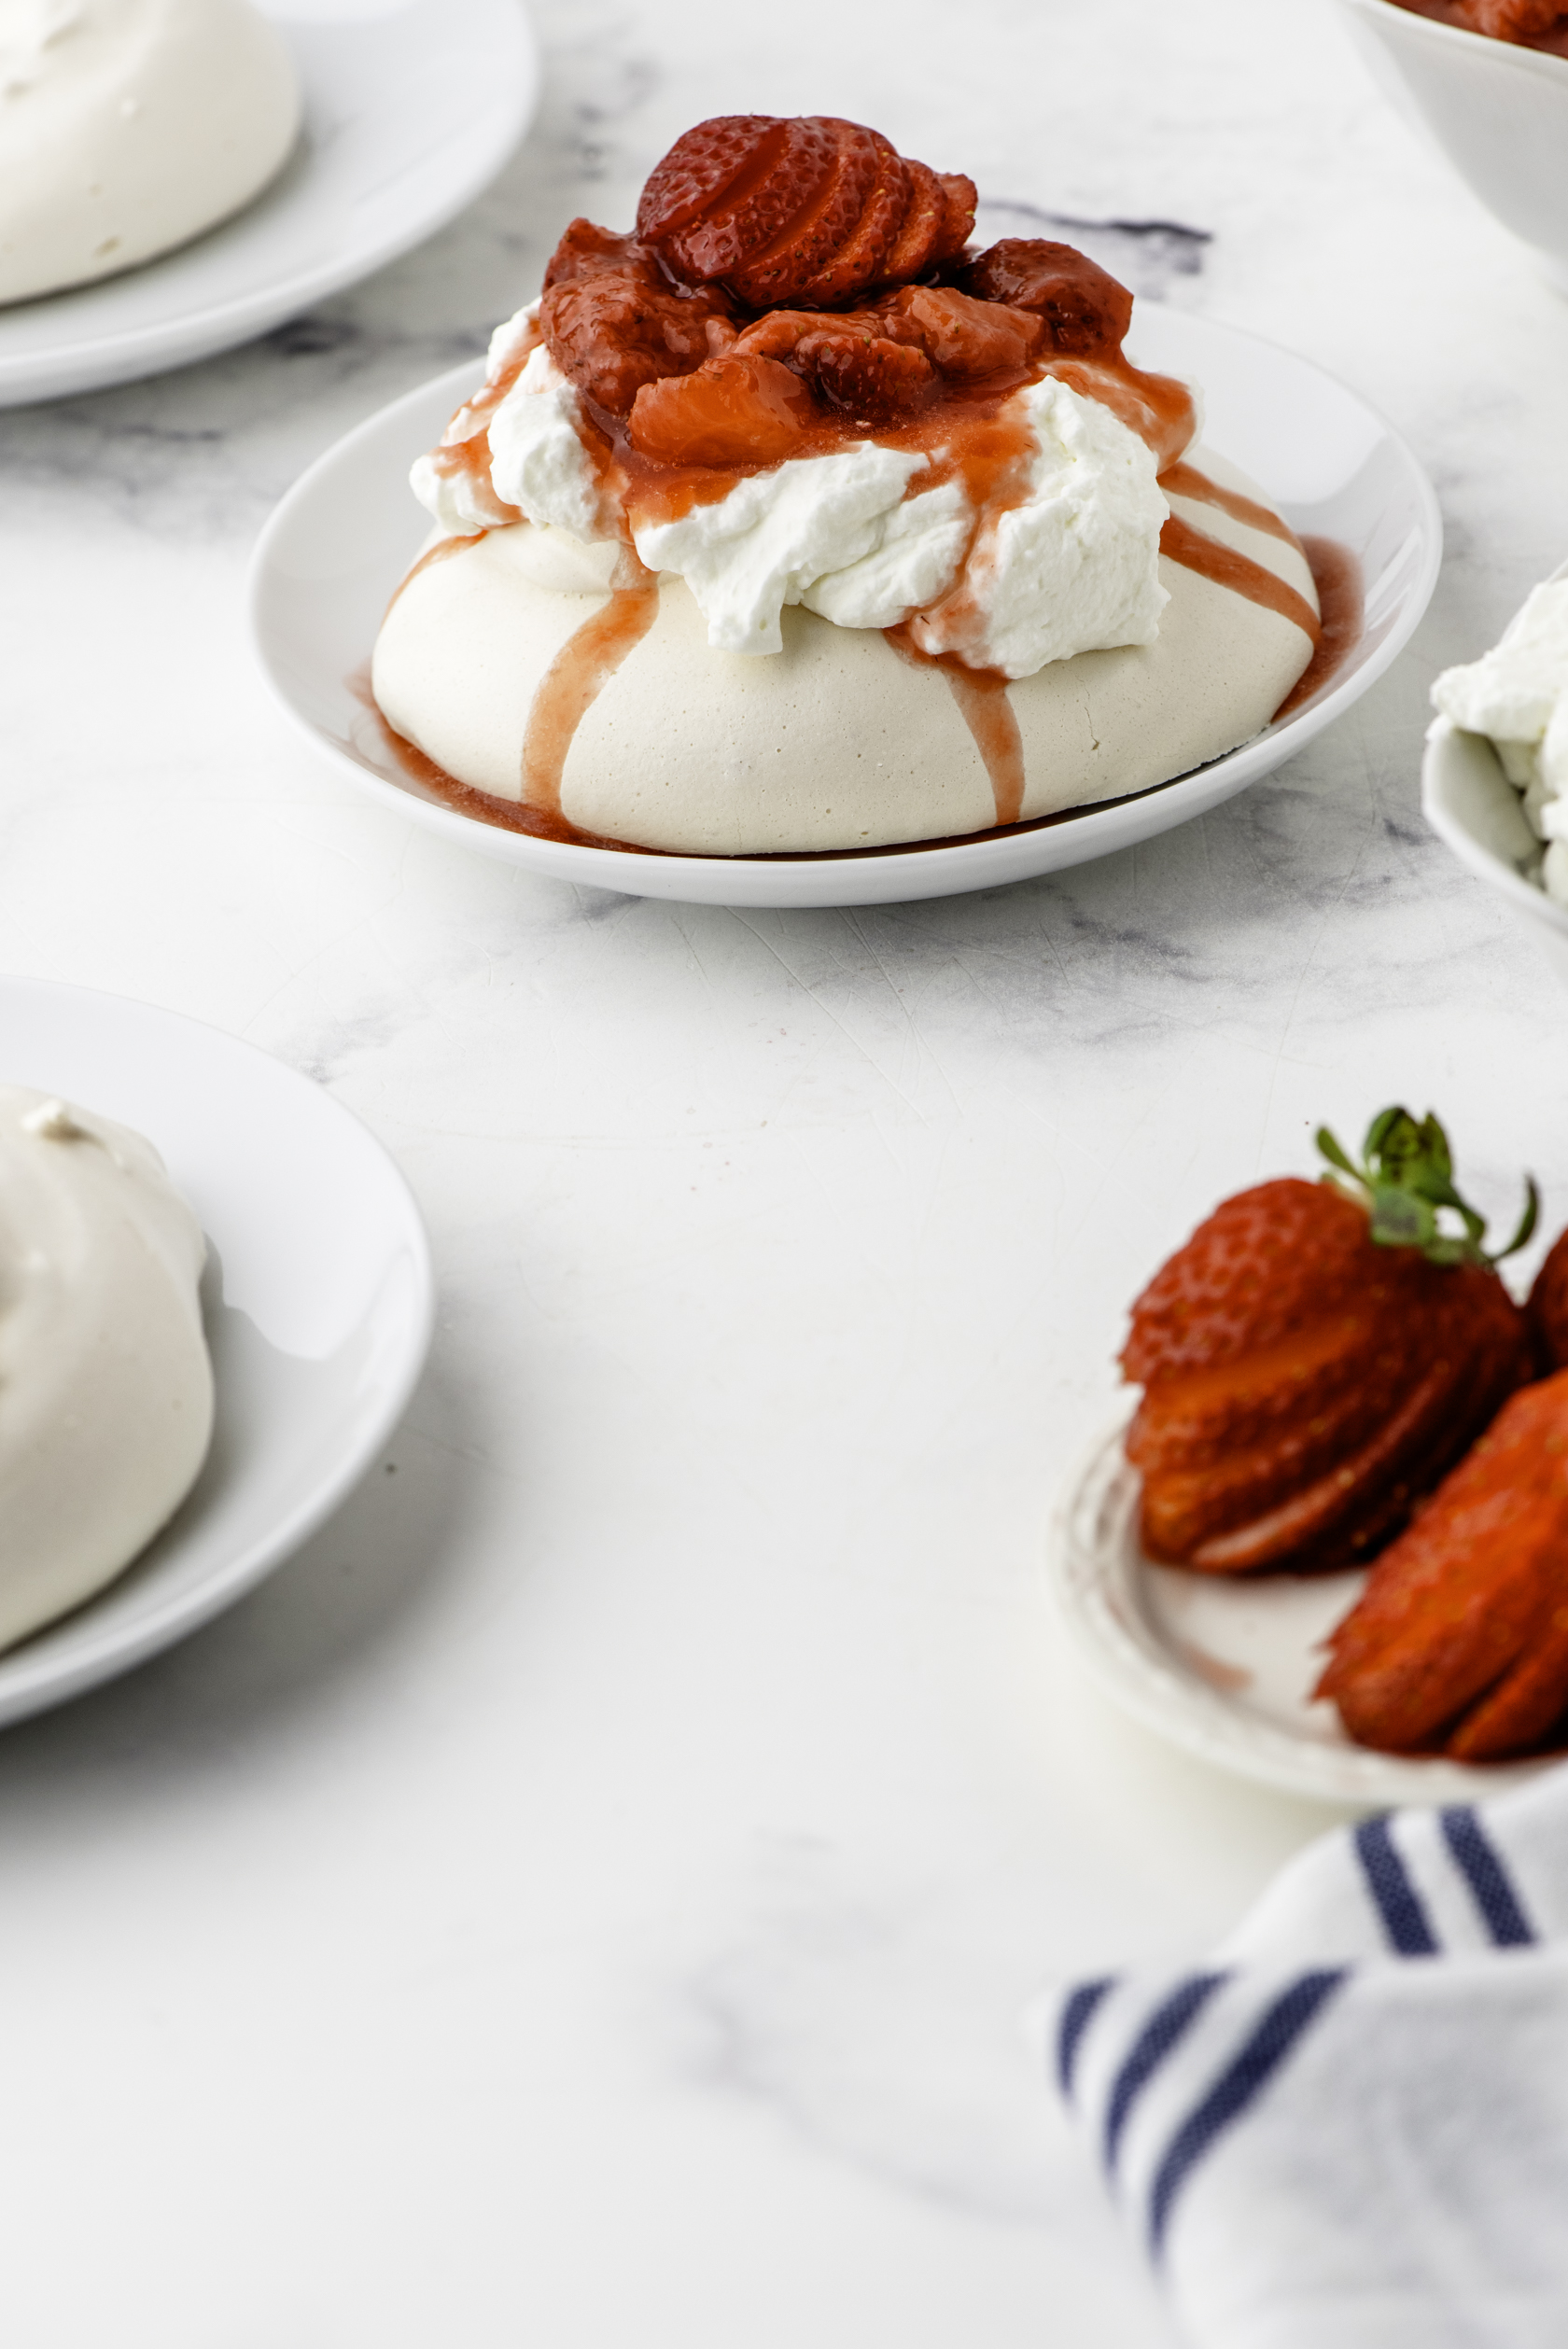
- Add strawberry sauce, with a fresh strawberry for garnish.
FAQs
Great question! They look similar but pavlova has cornstarch added to the meringue mixture, which creates that signature soft and chewy marshmallow-like centre. Regular meringue is crispy all the way through. The cornstarch is the secret!
Yes! That’s actually exactly what I recommend. Bake and cool them the night before, then store in a lidded container on your countertop. Prepare the whipped cream and strawberry sauce separately in the fridge. Assemble right before serving — easy and stress-free for company!
Other Yummy Strawberry Recipes:
- I served this incredibly delicious strawberry bread for a mid-morning snack the day my son got married. It brings back great memories – and everyone loved it.
- We loved it when our Grandma made this recipe for strawberry jello pie. I still remember loving it when she’d call to tell us it was ready!
- Buttermilk strawberry muffins are so delicious, you’re going to think you got them from a fancy baker.
- Vanilla strawberry cake is our family favorite birthday cake topped with a fresh strawberry icing. It’s perfect for a celebration.
Individual Strawberry Pavlovas
These single-serving pavlovas deliver decadence with minimal effort. Although they need extended cooling in the oven, the final result is definitely worthwhile. Complement with freshly whipped cream and a luscious seasonal berry topping for a sweet, light, and elegant way to conclude any meal.
Ingredients
Method
- Set the oven temperature to 250 degrees. Get a baking sheet ready by covering it with parchment paper.
- In a small container, combine white sugar and cornstarch. Stir the mixture until it is smooth and fully blended, ensuring no cornstarch lumps remain.
- Divide the egg whites from the yolk in a separate bowl before transferring the white to the mixing bowl. If any yolk contaminates the white, avoid using it for this recipe; instead, turn it into scrambled eggs for breakfast the following day. Once the egg whites are secure in the mixing bowl, add 1/4 teaspoon of kosher salt and activate the stand mixer with the whisk attachment. Whisk the eggs until they achieve a frothy consistency.
- When the mixture becomes frothy, incorporate the sugar mixture gradually, adding about 1 tablespoon at a time. Reduce the mixer's speed while adding the sugar, then increase it to beat the mixture in thoroughly. After all the sugar mixture is fully integrated, stir in the vanilla and continue beating until the mixture turns glossy and creates a peak at the end of the beater when lifted. Exercise caution to avoid overbeating, as this can cause your pavlovas to dry out and crack.
- With a spatula, portion the batter onto the parchment-lined cookie sheet into four separate circular shapes. There is no need to overthink this! Simply make it rustic and swirl them slightly in a circular motion. Use the end of your spatula to press a slight depression into the center, creating a small "bowl" for the later topping.
- Insert the batter into the 250 degree oven for 60 minutes. Absolutely do not open the oven door to peek at them! Once the 60 minutes have elapsed, do not open the oven, but turn it off. Allow the pavlovas to remain inside the oven until they are completely cooled, which will take approximately 6 to 8 hours. This process prevents cracking and weeping.
- The individual pavlovas
- Whipped Cream
- Strawberry Sauce – You have the option of preparing a cooked strawberry sauce, which I did, or you can slice strawberries and sprinkle them with sugar to create a cold strawberry sauce.