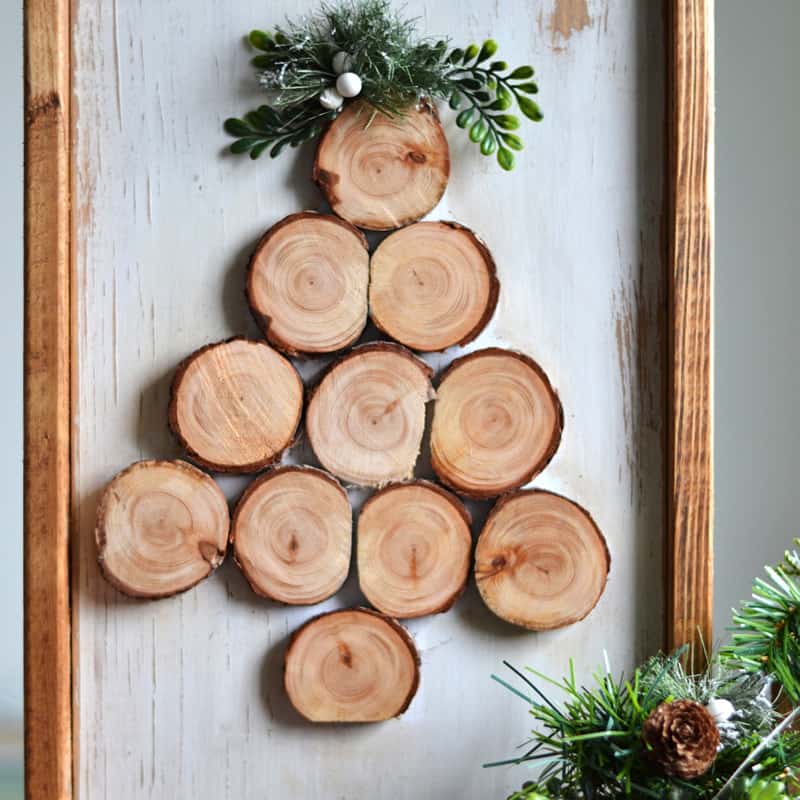
If you’re looking for a fun handmade gift for a Christmas gift exchange game, this might be just the answer! This DIY wood slice Christmas tree sign makes a great rustic decor accent for the winter season. Or, if you’re in a small space and don’t want an actual Christmas tree, this is a fun idea!
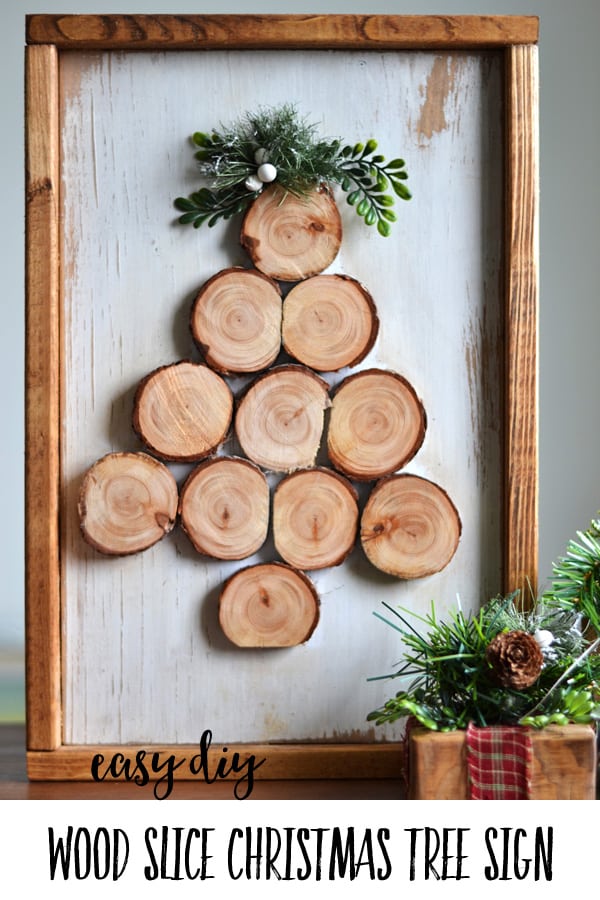
How to make an easy DIY Wood Slice Christmas Tree Sign
Disclosure: This post contains affiliate links for your shopping convenience
Gather the supplies:
- Scrap piece of wood (about 11 inches wide x 10 inches tall)
- Wood Stain – Minwax Provincial
- Wood slices
- Paint color of choice (I used FolkArt Home Decor Chalk, but acrylic paint would work, too.)
- Hot glue gun
- 1 x 2 inch wood pieces for the frame
- Faux greenery for the tree topper
- Sawtooth hanger
Stain and paint the wood base
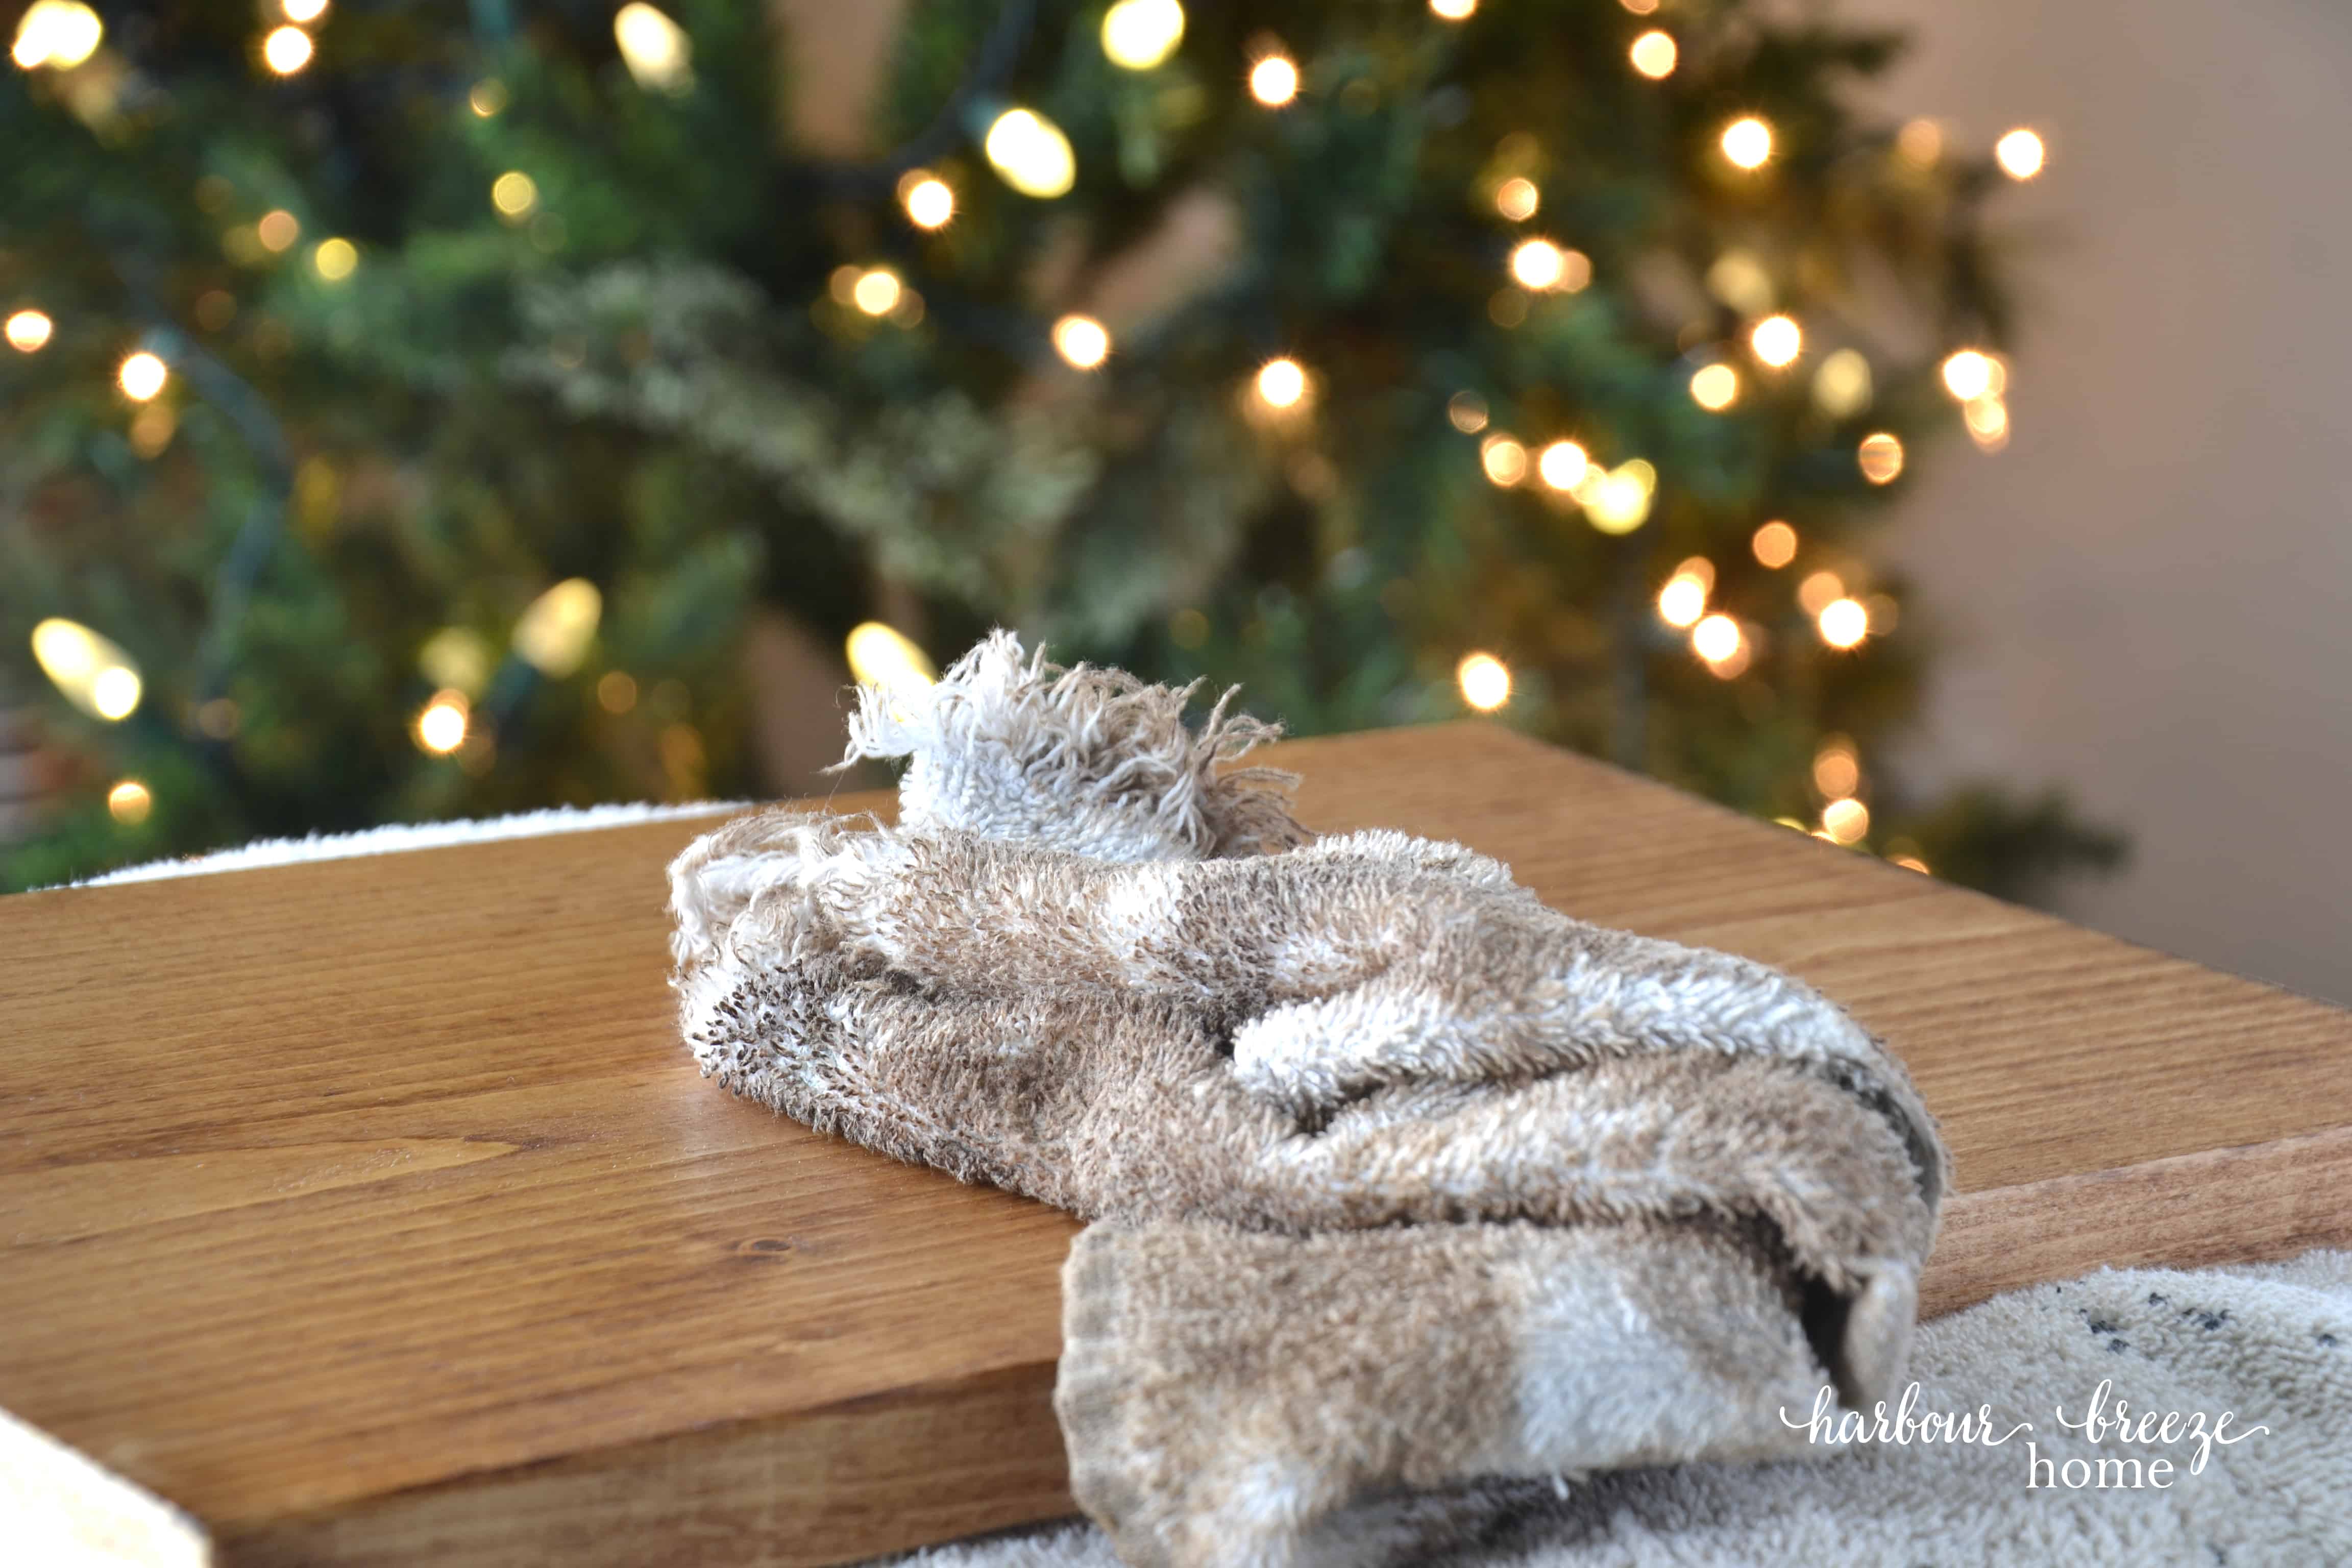
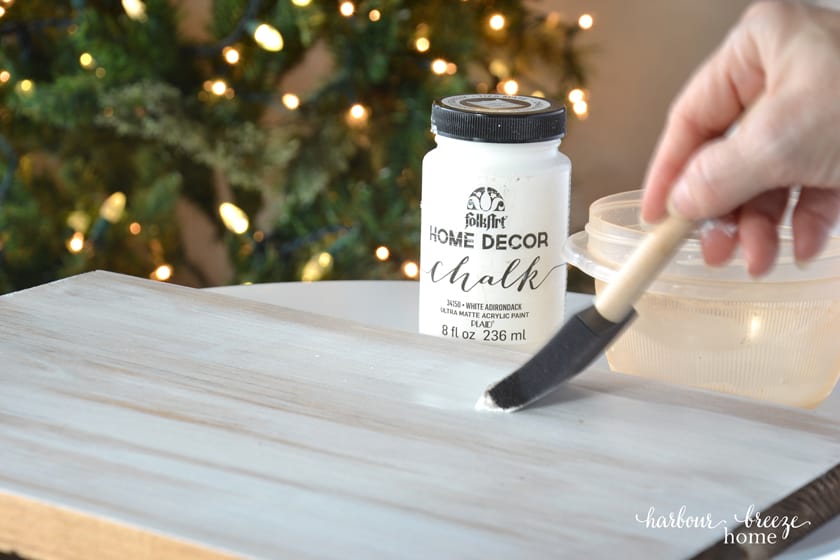
I started by staining the wood, letting it dry, and then painting on a coat of Adirondack White by FolkArt Home Decor Chalk.
Distress by sanding off some of the paint
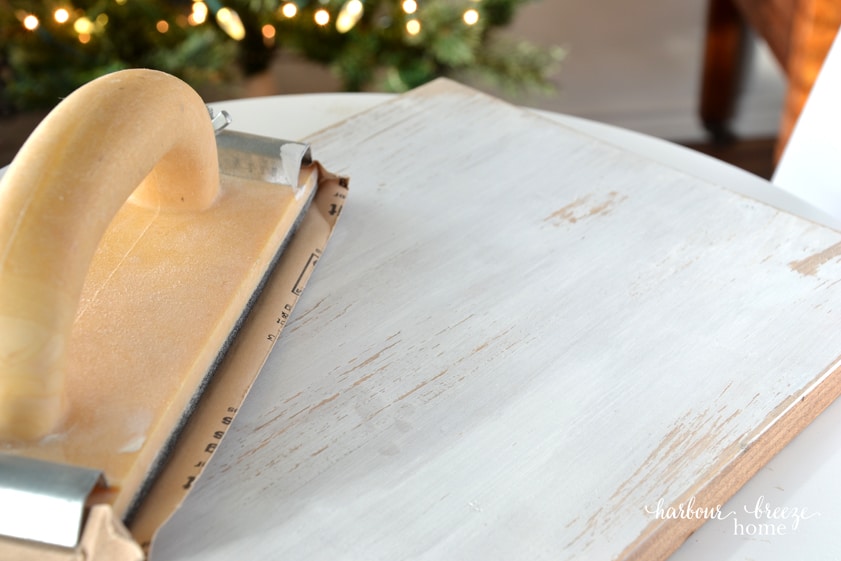
Using fine-grit sandpaper, I sanded off some of the paint to reveal the stained wood underneath.
Position the wood slices to form the shape of a tree
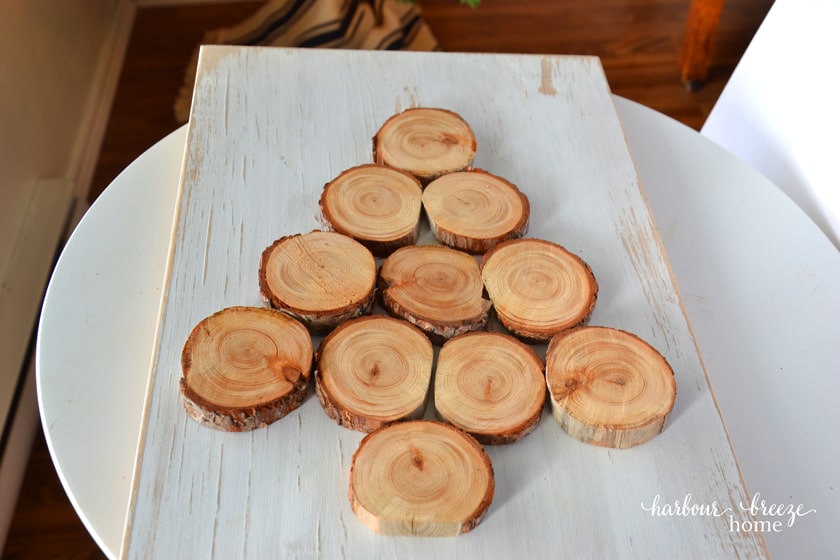
My husband made these wood slices, but you can now buy them ready to use. Once the sign base has dried, arrange the wood slices into the shape of a tree. Attach each slice with hot glue on the back.
Attach a sawtooth hanger on the back
While the sign is still fairly flat, I like to turn it over and add a sawtooth hanger so it’s easy to hang on the wall!
Add a “tree topper”
Have fun decorating your tree! I used a few sprigs of faux greenery and berries on the top of the tree to add interest and color.
Frame it
The sign looks great without a frame, but if you’d like to take it to the next level, frame it with some simple 1×2 boards. I stained ours with Provincial Minwax stain so they’d look nice and dark. Then I positioned them on all four sides and attached them with a pneumatic stapler.
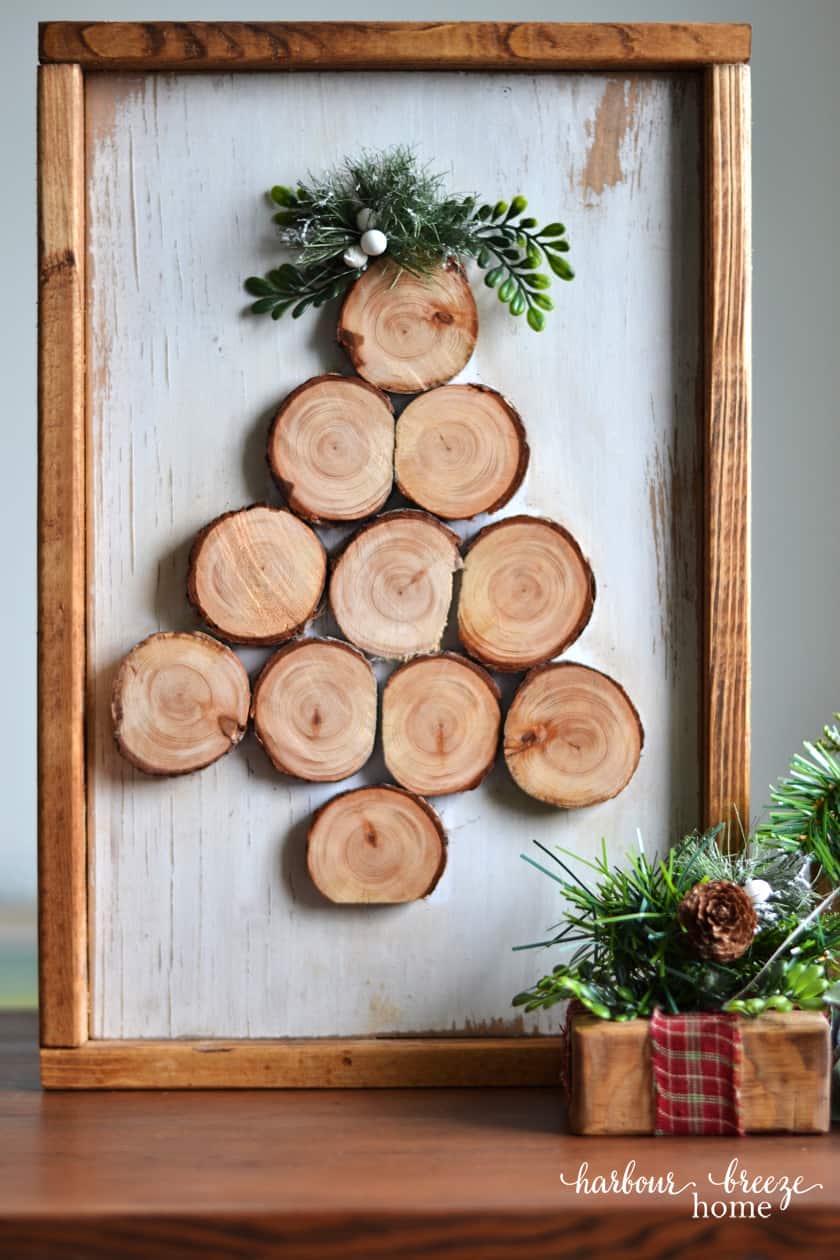
And that’s it! Your rustic Christmas tree sign is ready to take to the gift exchange, or to hang on your wall!
To see more handmade & easy Christmas decor ideas, you may want to check out these earlier posts:
- Burlap Wrapped Gifts Shelf Decor
- Wood Block Gift Decor
- DIY Farmhouse Sign + Free Christmas Printables
- Christmas Place Card Holders
- Mini Flocked Faux Christmas Tree (made from Dollar Store supplies)
- Winter Wonderland DIY Christmas Tree Ornament
- Shabby Chic Bird Christmas Tree Ornament
- Christmas Felt Ornaments
For more ideas for your home, join the VIP newsletter subscriber list and get instant access to these free vintage red truck printable gift tags! (Click the button below)